7
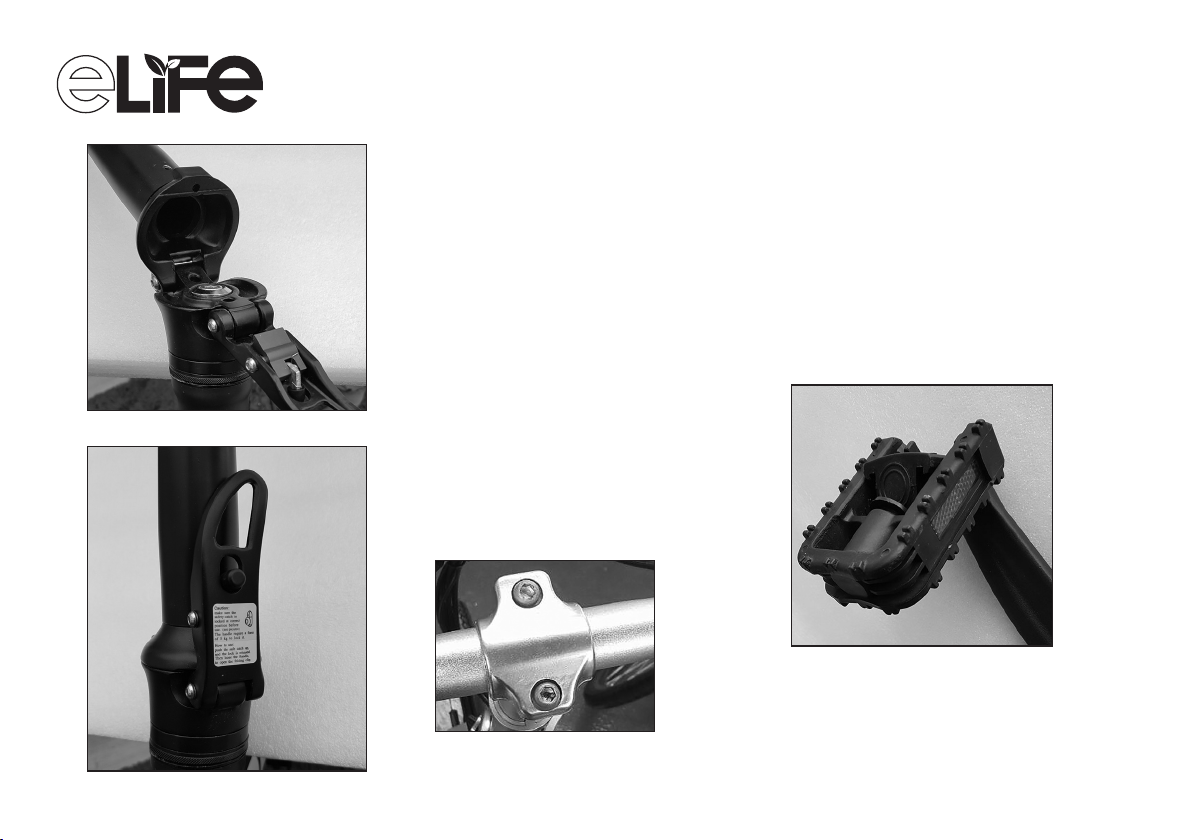
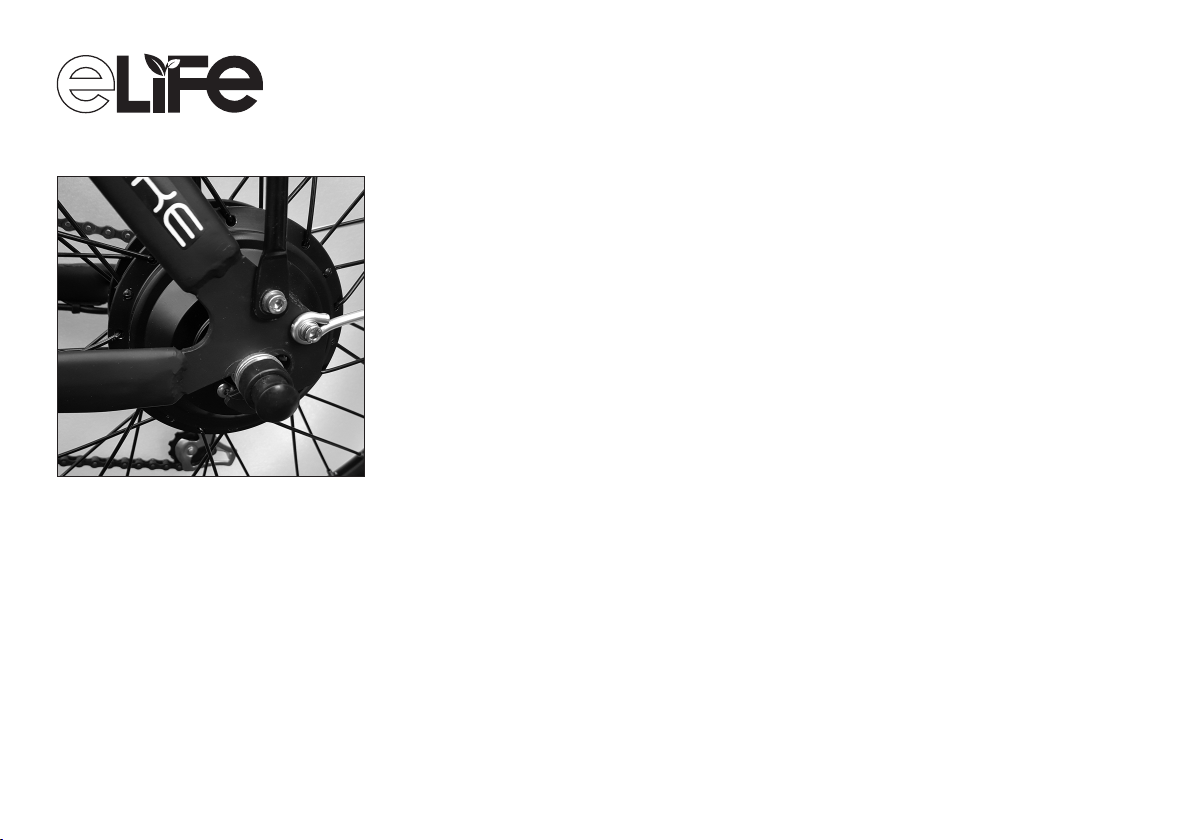
Gear adjustments
• PLEASE SEE
‘Bicycle Owner’s Manual’
• If you do not feel confident setting
gears is recommended you take to a
bicycle workshop for assistance.
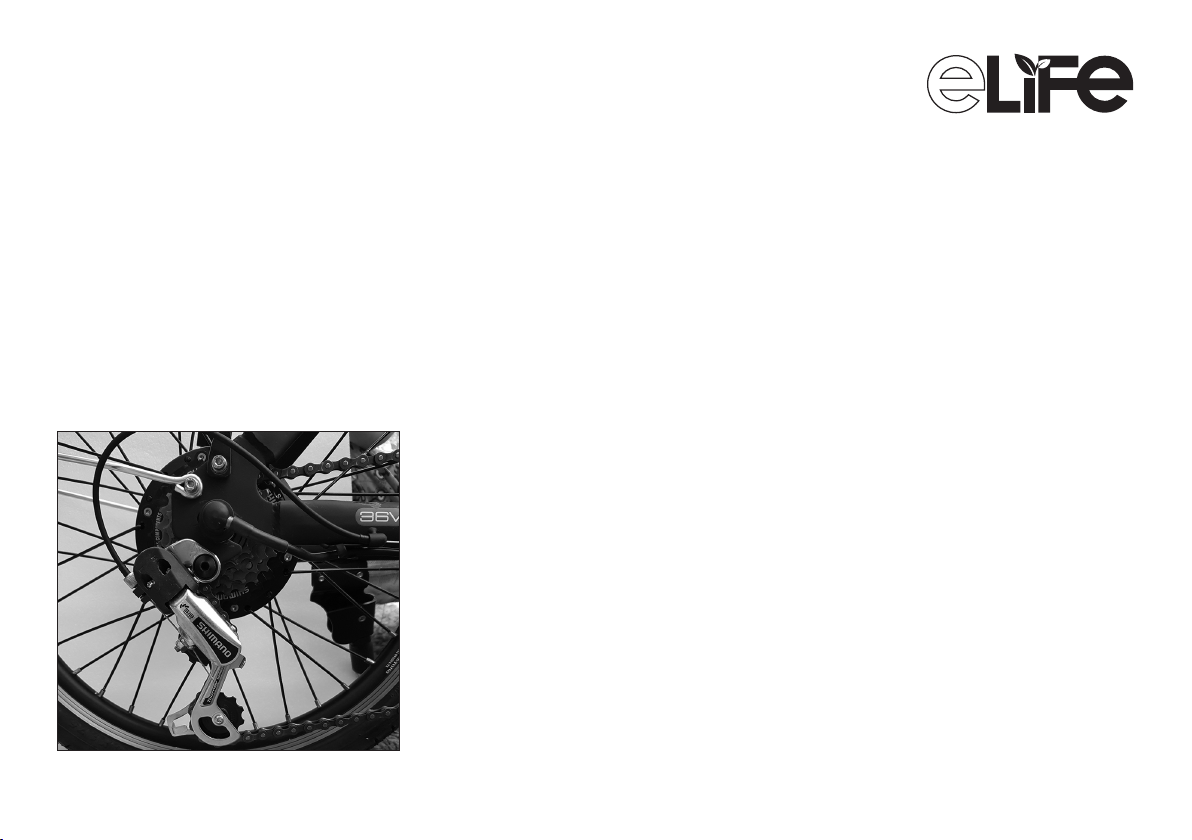
• Lube chain and sprockets
regularly with a Teflon based chain
lube.
Tyre Inflation
Inflate Tyres to correct PSI (pressure) as
specified on side of tyres and maintain
ongoing by checking once per week.
Correct tyre pressure is critical to the
performance of the bike.
Tyre specifications are molded into the
tyre wall.
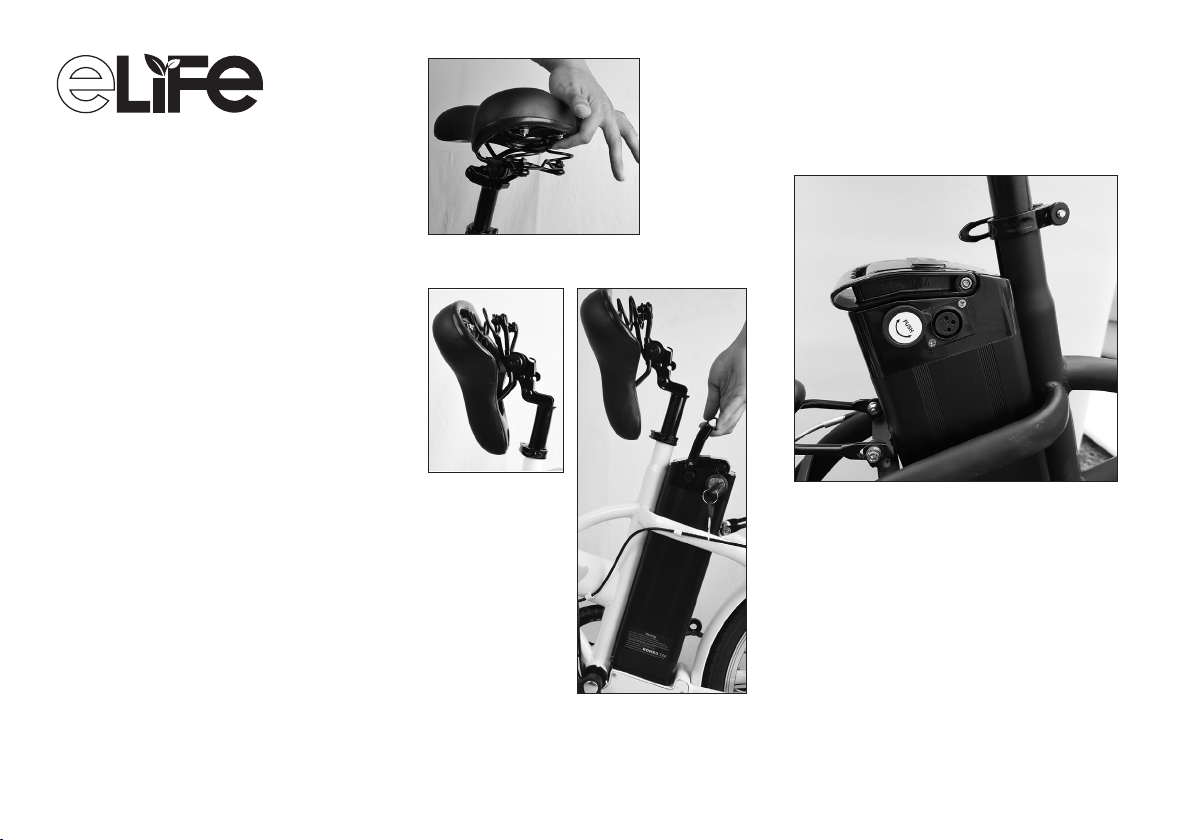
Battery Power
Your e.bike is designed to be power
assisted by connection to a Lithium
battery power source however, it can
also be riden as a normal bike in (Human
mode).
Power
This e.bikes is power assisted by a 36V
battery. Ensure no other plug is ever
connected to the main battery slot other
than that supplied with your bike.
Turn on the power as directed on page 4.
Power assist, max speed 15.5mph.
Applying the breaks or stopping peddling
cuts the power to the motor.
Power indication
There are a series of LED lights either on
the battery shell, on the Module on the
handlebars, or both, indicating the power
levels. Several green LED’s and One Red
LED light means fully charged, the green
LED’s will go out in sequence as the power
is drained, charging required when the
greens LED’s go out leaving only the red
LED lit.
A 6 hour charge should enable you to
gain power assist for a distance of around
50km ( 30miles)