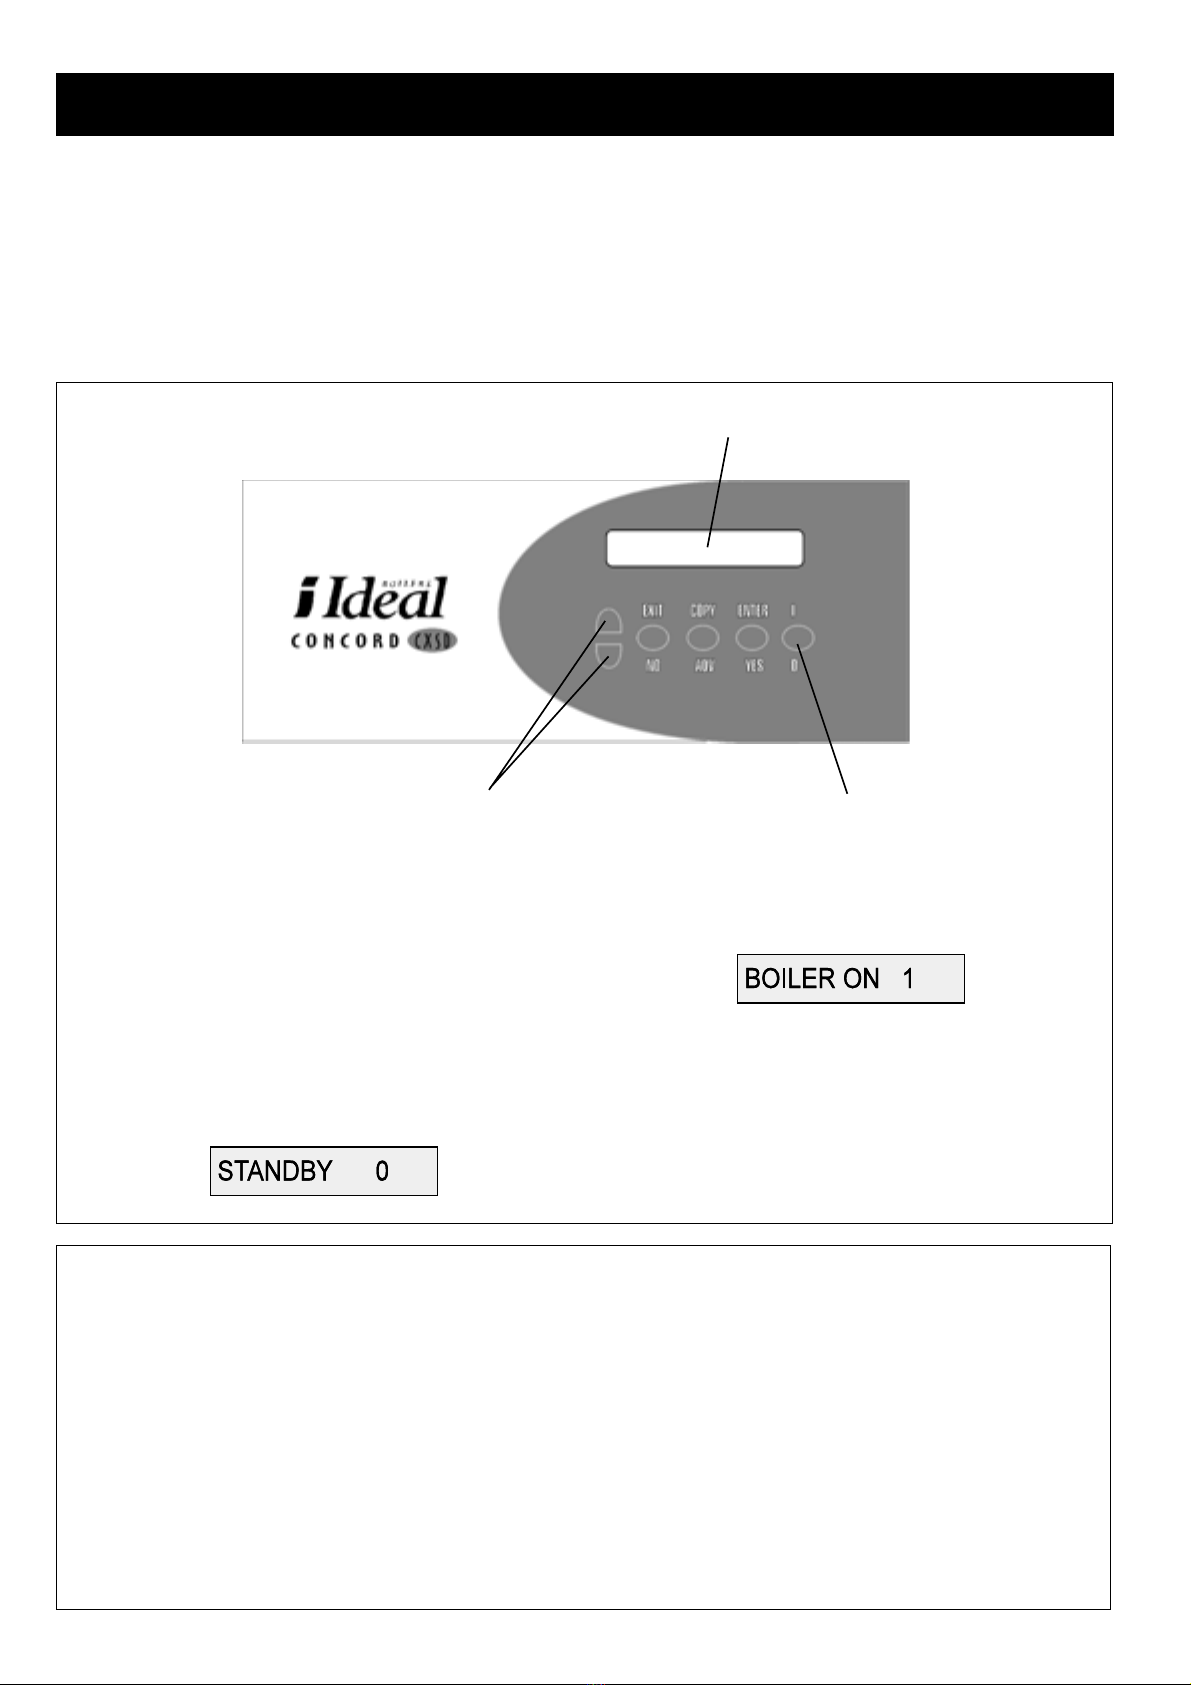
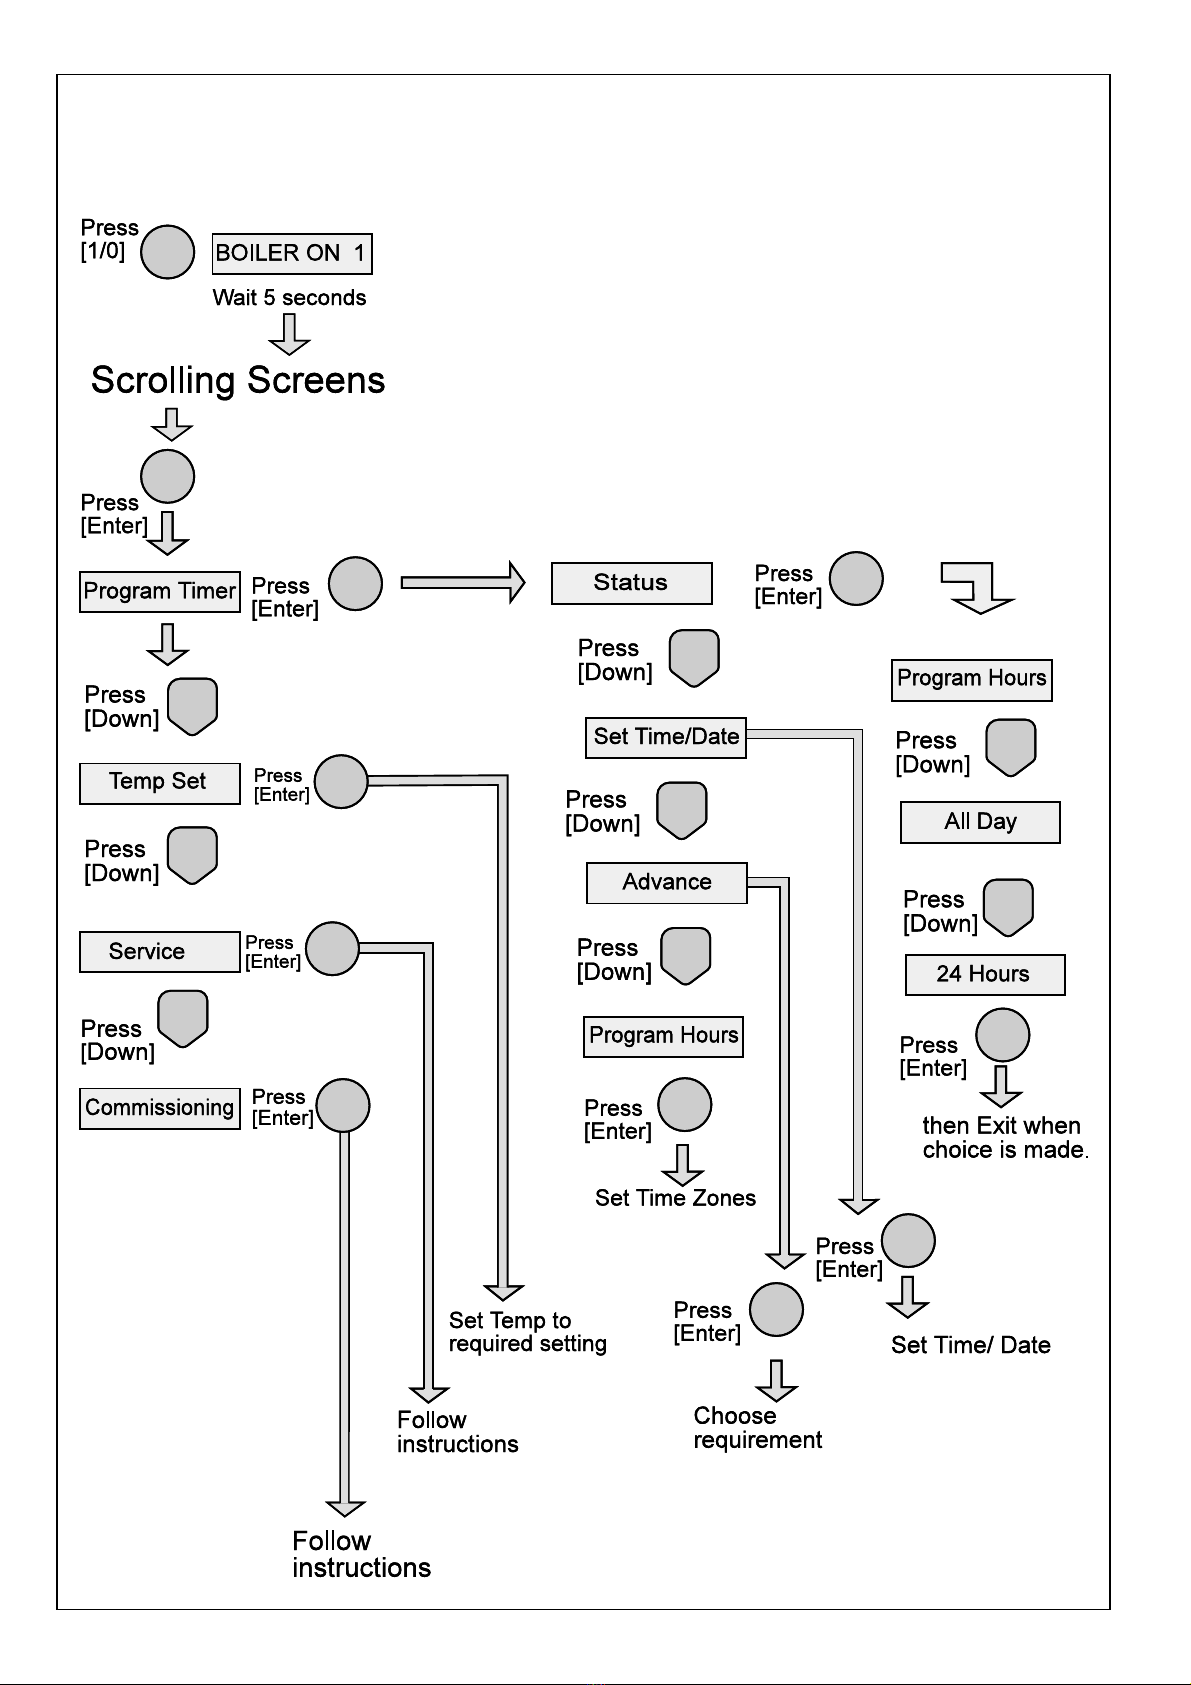
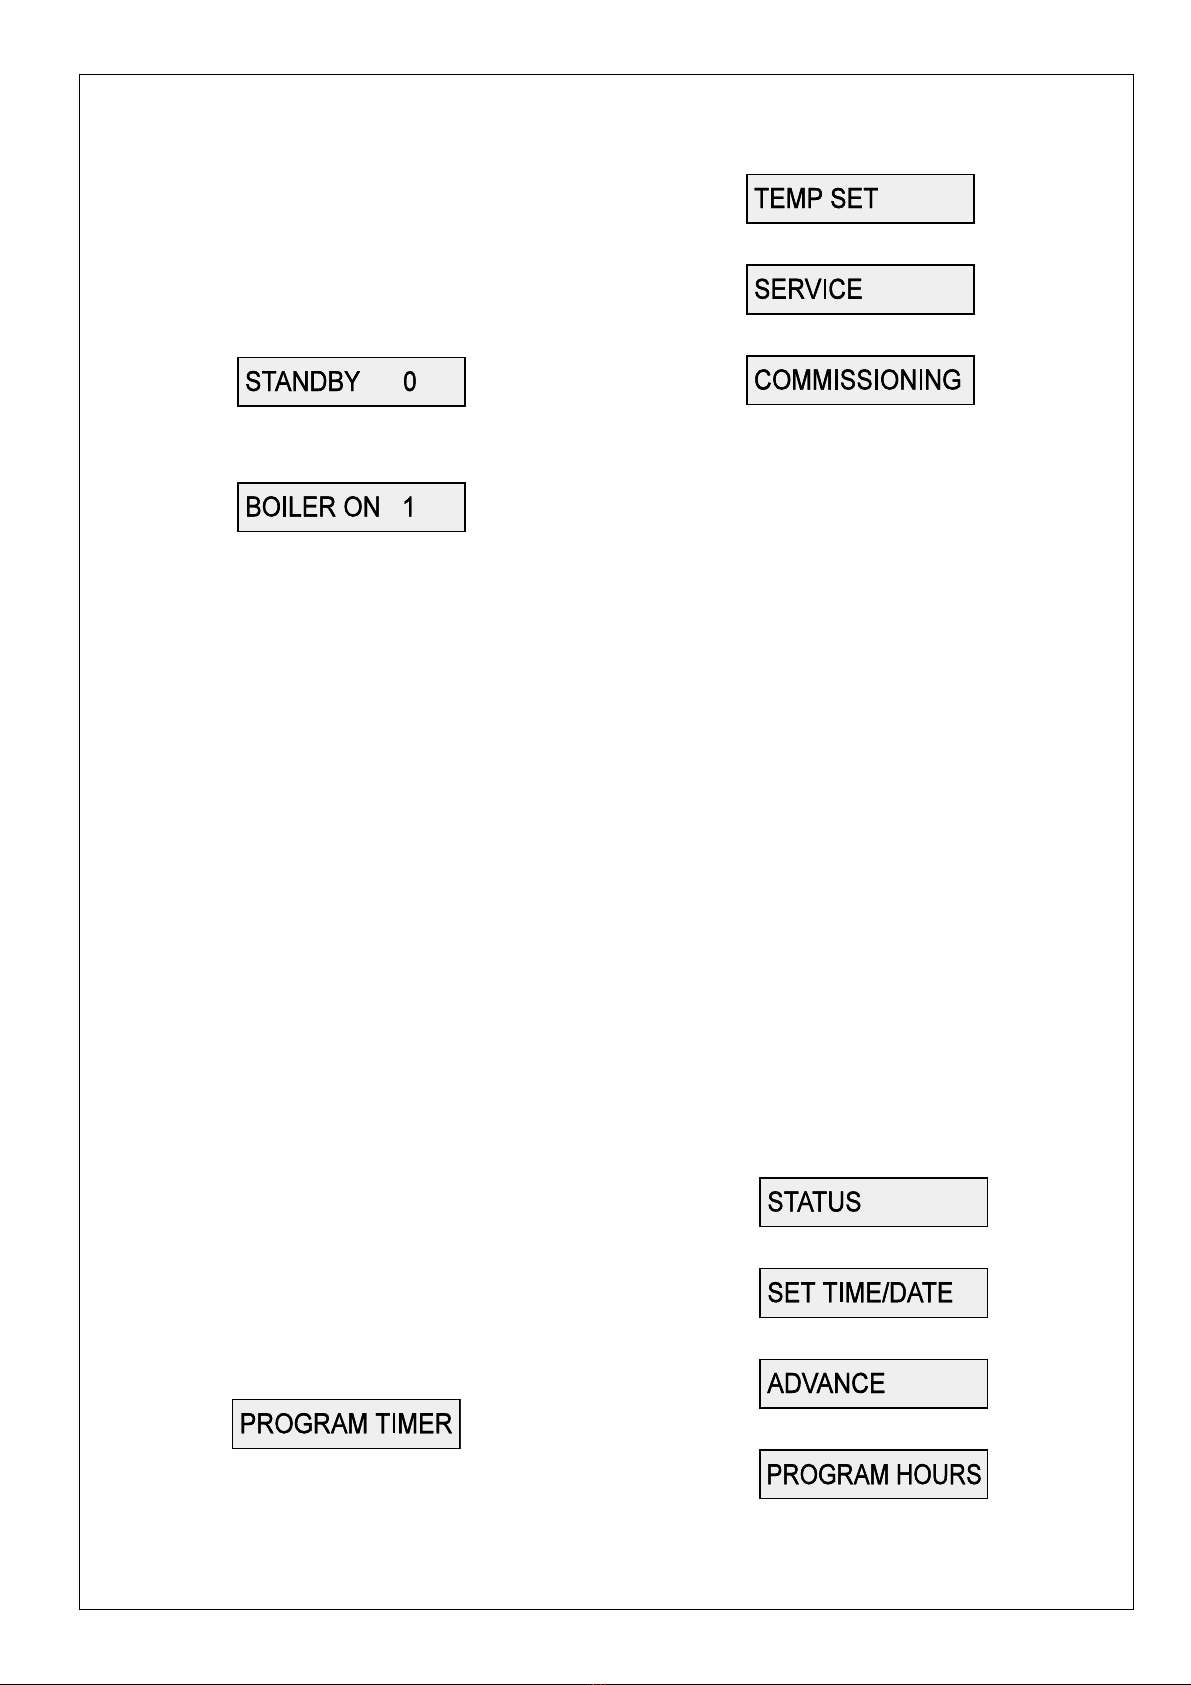
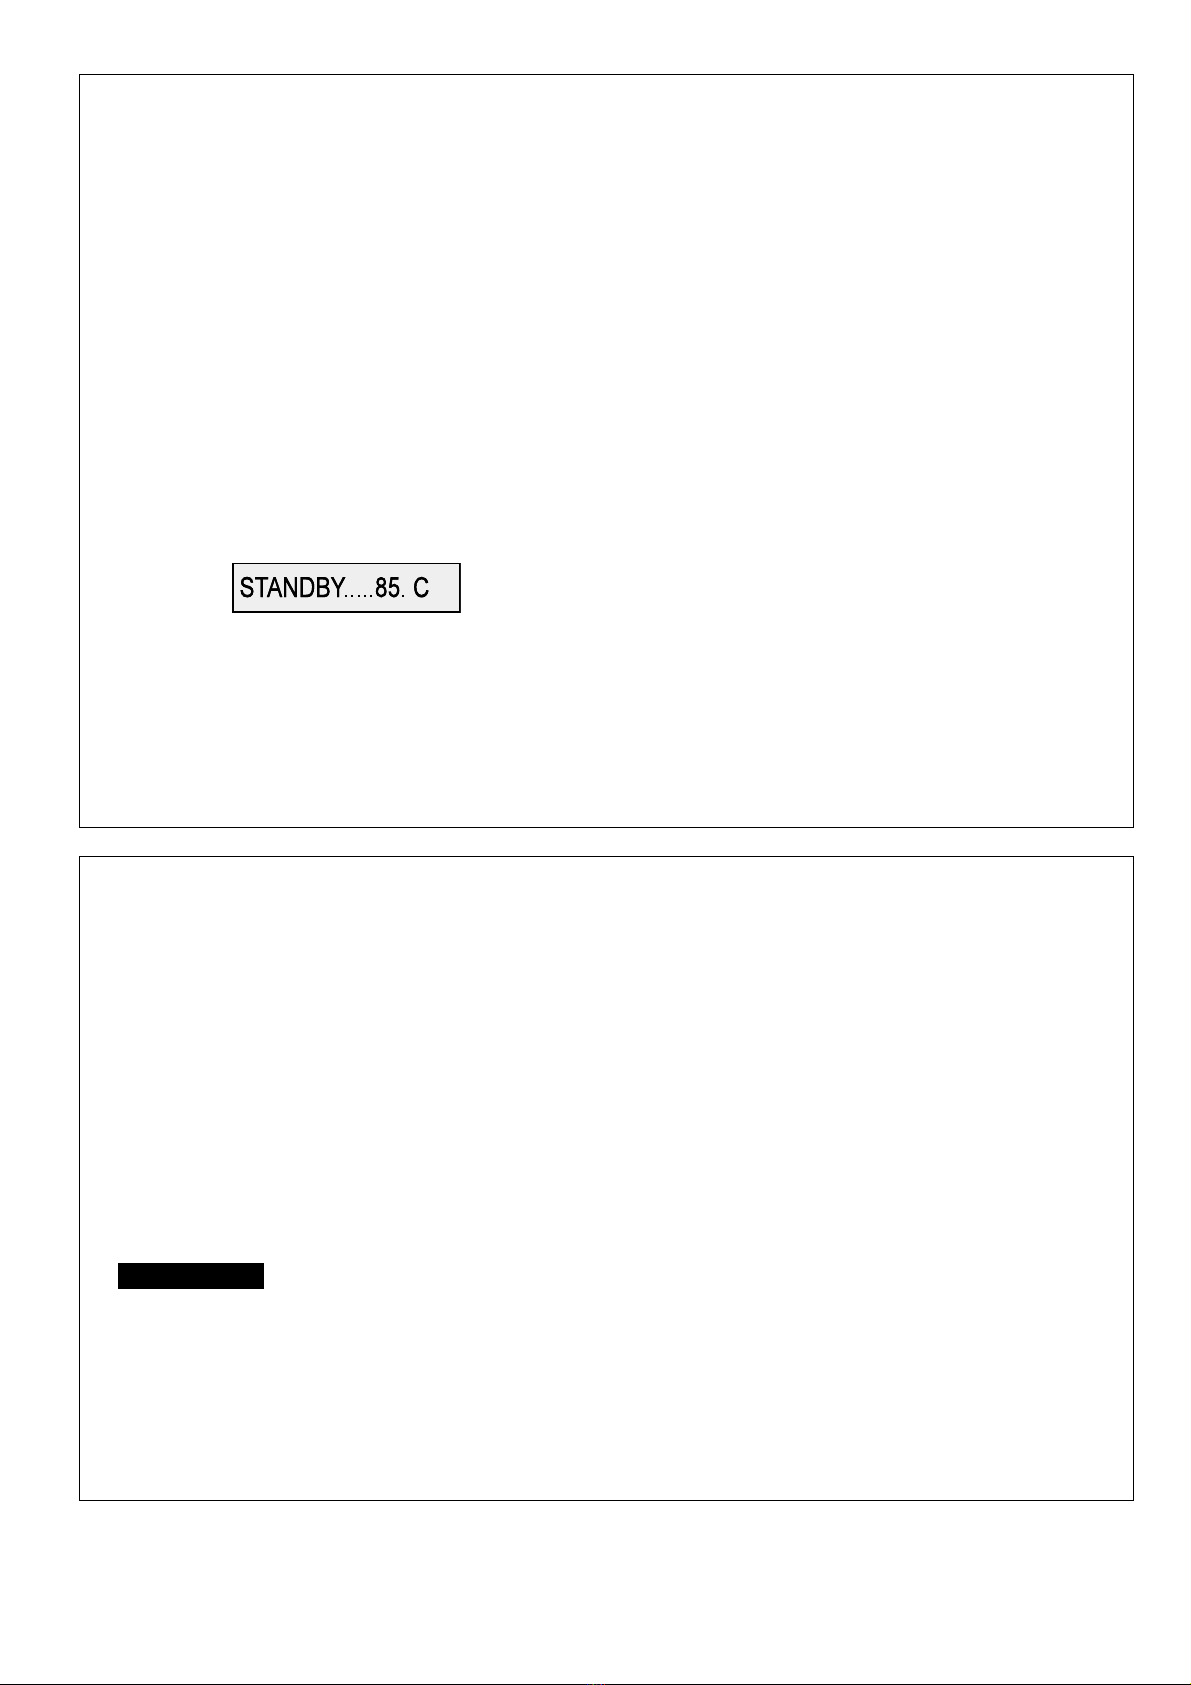
IDEAL Concord CXSD 40 User manual
Other IDEAL Boiler manuals

IDEAL
IDEAL Falcon GTE 4 User guide

IDEAL
IDEAL Viceroy GT Series Guide

IDEAL
IDEAL COMBI ESP 24 User manual

IDEAL
IDEAL Classic FF 350 P User manual

IDEAL
IDEAL ESPRIT 2 24 User manual

IDEAL
IDEAL EVOMOD 250 User manual

IDEAL
IDEAL he15 User manual

IDEAL
IDEAL he15 User manual

IDEAL
IDEAL he24 User manual

IDEAL
IDEAL Mexico Super 40 FF User manual

IDEAL
IDEAL classic HE15P User manual

IDEAL
IDEAL Classic Combi NF 280 User manual

IDEAL
IDEAL Mexico super RS485 User manual

IDEAL
IDEAL he15 User manual

IDEAL
IDEAL ES24 User manual

IDEAL
IDEAL imax plus iii F95 User manual

IDEAL
IDEAL EVOMOD 250 User manual

IDEAL
IDEAL Logic HEAT 12 User manual

IDEAL
IDEAL RS30l RS40 Release note

IDEAL
IDEAL he15 User manual


Popular Boiler manuals by other brands

Vaillant
Vaillant uniSTOR VIH SW GB 500 BES operating instructions

Radijator
Radijator BIO max 23.1 instruction manual

Brunner
Brunner BSV 20 Instructions for use

Buderus
Buderus Logamax GB062-24 KDE H V2 Service manual

Potterton
Potterton 50e Installation and Servicing Manual

UTICA BOILERS
UTICA BOILERS TriFire Assembly instructions

Joannes
Joannes LADY Series Installation and maintenance manual

ECR International
ECR International UB90-125 Installation, operation & maintenance manual

Froling
Froling P4 Pellet 8 - 105 installation instructions

Froling
Froling FHG Turbo 3000 operating instructions

U.S. Boiler Company
U.S. Boiler Company K2 operating instructions

Henrad
Henrad C95 FF user guide

NeOvo
NeOvo EcoNox EF 36 user guide

Potterton
Potterton PROMAX SL 12 user guide

Eco Hometec
Eco Hometec EC 25 COMPACT Technical manual

Viessmann
Viessmann VITODENS 200 Operating instructions and user's information manual

Baxi
Baxi Prime 1.24 installation manual

REXNOVA
REXNOVA ISA 20 BITHERMAL Installation, use and maintenance manual