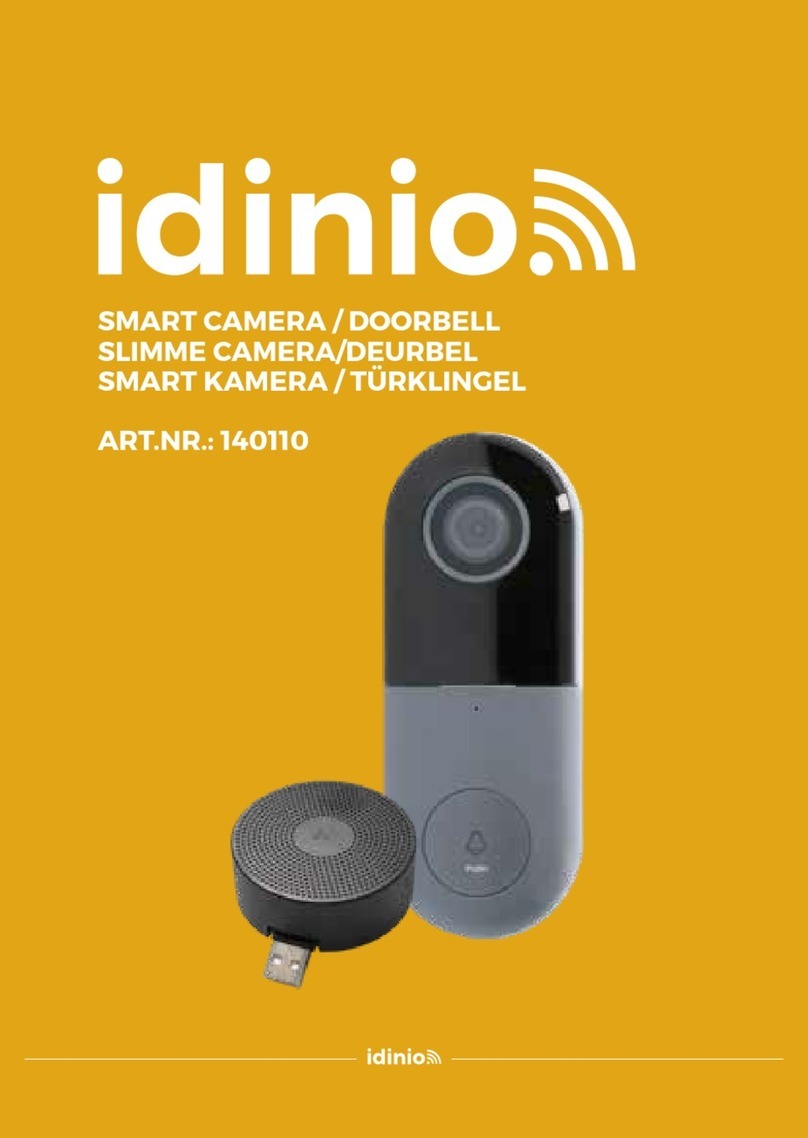
idinio 140110 User manual

MV#: 20190620 16:56
SMART CAMERA / DOORBELL
SLIMME CAMERA/DEURBEL
SMART KAMERA / TÜRKLINGEL
ART.NR.: 140110
Chapter MAN - Cover front.indd- PRINTFILE CREATED ON: 20190620 16:56 - DESIGN: SEEB - UPDATES BY: WILLY
140110-MAN-ML-2019061701-SHA-A6.indb 1 25/06/2019 14:03

Fig. 1
A x 2 B x 2
C x 3
1.Mark screws position
AC 8V~24V
2.Nailed expansion screw 3.Fixed bracket
4.Install the doorbell into the bracket
1.Mark screws position 2.Nailed expansion screw 3.Fit the mounting bracket to
the angle adjustment device
5.Install the doorbell into the bracket
4.Fixed bracket
AC 8V~24V
External
power port
Microphone
Button
Status Light
Camera
SD card slot
Speaker
Reset
Mini USB
AC 8V~24V
Press the button to activate the doorbell
∙ Red light solid on: the camera or network is abnormal
∙ Red light blinking: awaiting WiFi connection, or currently
connecting (faster blinking)
∙ Blue light solid on: camera running correctly
Captures sound for your video
Supports local SD Card storage (Max.128G)
Press and hold on for 5 seconds with pin to reset the doorbell
(unable to unbind the bell from account)
Power Port:
Doorbell button:
Status light:
Microphone:
SD card slot:
Reset:
140110-MAN-ML-2019061701-SHA-A6.indb 2 25/06/2019 14:03

Functions
Shared device
The doorbell device can be shared with friends, and friends can also preview
online. There is no limit to the number of sharing devices, but only 6 accounts
are supported for online preview at the same time.
Full-duplex audio
When the visitor push the doorbell button, you will get a call. You can see
and hear the vistor in your App from the doorbell if you answer.
Motion detection
Motion sensors will notify you when movement is detected.
Record
Record every moment using high capacity SD card storage.
Day & Night
Powerful night vision means no interruptions, even in complete darkness.
MICRO
SD
10
140110-MAN-ML-2019061701-SHA-A6.indb 3 25/06/2019 14:03

Box contents
Electrical safety
∙ To reduce risk of electric shock, this product should only be opened by an
authorized technician when service is required.
∙ Do not use the product if the cable or plug is damaged or defective.
When damaged or defective, it must be replaced by the manufacturer or an
authorised repair agent.
∙ Before use, always make sure that the voltage is the same as the voltage on the
rating plate of the device.
∙ Make sure that the cable does not hang over the edge of a worktop and cannot
be caught accidentally or tripped over
Warning
∙ The light source contained in this luminaire shall only be replaced by the
manufacturer or his service agent or a similar qualified person.
∙ Caution, risk of electric shock.
∙ The external flexible cable or cord of this luminaire cannot be replaced; if the
cord is damaged, the luminaire has to be destroyed.
A x 2 B x 2
C x 3
1.Mark screws position
AC 8V~24V
2.Nailed expansion screw 3.Fixed bracket
4.Install the doorbell into the bracket
1.Mark screws position 2.Nailed expansion screw 3.Fit the mounting bracket to
the angle adjustment device
5.Install the doorbell into the bracket
4.Fixed bracket
AC 8V~24V
External
power port
Microphone
Button
Status Light
Camera
SD card slot
Speaker
Reset
Mini USB
140110-MAN-ML-2019061701-SHA-A6.indb 4 25/06/2019 14:03

Use of the product / Installation
1. Download and install the “Idinio“ app from the Apple App Store or Google Play
Store on your mobile device.
2. Activate the “Idinio“ app.
3. Create a new account or log in to your existing account.
4. Click on “+” to add the product.
5. Select the product type from the product list.
6. Check the product and connect it to the mains.
7.
• If the status indicator is not flashing:
Press the reset button for 10 seconds.
• If the status indicator is blinking:
Confirm in the app.
8. Confirm the Wi-Fi network and password.
9. Scan the QR code in the App with the camera. The product gives a sound
signal and you must confirm this in the App
10.Enter the name of the product. Note: The name of the product will also be
used for push notifications (also for Amazon Alexa and Google Home if
applicable)
11. Place the product at the desired location
Option 1
Option 2
A x 2 B x 2
C x 3
1.Mark screws position
AC 8V~24V
2.Nailed expansion screw 3.Fixed bracket
4.Install the doorbell into the bracket
1.Mark screws position 2.Nailed expansion screw 3.Fit the mounting bracket to
the angle adjustment device
5.Install the doorbell into the bracket
4.Fixed bracket
AC 8V~24V
External
power port
Microphone
Button
Status Light
Camera
SD card slot
Speaker
Reset
Mini USB
140110-MAN-ML-2019061701-SHA-A6.indb 5 25/06/2019 14:03

A x 2 B x 2
C x 3
1.Mark screws position
AC 8V~24V
2.Nailed expansion screw 3.Fixed bracket
4.Install the doorbell into the bracket
1.Mark screws position 2.Nailed expansion screw 3.Fit the mounting bracket to
the angle adjustment device
5.Install the doorbell into the bracket
4.Fixed bracket
AC 8V~24V
External
power port
Microphone
Button
Status Light
Camera
SD card slot
Speaker
Reset
Mini USB
Connect the external USB bell with the Smart doorbell
1. Connect the USB bell with an adapter (5V 1A output).
Briefly press the RESET button to pair the doorbell.
- Blue light blinking: Awaiting for configuration.
- Blue light solid on: Configuration completed.
(To restore to factory settings: press and hold the RESET button for 5s)
2. Select the product in the App
1.
2.
140110-MAN-ML-2019061701-SHA-A6.indb 6 25/06/2019 14:03

3. 4.
Connect the external USB bell with the Smart doorbell
3. Go to Call settings.
4. Change the call settings to “Wireless call”
140110-MAN-ML-2019061701-SHA-A6.indb 7 25/06/2019 14:03

Connect the external USB bell with the Smart doorbell
4. Change the call settings to “Wireless call”
5.4.
140110-MAN-ML-2019061701-SHA-A6.indb 8 25/06/2019 14:03

6. 6.
Connect the external USB bell with the Smart doorbell
6. Change the sound of the USB bell in „Ring Tone Settings“
- Press “remove binding” in the set ring tone menu
- Press add again and try the bell again
140110-MAN-ML-2019061701-SHA-A6.indb 9 25/06/2019 14:03

Connect the external USB bell with the Smart doorbell
7. To select one-way or two-way speech please go to the Basic function
settings.
NOTE: With one-way audio you cannot talk back. With two-way audio you can.
7.7.
140110-MAN-ML-2019061701-SHA-A6.indb 10 25/06/2019 14:03

8. 8.
Connect the external USB bell with the Smart doorbell
8. To communicate between doorbell and phone you must ensure that the
speaker icon is turned on. To talk back, you have to hold the microphone
button until it turns blue. When the icon is blue you can start talking.
As long as the microphone icon is blue you can talk. To stop talking press
microphone icon again (It will turn back to a black colour).
140110-MAN-ML-2019061701-SHA-A6.indb 11 25/06/2019 14:03

APP STORE
PLAY STORE
For installation and instructions with
Google Assistant and Amazon Alexa
scan the QR code or go to:
www.shada.nl/idinio
LET’S MEET ONLINE
140110-MAN-ML-2019061701-SHA-A6.indb 12 25/06/2019 14:03
Other manuals for 140110
1
Table of contents
Other idinio Accessories manuals


