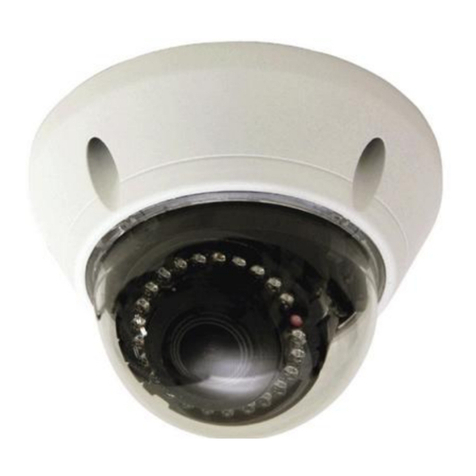
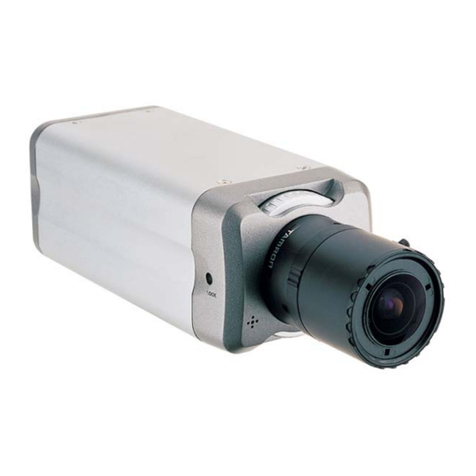
Idis DC-T1244WR User manual

Network
Camera
Quick Guide
DC-T1244WR

32
Quick Guide Network Camera
Safety Precautions
WARNING: TO REDUCE THE RISK OF ELECTRIC SHOCK
DO NOT REMOVE COVER (OR BACK)
NO USER-SERVICEABLE PARTS INSIDE
REFER SERVICING TO QUALIFIED SERVICE PRESONNEL
This Class A digital apparatus complies with Canadian ICES-003.
Cet appareil numérique la classe A est conforme à la norme NMB-003 du Canada.
To disconnect power from mains, pull
out the mains cord plug. When installing
the product, ensure that the plug is easily
accessible.
This lightning ash with arrowhead symbol within an equilateral
triangle is intended to alert the user to the presence of uninsulated
dangerous voltage within the product’s enclosure that may be
sufcient magnitude to constitute a risk of electric shock to persons.
The exclamation point within an equilateral triangle is intended to alert the user to the
presence of important operating and maintenance (servicing) instructions in the literature
accompanying the product
WARNING: This product contains chemicals known to the State of California to cause
cancer and birth defects or other reproductive harm. Wash hands after handling.
FCC WARNING: This equipment may generate or use radio frequency energy.
Changes or modications to this equipment may cause harmful interference unless the
modications are expressly approved in the instruction manual. The user could lose the
authority to operate this equipment if an unauthorized change or modication is made.
REGULATORY INFORMATION: FCC Part 15
This equipment has been tested and found to comply with the limits for a Class A digital
device, pursuant to Part 15 if FCC Rules. These limits are designed to provide reasonable
protection against harmful interference when the equipment is operated in a commercial
environment.
This equipment generates, uses, and can radiate radio frequency energy and, if not
installed and used in accordance with the instruction area is likely to cause harmful
interference in which case the user will be required to correct the interference at his own
expense.
• A suitable conduit entries, knock-outs or glands shall be provided in the cable entries of
this product in the end user.
• Caution: Danger of explosion if battery is incorrectly replaced. Replaced only with the
same or equivalent type recommended by the manufacturer. Dispose of used batteries
according to the manufacturer’s instruction.
• Holes in metal, through which insulated wires pass, shall have smooth well rounded
surfaces or shall be provided with brushings.
Warning: Do not install this equipment in
a conned space such as a bookcase or
similar unit.
Warning: Wiring methods shall be in
accordance with the National Electric Code,
ANSI/NFPA 70.
Warning: This is a class A product. In a
domestic environment this product may
cause radio interference in which case the
user may be required to take adequate
measures.
Warning: To reduce a risk of re or electric
shock, do not expose the internal apparatus
to rain or moisture.
Warning: Please adopt the power adapter
which can meet the safety extra low voltage
(SELV) standard. And source with DV
12V or AC 24V (depending on models)
according the IEC60950-1 and Limited
Power Source standard.
Warning: Install the camera on a ceiling
or wall where can withstand the weight of
5 times of the camera including mounting
bracket.
Caution: This installation shall be made
by a qualied service person and shall
conform to all local codes.
Caution: To avoid electrical shock, do not
open the
cabinet. Refer servicing to qualied
personnel only.
Caution: The internal apparatus shall not
be exposed to water (dripping or splashing)
and no objects lled with liquids, such as
vases, shall be placed within the enclosure.
Caution: Make sure the power supply
voltage is correct before using the camera.
Caution: Do not drop the camera or subject
is to physical shock.
Caution: The sensor may be burned out by
a laser beam, so when any laser equipment
is being used, make sure that the surface
of the sensor not be exposed to the laser
beam.
Caution: While shipping, the camera
should be packed in its original packing.
Note:
Please make sure the product is installed
appropriate places where secured from
ood, such as under the eaves, to operate
properly. This product is certied as IP66
standard. However, if there is any ood
concerns, it is highly recommended to use
an outdoor Housing. When you install the
camera inside an outdoor Housing, please
use one of the following methods:
1. Remove the front glass of Housing
before installing the camera.
2. To keep the front glass of Housing,
remove the front cover, and then put the
camera close to the front glass.
Important Safety
Instructions
1. Read these instructions.
2. Keep these instructions.
3. Heed all warnings.
4. Follow all instructions.
5. Do not use this apparatus near water.
6. Clean only with dry cloth.
WARNING
RISK OF ELECTRIC
SHOCK
DO NOT OPEN
English
English

54
Quick Guide Network Camera
7. Do not block any ventilation
openings. Install in accordance with the
manufacturer’s instructions.
8. Do not install near any heat sources
such as radiators, heat registers,
stoves, or other apparatus (including
ampliers) that produce heat.
9. Do not defeat the safety purpose of
the polarized or grounding-type plug.
A polarized plug has two blades with
one wider than the other. A grounding
type plug has two blades and a third
grounding prong. The wide blade
or the third prong are provided for your
safety. If the provided plug does not t
into your outlet, consult an electrician
for replacement of the obsolete outlet.
10. Protect the power cord from being
walked on or pinched particularly at
plugs, convenience receptacles, and
the point where they exit from the
apparatus.
11. Only use attachments/accessories
specied by the manufacturer.
12. Use only with the cart, stand,tripod,
bracket, or table specied by the
manufacturer, or sold with the
apparatus. When a cart is used, use
caution when moving the cart/apparatus
combination to avoid injury from tip
over.
13. Unplug this apparatus during li storms
or when unused for long periods of
time.
14. Refer all servicing to qualied service
personnel. Servicing is required when
the apparatus has been damaged in
• Places exposed to rain.
• Places subject to strong vibration.
• Close to generators of powerful
electromagnetic radiation such as radio or
TV transmitters.
Introduction
This manual is intended for users of the camera ad includes instructions for using and
managing the camera on the network
Features
• Multi stream for live monitoring and recording
• H.264 and M-JPEG compression algorithm
• Pre- and post-event buffering and video stream buffering to enhance reliability of
network recording
• Remote monitoring via web browser or remote software
• Up to 10 simultaneous connections to the camera for remote monitoring
• Enhanced security using IP address ltering, HTTPS, SSL and IEEE 802.1X functions
and password protected
• Network bandwidth limit and MAT functions to use network bandwidth efciently
• Convenient network connection using the UPnP (Universal Plug and Play) function and
built-in mDNS (Multicast DNS) protocol
• Supports ONVIF protocol
• Slow shutter to reduce the minimum illumination requirements
• Day and night functionality with the built-in IR-cut lter changer
• Auto focus functionality
• Convenient rmware upgrades via the network connection
• Firmware duplication and auto recovery functions to enhance system stability
• Management of multiple cameras via Ethernet connections
• Event detection functions: motion, trip-zone, tampering
• Power sources: 12 VDC, PoE (Power over Ethernet)
• NTSC or PAL programmable video output
• Do not use the camera in such place
where rapid temperature uctuation by
switching an air conditioner on and off.
any way, such as power supply cord or
plug is damaged, liquid has been spilled
or objects have fallen into the
apparatus, the apparatus has been
exposed to rain or moisture, does not
operate normally, or has been dropped.
Handling of the unit
Be careful not to spill water or other
liquids in the unit. Be cautious not to get
combustible or metallic material inside the
body. If used with foreign matter inside the
cameras liable to fail or to get cause of re
or electric shock.
• Remove dust or dirt on the surface of the
lens with a blower.
• Use a soft and lint free, dry cloth (such as
glass cleaner) to clean the body. If it is very
dirty, use a cloth dampened with a small
quantity of neutral detergent then wipe dry.
• Avoid the use of volatile solvents such as
thinners, alcohol. benzene and insecticides.
They may damage the surface nish and/
or impair the operation of the camera.
• This camera is designed for mounting on
the ceiling or wall. If you install this camera
upside down, it may cause malfunction.
Operating and storage
location
Avoid viewing a very bright object (such
as light ttings) during an extended period.
Avoid operating or storing the unit in the
following locations.
• Extremely hot or cold places (operating
temperature -10 ℃to 50 ℃. however, we
recommend that the unit be used within a
temperature range of 0 ℃to 45 ℃).
• Damp or dust place.
English
English

76
Specication
MODEL DC-T1244WR
LENS
Lens Type TDN Motorized Zoom 9~22mm
Lens Iris Control DC Auto Iris
CAMERA
Image Sensor 1/2.8” CMOS
Minimum Illumination Color : 0.5 Lux, B/W : 0 lux(IR LED ON)
Scanning Mode Progressive scan 1080p30/ 1080p25
Dynamic Range More than 75dB
Electronic Shutter Auto. Manual(1/30~1/8000), Anti-Flicker,
Slow Shutter(1/7.5, 1/15)
IR LED 40 IR LEDs
VIDEO
Compression Algorithm H.264(MP), M-JPEG
Compression Resolution CIF, 4CIF, 1280x720(720p),
1920x1080(1080p), Pivot
Bitrate Control H.264 – CBR/ VBR(up to 12Mbps)
Maximum Frame Rate 30ips @ 1080p + 30ips @ 4CIF Triple
Streaming(with multi-view)
Multi Stream Triple stream(Live & Recording, Multi-view)
INPUTS/OUTPUT
Video Output RJ45 1 port, BNC(CVBS) 1port
Audio Input X
Audio Output X
Alarm Input X
Alarm Output X
Network Connectivity 10/100Mbps Ethernet
CONNECTORS
Video Output BNC(CVBS) 1port
Audio In/Out X
Alarm In X
Alarm Out X
Ethernet Port RJ45 1 port
GENERAL
Dimensions 260mm(W) * 210mm(H) * 290mm(D)
10.24”(W)*8.27”(H)*11.42”(D)
Weight Approx. Approx. 2.3Kg, 5.1lbs
Power Source 12V DC, PoE(IEEE 802.3af(class 3))
Power Consumption 9.6W
Operating Temperature 0°C - 50°C
Operating Humidity 20%RH ~ 80%RH
6
V1.2
English
English
English

98
Part Names and Functions
• Lens: Optical zoom lens is installed.
• IR LED: A sensor in the bottom middle monitors lighting levels and activates the IR LED
during low-lighting conditions.
• Stand: Allows you to adjust the camera direction and lens’ rotation angle. Twist the
setscrews counterclockwise and move the camera to the desired direction. Once it is set,
twist the setscrews clockwise to lock it.
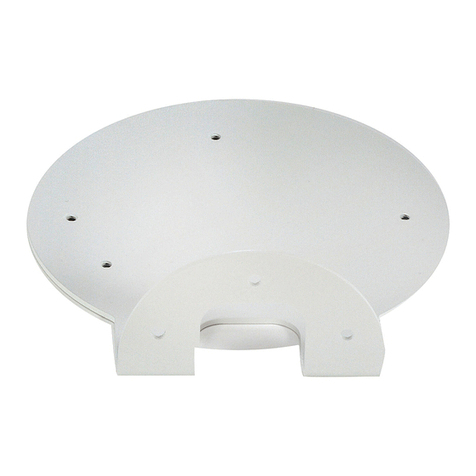
• Bottom Cover: Allows you to mount the camera to the wall or ceiling using the
mounting bracket provided with the camera.
• Mounting Bracket: Allows you to mount the camera to the wall or ceiling.
• Cable: Refer to the Cable.
• Sun Shield Screw Hole: Allows you to screw the sun shield to the camera.
• Factory Reset Switch: If you turn the lid on the bottom of the product counterclockwise,
there is a switch. It is used only to return the set value to the factory default setting. For
details, refer to the “Factory Reset” section below.
• Power LED: Turn the lid on the bottom of the appliance counterclockwise and the LED
will be on. Displays the operating status of the system. For details, refer to “Appendix -
LED indication”.
• LED Level Control Switch: If you turn the lid on the bottom of the product
counterclockwise, there is a switch. Adjust the brightness of the IR LED.
①
①
⑦
②
②
③
③
④ ⑤ ⑥
①Lens ② Stand ③ IR LED ④ Bottom Cover
⑤ Cable ⑥ Mountin Bracket ⑦ Sun Shield Screw Hole
①Factory Reset Switch
② Power LED
③ LED Level Control Switch
English
English

1110
Cable
• BNC Video Out (Yellow): Connect the monitor. Use these ports for previewing
video and not monitoring video.
• FGND (Frame Ground): Used to ground the device.
• Power In (Red): Connect to the power adapter (12 VDC).
• Network Port: Connect a network cable with an RJ-45 connector to this port. If using
a PoE switch, you can supply power to the camera using an ethernet cable. For more
information on PoE switch use, refer to the switch manufacturer’s operation manual. You
can congure, manage, and upgrade this camera and monitor its images from a remote
computer over the network. For more information on network connection setup, refer to
the IDIS Discovery manual.
☞Check your local laws and regulations on making video or audio recordings. The user
will be held liable for any violation of the law.
PoE power is not supported during IR LED operation.
When switching over from 12 VDC to PoE as the power source,
the system will be rebooted once the power adapter is disconnected.
Organize the power cable so that it will not cause people to trip over
or become damaged from chairs, cabinets, desks, and other objects
in the vicinity. Do not run the power cable underneath carpet or a rug
or plug the cable into a power outlet shared by a number of other
devices.
Factory Reset
If you turn the lid on the bottom of the product counterclockwise, there is a factory reset
switch.
This will only be performed remotely on the rare occasions that you want to return all
settings to the original factory settings.
A factory reset will clear all camera settings congured by the user.
For detailed camera settings, refer to the camera operation manual and it can be
downloaded from our website : www.idisglobal.com
①
②
③
④
①BNC Video Out(Yellow)
② FGND(Frame Ground)
③ Power In(Red)
④ Network Port
English
English

1312
Installation
1. Screw the camera sun shield to the camera using the screw and rubber provided with
the camera.
2. Screw the mounting bracket to the wall or ceiling by using screws provided with the
camera.
3. Screw the bottom cover to the mounting bracket by using screws provided with the
camera.
4. Adjust the camera angle by bending the stand.
5. Connect external devices, network and power adapter.
6. Apply power.
Check the wall or ceiling to see if it needs to be reinforced.
The camera may fall off if the wall or ceiling is not strong enough to
support its weight.
English
English

IDIS Co., Ltd.
For more information, please visit
www.idisglobal.com
Table of contents
Other Idis Security Camera manuals

Idis
Idis DC-S6283HRXL User manual
Idis
Idis DC-D1123 User manual
Idis
Idis DC-T6243HRX User manual
Idis
Idis DC-S6881HRX User manual
Idis
Idis DC-T4233 Series User manual
Idis
Idis Direct IP DC-T3243HRX User manual
Idis
Idis DC-B3303X User manual

Idis
Idis TC-T4221WRXP User manual
Idis
Idis DC-E1212WR User manual
Idis
Idis DC-T3233HRX User manual
Idis
Idis DC-T4811WRX User manual

Idis
Idis DC-T4537HRXA User manual
Idis
Idis DC-B1803 User manual
Idis
Idis DC-E SERIES User manual
Idis
Idis DC-S1283FX User manual

Idis
Idis DC-T4218WRA User manual
Idis
Idis DC-Y6C16WRX User manual
Idis
Idis DC-Y8C13WRX User manual
Idis
Idis DC-D4511WERX User manual
Idis
Idis DA-WM2150 User manual

