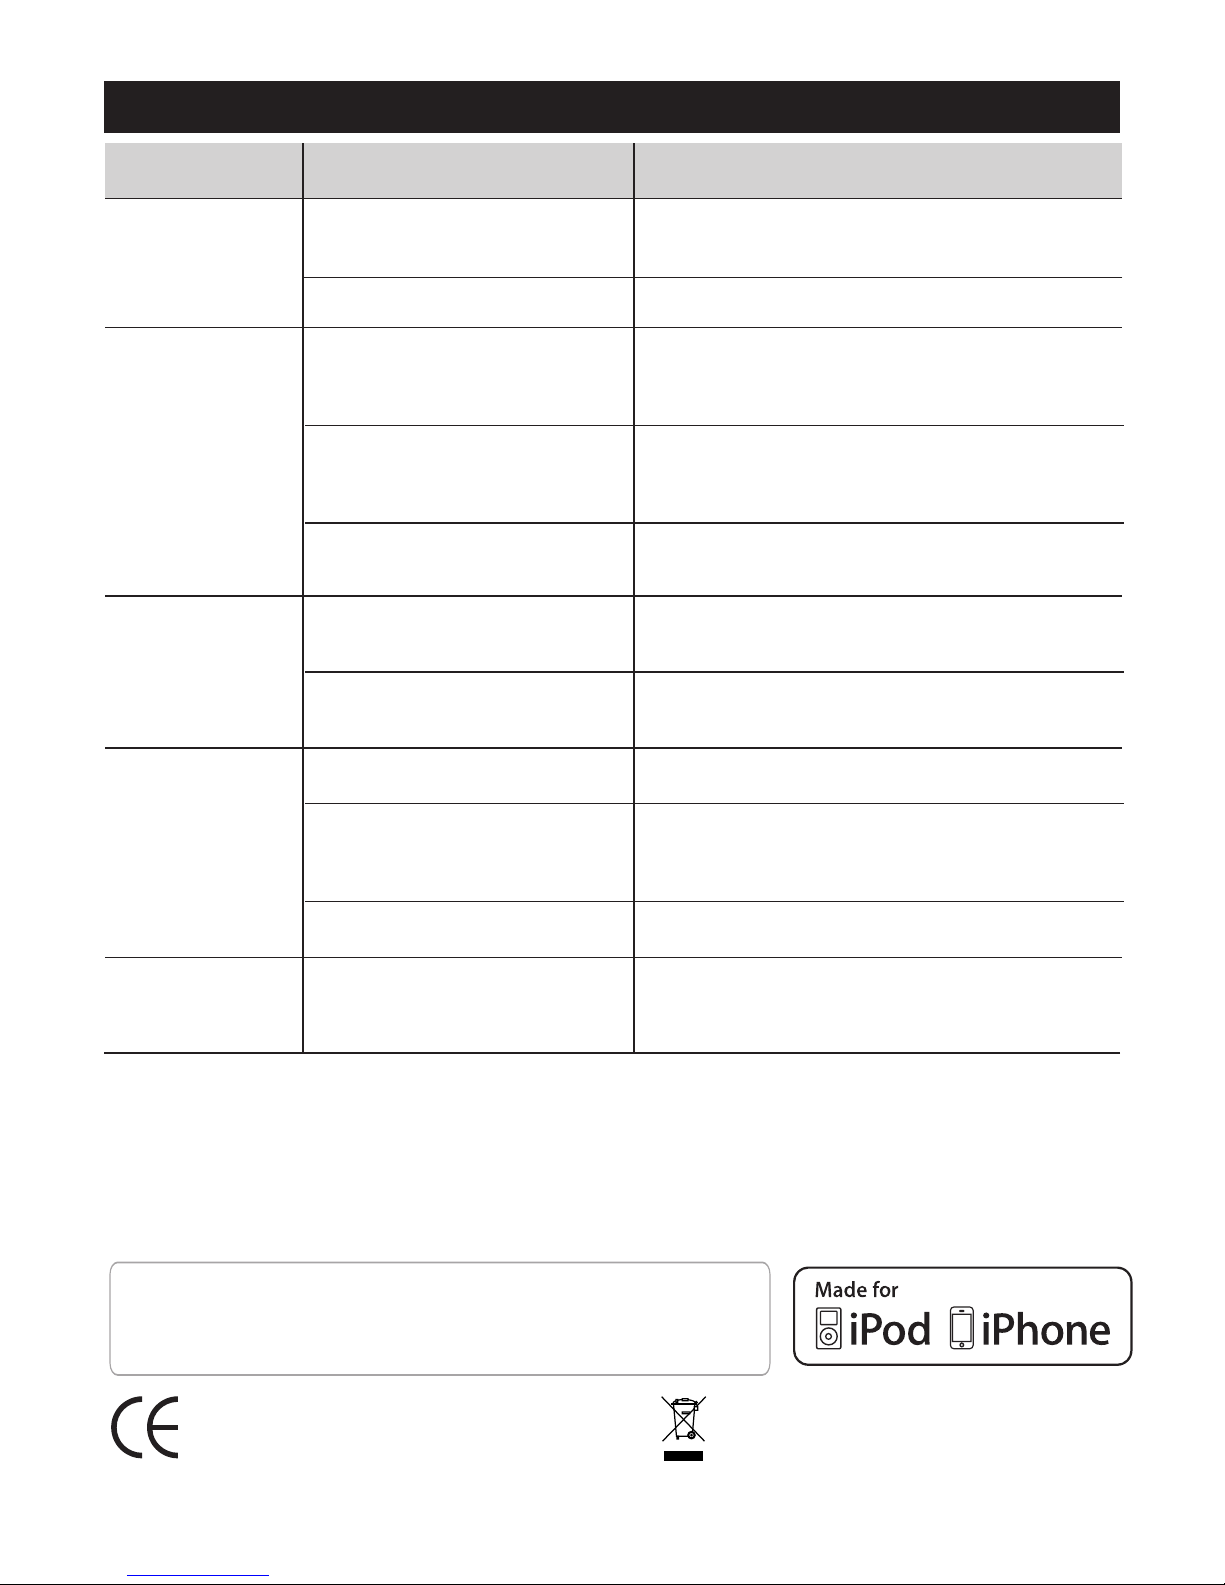
iEmmet MP-312 User manual

1 Introduction
The brand new iEmmet has an Apple-certified docking port. Plug in your Apple iPod
iPhone to the docking station and you can play audio, keynote presentations, video, and
images stored on the Apple device. The projection size is up to 80'', ideal for business
meetings or home entertainment.
or
The pico projector has a convenient folding design and
up to 4 hours wireless performance which makes it easy to bring along and use
anywhere. Connect other smartphones, laptops and other devices with optional AV, VGA
and smartphone cords.
Smartphone Projector
MP-312
iEmmet

2 Specification
Brightness
Native resolution
Projection size
Lens
Project distance
Power supply
Aspect ratio
Speaker
Light sources
Uniformity
NTSC
Contrast ratio
Projection technology
Power consumption
40 Lumens (normal mode), 30 Lumens (save mode).
854*480 (WVGA)
F/#=2.4, f=10.5mm
AC 110-240V~, 50Hz/60Hz; DC 19V 3.42A, lithium battery 3200mAH,11.1V
16:9 (4:3)
2x1W; 8Ω
RGB LED (life over 30,000 hours)
≥70%
>120% NTSC
16W (normal mode); 11W (save mode)
1000:1
DLP
12-80inches (It can be adjusted according to the light and projection distance).
0.3M, 12inches; 1.5M, 40inches; 3M, 80inches
0.3 - 3M
Input interface
Output interface
VGA, AV, Dock
Earphone jack ( 3.5mm )Φ
USB charger (5V/500mA, only for charge)
Dimensions
Accessories
Weight
Requirement
environment
183mm (L)×104mm (W)×57mm (H)
oo
Operating temperature: 0 C~40 C;
Body: 387g, battery: 199g
Relative operating humidity: 35%~85% (without condensation)
AC Adaptor, VGA cord (optional) ,
AV cord (optional), mobile phone connect cord
remote control, lithium-ion battery, pouch, user manual,
(optional).
, Fan loudness < 35 dB

4 投影机、遥控器外观及各部件名称
Use Focus knob to adjust the clarity of the image.
4.1 Pico projector
4.2 Remote control
20 Earphone
18 Play/Pause
19 Previous
IR receiver
12
Battery indicator(25%)
13
14 Battery indicator(50%)
15 Battery indicator(75%)
17 Next
16 Battery indicator(100%)
Av
(optional)
cord
4 投影机、遥控器外观及各部件名称
22 Dock
21 AV IN port
Mobile phone
cord
(optional)
VGA cord
(optional)
AC power
adapter
Remote
control
User
manual
Battery
(Lithium-ion)
3 Package contents
4 Pico projector, remote control appearance and parts name
4Left/right
Device
5
Up/down
3
Source switch
key
2
Power off
1
Blank
6
Mute
7
VGA port
11
USB charger
10
9Speakers
8DC IN port
7Volume-
6Volume+
5Source switch
key
4Blank
3Power
Venthole
2
1Focus knob
Right /Rotate -R
Source
Power Menu
Up
Left/Rotate -LEnter
Device
Down
Play/pause Stop
Skipb
V-
Display
Skipf
Mute V+
3
4
5
6
1
2
7
8
10
11
12
13
9
3
4
6
1
2
17
18
19
DC
POWER
V/R
14
15
16
20
21
12
9
8
10
11
9
5
7
22
13
note
Play/pause
12
Stop
11
OK
10
Previous/next
13
Setup menu
9
Vol-/vol+
8
Mute
7

6 Using and connection
5 Projector angle adjustment
o
230
o
65
|
6.1 Connecting to an iPod iPhone
|
Open the cap and connect iPod iPhone to the docking station.
Press Source to switch to Dock mode.
|
7 Buttons description when connecting to iPod iPhone
◆ Power on
/ off the
projector
Power On/Off key
◆ Use Dock
mode
Source Switch key Volume increase/decrease
|
◆ Play iPod iPhone,
increase/decrease
voice.
◆ When play audio/ video/ images, skip that
and choose the previous files.
◆ Play/ Pause function
◆ When play audio/video/images, skip that
and choose the next files.
Skip button Up、Skip button Down、Play/Pause
Blank key
◆ Open/off
projection
screen.
|
Plugging iPod iPhone directly into the docking station
note
Note
Slide the latch
to open projector

8 Remote control function
◆ Power off.
Power Off button
Power
◆ Enter main UI.
◆
/ images information.
Data display when play video
Menu
Menu
Display
Display key
Device
◆ Press the button
to switch between
AV, DOCK and PC
input.
Source switch button
◆
and then enter
the Main UI,
finally choose the
relative device.
Press device key,
Device button
Source
Skipf
Skipb
Skip button Up/Down
◆ When play audio
/video/images,
skip that and
choose the
previous files.
◆ When play
audio/video/
images, skip
that and choose
the next files.
Right/Rotate-R
Left/Rotate-L
Down
Up
Up / Down / Left / Right button
◆ When set up menu, the
cursor move to the upper.
◆ When set up menu, the
cursor down.
◆ When set up menu, the
cursor down.
◆ When set up menu, the
cursor move to right.
Enter button
Enter
◆ When set up
menu, the
cursor
move to right.
Volume decrease / increase
V-
V+
◆ Volume
increase
◆ Volume
decrease
Play/pause
Play/Pause button
◆ Play/Pause
function
Stop button
Stop
◆ Stop function
Mute button
Mute
◆ Control mute

There are 2 brightness modes when using battery power, normal and save mode
(default). To choose normal mode, press the up arrow on the projector for 3 seconds
and enter the setup menu to choose Power – Power management. Or press Menu
button” ” on the remote control to realize this step. Choose normal or save mode
with right arrow on the projector or remote control. Press Enter button to confirm.
9 Adjust the brightness when using battery power
Menu
Choose normal mode Default save mode
10 Battery charging, connecting and safety
The projector comes with a high capacity rechargeable lithium-ion battery. Confirm the
remaining capacity of the battery before using. Charge the projector or connect with a
19V DC power adapter when the battery capacity is low. It takes about 3 hours to fully
charge the projector. The battery can be fully re-charged at least 500 times, but after
long-term use the battery performance will begin to decline.
10.1 Lithium-ion battery weight: 199g.
10.2 The battery life in normal mode can reach 130 minutes when fully charge, and 240
minutes in save mode.
10.3 Refer to 4. ( ~ ) battery indication.
10.4 Confirm the positive and negative side of the battery. Inserting the battery and
reinstalling the cover as illustrated:
battery
cover
Power management
Normal
Save mode
Exit:MENU Move:Select
Power management
Power management
Normal
Save mode
Exit:MENU Move:Select
Power management
battery
cover
battery
13 16

note
1>Remove the battery cover
and the plastic pull tab
3>Slide the battery
cover back
2>Replace the
battery
Press the clasp at ① and take it out pressing ②.
Replace it with a CR2025 lithium battery.
plastic
pull tab
2
1
11 Remote control battery installation
Battery installation: The battery is installed before the sale. However, in order to prevent
its discharge, the battery and the remote control is separated by a plastic pull tab.
Remove the tab before using. When needed, replace the battery as illustrated.
12 Remote control operate range
o
20
o
20
<8m
<3.5m
Use the remote control pointing correctly
to the IR receiver as illustrated.
When it’s hard to operate, replace the battery
with a new one. The battery life is about 1 year.
Disconnect the battery if the remote control
is not being used for a long period of time.
Horizontal work distance: 8m.
An angle 40 degrees above the horizontal: 3.5m.
note
If the remote control is placed under direct
sunlight or near inverting lamp tubes it may result
in error operation. Please change the placement.
Important note: When using the projector with a rechargeable lithium-ion battery, use only a
manufacturer specified battery. In order to reduce risk for fire or explosion, do not use other
types of batteries. For the correct battery disposal please refer to local environmental
regulations. Disconnect the battery if the product is not being used for a long period of time.

13 Trouble shooting
The projector
can not be
turned on
Ensure the AC power adapter is
properly connected.
Reasons
No power
Checkpoints
Symptoms
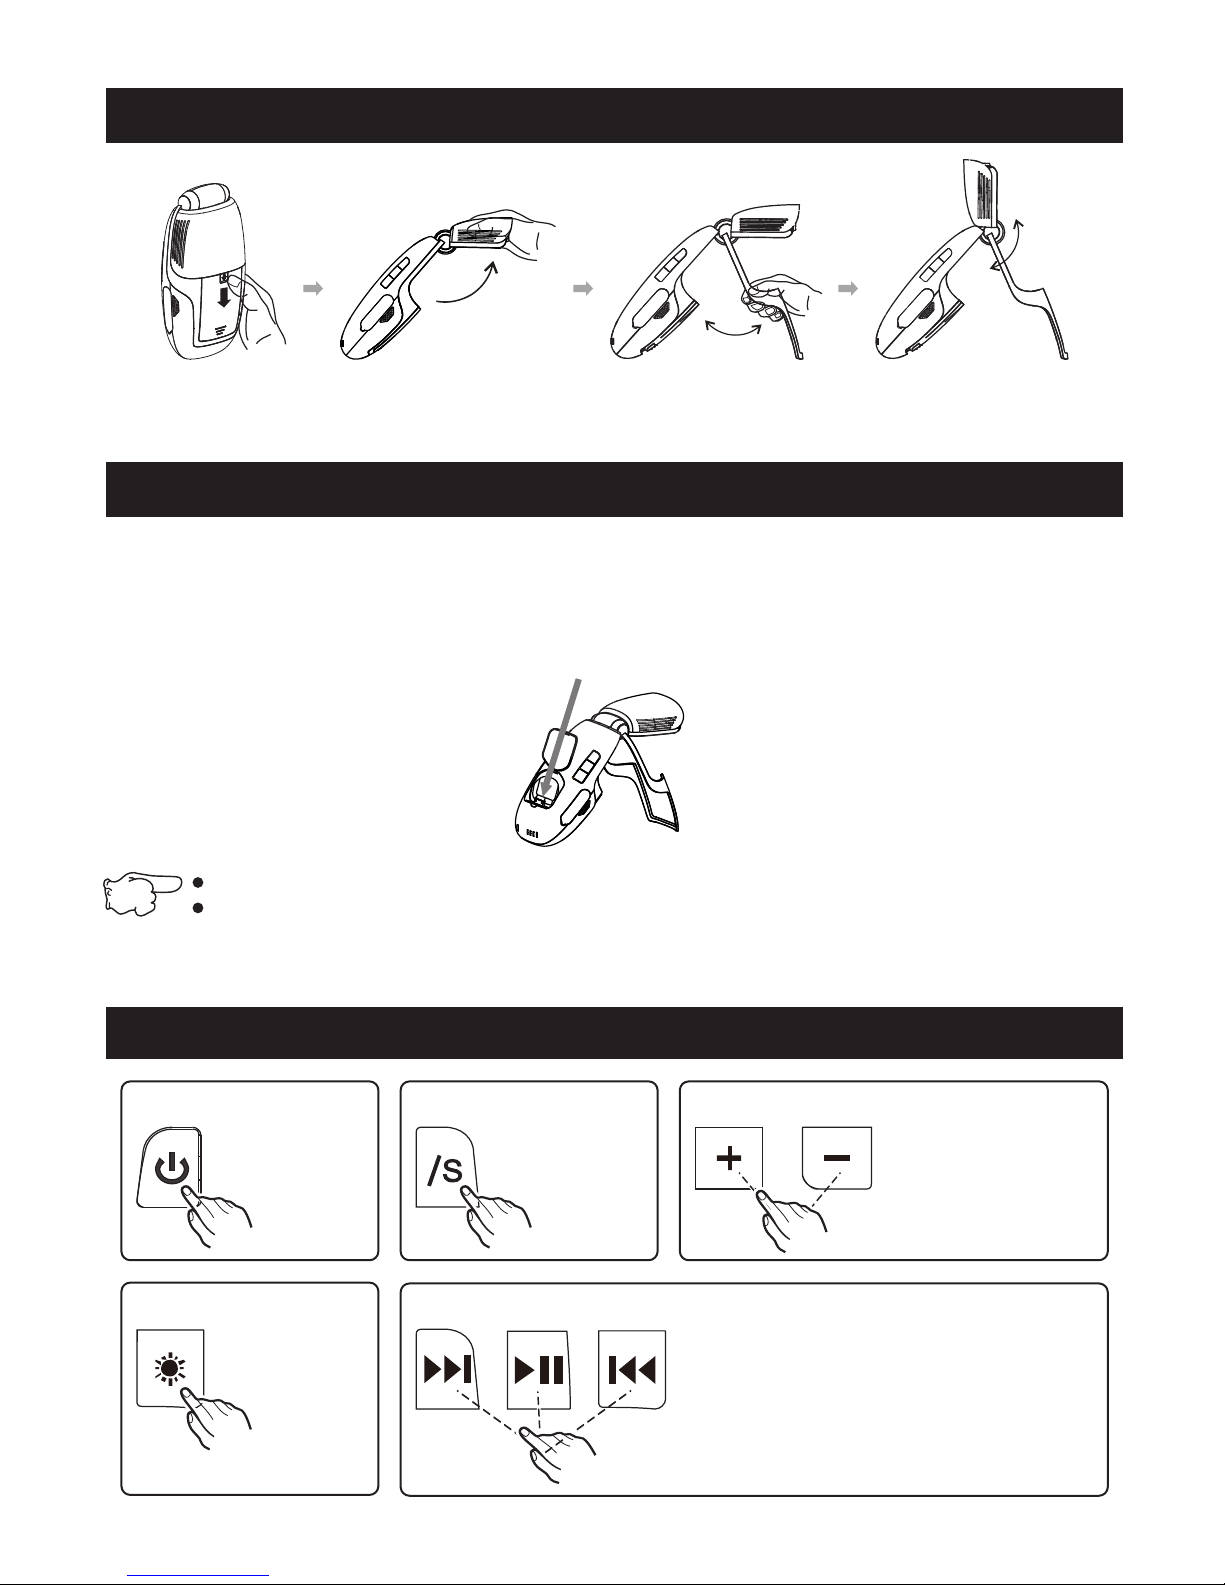
Charge the battery.Low battery
Remote
control can
not work
Low battery Replace a new battery.
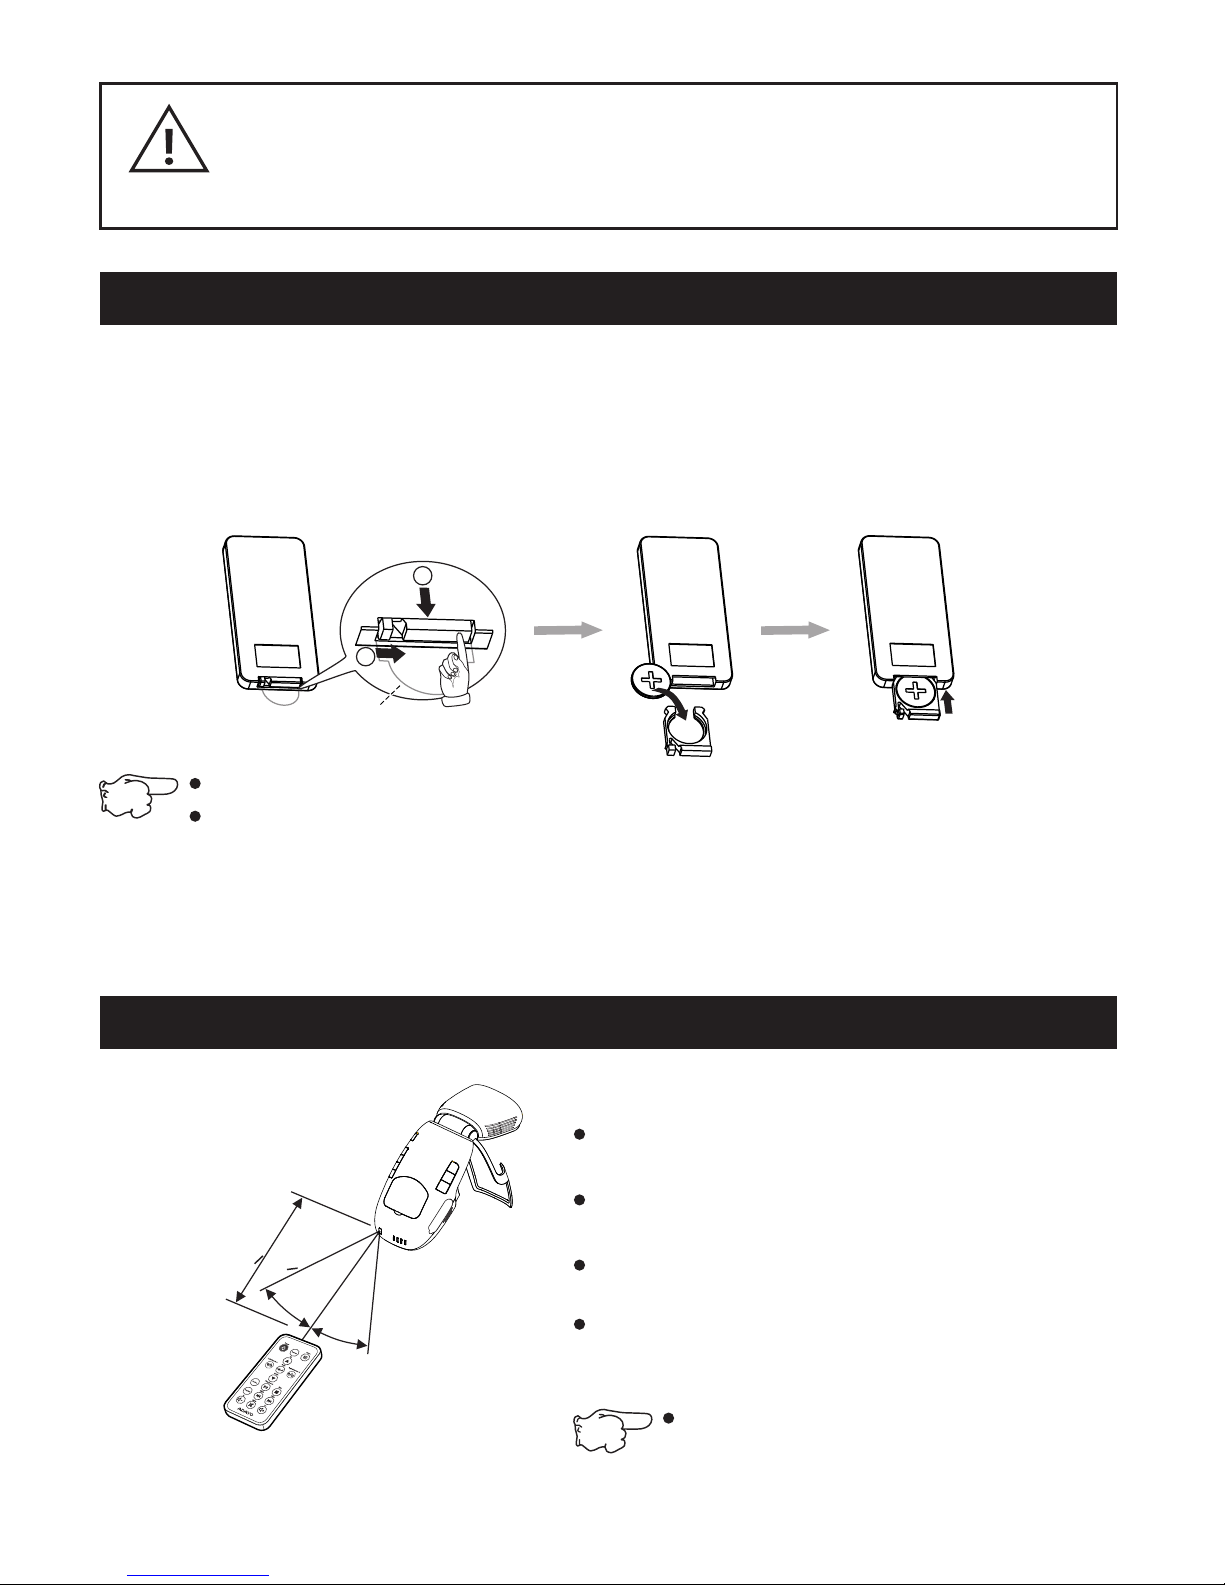
Obstacle between
remote control and
projector
Too far from projector
Avoid the obstacle.
Stand within 8m from the projector.
The image is
not played
Turn the video source on and check
that the signal is connected correctly.
The source is not
turned on or connected
correctly
The input signal device
is not connected with
the projector correctly
Select the correct input signal again.
The input signal isn't
selected correctly Select the correct input signal.
Images are
not clear
The lens is not focused
correctly
The screen is not
aligned properly Adjust the position.
Adjust the focus.
Abnormal
display
image
Unsupported
resolution or vertical
frequency of computer
Adjust resolution or vertical frequency of
computer before connecting the projector.
Try to set resolution to 800x600, 60Hz.
ILD International AB Sweden | For updated product info, visit: www.flexheadset.se
Warranty ILD International AB warrants this product to be free from defects in materials and workmanship at the
date of purchase. The guarantee covers defects in materials and workmanship during the warranty period (12
months for the product, 6 months for the battery), as stated in the consumer purchasing law. This guarantee shall
not apply to a fault caused by accident, abnormal usage, product not reasonably maintained or faults caused by
thunderstom, rain, moist or rough handling. A rechargeable battery can be charged/discharged hundreds of times.
Eventually the ability to charge fully will decline. This is not a fault.If the product deteriorate during the guarantee
period in such a way as is covered by this guarantee, please return the product together with a dated sales receipt
to the retailer, and it will be repaired or replaced at ILD's option.
Declaration of conformity
This product meets the main requirements of
EU-directives 2006/95/EC and 2004/108/EC.
”Made for iPod”/”Made for iPhone” means that an electronic accessory has been designed
to connect, specifically to iPod, iPhone, respectively, and has been certified by the
developer to meet Apple’s performance standards, Apple is not responsible for the
operation of this device or its compliance with safety and regulatory standards. Please
note that the use of this accessory with iPod or iPhone may affect wireless performance.
WEEE This product contains rechargable
batteries. For proper disposal and recycling,
please take it to a designated collection point.
Table of contents