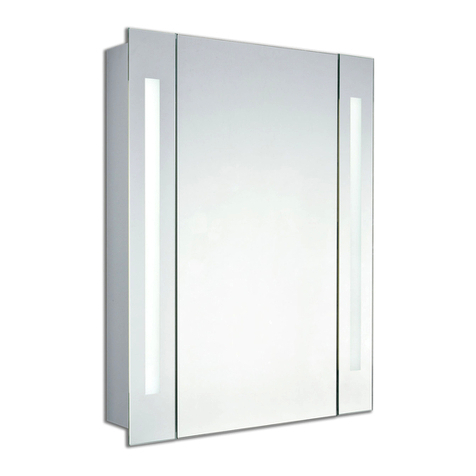
Using a Philips screwdriver, remove
the 4 screws, along with the spacers
on the sides of the mirror.
Carefully lift the mirror o the back
box and position it onto a soft flat
surface to avoid scratching
the mirror.
Pierce the small protective IP rated
rubber grommet. This will isolate and
trap any steam to ensure maximum
safety during use.
Insert a 3-core cable through the
pierced hole in the protective cover,
then thread the cable through from
behind the back box into the
power supply.
The mirror must be installed with
a minimum clearance of 150mm
between the infrared sensor and any
adjacent countertop or obstruction
to ensure correct function of the
sensor. Mark the position of the fixing
holes in the metal back box onto the
wall, carefully avoiding any wiring or
water pipes.
Ensure you isolate the main electrical
supply for the appropriate circuit at
the fuse board. This product is only
suitable for connecting to a 240V
50Hz supply.
Drill and prepare the holes for the
screws ensuring that the wall is a
solid secure material. Mount the metal
back box of the mirror onto the wall
and secure tightly.
Using a flat-bed screwdriver, securely
connect to the mains supply using
the terminal block (incoming Neutral
(blue/black) to Neutral blue and
incoming Live (brown/red) to Live
brown).
To connect the LED’s attach the
male and female connectors. For the
demister pad, connect the remaining
male and female connectors together.
Attach the front glass panel safely
onto the metal back box mounted on
the wall. Secure tightly using the 4
screws and spacers.
Switch on the mains electrical supply.
To activate the mirror, swipe you hand
under the sensor switch.
This mirror is IP44 rated
therefore suitable for
installation in zone 2 and the
outside zones.
ZONE
0Inside the bath or
shower. Must be SELV
(12V max) due to water
submersion.
225cm above the bath
or shower.
1
The area stretching to
60cm outside the bath
or shower and 60cm
from water outlet
of sink.
2
Technical drawings are for illustration purposes only.
Make sure you check all hole cut outs before work commences.
INSTALLATION
1 2
Outside Zones.
Anywhere outside zones 0, 1 & 2.
Where water jets are not used for cleaning
purposes, the general rules of BS7671 apply.
3
Waste Electrical & Electronic Equipment (WEEE)
The symbol on the product, or on the document accompanying the product, the
crossed out wheelie bin symbol, indicates that this product may not be treated
as household waste. Instead it shall be handed over to the applicable collection
point for the recycling of electrical and electronic waste.
