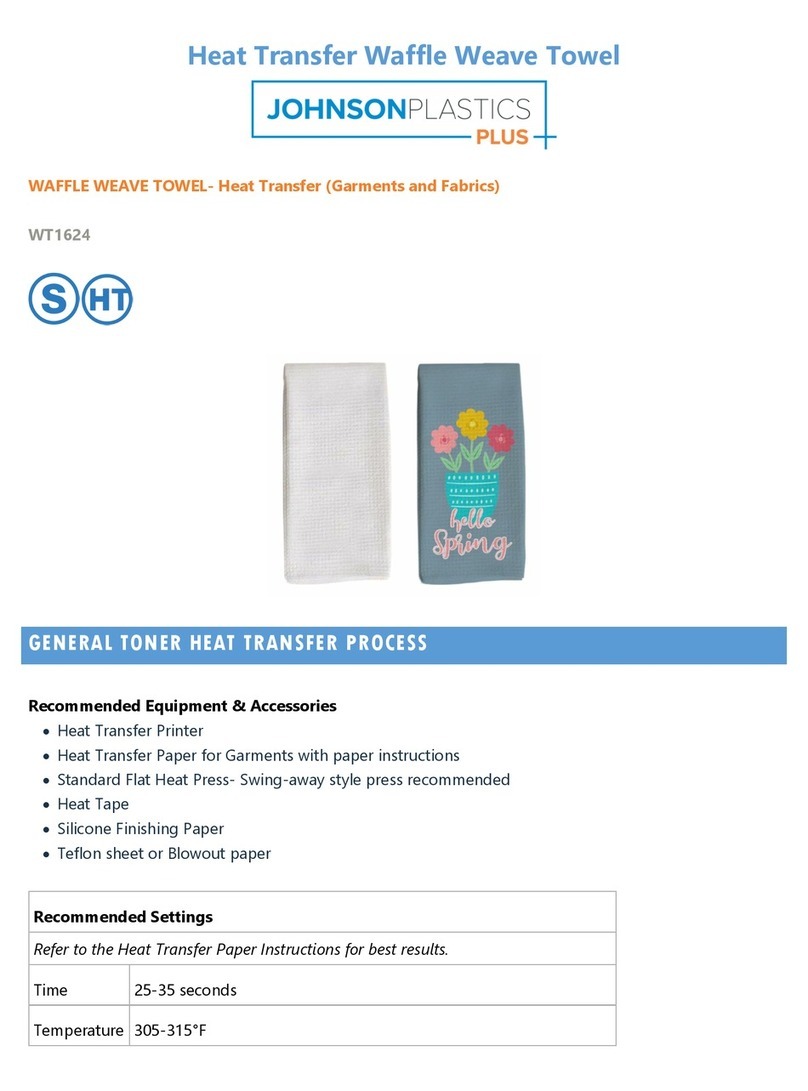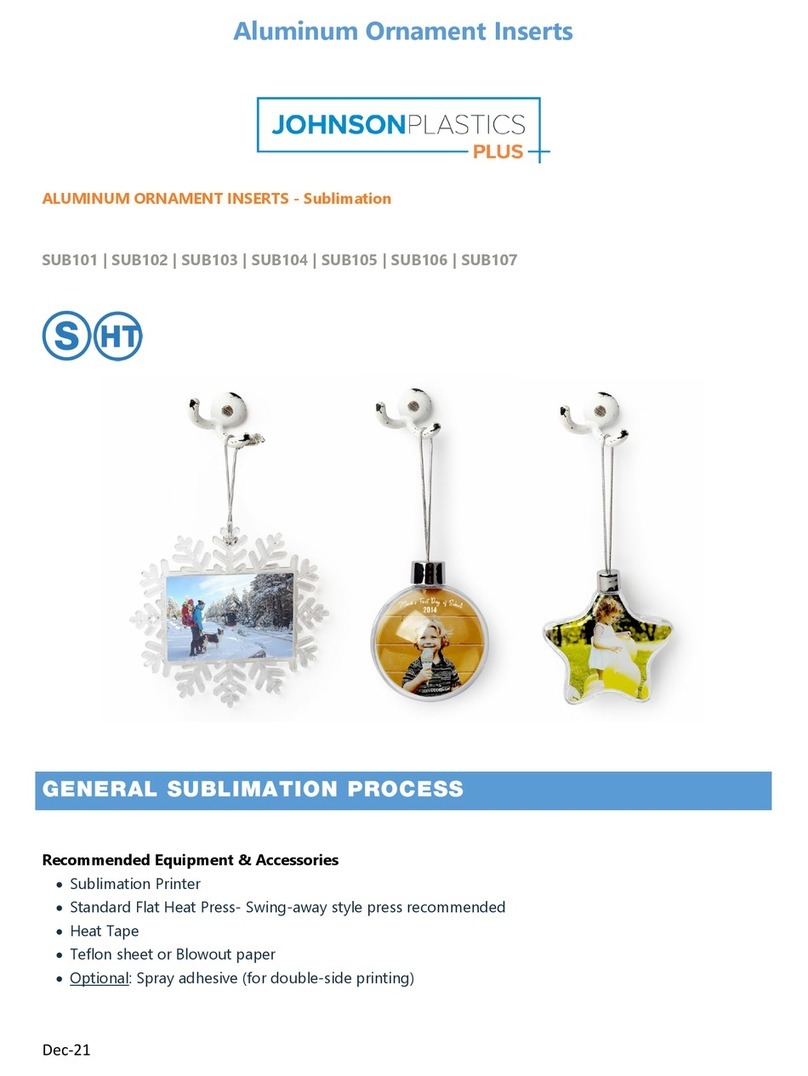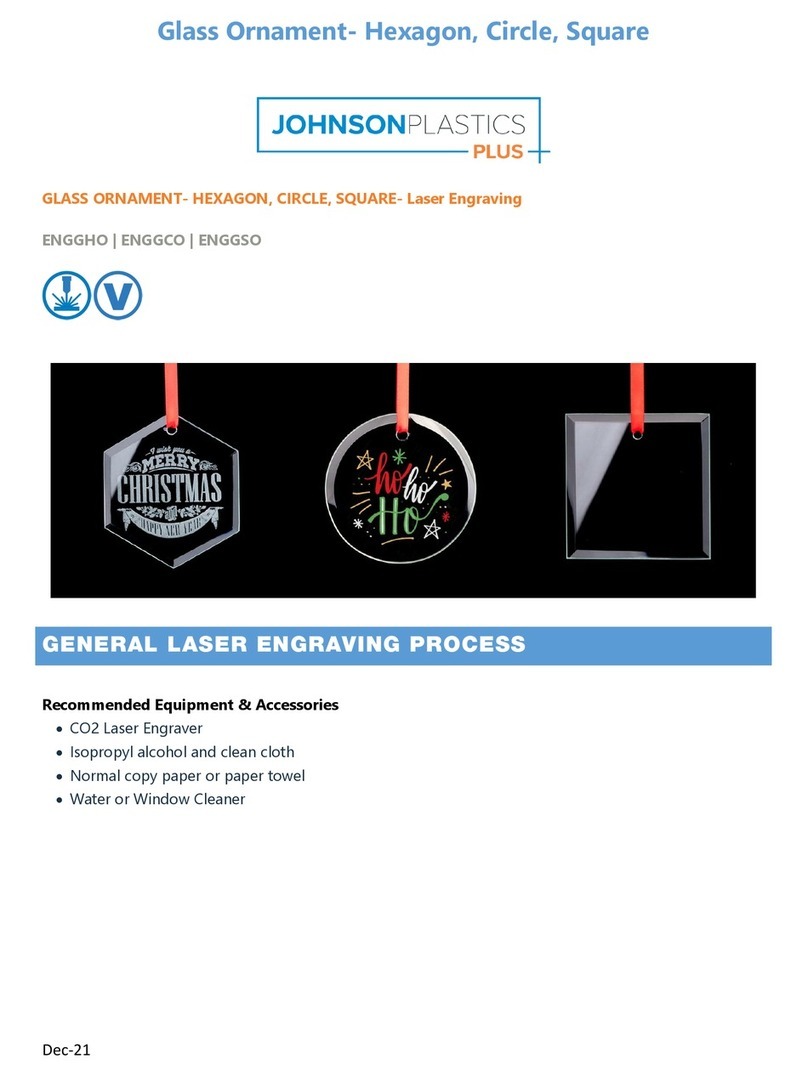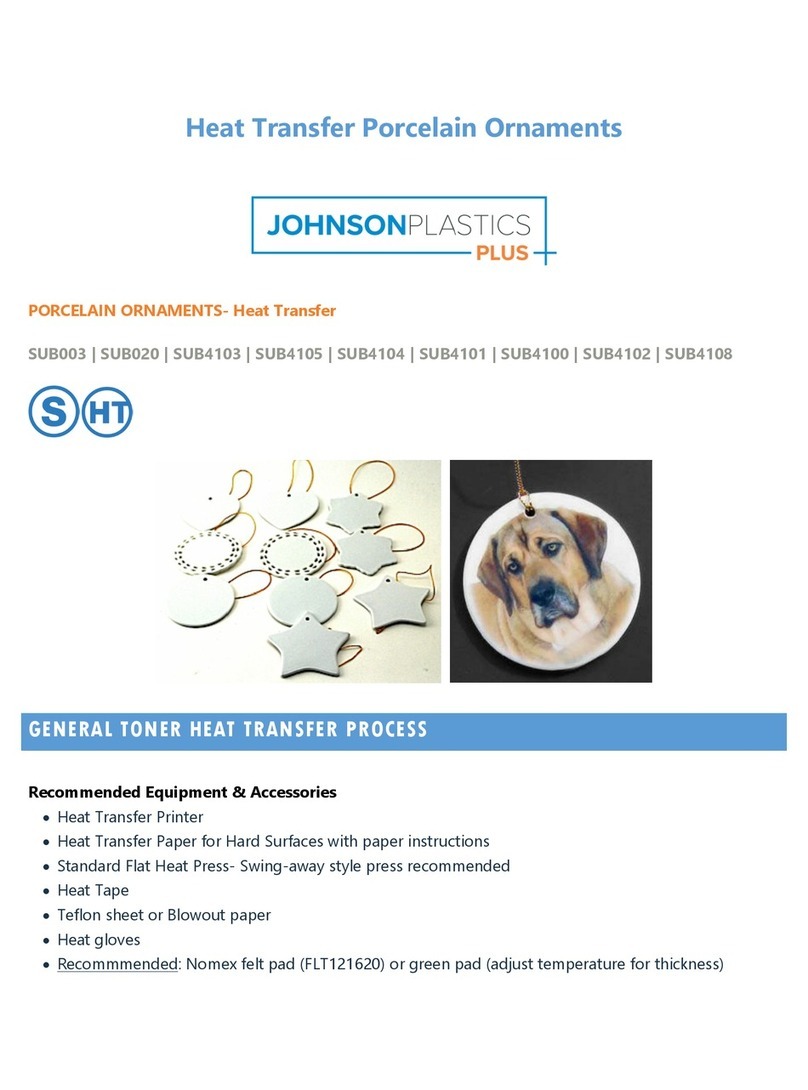
Refer to the Heat Transfer Paper Instructions for best results.
General Heat Transfer Instructions
•Follow the Heat Transfer Paper Instructions for best results.
•Preheat press to 310°F while preparing product.
•Close the heat press while empty to heat the bottom heat platen for at least 5 minutes.
•Press A and B papers together for 120 seconds at 310°F with medium pressure.
•Open the press and immediately peel A and B sheets apart while both papers remain on press bed.
oIMPORTANT: Do not remove papers from the press bed while peeling.
•Increase heat to 365°F and time to 35-45 seconds.
•Place transfer face down on product taping one edge of the transfer with heat tape.
•Place product onto platen and place green foam over top of product.
•Adjust press pressure to medium and close press.
•Open press, remove green foam pad.
•Wait approx. 5 seconds, then peel transfer paper off product while still hot.
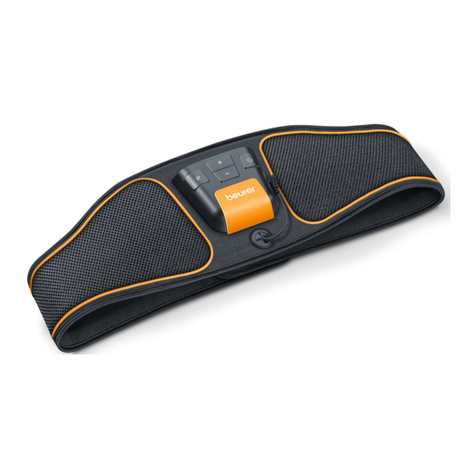
•Remove product from press slowly to avoid ‘snapping’ bands.
oIMPORTANT: Be very careful not to bump or move the transfer paper while removing the
garment from the press. The transfer can fail if the transfer paper is moved while still hot or warm.
•Place the garment back onto the heat press and place silicone finishing paper on top of the image.
•Close and press for 15-20 seconds to fix image onto the garment.
•When finished, open the press and remove the silicone finishing sheet and garment.
Tips and Tricks
•For best image placement, utilize the product template found on the product page on JPPlus.com.
Troubleshooting
•The image did not completely transfer to the garment.
oSlightly increase the press pressure during the A-B marrying process.
oBefore peeling the A and B sheets apart during the A-B marrying process, wait 5-7 seconds before
beginning to peel the sheets apart. Wiping the surface during the 5-7 second wait time can also
help buff out excess heat and ensure all of the B-adhesive is sticking to the toner.
