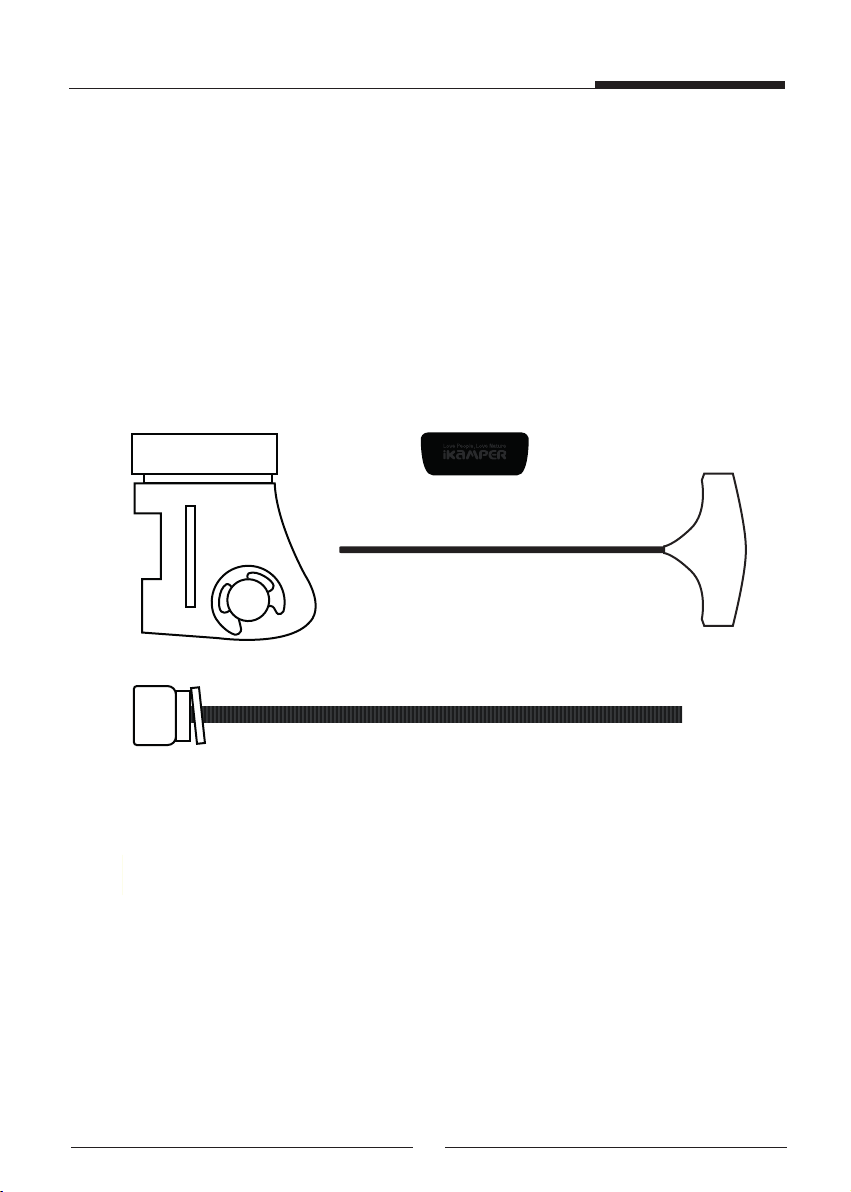
1. Slide the first bracket piece inside the rail. Lift the Skycamp slightly
to allow the piece to travel to the other side of the crossbar. Ensure
the angled side of the bracket is facing the crossbar.
2. Slide the second piece with the angle facing towards the crossbar.
Doing so ensures the bracket grips the crossbar in a “V” formation.
3. Insert the bolt between the brackets and tighten with your
hand.
4. Use an Allen wrench to securely fasten the bolt.
5. Repeat the process with the other 3 sets of brackets.
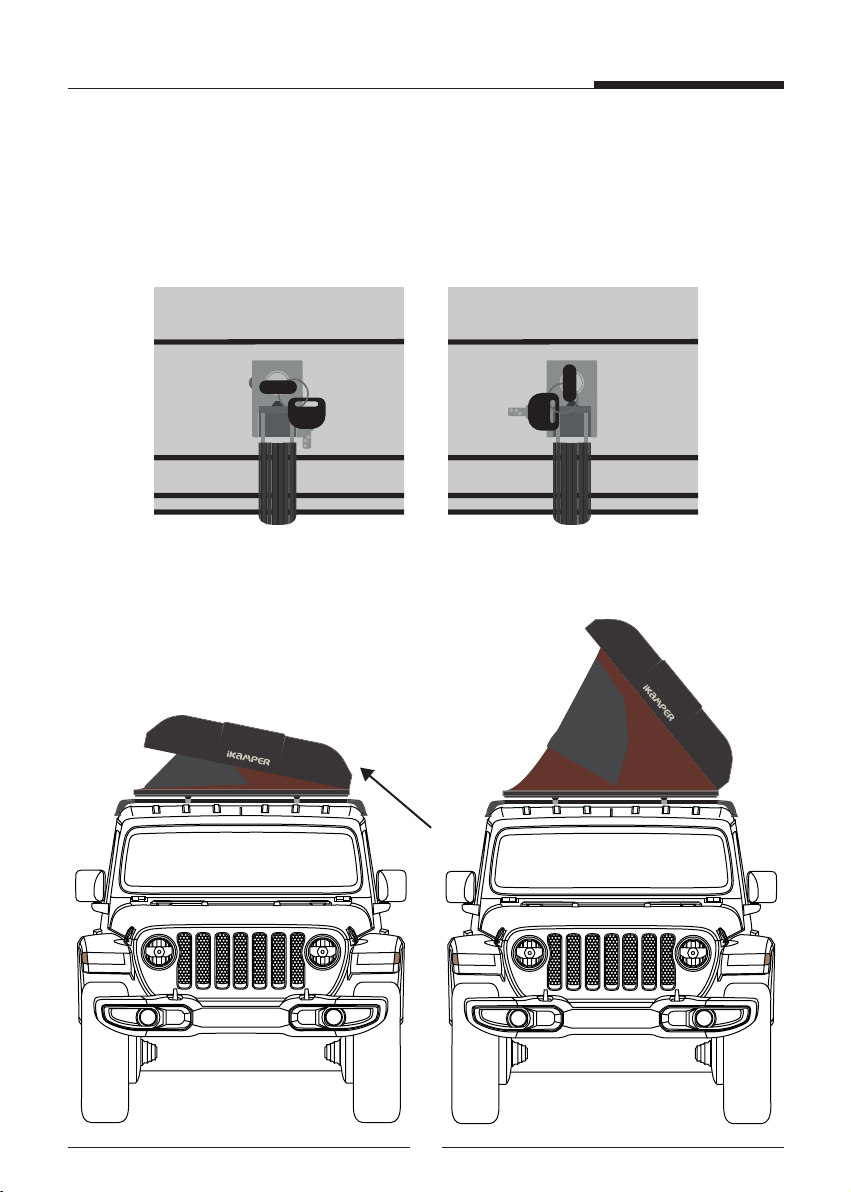
PLEASE NOTE: Check that the Skycamp is securely attached after a
short distance, and thereafter at regular intervals. Tighten the
mounting brackets whenever necessary.
1. Slide the first bracket piece inside the rail. Lift the Skycamp slightly
to allow the piece to travel to the other side of the crossbar. Ensure
the angled side of the bracket is facing the crossbar.
2. Slide the second piece with the angle facing towards the crossbar.
Doing so ensures the bracket grips the crossbar in a “V” formation.
3. Insert the bolt between the brackets and tighten with your
hand.
4. Use an Allen wrench to securely fasten the bolt.
5. Repeat the process with the other 3 sets of brackets.
PLEASE NOTE: Check that the Skycamp is securely attached after a
short distance, and thereafter at regular intervals. Tighten the
mounting brackets whenever necessary.
3