ImaxRC x100 User manual

X100 AC/DC
Manual


New Charger X100 Released
www.imaxrc.com/X100.html
iM·OS V2.15
USB Port
32 bit processor
A whole new OS system for X100 professional charger with
high efficiency
Output 5V 2.1V USB port specially design for iPhone and
smartphone charging.
High precision core 32-bit ARM processor for smoother
operation
Multiple languages customization
Touch Screen Operation
3.0 inch touch screen make the operation more convenient
3.0 inch display screen
3.0 inch TFT display screen, WQVGA(400*240),65 thousand
resolution
AC Function
DC Function

iM·OS System
www.imaxrc.com/X100.html
Type
Load
Current
Save
Cells
Uset
Mode
Start
X100 support
more than 6
type batteries
LiPo / Lilon /
LiFe / NiMh /
NiCd / Pb
Loading
Common
Use Battery
Setting
Input / Output
Current
Charge
0.1-8A
Discharge
0.1-3A
Save
Common
Use Battery
Setting
LiXX 1-6S
NiXX 1-16S
Pb 1-10S
Advanced
application
Settings
Fast Charge
Balance charge
Charge
Discharge
Circulating
charge/discharge
Charging/
Discharg-
ing
Type
Load
Cells
Uset
Mode
Start
Current
Save

iM·OS System
www.imaxrc.com/X100.html
LiPo
LiIon
LiFe
NiMH
NiCd
Pb
Lipo Battery,Single Nominal Voltage: 3.7V,Charge cut-
off voltage 4.2V,Discharge cut-off voltage 3.0V
LiIon Battery,Single Nominal Voltage: 3.6V,Charge
cut-off voltage 4.1V,Discharge cut-off voltage 2.5V
LiFe Battery,Single Nominal Voltage: 3.3V,Charge cut-
off voltage 3.6ischarge cut-off voltage 20.V
NiMH Battery,Single Nominal Voltage: 1.2V,Charge
cut-off voltage 1.5V,Discharge cut-off voltage 1.0V
NiCd Battery,Single Nominal Voltage: 1.2V,Charge cut-
off voltage 1.5V,Discharge cut-off voltage 0.85V
Pb Battery,Single Nominal Voltage: 2.0V,Charge cut-off
voltage 2.5V,Discharge cut-off voltage1.72V

Balance
Charge
FastCharge
Storage
DisCharge
Lipo balance charge use CC-CV charging way. The charger
will balance the battery voltage when charging, this only for LiPo
battery. Please connecting the balance port when charging and
discharging. Support 2-6 cells.
Use CC-CV charging way. On the basis of Users setting
current the charger will charge the battery to the cut-off
voltage. Warning: The voltage can not balance even con-
necting the balance port when using LiPo battery.
FastCharge. Almost same as the Charge Mode. The only
difference is the current only 1/5 and the other setting
only 1/10 of the setting current when finished charging.
Warning: The voltage can not balance even connecting
the balance port when using LiPo battery.
Charging and discharging the battery voltage to a certain
numerical for easy storage. This function only for LiPo
battery which need connecting the balance port. Support
2-6S.
Use CC-CV charging way. On the basis of Users setting
current the charger will discharge the battery to the cut-
off voltage. Warning: Please connecting to the Balance
port when use LiPo battery.

X100 Fundamental Function
www.imaxrc.com/X100.html
Checker
Manual Charge
Cycle
Measuring Mode. The charger only collect battery
primary port and balance port voltage,but can not charge
and discharge.
This function only for NiMH battery which same as The
Charge mode.
This function only for NiMH battery. On the basis of
Users setting current for MiNH battery cycle charging and
discharging.The Cycle times is 1-6.
Output Power Ports JST-XH Balance Ports PC Link Port USB Port

X100 is a professional RC model battery charger,please view the
manual before using. If you are a fresh man please read this entire
operating manual completely before using.
【Warning: 】The warning of charger operation and disclaimer,
Please read and abide by the following terms before operation.
1. This is a sophisticated hobby product. The person who operates the
charger should be professional who master professional knowledge
about chargers.
2. Make sure the battery variety you using meets charger require-
ment. Any kinds of damaged, aged and surface, damaged batteries
are prohibited. Besides, choose the suitable charging program or the
charger and the battery will get damaged.
3. Considering of uneven physical property and various batteries
never leave the working charger exhausting, leaking or inflating,
immediately disconnect the battery and store it in a safe ocation, away
from people and inflammable materials.
5. iMaxRC will not be responsible for any personal injuries and fire
disaster caused by incorrect operation.
I have read this agreement carefully and give up all legal.

Please follow the below steps connecting:
1: Please connect the AC power cord with X100 charger, and
then plug adapter of power cord into socket.
Connecting X100
【NOTE】 USB support 5V 2.1A charging voltage,and also use for iPad
/ iPod / iPhone / HTC and other intelligent electronic equipment. Both the
USB and battery get charged simultaneously.
2: Connect battery correctly with X100. If LiPo battery, pls
also connect balance adapter of battery with balance port of
X100.

4: Sarting X100
startup X100 to enter the main interface ( Image 1 ).
Showing“Warning and Disclaimer” 2 seconds and will know the
copyright and security information ( Image 2 ). It will be enter into the
contacting interface if you can not agree with the disclaimer, and then
you could contact the distributor return the charger ( Image 3 )
Image 1
Image 2
5、 is issued involving Nasdaq delayed by copyright and other issues, of the
speed within two weeks, call or letter from western China to op en the Portal
contact.
I have carefully read the agreement, and give u p all legal clai ms arising
because of the charger caused.
To give up and return To confirm and begin using
V2.15

4: Sarting X100
【NOTE】 Please read Disclaimer before doing anything.
Image 3
Image 4
Information Bar Action Bar
6: Enter into main interface after accepting( Image 4 ). Start to
charge and discharge according to the different battery.
【NOTE】 Information bar can not get touched.

Example 1:Choose a set of LiPo battery charging,please
follow the below steps:
Image 5
Step 1: Touch Type( Image 5 ) Enter into the “Type interface”, and
then Touch :LiPo ( Image 6 ) will Enter into main interface go on the
next step.
Image 6

Image 7
Step 2: Touch ‘Mode’ icon( Image 7 ) to enter into Mode interface.
Please choose battery charge mode ( Image 8 ) and go back to main
interface to continue setting.
Image 8
【Note】 There are six charge/discharge modes in Mode interface(
Image 8 ), see iM.OS System function for further details. please set
charge/discharge mode according to your requirement. Image 7 is
showing Balance charge mode.

Image 9
Step 3: Touch Cells icon ( Image 9 ) to enter into Cells interface.
Please set battery packs by sliding ( Image 10 ). Touch OK to go back
to main interface and continue setting.
Image 10
【Note】Please set according to suitable battery packs.

Image 11
Step 4: Touch Current icon ( Image 11 ) to enter into Current inter-
face. Please set charge current by sliding ( Image 12 ). Touch OK to
go back to main interface and continue setting.
Image 12
【NOTE】 Set charge current in charge mode and discharge
current in discharge mode.

【NOTE】You could use this function after you have set Type/
Mode/Cells and Current correctly.
Image 13
Image 14
Step 5: If you often use the same battery, please touch Save icon (
Image 13 ) to enter into Save interface. Touch Unused icon to save
the data and it will be easy for you to charge next time. ( Image 14 )

Image 15
Step 6: You could load your previous data according to X100’s
load function. Touch Load icon ( Image 15 ) to enter into Load inter-
face. Choose the data you want to load ( Image 16 ).
Image 16

Image 17
Step 7: Touch Start icon ( Image 17 ) to enter into Start interface.
The system will check battery status automatically. If everything is
OK, the charger will begin to charge.( Image 18 )
Image 18

Image 19
【NOTE】The charger will pop-up window when the battery is fully
charged. Touch OK to finish charging process ( Image 19 ).
Image 20
【NOTE】 The charger will send out an alert and pop-up window if
the battery packs’ setting is incorrect (Image 20).

Example 2: If you want to charge a pack of NiMh battery,
please execute the operation as follows:
Image 21
Step 1: Touch Type icon ( Image 21 ) to enter into Type interface.
Touch NiMh icon to go back to main interface and continue setting
( Image 22 ).
Image 22
Table of contents
Other ImaxRC Batteries Charger manuals
ImaxRC
ImaxRC 4B6 pro User manual
ImaxRC
ImaxRC B6 AC User manual
ImaxRC
ImaxRC X200 User manual

ImaxRC
ImaxRC X180 DC User manual
ImaxRC
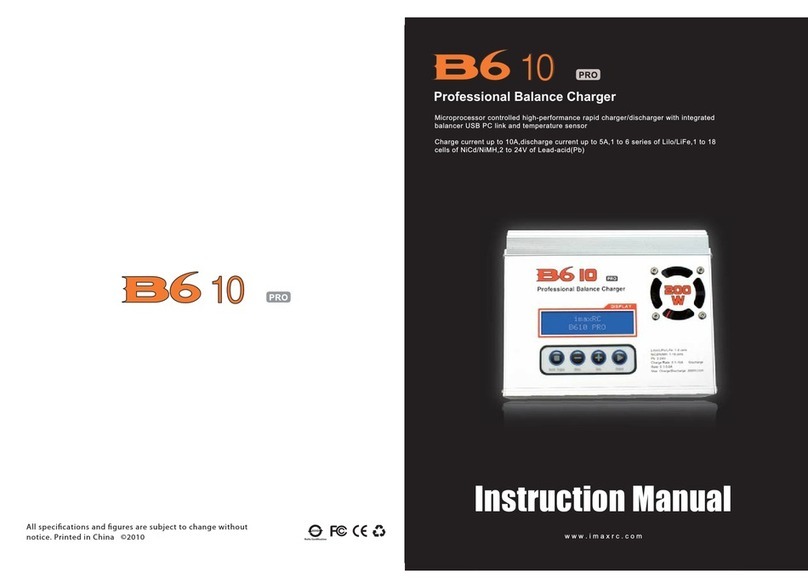
ImaxRC B6 10 pro User manual
ImaxRC
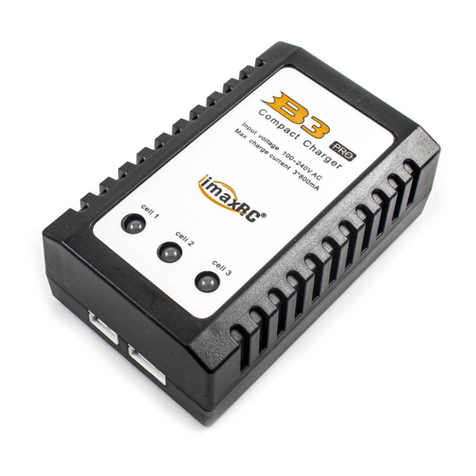
ImaxRC B3 Pro User manual

ImaxRC
ImaxRC B3 User manual
ImaxRC
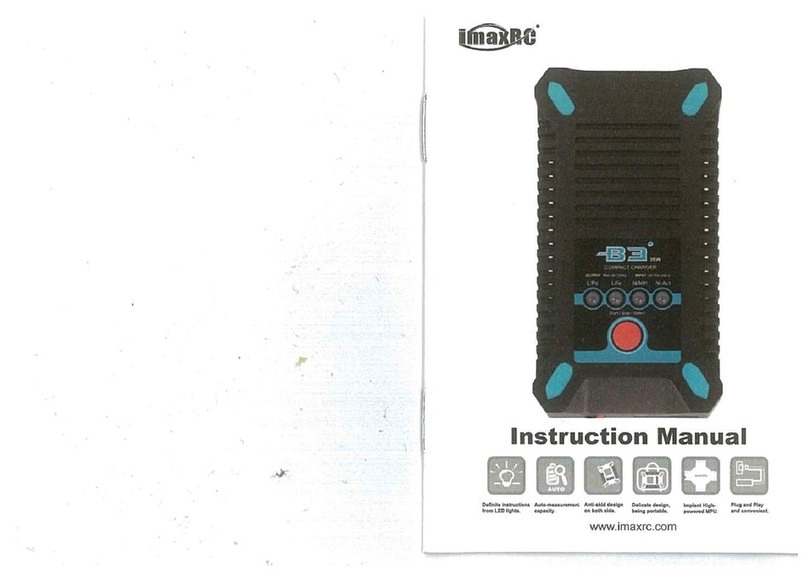
ImaxRC B3 35W User manual
ImaxRC
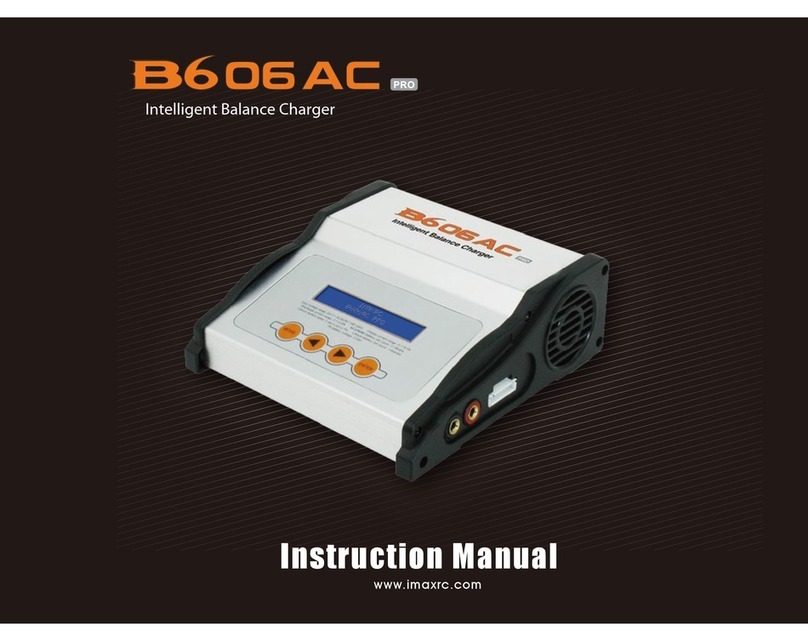
ImaxRC B606 AC User manual
ImaxRC
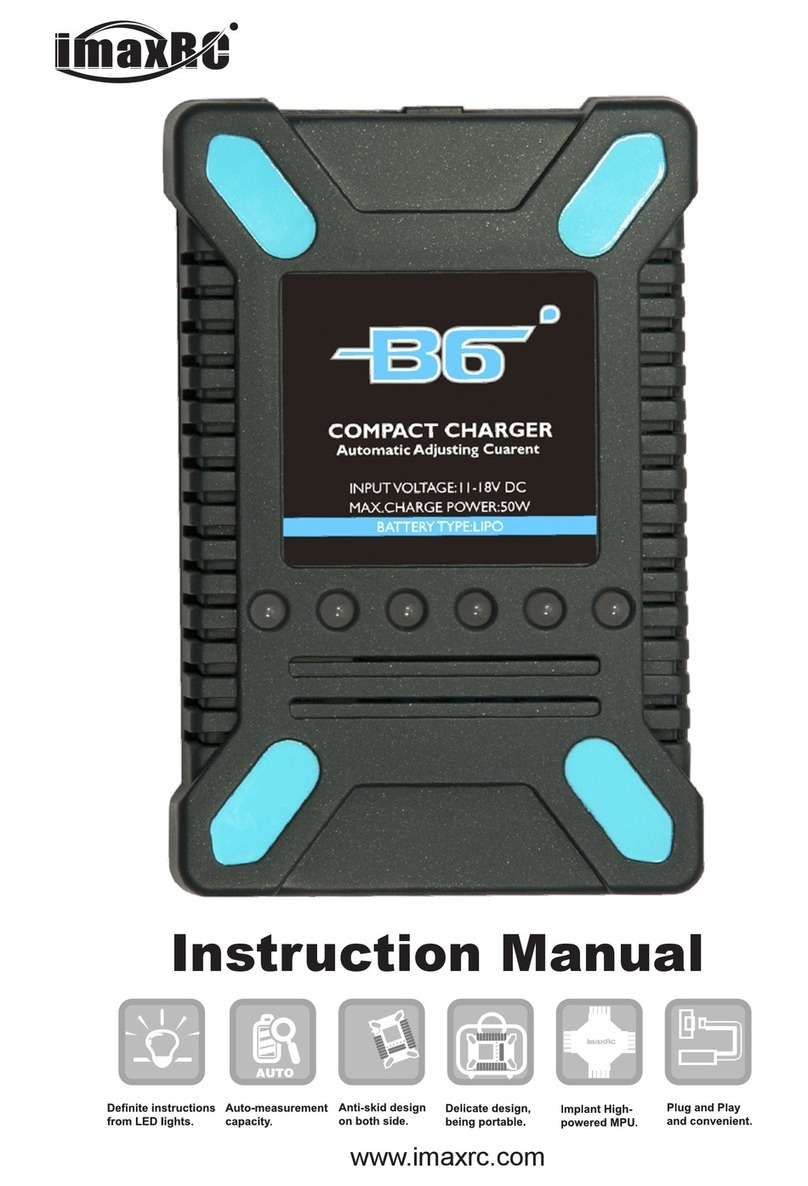
ImaxRC B6 User manual
