manuals.online logo
Brands
  1. Home
  2. •
  3. Brands
  4. •
  5. IMC/Teddy
  6. •
  7. Plumbing Product
  8. •
  9. IMC/Teddy BC-C Series User manual

IMC/Teddy BC-C Series User manual

BC-C SERIES
CORNER
BASE CABINET
INSTALLATION
GUIDE
For Design and Installation Assistance
Call: 800-221-5644
info@imcteddy.com
50 Ranick Drive East Amityville, NY 11701
(P) 800-221-5644 (F) 631-789-8881
www.imcteddy.com
Project Name:
Item #:
Model #:
INTRODUCTION
Installing the IMC Teddy Corner Base Cabinet is a straightforward procedure that can be accomplished with
normal construction materials and techniques. Installation procedures may vary due to eld conditions and state
regulations. Please note that the following instructions are recommendations only. The installer is responsible
for proper setting and making sure the appropriate codes are followed. Please contact the IMC Teddy Engineering
Department (800-221-5644) prior to considering retrot installations.
Please read the attached information carefully, as much of the information provided is reecting proven
installation techniques used in previous installations.
Parts Included
Tools/Materials Needed
• BC-C Series Corner Base Cabinet
• Intermediate Shelf When Applicable
• Shelf Clips (4 or as needed)
• Spirit (Bubble) Level
• Writing Instrument for Marking Model #BC-CHG
Shown w/ Optional Rolled
Edge & Hinged Glass Door
A) Using the spirit level, mark a line
along the bottom edge on the left
and right walls.
B) Flip the level over so that the
bottom becomes the top. Put the new
top edge parallel along the marked
lines. If the bubble is centered, your
level is accurate.
C) Place the level on the left and right
surface of the base cabinet to nd the
true horizontal (the “horizon”). Make
sure the spirit tube runs parallel to
the cabinet. Allow the bubble to oat
to the top of the spirit tube.
Put your eyes at level with the spirit
tube. In order to get an accurate
reading, close one eye. Take note
of where the bubble is inside the
spirit tube. If it’s centered between
the lines on the tube, your cabinet
is level. If the bubble is to the right
of the lines, your cabinet slopes
downward right-to-left. If the bubble
is to the left of the lines, your cabinet
slopes downward left-to-right.
To nd the true vertical or “plumb,”
repeat the same process vertically.
Step 1: Leveling Procedure
BC-C Series Corner Base Cabinet
C)
1st Marked Line
1st Marked Line
B)
Spirit Level
Left Wall
Left Wall
Left Wall
Right Wall
Right Wall
Right Wall
Floor
A)
Shelf Support Clips
Set your base cabinet in place.
It’s recommended to leave a space
between the cabinet and wall.
Shim to ll uneven areas between
the oor and base of the cabinet, and
between the wall and the back of the
cabinet.
Step 2:
Base Cabinet
Leave a Space
Left Wall
Right Wall
Warranty:
Product is guaranteed against defect in workmanship
and material for a period of one year from date of
shipment, provided such defects are do not result
from abuse, unreasonable usage or other conditions
beyond IMC’s control. IMC’s liability shall not exceed
the cost of material furnished.
Easy Cleaning Instructions:
Rinsing is the most important part of care. Stainless
steel will retain its original bright appearance if
the product is rinsed thoroughly after each use.
“Thorough” rinsing can be done by running the water
throughout the product for a few minutes after
each use. Typically, a rinse and towel drying after
each use takes care of most everyday cleanups. For
everyday cleaning we recommend using Stainless
Steel Cleaners + Polishers. The non-abrasive formula
is safe and effective for day to day cleaning. Your
product will shine like new!
Recommendations for Proper Maintenance:
Use only a mild liquid dish-washing detergent with a
soft sponge to clean and then thoroughly rinse the
product. Rinse thoroughly after each use. “Thorough”
rinsing can be done by running water for a few
minutes and rubbing the cleaned area with a sponge.
Towel dry after each use to prevent mineral deposits
from building up on the surface of the product.
•Do Not allow liquid soap or other household
cleansers to dry on the surface. Most brands contain
chemical additives which will affect the original nish.
•Do Not use solutions of chlorine bleach and water.
Chlorides, which are found in most soaps, detergents,
bleaches, and cleansers, are very aggressive to
stainless steel. If left on the surface too long they can
cause surface pitting.
•Do Not use a steel wool pad to clean. Steel wool
pads have a tendency to break apart and small
particles of steel can become embedded in the
surface of the product. The steel particles will rust
and will give the appearance that the product itself is
rusting.
•Do Not use abrasive cleansers or abrasive pads as it
will scratch the surface.
•Do Not leave wet sponges, cloths, or cleaning
pads on the product. This can lead to surface rust.
Following these recommendations for the care and
cleaning of your stainless steel product will insure
that it will provide you with many years of service.
Chlorides:
Today, chlorides are found in most all soap,
detergents, bleaches and cleansers; chlorides can be
oppressive to stainless steel. However, chlorides are
very water soluble. Therefore, THOROUGH RINSING
of your product after each use to remove any chloride
residue and a weekly scouring is all that is required to
keep your product looking bright and shiny.
Water Quality:
The quality of your water can affect your product’s
appearance. If your water has a high iron content, a
brown surface stain can form on the product giving
the appearance of rust. Additionally, in areas with a
high concentration of minerals, or with over-softened
water, a white lm may develop on the product. To
combat these problems, we suggest that the product
be towel dried after use.
Discoloration, Rust and Possible Pitting:
Wet sponges, cloths, cleaning pads and rubber mats
left on the product can lead to discoloration. Steel
wool pads should never be used to clean your product
as they leave small iron particles in the grain lines
which rust and can damage the product. Continued
usage in this manner may eventually lead to the
product itself rusting and pitting.
Liquid Soap:
Do not allow concentrated liquid detergent to dry on
your product. Most brands contain chemical additives
which will affect the original nish.
Spotting:
The quality of your water can affect your product’s
appearance. In areas with hard water, a brown
surface stain can form on the product giving the
appearance of rust. This also occurs in water with
high iron content. Additionally, in areas with a high
concentration of minerals, or with over-softened
water, a white lm may develop on the product. To
combat this problem, we suggest that the product be
towel dried after use.
Foods:
Heavy salt concentration or foods containing high
levels of salt should not be allowed to dry onto the
surface. Rinse your product thoroughly after use.
For more in-depth maintenance & care guidelines,
visit these resources:
IMC/Teddy Tips NAFEM Tips
Other IMC/Teddy Plumbing Product manuals

IMC/Teddy PHS User manual

IMC/Teddy

IMC/Teddy PHS User manual

IMC/Teddy WSMS User manual

IMC/Teddy

IMC/Teddy WSMS User manual

IMC/Teddy WS-SEC User manual

IMC/Teddy

IMC/Teddy WS-SEC User manual

Popular Plumbing Product manuals by other brands

Pfister Universal Tub and Shower R90-XMNX Quick installation guide

Pfister

Pfister Universal Tub and Shower R90-XMNX Quick installation guide

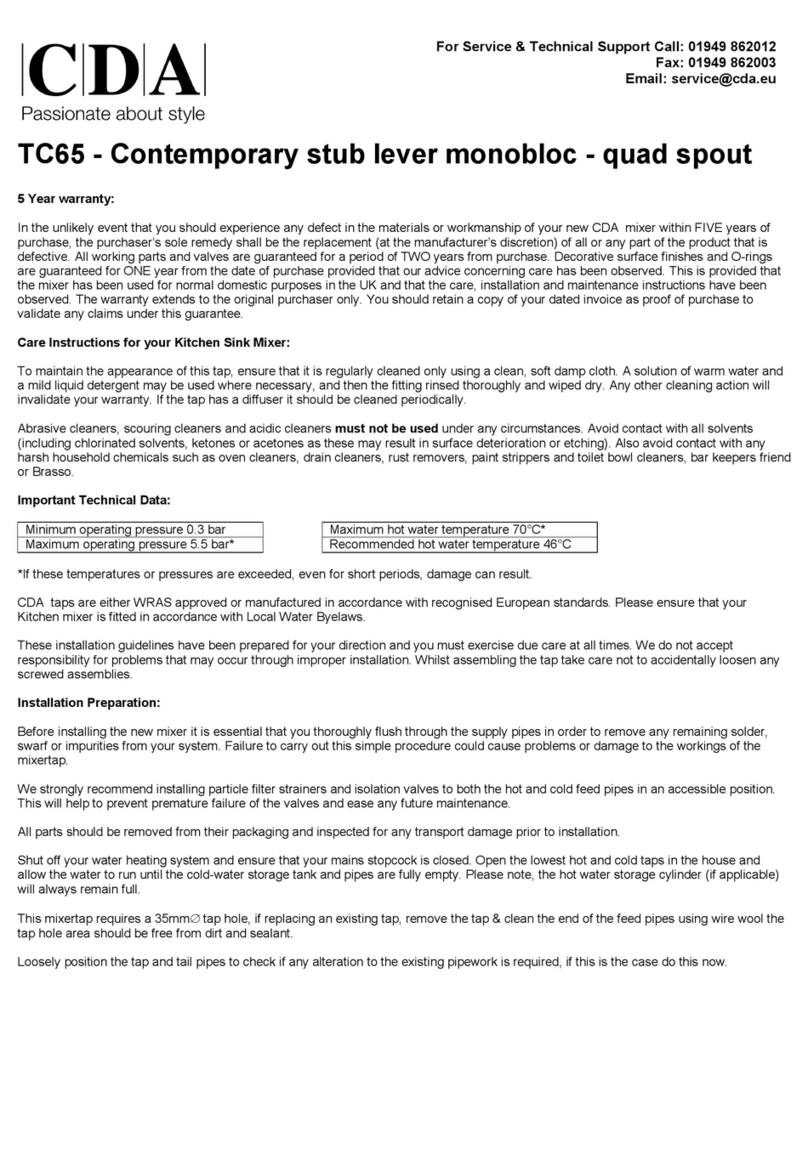
CDA TC65CH quick start guide

CDA

CDA TC65CH quick start guide

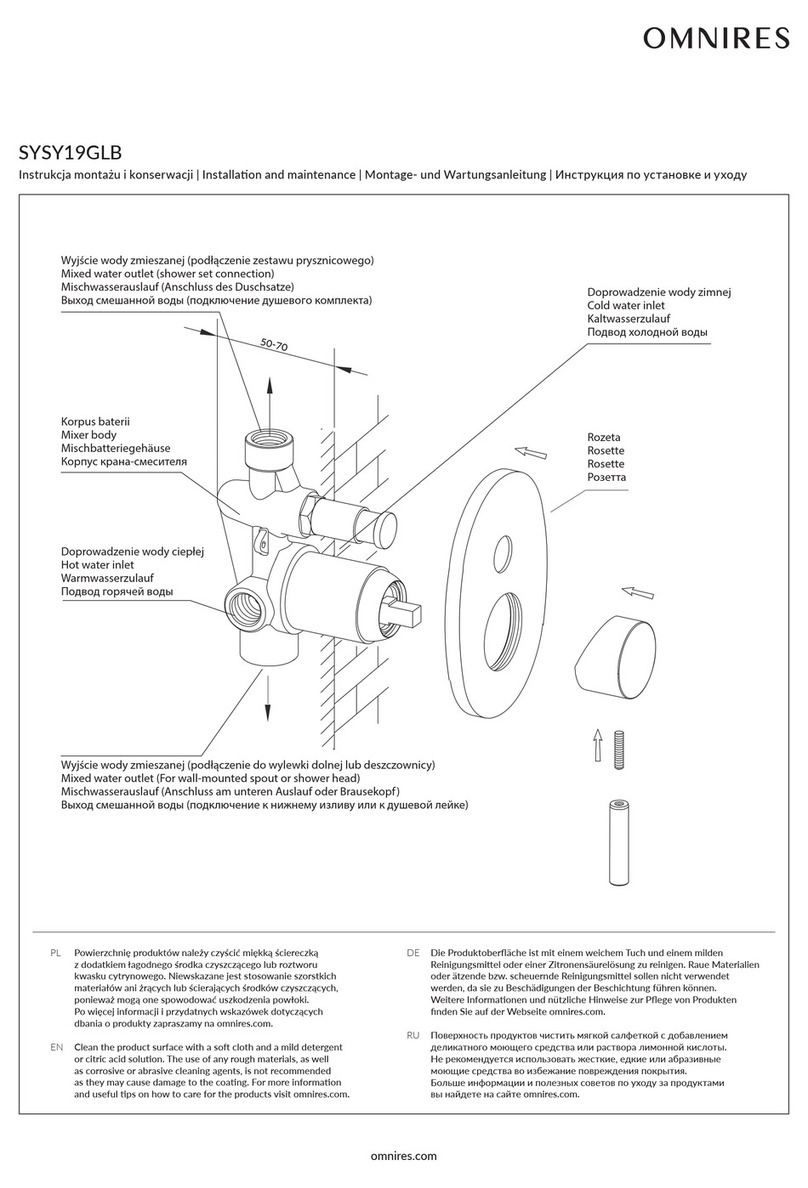
Omnires SYSY19GLB Installation and Maintenance

Omnires

Omnires SYSY19GLB Installation and Maintenance

Hans Grohe Exafill S 58117 Series Instructions for use/assembly instructions

Hans Grohe

Hans Grohe Exafill S 58117 Series Instructions for use/assembly instructions

Galvin Specialised Ezy-Drink CP-BS TD15EB Product installation guideline

Galvin Specialised

Galvin Specialised Ezy-Drink CP-BS TD15EB Product installation guideline

CMP 25506-33 00 Series manual

CMP

CMP 25506-33 00 Series manual

Rohl PERRIN & ROWE U.1323LS installation instructions

Rohl

Rohl PERRIN & ROWE U.1323LS installation instructions

Helvex Vértika M-1001-DX installation guide

Helvex

Helvex Vértika M-1001-DX installation guide

Viega 6161.52 Instructions for use

Viega

Viega 6161.52 Instructions for use

Sanela SLZA 20PH Instructions for use

Sanela

Sanela SLZA 20PH Instructions for use

American Standard Swan 6011 installation instructions

American Standard

American Standard Swan 6011 installation instructions

Elkay Moda LK7324 Specifications

Elkay

Elkay Moda LK7324 Specifications

Pfister Rhen LG6-4RH Quick installation guide

Pfister

Pfister Rhen LG6-4RH Quick installation guide

Moen 6306 Specifications

Moen

Moen 6306 Specifications

Clou Vale CL/03.30162.01.R installation instructions

Clou

Clou Vale CL/03.30162.01.R installation instructions

Harvia PO10-U1 Operator's manual

Harvia

Harvia PO10-U1 Operator's manual

Santec E-Series Instruction booklet

Santec

Santec E-Series Instruction booklet

KEUCO IXMO 59502 012000 Mounting instruction

KEUCO

KEUCO IXMO 59502 012000 Mounting instruction

manuals.online logo
manuals.online logoBrands
  • About & Mission
  • Contact us
  • Privacy Policy
  • Terms and Conditions

Copyright 2025 Manuals.Online. All Rights Reserved.