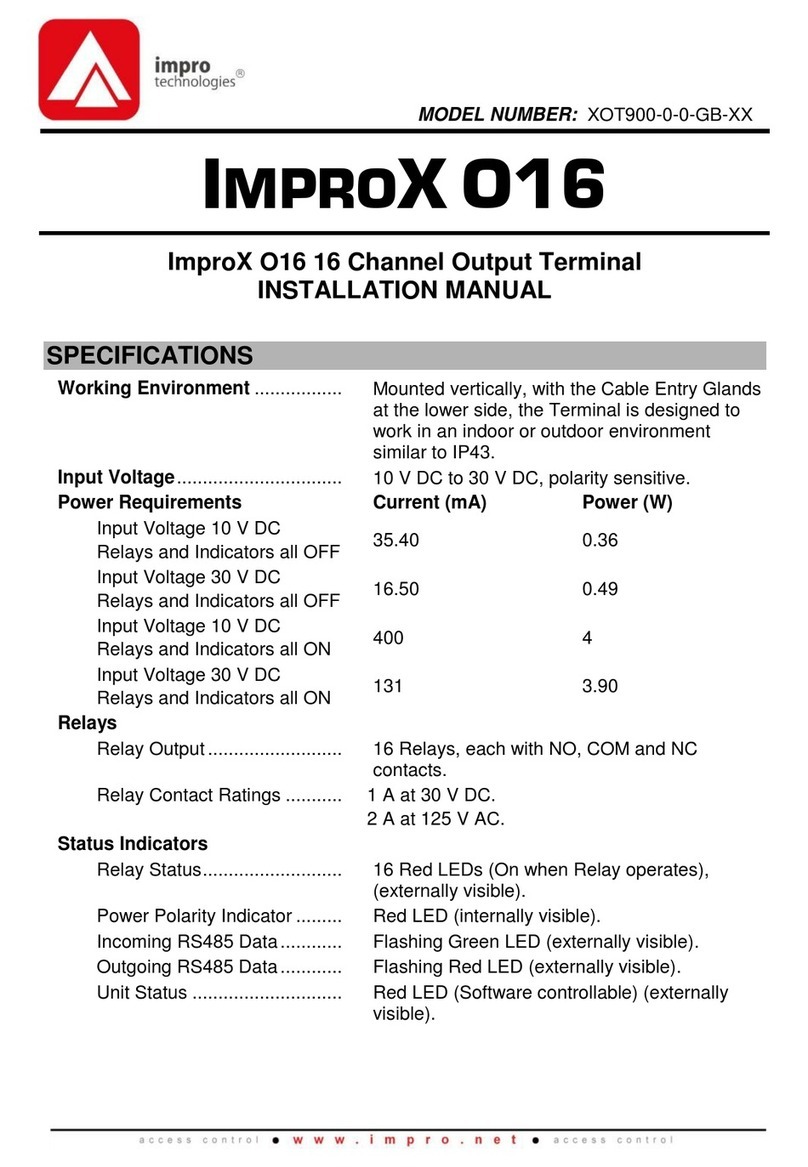
impro technologies IMPROX I16 User manual

MODEL NUMBER: XIT900-0-0-GB-XX
IMPROXI16
ImproX I16 16 Channel Input Terminal
INSTALLATION MANUAL
SPECIFICATIONS
Working Environment .................
Mounted vertically, with the Cable Entry
Glands at the lower side, the Terminal is
designed to work in an indoor or outdoor
environment similar to IP43.
Input Voltage................................
10 V DC to 30 V DC, polarity sensitive.
Power Requirements
Current (mA)
Power (W)
Input Voltage 10 V DC
Indicators all OFF...................
46.30
0.47
Input Voltage 30 V DC
Indicators all OFF...................
19.70
0.60
Input Voltage 10 V DC
Indicators all ON.....................
80
0.80
Input Voltage 30 V DC
Indicators all ON.....................
31.30
0.95
Digital Inputs
Type.......................................
16 Dry Contact Digital Inputs.
Protection Range ...................
+80 V to -80 V single pulse,
+35 V to -30 V continuous.
Figure 1: Options for End-of-line (EOL) Sensing

XIT300-0-0-GB-09
March 2012
Page 2
NOTE: Connect the Digital Inputs to either a Normally Open or Normally Closed Dry
Contact. You may then individually configure these Inputs to have End-of-
line (EOL) Sensing in the Software. The ImproX I16 implements End-of-line
(EOL) Sensing where one 4.7 kilo-ohm resistor is used. Figure 1 shows the
recommended connection of the resistor for Normally Closed (NC) and
Normally Open (NO) contacts. For Normally Closed Dry Contacts, connect
the 4.7 kilo-ohm Resistor in SERIES with the contact. For Normally Open
Dry Contacts connect the Resistor in PARALLEL with the contact. Mount the
4.7 kilo-Ohm resistor as close as possible to the Dry Contact (not at the
ImproX I16) for effective End-of-line (EOL) Sensing. This method of End-of-
line (EOL) Sensing senses a “Door Closed” event. An input shorted, input
cut or door open will all yield a “Door Forced” event. That is the Software
will not distinguish between a tamper condition (cut or shorted Input) and a
normal door open event.
Status Indicators
Input Status............................
16 Green LEDs (Software controllable,
indicates when input is high or low), (externally
visible).
Power Polarity Indicator .........
Red LED (internally visible).
Incoming RS485 Data............
Flashing Green LED (externally visible).
Outgoing RS485 Data............
Flashing Red LED (externally visible).
Unit Status .............................
Red LED (Software controllable) (externally
visible).
INSTALLATION INFORMATION
Accessories
Find the following when unpacking the Terminal:
An ImproX I16 16 Channel Input Terminal housed in a Black powder-coated
Aluminium extruded Cabinet. The Cabinet is sealed at each end with an
Aluminium End Plate, secured with 4 Allen Head Screws (M3 x 12 mm).
Two Plastic Bushing Plugs (20.6 mm).
A 2.5 mm Allen Key.
An extra Fixed Address Label.
General
Remember the following when installing the Terminal:
Communications Distance
The RS485 communications distance between the first ImproX Controller and the LAST
ImproX unit in a cable run, MUST NOT exceed 1 km (1 094 yd). Achieve this by using
good quality screened twisted pair cable, with the screen EARTHED at one end.

XIT300-0-0-GB-09
March 2012
Page 3
Jumper Links
Long transmission lines or multiple “star” connections, may cause communication
problems. Placing a Jumper Link across the jumper [LNK1] in the LAST UNIT AT THE
END OF THE CABLE RUN should solve the problem.
EARTH Connection
Connect the Terminal to a good EARTH point. Using the RS485 Port, connect the
EARTH Lead to the „ETH‟Terminal. Mains EARTH can be used, but electrical noise
may exist.
FCC Compliance
For FCC compliance:
Ensure the comms cable is routed through a separate grommet to the power
cable.
Ensure that you use a CE approved Power Supply Unit.
Mounting the Terminal
CAUTION: Make certain that you mount the ImproX I16 on a vibration-free
surface.
Select the mounting position of the Terminal, considering accessibility, routing of wires
and visibility of the externally visible LEDs.
Secure the enclosure to the mounting surface, using suitable screws and wall plugs,
nuts and bolts or rivets.
Blank Space

XIT300-0-0-GB-09
March 2012
Page 5
Fixed Address Label
Once the ImproX I16 is installed, sketch a rough site plan. Attach the loose (additional
Fixed Address Label packaged with the Terminal) Fixed Address Label in the position
of the Terminal on the sketched site plan. When the system installation is complete
and all the units are represented on the site plan by their Fixed Address Labels, file the
site plan for future reference.
GUARANTEE OR WARRANTY
This product conforms to our Guarantee or Warranty details placed on our Web Site, to
read further please go to www.impro.net.
USER NOTES

XIT300-0-0-GB-09
March 2012
Page 6
USER NOTES

XIT300-0-0-GB-09
March 2012
Page 7
USER NOTES

XIT300-0-0-GB-09
March 2012
Page 8
This manual is applicable to the ImproX I16 16 Channel Input Terminal,
XIT900-0-0-GB-00.
(The last two digits of the Impro stock code indicate the issue status of the product).
XIT300-0-0-GB-09
Issue 10
Mar 2012
ImproX I16\English Manuals\LATEST ISSUE
\ImprXI16-insm-en-10.docx
Table of contents
Other impro technologies Touch Terminal manuals

