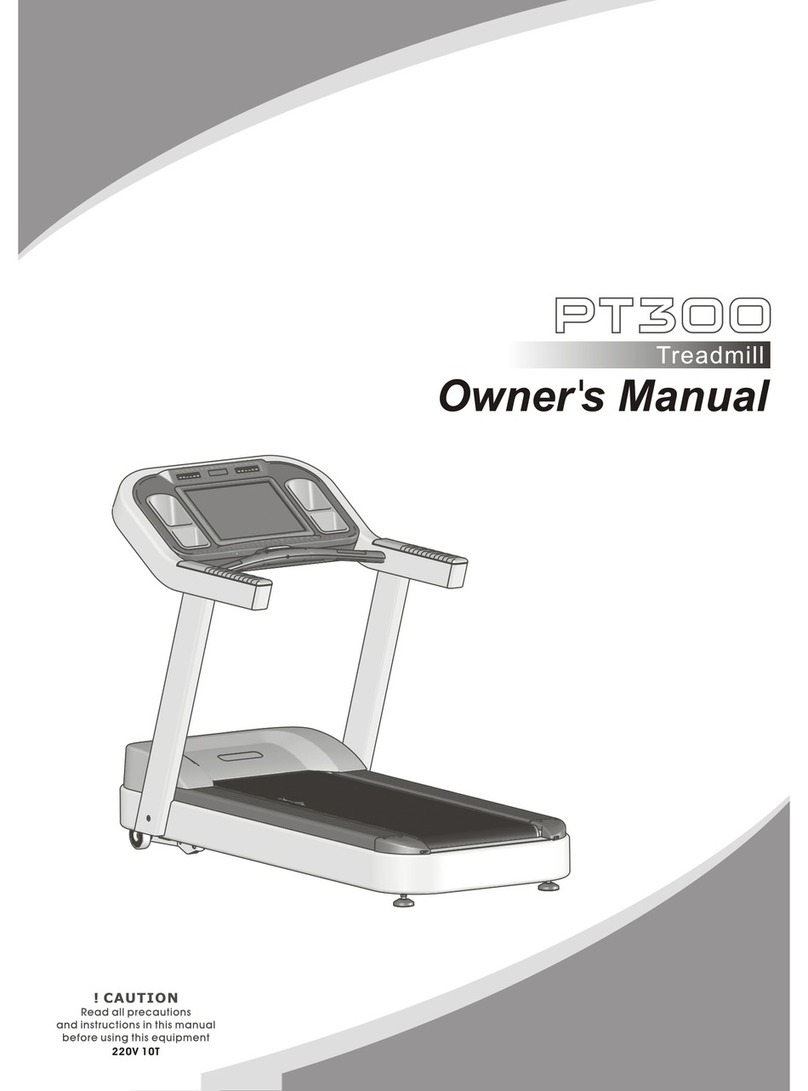
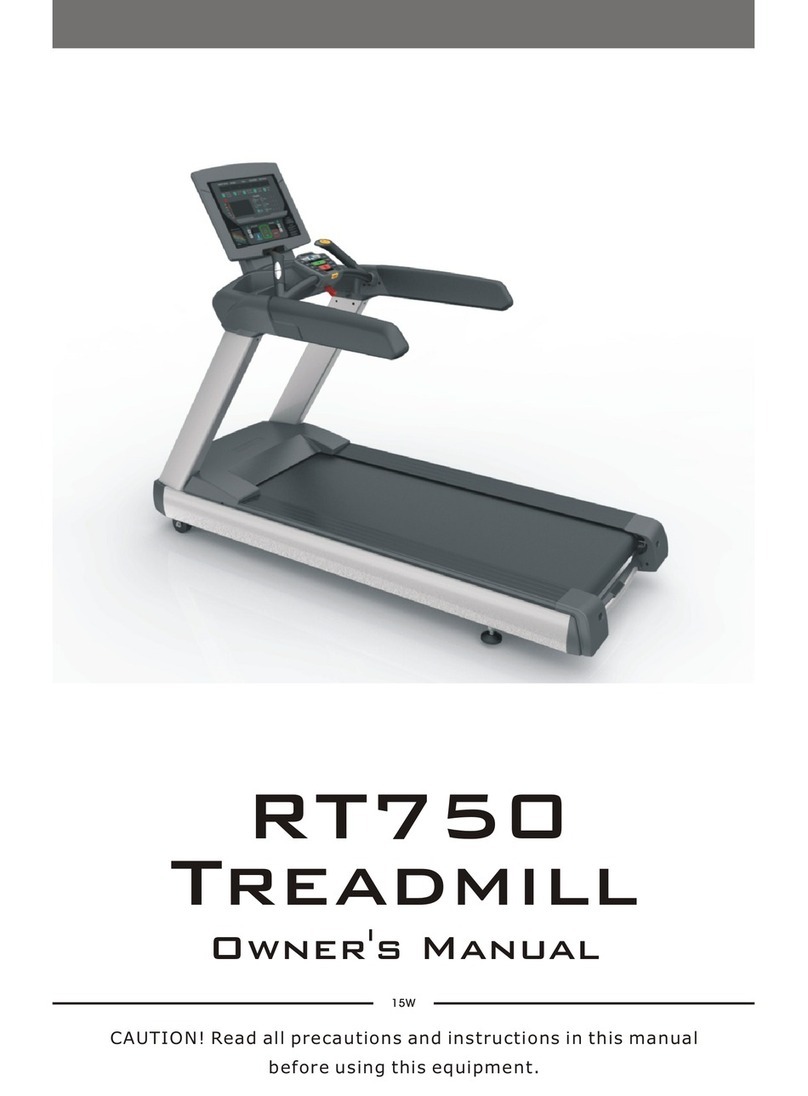
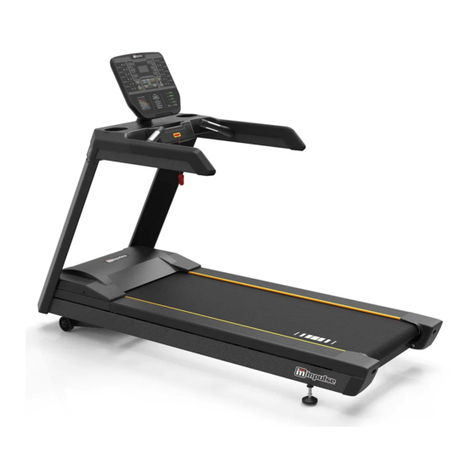
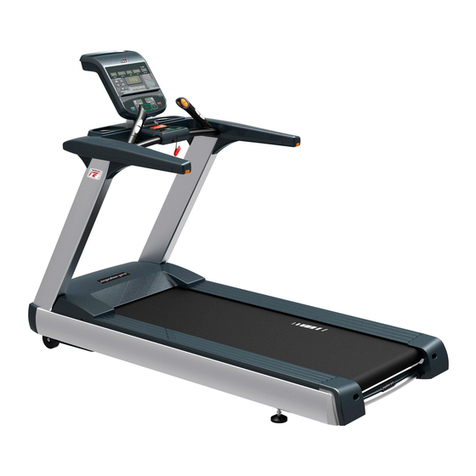
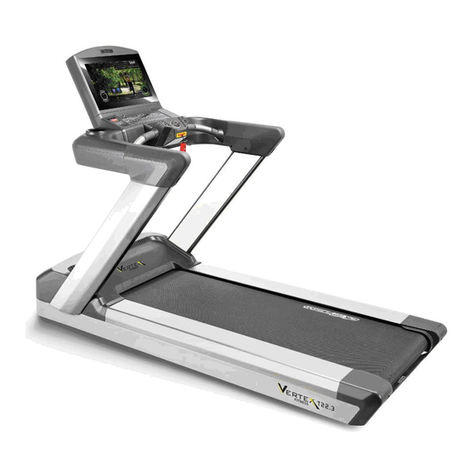
Impulse PRO User manual

TREADMILL IMPULSE PRO
OWNER’S MANUAL

Beach MountainAS - 2 - fitness@beach-mountain.no
Content
Content Page ------------------------------------------------------------------------------------
1. Overview Drawing -------------------------------------------------------------------------
1-1 Computer Console ---------------------------------------------------------------------
1-2 Wire Rod and Power Switch ------------------------------------------------------------
1-3 Running Belt and Lateral Incline Base -------------------------------------------------
2. Caution
2-1 Important Safety Instructions-----------------------------------------------------------------
2-2 Power Requirement s--------------------------------------------------------------------------
2-3 ISP Slot ------------------------------------------------------------------------------------------
2-4 Add Lubricant ----------------------------------------------------------------------------------
2-5 Level Adjustment-------------------------------------------------------------------------
2-6 Running Belt Adjustment ----------------------------------------------------------------
2-7 Emergency Stop System -----------------------------------------------------------------
3. Assembly Instruction
3-1 Pre-Assembly Check List ----------------------------------------------------------------
3-2 Assembly Steps ---------------------------------------------------------------------------
4. Program Control Settings ----------------------------------------------------------------------------
4-1 Instruction ------------------------------------------------------------------------------------------
4-2 Key Functions-------------------------------------------------------------------------------------
4-3 General Operation and Instructions ------------------------------------------------------------
4-4 Exercise Program Summaries-------------------------------------------------------------------
02
03
04
05
06
07
09
10
11
12
13
14
15
17
20
20
23
26
27
Page

Beach MountainAS - 3 - fitness@beach-mountain.no
1. OverviewDrawing

Beach MountainAS - 4 - fitness@beach-mountain.no
1-1 Computer Console
SafetyKey
Pleasereferto2‐7Emergency
StopSystemfordetails.

Beach MountainAS - 5 - fitness@beach-mountain.no
1-2 Wire Rod and Power Switch
升降機構
1-3 Running Belt and Lateral Incline Base
WireRod
Twisttheextrapowercordroundthewirerod.
Caution:
Don’tcarrythetreadmillbythewirerod.
Pullingitbyforcewillresultindistortion.
PowerSwitch
Press1toswitchon;Press0toswitchofftreadmill.
CircuitBreaker
Ifthecurrentexceedsratedcurrent,thecircuit
breakerwillpopup.Wait10minutes,andthenpressdowntoreset.
PowerSocket
Pleasepayattentiontothevoltageofthesocket(110Vor220V)
10min.
Power
Socket
Power
Switch
CircuitBreaker

Beach MountainAS - 6 - fitness@beach-mountain.no
Caution
Caution
1.3 Running Belt and Lateral Incline Base
RunningBelt
Keephandsawayfromtherunningbeltwhilethetreadmillisrunning.Ifservices
needstobedonenearthisarea,turnthetreadmillandunplugtheunitfirst.
LateralInclineBase
Keephandsawayfromtherunningbeltwhilethetreadmillisrunning.Ifservices
needstobedonenearthisarea,turnthetreadmillandunplugtheunitfirst.

Beach MountainAS - 7 - fitness@beach-mountain.no
2. Caution
2-1 IMPORTANT SAFETY INSTRUCTIONS
Danger – To reduce the risk of electric shock:
Always unplug this product from the electrical outlet immediately after using and maintenance.
Warning – To reduce the risk of burns, fire, electric shock, or physical injury, please read
the important safety instructions and product information carefully before starting to use this product.
The owner of the treadmill should take on the responsibility to make sure that all the users can fully
understand the cautions and important safety instructions.
1. Before starting any exercise/fitness program you should consult with your health care professional.
2. Please operate the treadmill according to this manual. Do not use any attachment or replacement part
not recommended in order to avoid accident or injury.
3. Put the treadmill on a flat floor; keep the area 2 meters (6 feet) behind the treadmill clear. Do not put
the treadmill in a position where circulation of air can be blocked. Ideally, put a rubber mat under
treadmill to prevent the floor or carpet from damage and to help to avoid dust getting into the treadmill.
4. When choosing the position of treadmill, please be sure there is an outlet with a dedicated circuit near
the position.
5. Put the treadmill indoor to keep it free from moisture and dust. Do not use near pools or other areas of
high humidity.
6. Do not operate where aerosol (spray) products are being used or where oxygen is thin.
7. Do not let children less than 12 years old use the treadmill without supervision. Close supervision is
necessary when use by individual, disable person and children.
8. This treadmill’s maximum load is 150 kg or 330pounds.
9. The treadmill is only for one person to use. Keeps all loose clothing including show laces and towels
away from moving parts. Use proper athletic shoes, do not use heals cleats or spikes on shoes.
10. Connect the product to a properly grounded dedicated outlet only. Do not connect other appliances to

Beach MountainAS - 8 - fitness@beach-mountain.no
the same outlet or circuit.
11. Before stepping on the treadmill, please stand on the anti-slip pads on either side of the treadmill frame.
Step on the treadmill after it begins to run; this will avoid unnecessary initial loads.
12. Before using the treadmill, please examine every part first.
13. Never drop or insert any object into any vent of the treadmill.
14. Always follow the important safety instructions before connecting the treadmill to the grounded outlet.
15. Keep the power cord far away from incline wheel. Do not put the power cord under the treadmill and
never use a damaged power cord. If cord becomes damaged it must be replaced with a factory
replacement by a qualified services company or electrician.
16. Always unplug this product from the electrical outlet before cleaning or maintenance of the treadmill.
The maintenance of the treadmill should be performed by an authorized person.
17. Do not hold wire rod when move this product.

Beach MountainAS - 9 - fitness@beach-mountain.no
2-2 Power Requirements
This treadmill needs special power supply:
Power Voltage(V)Frequency(HZ)RatedPower(W)
200 50/60 1500W
220 50/60 1500W
230 50/60 1500W
240+ 50/60 1500W
A dedicated outlet is REQUIRED for this treadmill. The hot, neutral and ground wires must
each be routed independently (not looped or tied to other circuits.)
This product must be properly grounded to prevent damage from lightning strikes. Improper
connection of the grounding conductor can also result in a risk of damage from a lightning
strike. Check with a professional electrician or serviceman if you doubt whether the product is
properly grounded. If the grounded plug on the product does not fit the outlet, have a proper
outlet installed by a qualified electrician.
Grounded Outlet
GroundedPin

Beach MountainAS - 10 - fitness@beach-mountain.no
2-3 ISP Slot
ISPSlot
Thisslotisforsoftwareupdate.
(Shouldupdaterequired,pleasecontactwithyourdealer)

Beach MountainAS - 11 - fitness@beach-mountain.no
2-4 Add Lubricant
Use hex wrench to loosen belt, and pull up belt enabling to drop few silicon at deck center then
daub it evenly. Then, tighten belt. Lubrication check is required every half month.
Maintenance Period
Metric / Imperative System Exercise Speed Maintenance Period
6 kph below 1 year
6~12 kph 6 months
Metric (kgs)
12 kph above 3 months
4 mph below 1 year
4~8 mph 6 months
Imperative (lbs)
8 mph above 3 months
Note: This maintenance is intended for household use.
For commercial use, it is suggested to maintain the product every month.

Beach MountainAS - 12 - fitness@beach-mountain.no
2-5 Level Adjustment
The treadmill will wobble during workout and the incline angles will be affected if it is placed
on uneven ground.
The level adjustment method is as follows:
1. Turn A counter-clockwise to loosen it
2. Adjust B to the proper height
3. Turn A clockwise to tighten it.
4. The left side adjustment method is the same as with the right side.

Beach MountainAS - 13 - fitness@beach-mountain.no
2-6 Running Belt Adjustment
After installing and leveling the treadmill, check the belt to ensure that it is tracking properly.
First, plug the power cord into an appropriate dedicated outlet. Then, turn the treadmill ON. Have one
person stand on the anti-slip pads on either side of the treadmill frame. Do not stand on the running belt at
this time. Press the QUICK START key, and increase the speed to 4.0 mph(6.4 kph).
If the striding belt moves to the right while it is running:
Turn the right tension bolt a quarter-turn clockwise, and then turnthe left tension bolt(A) a quarter-turn
counter-clockwise. See the illustration below. Allow the treadmill to run for 5 minutes. This action
should set the striding belt tracking back to center of the roller, if not, repeat process.
If the striding belt moves to the left while it is running:
Turn the left tension bolt (A) a quarter-turn clockwise and then turn the right tension bolt a quarter-turn
counter-clockwise. Allow the treadmill to run for 5 minutes. This action should set the striding belt
tracking back to center of the of the roller, if not, repeat process.
NOTE: Do not exceed one full turn of the adjusting screws in either direction. If, after one full turn, the
belt does not track properly, check with a qualified service company.

Beach MountainAS - 14 - fitness@beach-mountain.no
2-7 Emergency Stop System
This treadmill is equipped with the safety system. The emergency stop is shown on the drawing.
Pull down the rope Unplug the safety key to stop the treadmill
Caution:
Once pull down the safety key that will eventually disconnect from the emergency
stop system. The treadmill will return to start/ready status after insert the safety key
back.
Insert the safety key Treadmill will return to start/ready status

Beach MountainAS - 15 - fitness@beach-mountain.no
3. AssemblyInstructions
Read the operation instructions carefully before use, then choose a flat position to assemble.
Check the following components after opening the carton box. If there are any parts missing,
please contact with the local dealer.
3-1 Pre-Assembly Check List
ITEM Description Qty
A Computer Console 1
B Frame 1
C Left Upright 1
D Right Upright 1
E MP3 Cable 1

Beach MountainAS - 16 - fitness@beach-mountain.no
Optional Accessory
The POLAR heart rate chest strap is an optional accessory that can be used with this
treadmill. Once the chesk strap is worn, the PULSE window of cosnole will display
your heart rate.
Hardware Pack
Ite
m
Descriptio
n
Q’ty
a Truss Hex Screw M10xP1.5x80 8
b Truss Hex Screw M8xP1.25x70 2
c Nylon Nut M8 2
d Plastic Handle 2
e Hex Screw M8xP1.25x20 Stainless Steel 2
f Spring Washer M8 2
g Washer Ø8xØ19x3.0t 2
h Hex Wrench 6mm x 80mm x 80mm 1
i Hex Wrench 5mm x 80mm x 80mm 1
j T-shaped Wrench 8mm x 200mm 1
k Sleeve Spanner + Screwdriver 1
m Safety Key Set 1
n Silicone 1

Beach MountainAS - 17 - fitness@beach-mountain.no
3-2 Assembly Steps
Two people are required to finish the assembly steps.
CAUTION!! Please follow the assembly steps exactly to avoid injury.
1. Remove motor cover from frame(B), then fix slightly Uprights(C,D) with frame by screw(a). Tighte
n screw(e) and then tighten screw(a). Pull out lower control cable inside Upright(D), then put them
otor cover back to the frame(B) and tighen with screws.
Note: To avoid damage or injury, always assemble the treadmill with two or more people, do not assemble
by yourself.

Beach MountainAS - 18 - fitness@beach-mountain.no
2. Place the Computer Shelf(A) on the assembled Uprights(C,D) of Frame(B) and pull the control wire into the
upright to connect it with the computer. Put the computer shelf above the uprights and tighten with Nylon
Nuts(b) as shown in the above drawing. Tighten the computer with plastic handle screws(d). Lastly, install
the copholders.
Note:(1) When tightening the screws, pay attention to whether the control wire in the tube pinched.
(2) When connecting the control wires, pay attention whether the corresponding color is correct, red
matches with red and white matches with white.

Beach MountainAS - 19 - fitness@beach-mountain.no
3. After finishing the above steps, raise the computer console (A) as the arrow shows and tighten
with the plastic handle (d).

Beach MountainAS - 20 - fitness@beach-mountain.no
4. ProgramControlSettings
4-1. Instruction
This console is equipped with 7” TFT-LCD screen that displays SPEED 、INCLINE 、
DISTANCE、KCAL、TIME、PACE、BPM and PROGRAM profile.
SPEED/INCLINE/DISTANCE: Indicate the value of speed, inclination angle and distance
during the workout.
KCAL: Indicate calories consumption while workout (kcal)
PACE: Time needed to finish 1 km (mile) run
BPM: Heart beat per minute (times/min)
Table of contents
Other Impulse Treadmill manuals
Popular Treadmill manuals by other brands
Smooth Fitness
Smooth Fitness 5.25 MOTORIZED TREADMILL user manual
York Fitness
York Fitness Active 120 owner's manual

Weslo
Weslo WCTL39320 user manual

NordicTrack
NordicTrack Ex 3300 Treadmill Bedienungsanleitung

SportsArt Fitness
SportsArt Fitness T630 Repair manual
NordicTrack
NordicTrack T22.0 Treadmill Manuale d'istruzioni
