MODEL/IIUL316 WWW.INALTO.HOUSE
QUICK START GUIDE
SUPPORT
Telephone: 1300 11 4357
Email: support@residentiagroup.com.au
DETAILS
Energy Rating (MEPS): 2 Stars
Dimensions (W, D, H mm): 540 × 540 × 1769
Warranty: 2 Years
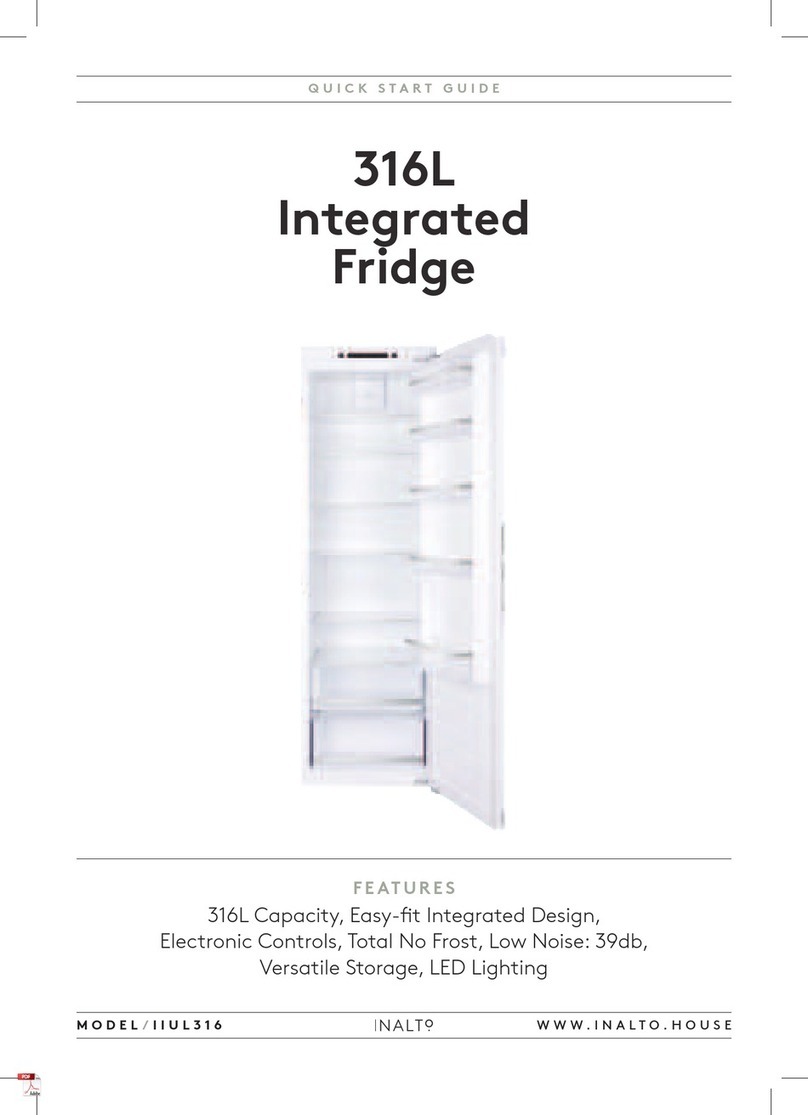
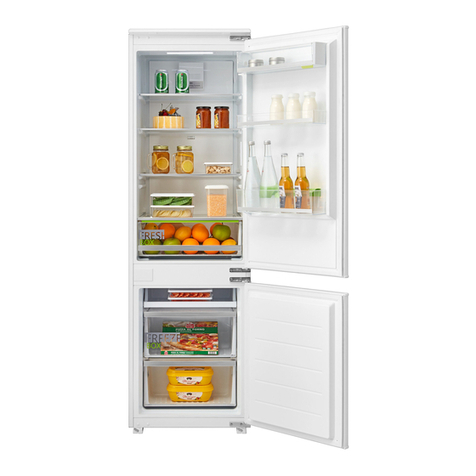
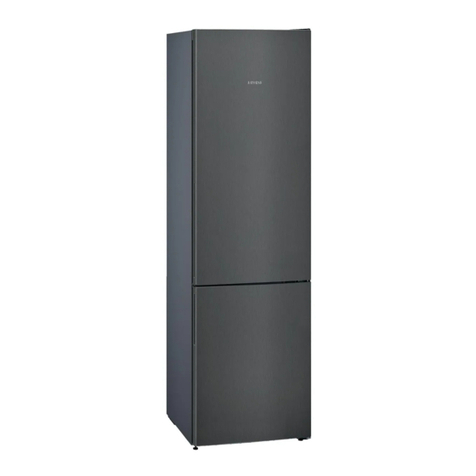
Congratulations on your new
InAlto 316L Integrated Fridge!
YOUR INTEGRATED REFRIGERATOR BEFORE FIRST USE
You must allow the fridge to settle
for at least 24 hours prior to switching
on the power.
It is recommended that you clean
the interior prior to first use followed
by thoroughly drying the interior.
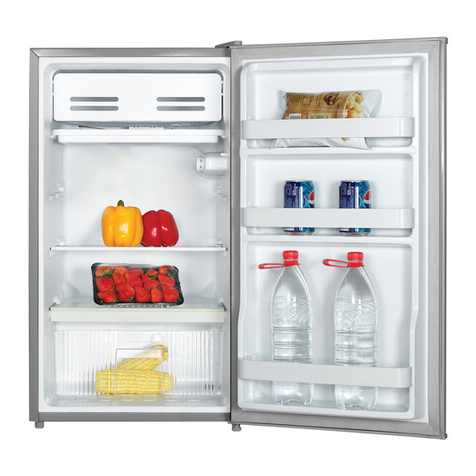
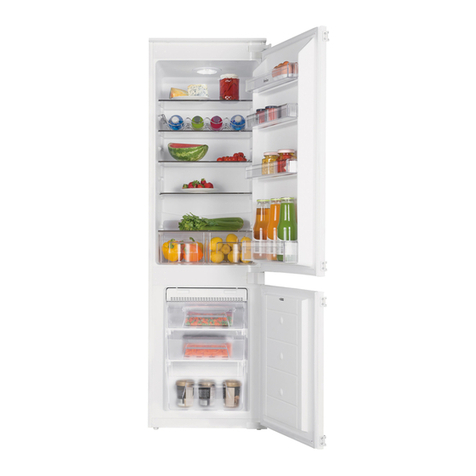
1. LED Lighting
2. 6 × Glass shelves
3. Fruit & vegetable crisper drawers
4. Temperature control panel
5. 5 × Door trays
2
3
4
5
1
CONTROL PANEL
A Fridge temperture adjustment:
Press this button once to activate
the adjustment and then press it
as many times as necessary to
achieve the desired temperature
level. The settings range from
1 (warmest) to 6 (coldest).
B Fridge temperature display
C ON/OFF Button
9
Control panel
A. Refrigerator temperature adjustment sensor
This button is used to adjust the temperature within the fridge. Press
this sensor once to activate adjustment, and then as many times as
necessary until the desired level is selected. The settings range from 1
to 6 with 1 being the warmest and 6 being the coldest.
Please note: Where possible, avoid having the temperature setting on
6 all of the time. This well help to alleviate strain on the compressor
and refrigeration system.
B. Refrigerator temperature setting display
This display will illuminate the current temperature setting. Adjusting
the temperature will cycle through this display.
Please note: You do not use numbers 1 to 6 to change the
temperature. Instead, use the refrigerator temperature adjustment
sensor (A).
C. Power button
Use this sensor to switch the appliance on and o (standby mode).
The sensor will be illuminated when the appliance is o.
Fig. 3
A B C
REGISTER YOUR APPLIANCE
AU: www.inalto.house/registration
NZ: www.inalto.house/nz/registration
