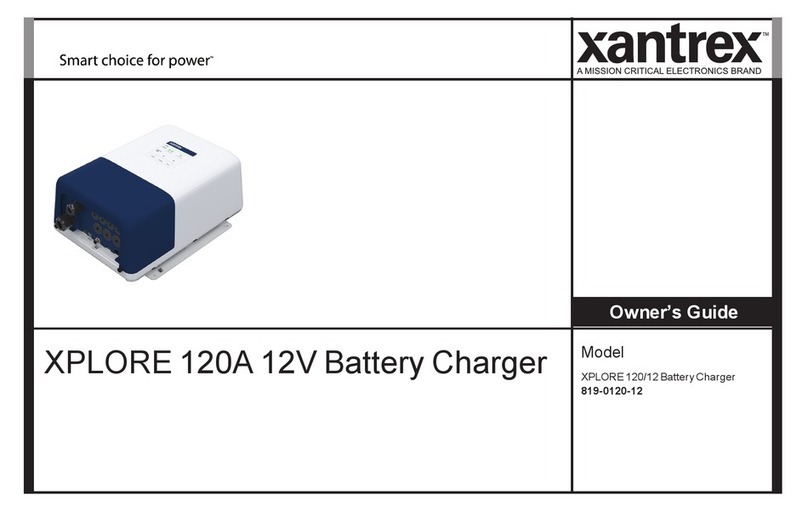
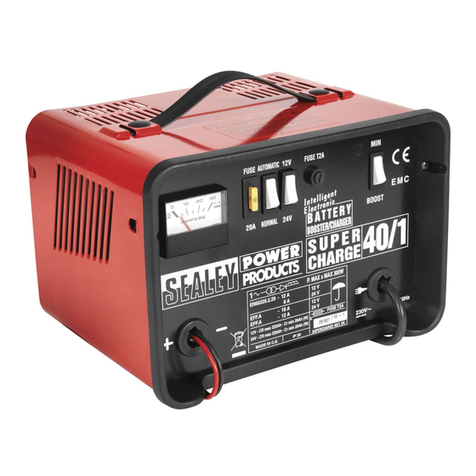
Inelco Keepower XL-pro User manual

Before charging, please read the operating instructions.
Protect charger from moisture and keep dry.
Battery acid is highly corrosive. Acid on the clothes should be rinsed off immedi-
ately in running water. In case of acid on the skin or in the eyes, rinse thoroughly in
running water and contact a doctor.
Disconnect mains supply before connecting or disconnecting the battery clamps.
sparks. A battery may produce explosive gases during charging and good ventila-
tion should therefore be ensured if charging takes place indoor.
The charger has to be placed on a solid surface or hanged on the wall with good
ventilation.
The charger may not be covered up or exposed to direct sunlight.
Thebatterym anufacturer’sadviceshavetobefollow edcarefully.
The charger can only be used for rechargeable lead/acid, GEL or AGM batteries.
The charging cables can only be changed to other keepower cables.
In case of damaged cables the charger cannot be used.
Repair of the charger may only be done by an authorized shop.
Place the charger in horizontal position to obtain the IP class.
Warnings
English
Thank you for purchasing a keepower XL-pro battery charger, a choice that
keepower XL-pro Charger
1
2
Before charging, please read the operating instructions.
Protect charger from moisture and keep dry.
Turn off the charger before attaching and removing the charging clamps.
2009-03-02 keepower XL-pro manual GB TA.indd 2 05-03-2009 11:24:52
40

The keepower XL-pro Charger kit
Flash light
Flash light button
Mains cable
Plus clip -
Red
Minus clip -
black
Display
Navigation buttons
Selection button
Enter and power on/off
USB charging
connection
Battery
temperature
sensor
2009-03-02 keepower XL-pro manual GB TA.indd 3 05-03-2009 11:24:52
41

surface, hanging on an edge e.g. a car window or screwed to a wall.
As a stationary
device
How to install the charger
As a device on
the wall
As a device
hanging on an
edge.
Navigation in the menu
There are 4 buttons for navigation in the menu.
Arrow Up is used for moving the cursor up in the menu
Arrow Down is used for moving the cursor down in the menu
Arrow Back is used for going back to the previous menu
Select buttons has two functions:
Making a selection in the menu
Turning the charger on and off by pressing the button for
minimum 3 sec.
As a handheld
device.
2009-03-02 keepower XL-pro manual GB TA.indd 4 05-03-2009 11:24:52
42

Selection of language
The selection of the menu language is done without a battery connected
(charger connected to Mains). The menu language selection is activated by
pressing the back button, scrolling to the language to be used and select-
in g th e la n g u a g e b y p r e s s in g th e “ S e le c t”b u tto n .
Activate language selection
Scrolling to select the
language
Select language
The language selection only woks with the clips disconnected.
2009-03-02 keepower XL-pro manual GB TA.indd 5 05-03-2009 11:24:53
43

How do I test a battery
Battery tester determine the charging state of the battery and display it to
you. For reliable reading, the battery should be at room temperature (20
ºC), and it must have been resting for at least 4 hours (no charging has
taken place either in the vehicle or using the keepower Intelligent Battery
Care charger). If charging has taken place within the last 4 hours, a higher
reading will be the result. Testing of the battery will always take place before
charging, enabling the keepower Intelligent Battery Care system to give the
optimum charge to the battery.
The battery tester only works with the mains disconnected.
2009-03-02 keepower XL-pro manual GB TA.indd 6 05-03-2009 11:24:53
44

Full: There is no reason to charge. However a small top-up charge
can normally be added.
Medium: The battery can be charged with in the normal charging
mode.
Low: The battery can be charged with in the normal charging
mode.
Discharged battery: If you need to use the battery fast the intel-
ligent Boost mode can be used. Otherwise softcharge is activated
automatically when charging starts (recommended).
Deep Discharged: -
ing is needed. Charging will start with Softcharge. Intelligent
Boostcharge can be selected for fast charging. Use of Softcharge
is recommended.
The battery tester indicate 5 stages of the battery.
Deep discharged
voltage <11.95V
Discharged
voltage >12.05V
Low
voltage >12.25V
Medium
voltage >12.45V
Full
voltage >12.65V
2009-03-02 keepower XL-pro manual GB TA.indd 7 05-03-2009 11:24:53
45

How do I charge and select different charging
modes
The different charging modes are selected in the menu.
Normal charging is used on normal batteries (Wet, open type),
maintenance-free, GEL, AGM and sealed battery with a gas limit
at 14.0V or 14.4V in Bulk charging, and 14.4V or 14.8V in After-
charge. (battery type is selected for determining the gas limet).
In the display the current voltage on t he battery is showed
together with the charging current
Boost mode is used when trying to repair deep discharged
batteries, and is further described under "The intelligent charging
curve".
In the display the current voltage on the battery is showed
together with the charging current
Supply Mode is used as a power supply when e.g. the car is
in a showroom and the cars facilities is used without the motor
running. In case of overload, a warning is giving in the display. If
heavy overload, the charger switches off to protect it self.
A battery has to be connected for activation of "Supply mode"
Please note that spark protection is not active when in
supply mode.
Selection button
Red clips to +
Black clips to -
2009-03-02 keepower XL-pro manual GB TA.indd 8 05-03-2009 11:24:54
46

Menu tree
Actual number of selections might vary due to customisation.
Example menu tree:
Battery not connected
Battery connected
2009-03-02 keepower XL-pro manual GB TA.indd 9 05-03-2009 11:24:54
47

Soft charge (Indication on screen )
The“Softcharge”phaseisusedw henthebatteryisdeep
discharged. The battery is charged until it is ready to receive
normal charging (11.6V) and then the normal charging is started.
Desulphation (Indication on screen )
The“D esulphation”phaseisusedifthebatteryhasnotbeen
used for a longer period.
Bulk charging (Indication on screen )
The“Bulkcharging”phaseisthephasewherethebatteryundera
constant current is charged up to app. 85% of the full capacity.
Absorption (Indication on screen )
The“Absorption”phaseisthephasew herethebatteryundera
constant voltage is charged up to app. 98% of the full capacity.
The intelligent charging curve
Tes t i n g Soft charge Desulphation Bulk charge Absorption After charge Tes t i n g Maintenance Maintenance
2009-03-02 keepower XL-pro manual GB TA.indd 10 05-03-2009 11:24:54
48

After charging (Indication on screen )
The“Aftercharging”phaseisthephasew herethebatteryis
charged up to app. 100% of the full capacity. The voltage is raised
0.4V compared to the Bulk charging phase.
Testing (Indication on screen )
The“Testing”phaseisthephasew herethebatteryistestedfora
defect battery cell.
Maintenance (Indication on screen )
Thepurposew ith“m aintenance”phaseistokeepthebatteryat
100% capacity over a long period of time. The charger is always
measuring the voltage and when it goes below 12,6 / 25,2 V it will
start charging the battery.
Boost (Indication on screen )
The“Boost”phaseisusedtokickstartthebatteryifithaslow
pow er.This“B oost”ism adeasanintelligentboosting.T hism eans
that the charger is boosting the battery for ½ hour with maximum
current and then a test is made of the battery to see if it is ready for
normal charging. If the battery is not ready for normal charging, the
charger will boost again. This process is repeated 4 times and if
the battery is not Ok after that the charger will indicate a fault.
While charging the actual voltage, current and the selected battery type is shown
in the display. It is also possible to see how many Ah has been charged to the
battery (not the total Ah on the battery) This is done by pressing the down button.
It is possible to stop the charging by pressing the Back or Select button.
While charging
2009-03-02 keepower XL-pro manual GB TA.indd 11 05-03-2009 11:24:54
49

Error indication
Maintenance
The charger can be cleaned with a moister cloth. Running water and deter-
gent contained solvent may not be used.
Repair of the chargers may only be done by an authorised shop and that
included replacement of the battery cables.
The charger is excessive overloaded
in the supply mode
The charger is overloaded in the
supply mode
The charger has lost the mains supply
during charging
The charger needs service because it
have failed during the self testing
No battery is connected
The clamps are shorted
A battery with a voltage over 32V have
been connected
There can be two reasons for no indication in the battery tester during
testing:
The battery in the car is deep discharged.
Wrong polarization of the clamps on the battery.
2009-03-02 keepower XL-pro manual GB TA.indd 12 05-03-2009 11:24:54
50

Flash light
using the charger in a dark room.
mains connected.
(see picture 2).
Guarantee
Keep valid receipt or guarantee card. To obtain guarantee within the guaran-
tee period, it is an absolute must that, either a valid receipt or guarantee card
is submitted to service station together with the appliance.
1 2
Temperature sensor
The keepower XL-pro version has a temperature sensor in the battery
clamps. This sensor is used to adjust the charging parameter while charging
the battery.
USB connection
The USB connection can be used for other devices (Mobil phones, Ipod)
whichneed to be charged. This is done by using the connector delivered
together with the devices that need to be charged.
2009-03-02 keepower XL-pro manual GB TA.indd 13 05-03-2009 11:24:54
51
