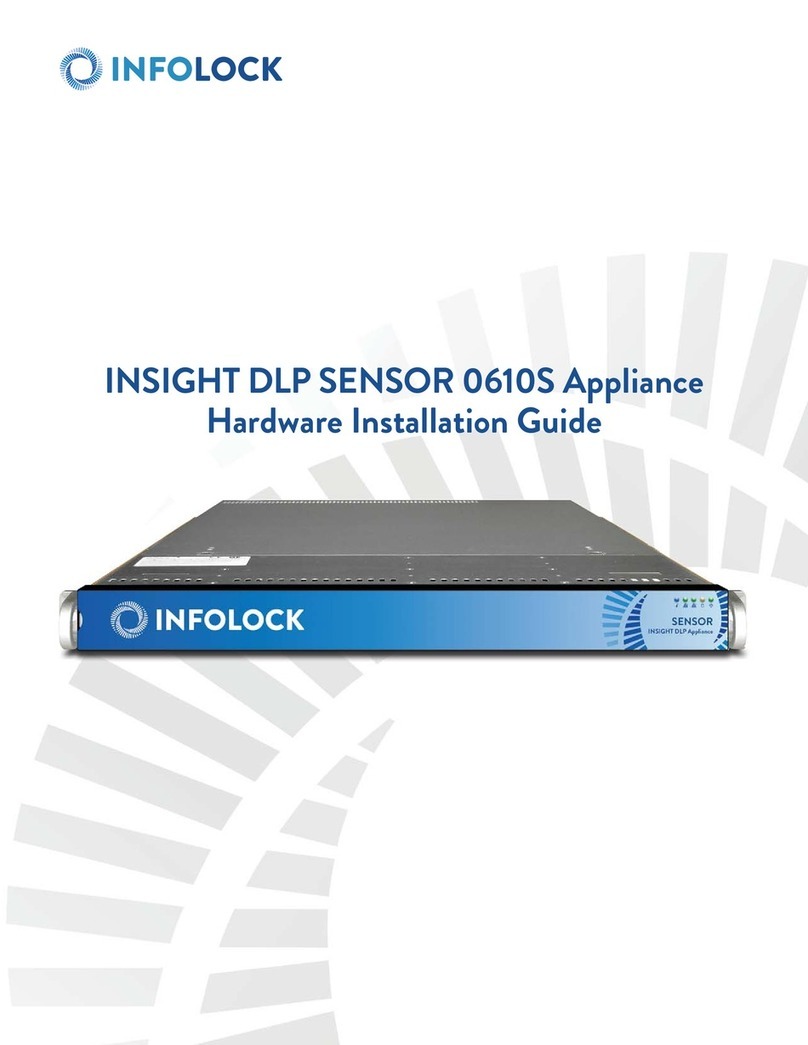
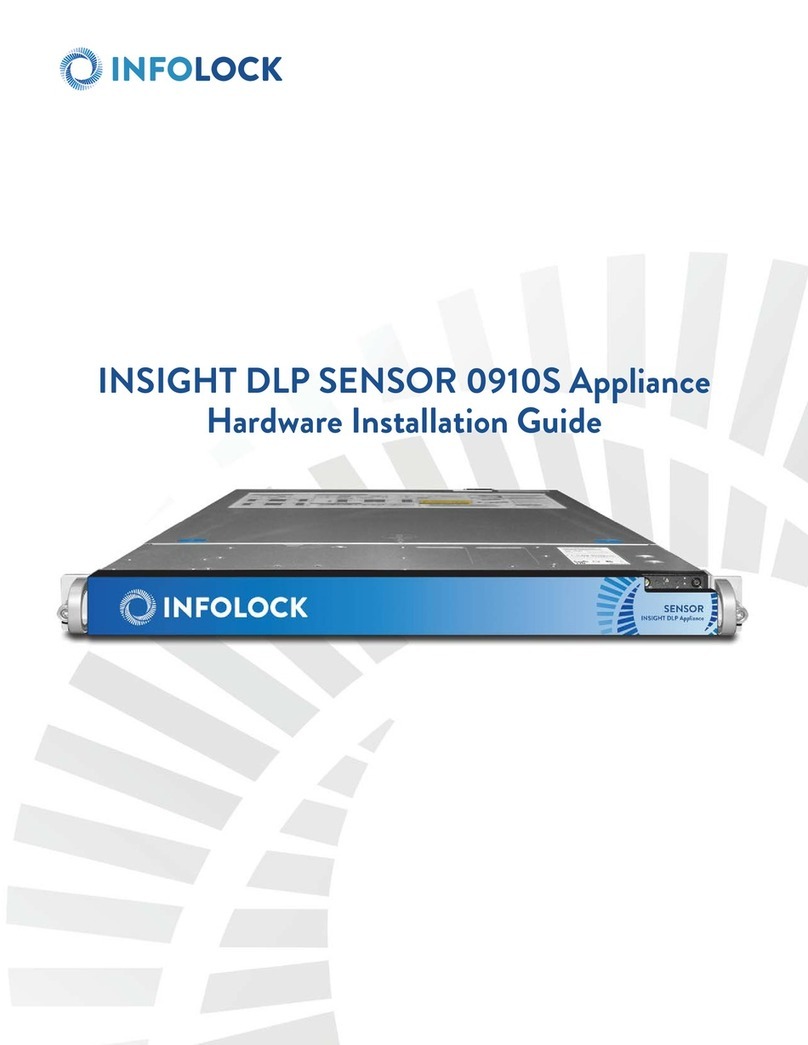
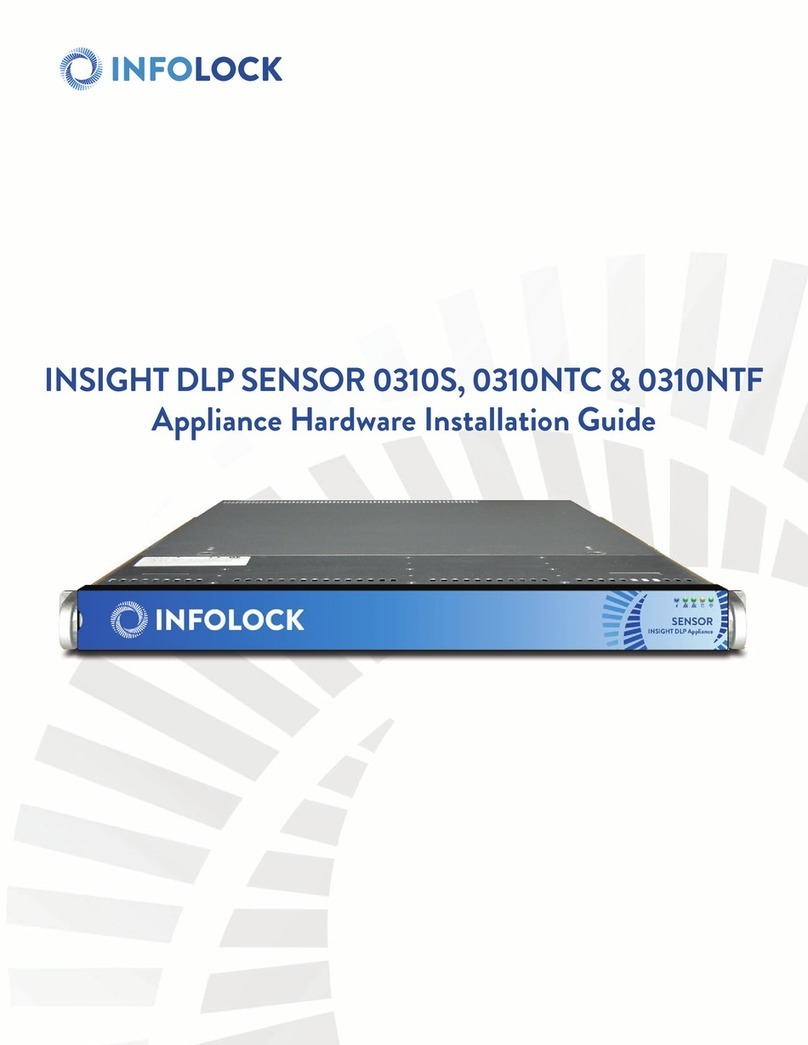
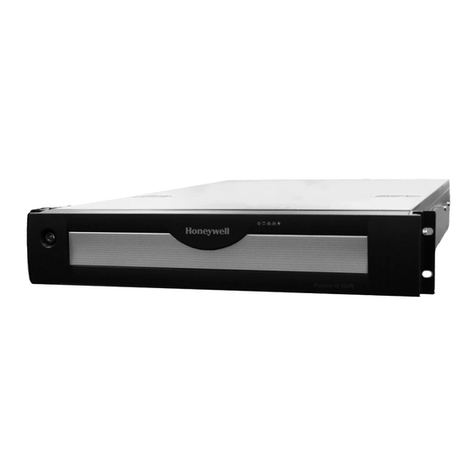
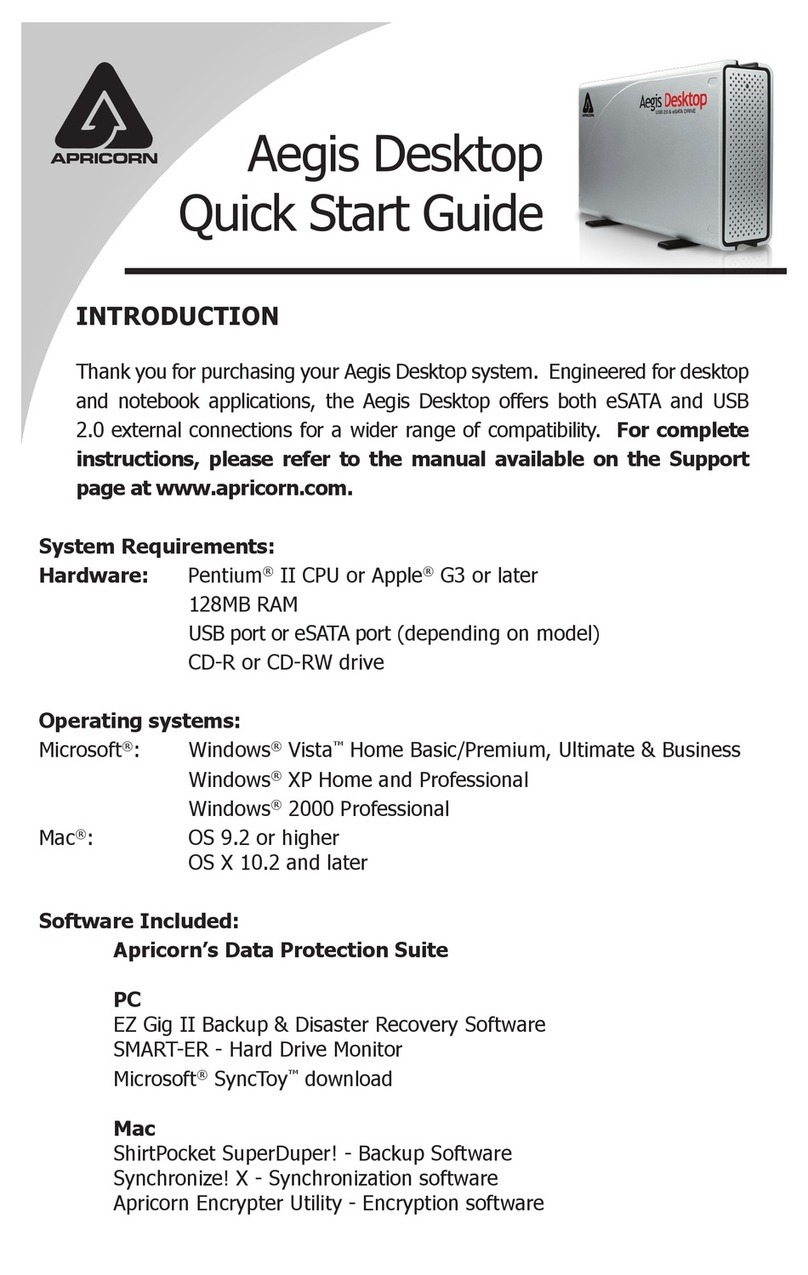
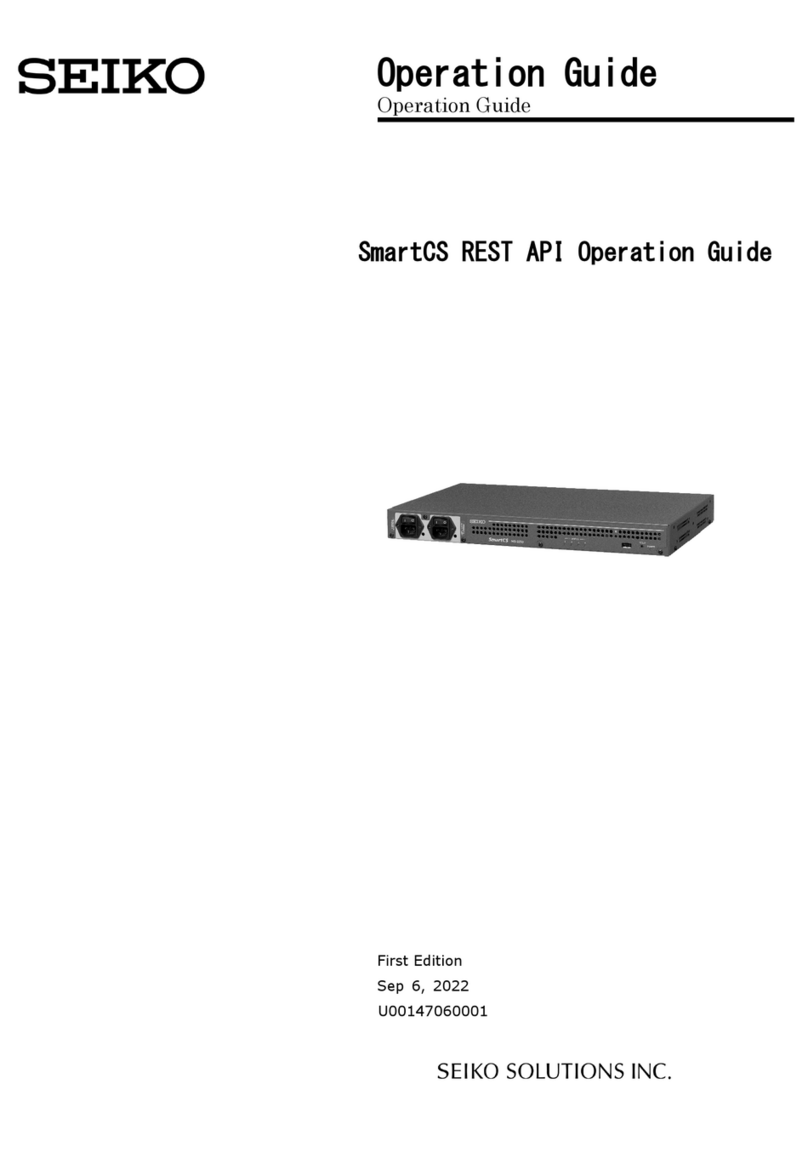
Infolock Insight DLP Director 2200 Manual

INSIGHT DLP DIRECTOR 2200 Appliance
Hardware Installation Guide

2
INSIGHT DLP DIRECTOR 2200 Appliance Hardware Installation Guide www.infolocktech.com
TABLE OF CONTENTS
Section 1 Ratings . . . . . . . . . . . . . . . . . . . . . . . . . . . . . . . . . . . . . . . . . . . . . . . . . . . . . . . . . . . . . . . . . . 3
Section 2 Site Preparation . . . . . . . . . . . . . . . . . . . . . . . . . . . . . . . . . . . . . . . . . . . . . . . . . . . . . . . . . . . 3
Section 3 Unpacking the Appliance . . . . . . . . . . . . . . . . . . . . . . . . . . . . . . . . . . . . . . . . . . . . . . . . . . . . 4
Section 4 4-Post Rack Installation . . . . . . . . . . . . . . . . . . . . . . . . . . . . . . . . . . . . . . . . . . . . . . . . . . . . . 5
Section 5 Rail Installation on the Appliance . . . . . . . . . . . . . . . . . . . . . . . . . . . . . . . . . . . . . . . . . . . . . . 6
Section 6 Installing the Appliance in the Rack . . . . . . . . . . . . . . . . . . . . . . . . . . . . . . . . . . . . . . . . . . . . 6
Section 7 Rear Panel Connections . . . . . . . . . . . . . . . . . . . . . . . . . . . . . . . . . . . . . . . . . . . . . . . . . . . . .7
Section 8 Front Panel Operation . . . . . . . . . . . . . . . . . . . . . . . . . . . . . . . . . . . . . . . . . . . . . . . . . . . . . . . 9
Section 9 Bezel Installation on the Appliance . . . . . . . . . . . . . . . . . . . . . . . . . . . . . . . . . . . . . . . . . . . . . 10

3
INSIGHT DLP DIRECTOR 2200 Appliance Hardware Installation Guide www.infolocktech.com
1. RATINGS
V: 100 - 127 VAC
200 - 240 VAC
Hz: 50/60
A: 100 - 127V ~/9.2A Max (x2)
200 - 240V ~/4.4A Max (x2)
Setup location, rack and appliance precautions
nElevated Operating Ambient Temperature - If installed in a closed or multi-unit rack assembly, the operating ambient
temperature of the rack environment may be greater than room ambient temperature. Therefore, consideration
should be given to installing the equipment in an environment compatible with the maximum ambient temperature
(Tma) specified by the manufacturer.
Always keep the rack’s front door and all panels and components on the appliances closed when not servicing to
maintain proper cooling.
nReduced Air Flow - Installation of the equipment in a rack should be such that the amount of air flow required for safe
operation of the equipment is not compromised. Leave enough clearance, approximately 25 inches in the front, and
30 inches in the back of the rack to enable you to access appliance components and allow for sufficient air flow.
nMechanical Loading - Mounting of the equipment in the rack should be such that a hazardous condition is not
achieved due to uneven mechanical loading.
ALL RACKS MUST BE MOUNTED SECURELY. Ensure that all leveling jacks or stabilizers are properly attached
to the rack. If installing multiple appliances in a rack, make sure the overall loading for each branch circuit does not
exceed the rated capacity.
Do not slide more than one appliance out from the rack at a time. Extending more than one appliance at a time may
result in the rack becoming unstable. Install your appliance in the lower part of the rack because of its weight and
also for ease in accessing appliance components.
nCircuit Overloading - Consideration should be given to the connection of the equipment to the supply circuit and
the effect that overloading of the circuits might have on overcurrent protection and supply wiring. Appropriate
consideration of equipment nameplate ratings should be used when addressing this concern.
nReliable Earthing - Reliable earthing of rack-mounted equipment should be maintained. Particular attention should be
given to supply connections other than direct connections to the branch circuit (e.g. use of power strips).
Install near appropriate AC outlets, and Ethernet hubs or individual jacks. Be sure to install an AC Power Disconnect
for the entire rack assembly. The Power Disconnect must be clearly marked. Ground the rack assembly properly to
avoid electrical shock.
2. SITE PREPARATION

4
INSIGHT DLP DIRECTOR 2200 Appliance Hardware Installation Guide www.infolocktech.com
3. UNPACKING THE APPLIANCE
NOTE: Use the hardware supplied with your
specific rack if dierent from the hardware
supplied in this kit.
A B C D E F
Eight Phillips
flat head screws
Two power cords
Complete chassis and adjustable rack rail assembly (inside view)
Complete chassis and adjustable rack rail assembly (outside view)
Inner fixed chassis rail attaches to the appliance
(To be removed from the adjustable rack rail assembly
and will attach directly to the appliance)
Adjustable rack rail assembly
which will be installed and attached to the front and back of the rack)
Make sure the ship kit includes the correct mounting hardware
Mounting and installation hardware
nEight Phillips flat head screws
nTwo power cords
nA pair of 4-post rack sliding chassis rail rack assemblies as shown below
AInner fixed chassis rail
BChassis rail locking pin
CChassis rail release button
DAdjustable rack rail, front bracket
EAdjustable rack rail, center sliding rail
FAdjustable rack rail, rear bracket

5
INSIGHT DLP DIRECTOR 2200 Appliance Hardware Installation Guide www.infolocktech.com
4. 4-POST RACK INSTALLATION
NOTE: Use the hardware supplied with
your rack if dierent from the hardware
supplied in this kit.
LOCATE THE MOUNTING HARDWARE
Step 1
Locate the two adjustable rack rail assemblies
nRemove the inner fixed chassis rails from each rack rail assembly.
nPull each inner fixed chassis rail out as far as possible. Slide the chassis release tab forward to release
the chassis rails from the rack rail assemblies. Slide each chassis rail completely out.
nPut these rails aside for later installation on the appliance in Section 5 on page 6.
Inner fixed chassis rail Rear section of the rack rail assemblyCenter, sliding section of the rack rail assembly
Chassis rail release tab
Step 2
Rack Rail Assembly
A. In the front, align the front bracket of
the adjustable rack rail assembly with
three holes in the rack. The rack rail
assembly will attach to the rack
behind the holes in the front. Insert
and tighten two of the flat head
screws in the top and bottom holes
as shown in the illustration on the
right. The center hole will remain
empty for later use to secure the
appliance in the rack.
B. Slide the rack rail assembly back to
attach the rear bracket to the rear of
the rack.
C. In the rear, insert and tighten two of
the flat head screws through the top
and bottom holes of the rear bracket
to the rear of the rack. The rear
bracket will attach to the rack behind
the post with the holes.
Repeat steps A, Band Cto install the other
rack rail assembly on the other side of the
rack.
NOTE: Make sure the rail assemblies are aligned
in the rack not only in the front and back but also
on the left and right sides to allow proper appliance
installation.
Adjusta
b
ass
e
A
b
lerack rail
e
mblies
ANG
L
B
L
E VIEW
C
C
ANGLE VIEW
4-
p
A
p
ost rack
4-post rack
SIDE VIEW
SIDE VIEW

6
INSIGHT DLP DIRECTOR 2200 Appliance Hardware Installation Guide www.infolocktech.com
Chassis r
a
A
Chassis standoff tab
Inner fixed chassis rail
Appliance chassis
(side view)
a
il key hole Chassi
s
Chassis rail locking pin
A
B
sis
sta
n
d
o
f
Chas
ff
f
tab
s
rail key hole Chassi
s
A
B
sis
sta
n
d
o
f
Chas
ff
f
tab
s
rail key hole
A
B
Locate the fixedchassis rails that were put aside inStep1 onpage 5
nMount the inner fixed chassis rails to each side of the appliance. Slide the chassis rail key hole cut outs through
the chassis standoff tabs on the side of the appliance as shown below. Slide the chassis rail toward the back of
the appliance. The chassis rail locking pin will secure the rail in place.
6. INSTALLING THE APPLIANCE IN THE RACK
A
B
C
4
2
1
D
I
3
4
A
B
B
A
C
B
A. Align the inner fixed chassis rails on the appliance with the assembled rack rail components previously installed
in the rack. Carefully slide the appliance into these rails until you hear the rails click into place.
B.Slide the chassis rail release button forward to release the chassis rail. Push the appliance all the way into the rack.
C. Secure the unit in the rack by pressing the thumb screws on either side of the appliance into the holes in rack
and tighten each one.
NOTE: Whenremoving the appliance from the
rack, you will needto pull the chassis release
buttonforward inorderto release the appliance
from the rack. Carefully slide it out supporting
the unit onboth sides at all times.
5. RAIL INSTALLATION ON THE APPLIANCE

7
INSIGHT DLP DIRECTOR 2200 Appliance Hardware Installation Guide www.infolocktech.com
7. REAR PANEL CONNECTIONS
N
AB
C
M
OPQ R
F
DE
I
GJ
STU
HK
L
V
W
X
Y
NOP
Q
Q
RSTUV X
M
CAUTION
Slide rail/mounted equipment is not
to be used as a shelf or a work space.
NOTE: Do not cable the Ethernet ports at this time.
A
B
C
D
E
F
G
H
I
J
K
L
Power Supply Module #1 Fan
Power Supply Module #1 AC Receptacle
Power Supply Module #1 Lock
Power Supply Module #2 Fan
Power Supply Module #2 AC Receptacle
Power Supply Module #2 Lock
Full Height PCIe Expansion Slot
Three USB Ports
eth4 Port
eth7 Port
eth6 Port
eth5 Port
M
N
O
P
Q
R
S
T
U
V
W
X
Y
Power Supply Module #1
Power Supply Module #1 System Status LED
Power Supply Module #2
Power Supply Module #2 System Status LED
eth8 Port
eth9 Port
VGA Port
Serial Port
Remote Management Port*
MGMT Port
SPAN Port
DLP Port
eth3 Port
* NOTE: Although IPMI and or Remote Management is
available we do not support it. We recommend for the
use of KVM with VGA and USB adaptor.

A
PA
GM
P
DL
DLP
SP
AN
MGM
T
31
8
INSIGHT DLP DIRECTOR 2200 Appliance Hardware Installation Guide www.infolocktech.com
7. REAR PANEL CONNECTIONS (continued)
Step 1 Connect the Ethernet cables for MGMT, DLP, and SPAN
(if required).
Step 2 Connect any other required cables.
Step 3 Connect the power cords.
Step 4 Proceed to Section 8, Front Panel Operation on page 9.
POWER SUPPLY STATUS LED
There is a single bi-color Power Good LED on each power supply
module to indicate power supply status. The LED operation is
defined in the table below.
NOTE: The server oers redundant, hot-swap capability. The
connections to AC mains should be made in a manner appropriate
to local code and consistent with customer power distribution with
or without redundant sources.
CAUTION
The power supply is hot-swappable only when you have a server
with redundant power supplies installed. If you only have one
power supply installed, before removing or replacing the power
supply, you must first take the server out of service, turn o all
peripheral devices connected to the server, turn o the server by
pressing the power button, and unplug the AC power cord from the
server or wall outlet.
POWER SUPPLY CONDITION
Output ON and OK
No AC power to both power supplies
AC present / only 12 VSB on (PS off) or PS in cold
redundant state
AC cord unplugged or AC power lost; with a
second power supply in parallel still with AC input power
Power supply warning events where the power supply
continues to operate; high temp, high power, high
current, slow fan
Power supply critical event causing a shutdown; failure,
OCP, OVP, fan fail
Power supply FW updating
LED STATE
GREEN
OFF
1Hz Blinking
GREEN
AMBER
1Hz Blinking
AMBER
AMBER
2Hz Blinking
GREEN
In normal operation the Power Good LED on Power Supply Module 1 will be SOLID
GREEN and the LED on Power Supply Module 2 will BLINK GREEN (redundant
standby), if the system is powered down both LEDs will BLINK GREEN.

9
INSIGHT DLP DIRECTOR 2200 Appliance Hardware Installation Guide www.infolocktech.com
Seri
a
a
l Number Slot
USB Ports
Video Port
F
r
4
3
2
1
ID
r
ont Panel Illustration
See Detail Chart
8. FRONT PANEL OPERATION
ABC
GSystem
Status LED
DE F
Status
LED
Press the Power Button once to power the appliance on.
System ID Button with Integrated LED
NMI Button (recessed, tool required for use)
SPAN Activity LED
System Cold Reset Button
Hard Drive Activity LED
Power Button with Integrated LED
DLP Activity LED
A
B
C
D
E
F
G
System Status LED
There is a bi-color (Green/Amber) LED on the Front Panel (shown on the left).
The LED operation is defined in the following table.
CRITICALITY
Not ready
OK
Degraded - system is
operating in a degraded state
although still functional, OR
system is operating in a
redundant state but with an
impending failure warning
Non-critical - system is
operating in a degraded
state with an impending
failure warning, although
still functioning
Critical, non-recoverable -
system is halted
LED COLOR
OFF
GREEN
GREEN
AMBER
AMBER
SYSTEM STATE
System is not operating
Solid - On
~1 Hz blinking
~1 Hz blinking
Solid - On

2900 S QUINCY ST #330
ARLINGTON, VA 22206
+1 (877) 610-5625
Copyright © 2018 Infolock. All rights reserved.
9. BEZEL INSTALLATION ON THE APPLIANCE
2
{
Left Flexible
OR
CT
DIRE
4
3
2
1
ID
1
Right Fixe
{
d
Be
z
el
T
{
Ta
ab
p
p
l
ianc
e
INSIGHT
DLP
A
OR
CT
DIRE
BezelT
Ta
ab
{
Step 1: Align the bezel with the front of the appliance. Insert the right fixed bezel tab on the right side of the bezel
into the handle on the right side of the appliance.
Step 2: Swing the left side of the bezel in toward the appliance. Press in on the bezel to engage the flexible bezel tab
on the left side of the bezel into the handle on the left side of the appliance.
Table of contents
Other Infolock Network Hardware manuals
