Infrared IYASHI 4 User manual
1
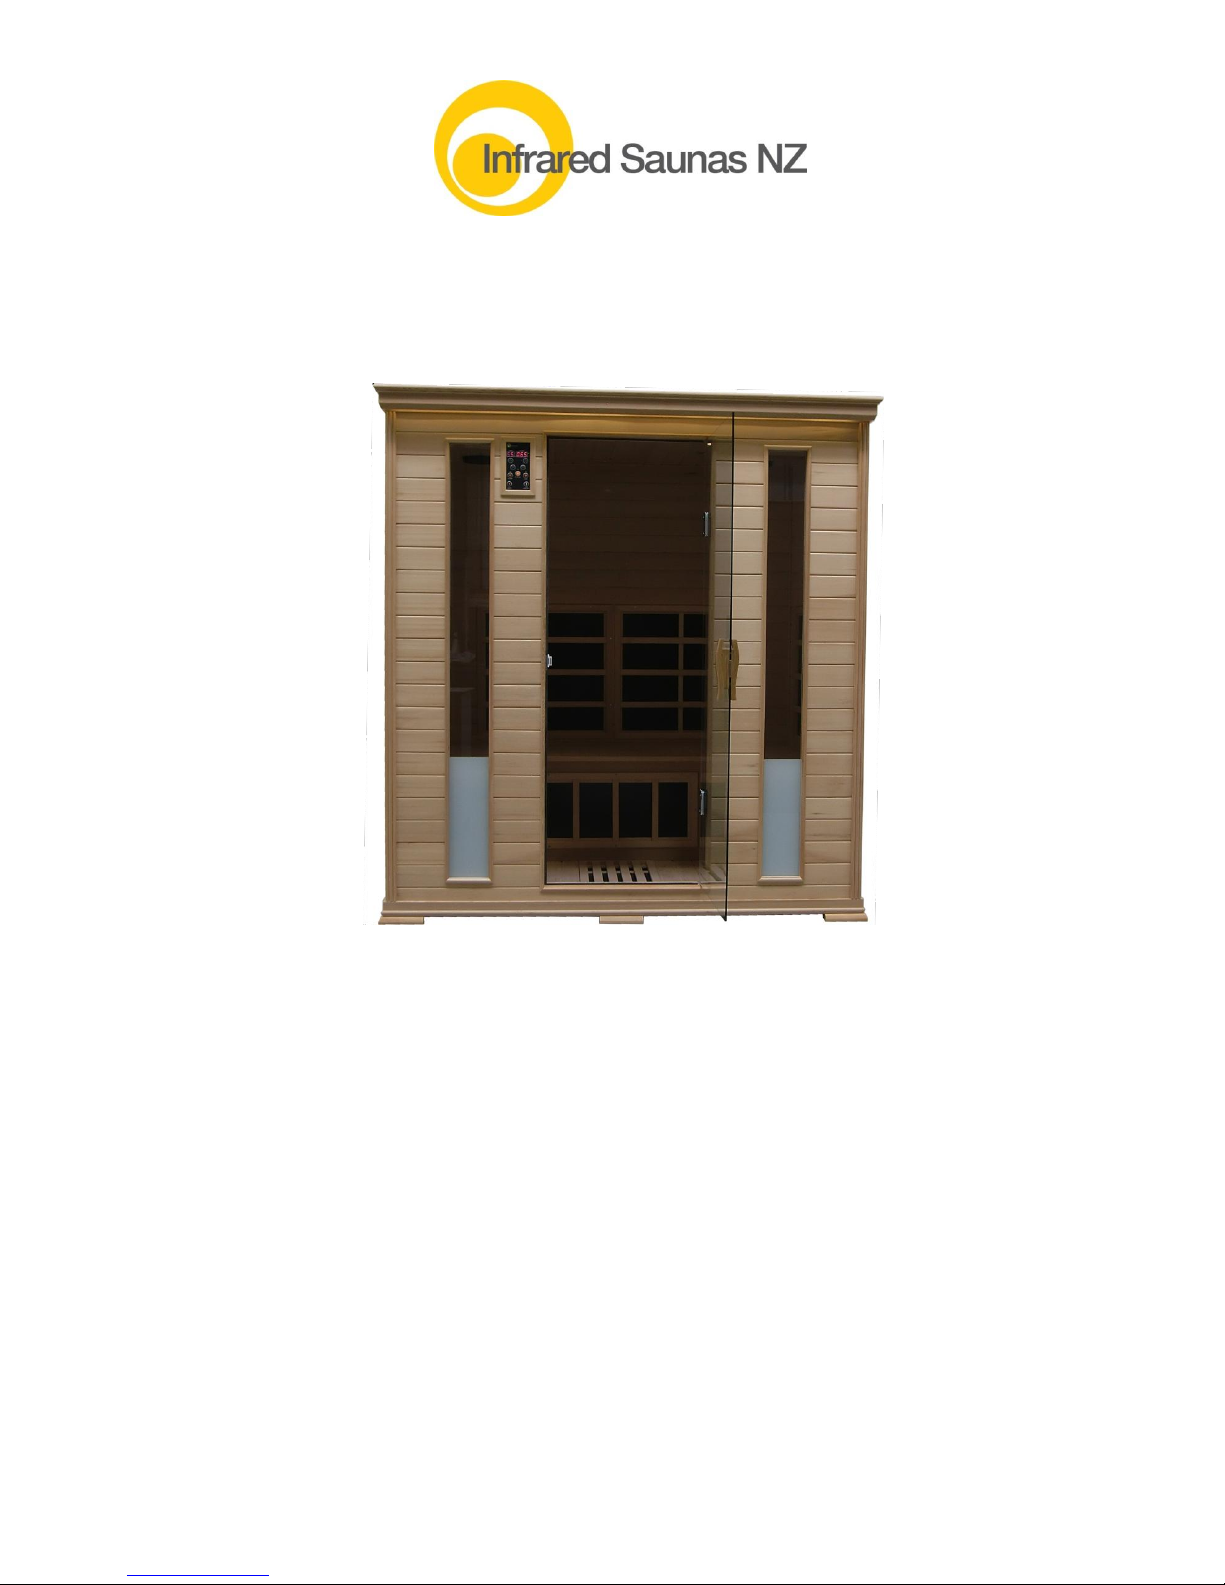
IYASHI 4 PERSON SAUNA INSTRUCTION MANUAL
Please read all instructions carefully before using your sauna.
Table of Contents
Precautions for Use...........................................................................................................................2
Warnings............................................................................................................................................2
Read Before Installation:...................................................................................................................3
Installation Instructions......................................................................................................................3
Control Panel.....................................................................................................................................6
Colour Light Therapy System............................................................................................................7
Cleaning.............................................................................................................................................7
Warranty Information.........................................................................................................................8
Specification ......................................................................................................................................8
How to Take a Sauna........................................................................................................................9
What You Can Expect To Happen In the Sauna............................................................................10

2
Precautions for Use
Read all instructions before using this appliance.
Serious injury may result if warnings and instructions below are not observed.
To reduce the risk of burns, fire, electric shock, or injury to persons:
-Connect the power cord to a properly grounded outlet only.
-Use this appliance only for its intended use as described in this manual.
-Do not use attachments not recommended by the manufacturer.
-Always unplug this appliance from the electrical outlet after using.
-Keep the electrical cord away from heated surfaces.
-Never operate this appliance if it has a damaged cord or plug, if it is not working
properly or if it has been dropped or damaged.
-Do not place the Sauna in a moist environment or in direct sunlight.
-Place the Sauna on a level surface.
-Do not repair the product by yourself.
-Do not disassemble the product by yourself except as indicated in the manual.
-Do not spray the heaters with water.
-Do not use any sharp tools on or near the heaters (severe damage may result).
-Do not directly touch the heater with your hands or body for extended periods of
time.
-Do not use continuously for more than one hour.
Warnings
If you have any health problem or condition, consult your physician for permission to use
the sauna room (“health problem” includes but is not limited to: acute diseases,
malignant tumours, high blood pressure, heart disease, allergic dermatitis, pregnancy,
etc.).
The sauna room should not be used by children.
Should you have any abnormal feelings (e.g. nausea, headache, etc.) while using the
sauna, immediately exit the sauna and consult with your doctor.
Do not use the sauna if you are under the influence of alcohol, drugs, or medication, this
could increase the risk of fatal hyperthermia (i.e. over-heating).
This appliance is not intended for use by persons with reduced physical, sensory or
mental capabilities, unless they have been given supervision or instruction concerning use
of the appliance by a person responsible for their safety.
HYPERTHERMIA
Prolonged exposure of the user in the sauna room can induce hyperthermia. Hyperthermia
occurs when the internal temperature of the body reaches a level several degrees above the
normal body temperature of 37°C.The symptoms of hyperthermia include dizziness,
lethargy, drowsiness, and fainting. The effects of hyperthermia include:
-Failure to perceive heat
-Failure to recognize the need to exit the room
-Unawareness of impending heat
-Foetal damage in pregnant women
-Physical inability to exit the room
-Unconsciousness
3
Read Before Installation:
Two adults are required for the installation of this sauna room as some of the panels are
heavy.
Care must be taken when handling heavy panels to avoid injury and damage to the sauna.
Installation Instructions
1. Place the floor panel on a level surface (NB: The floor panel must be level before installing
walls and ceiling panel. If the surface is not level you may need to skim the bottom panel
to get it level).
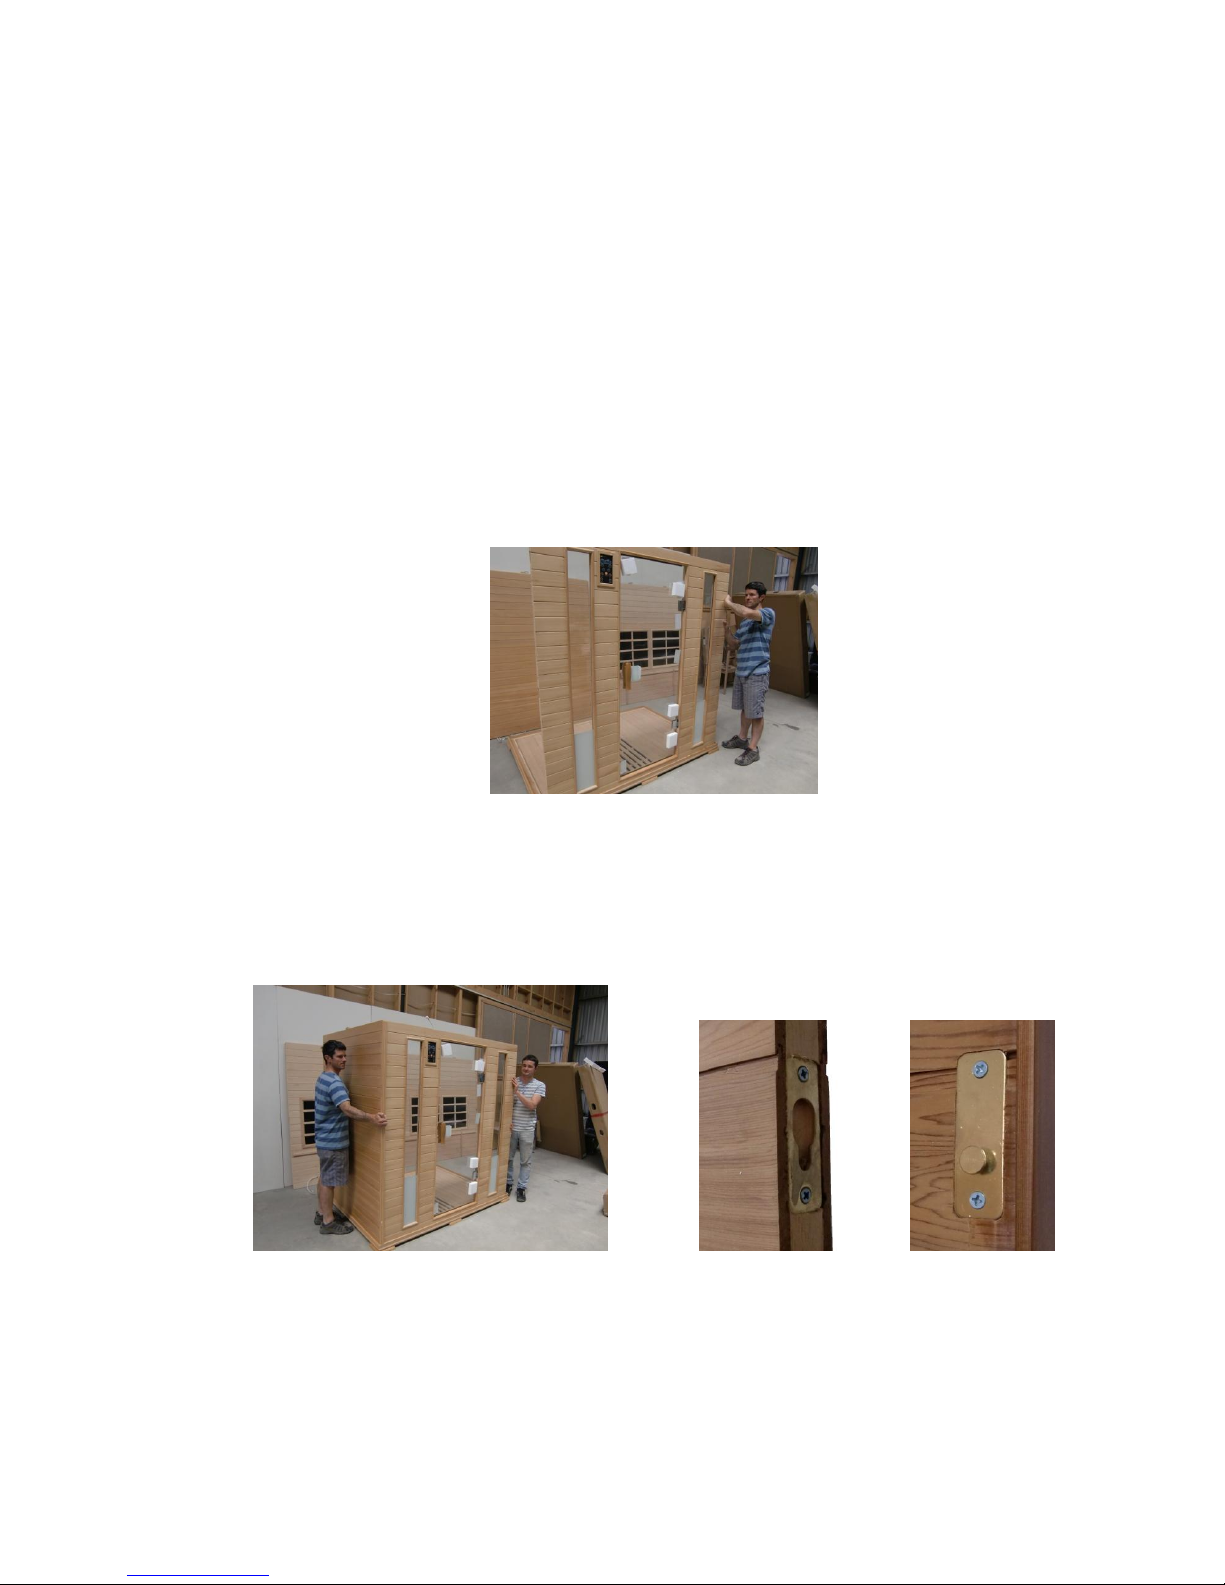
2. Place the front panel in the slot of the floor panel.
3. Place the left side panel against the front panel about 2 inches higher and slide down into
the slot of the floor panel until they are equal in height. As you slide down make sure the
connectors on the left side panel are securely fastened to those on the edge of the front
panel.
Connectors
4
4. Place the right side panel against the front panel about 2 inches higher and slide down
into the slot of the floor panel until they are equal in height. As you slide down make sure
the connectors on the right side panel are securely fastened to those on the edge of the
front panel.
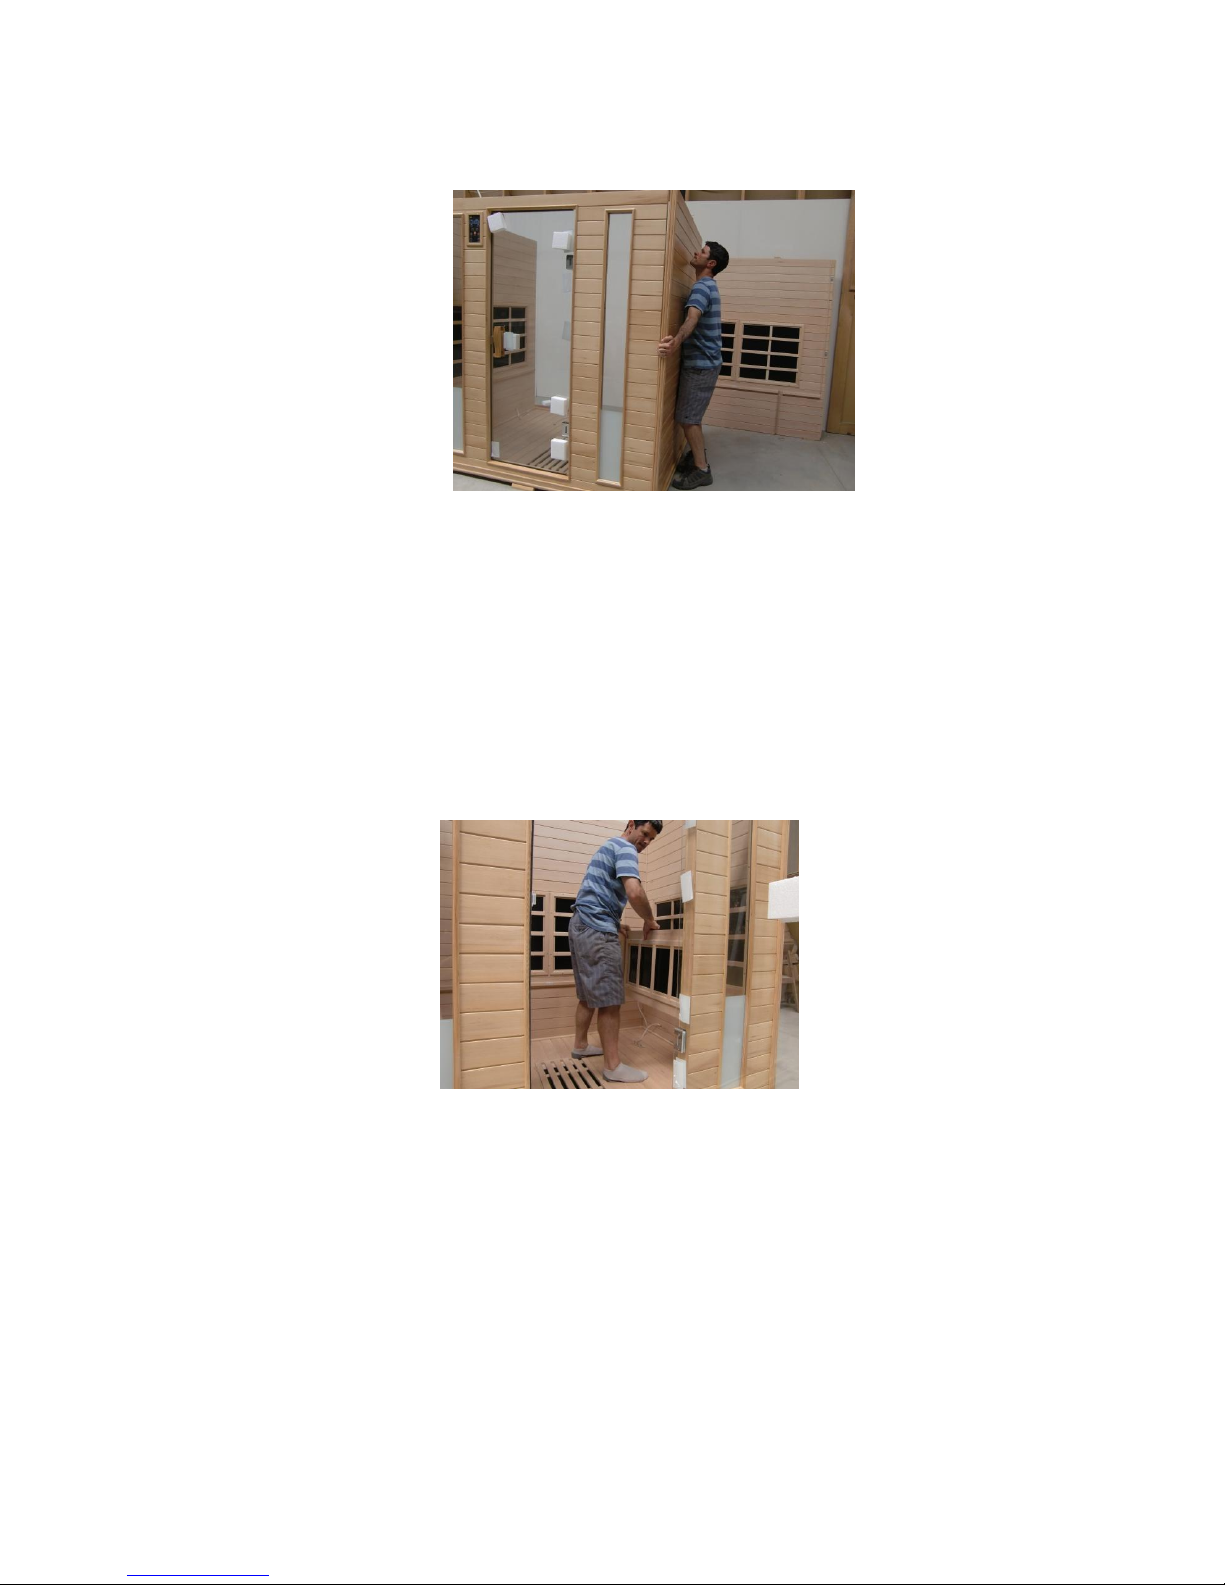
5. Place the back panel against the left and right side panels about 2 inches higher and slide
down into the slot of the floor panel until they are equal in height. As you slide down
make sure the connectors on the left and right side panels are securely fastened to those
on the back panel.
6. Slide the two side-bench support panels down the wooden supports with the calf heaters
facing out. Make sure the two side slots of the bench support panel slide completely into
the corresponding grooves of the wooden supports.
7. Slide the back-bench support panel down the wooden supports with the calf heater
facing out. Make sure the two side slots of the bench support panel slide completely into
the corresponding grooves of the wooden supports.
8. Connect all the wires accordingly. Ensure all the calf heaters and the floor heater are
connected.
5
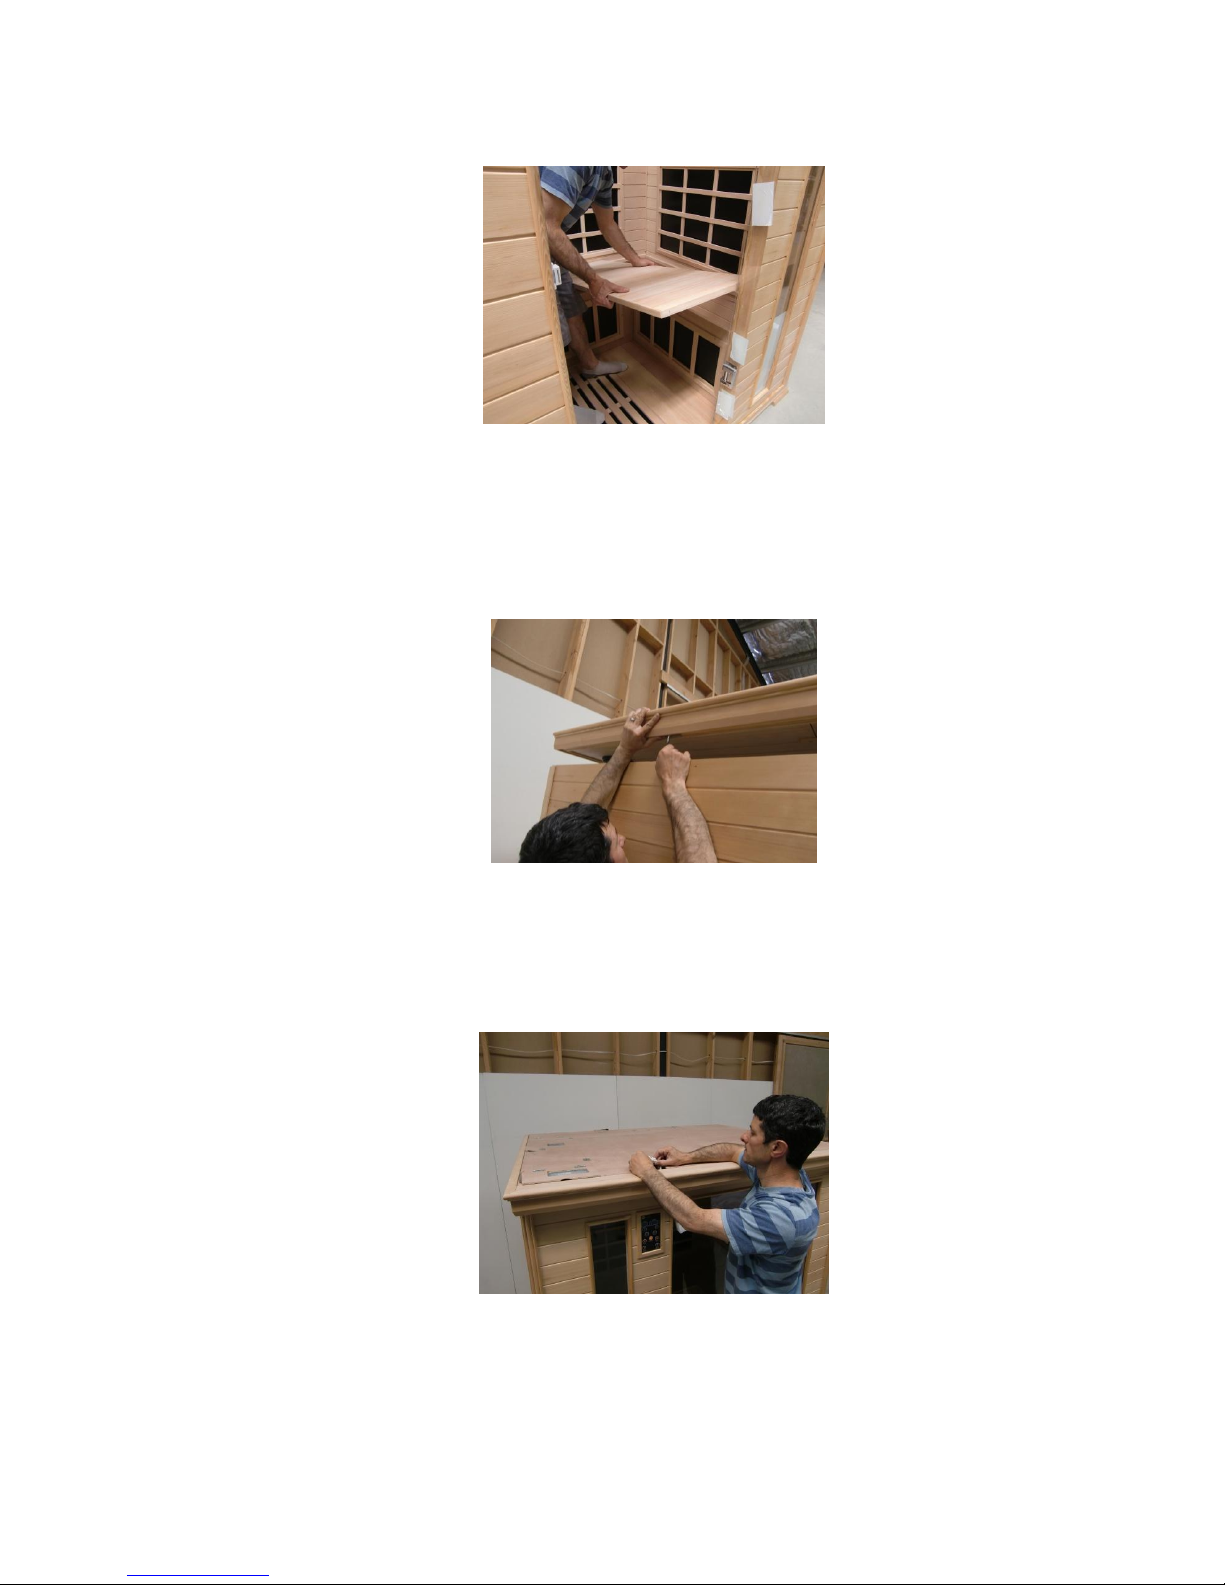
9. Place the two side-bench surface panels on the bench support panels and then the back-
bench surface panel on the bench support panel.
10. Place the top panel on the four side panels. Make sure all the connection wires on the
top of the side panels and the top of the front panel go through the corresponding holes
of the top panel ensuring the wire is through each hole smoothly and completely. Make
sure the trim of the top panel fits completely around the four side panels.
11. Make sure each of the lead wires on the top of the left, right, back and front panels is
protruding through the top panel; then plug each of the 5 lead wires into the 5
connectors of the top panel.
12. Congratulations you have finished installing your Sauna!
6
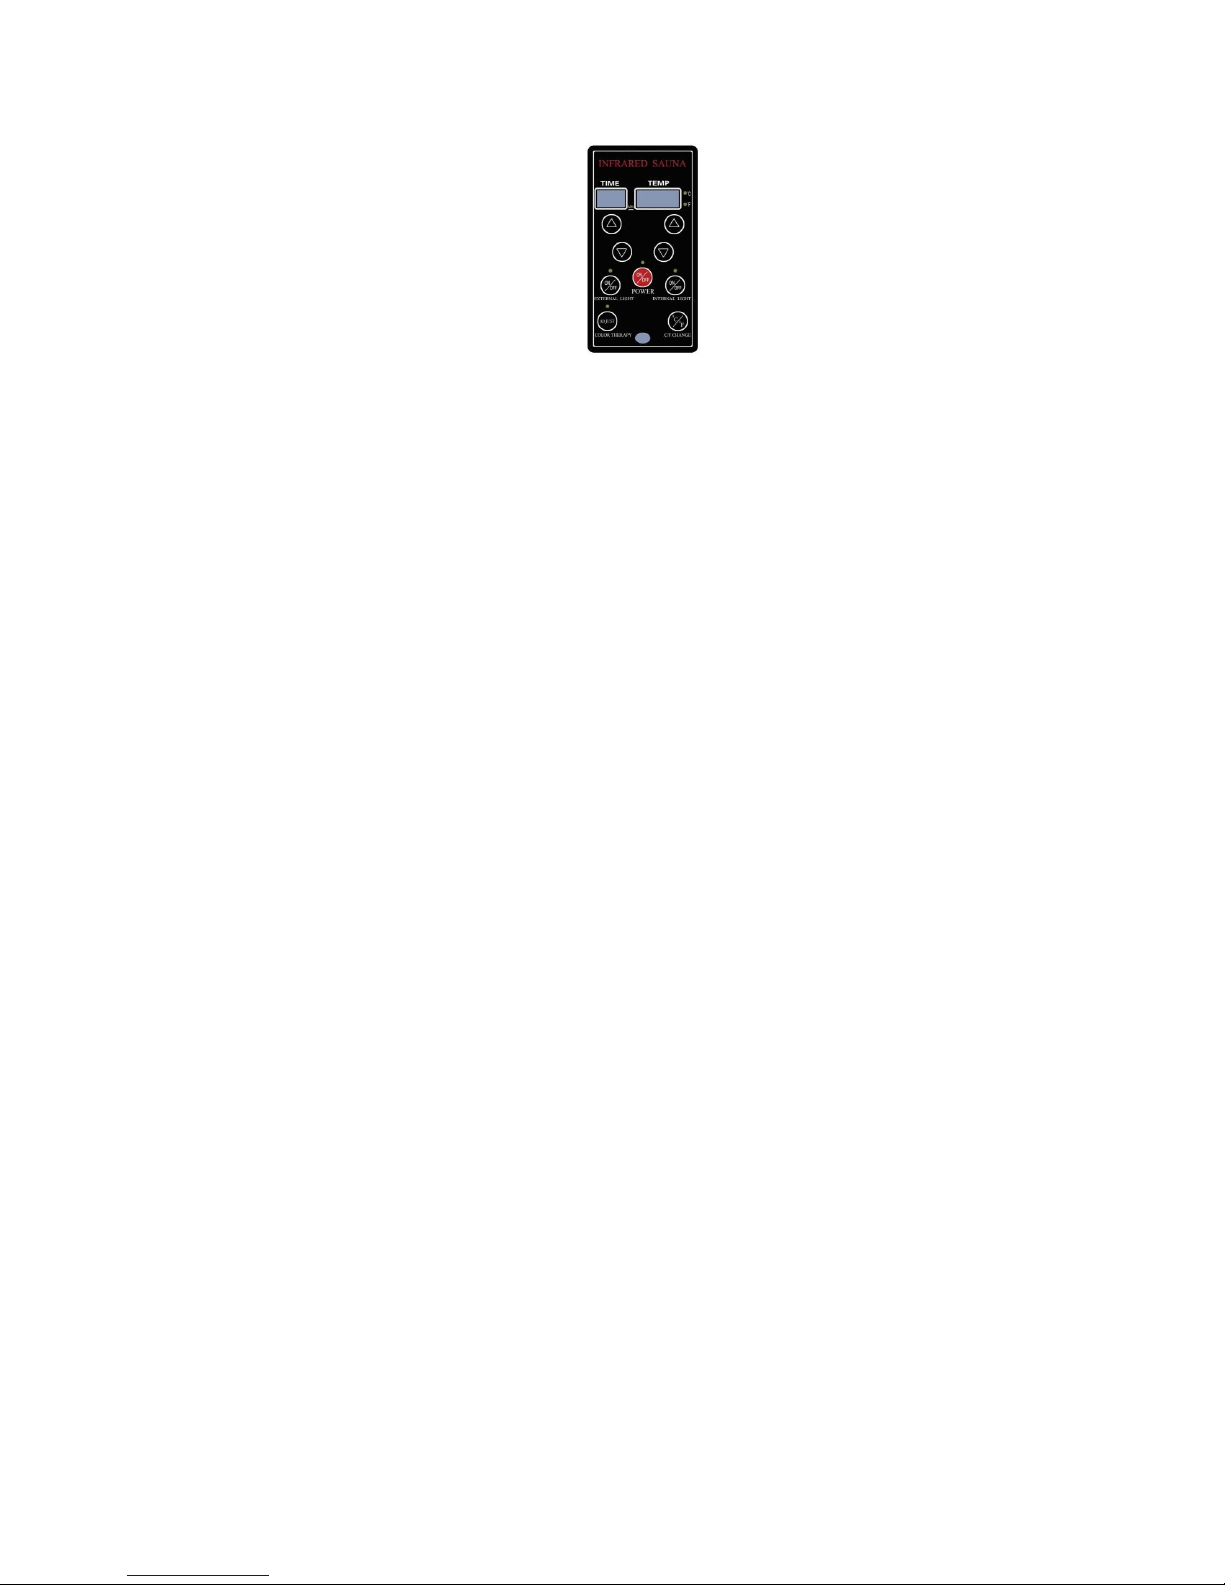
Control Panel
1. Press “POWER” to switch on or off.
2. “TIME” indicates the time remaining for your sauna session. Once the power is on, the
default amount of operating time is at 45 minutes. Press “UP” and “DOWN” to adjust and set
time of use in 5 minute increments. The maximum operating time is 60 minutes. After the
timer is set, the number will flash for about three seconds. After the set “Time” stops
flashing, the number indicated will show the remaining operating time.
3. “TEMP” refers to the set temperature and also indicates the actual temperature inside the
sauna room. “°C/°F” refers to the switching between “°C” and “°F”. Once the power is turned
on, the default set temperature is 120°F (50°C). Press “HIGH” or “LOW” to adjust and set the
temperature in one degree increments. The maximum set temperature is 150°F/65°C. After
the temperature is set, it will flash for about 5 minutes. Once it stops flashing, it will show the
actual temperature inside the sauna room.
4. Press “External Light” to switch on or off.
5. Press “Internal Light” to switch on or off.
7
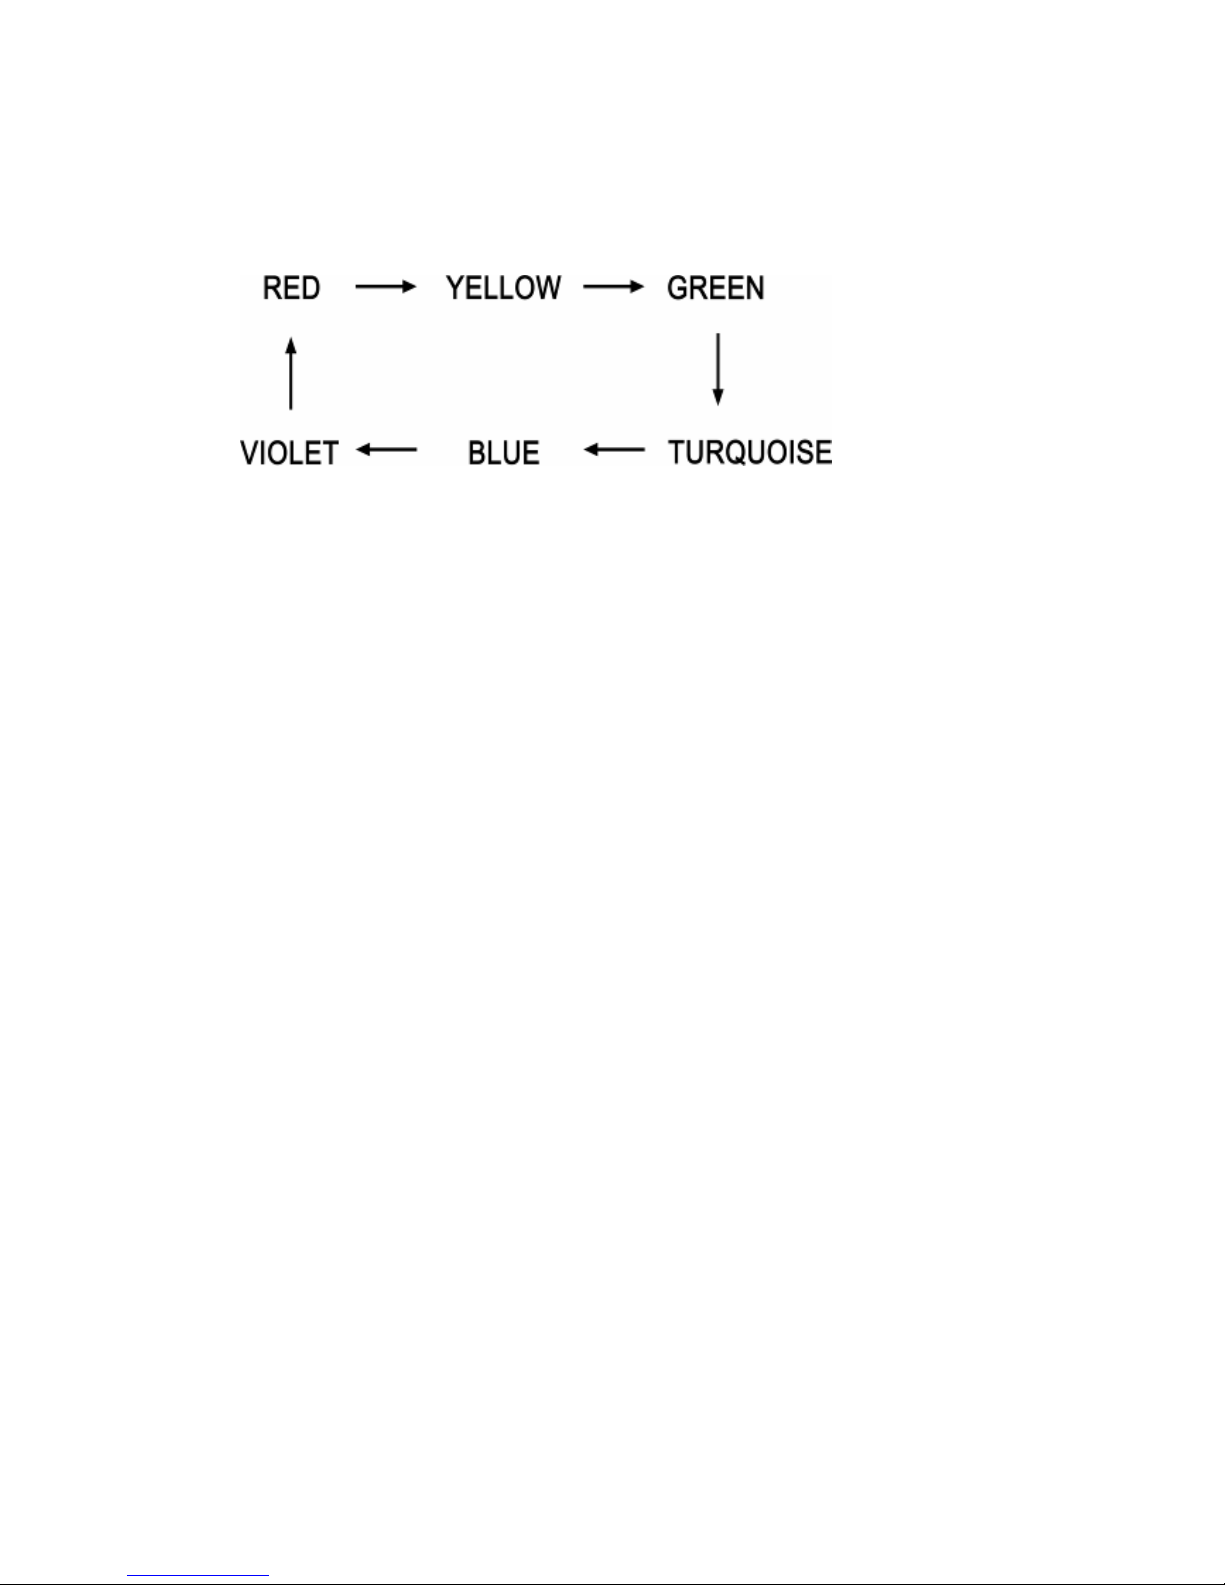
Colour Light Therapy System
1. To activate the colour light therapy system press “ADJUST” on the sauna control panel.
Upon turning the system on, the colour light system will go into an automatically cycling
mode, changing colour every 8 seconds:
2. Press “ADJUST” x2: Light system will glow GREEN
3. Press “ADJUST” x3: Light system will glow RED
4. Press “ADJUST” x4: Light system will glow BLUE
5. Press “ADJUST” x5: Light system will glow YELLOW
6. Press “ADJUST” x6: Light system will glow TURQUOISE
7. Press “ADJUST x7: Light system will glow VIOLET
8. Press “ADJUST x8: Light system will turn OFF
9. Colour Light System automatically goes off when Power is turned OFF.
Cleaning
Clean the outside and inside with a damp cloth, or clean with a small amount of hand-soap mixed
with warm water if necessary. Do not use benzene, alcohol, or strong cleaning chemicals on the
sauna.
NB: Some chemicals can damage wood material and the protection layer that is on the outside
wood surface.

8
Warranty Information
The manufacturer provides a warranty in accordance with the legislation of the
customer's own country of residence, lifetime for heater, two years for wood and
electrical components, starting from the date on which the customer receives the sauna.
The warranty is not transferrable.
The warranty only covers defects in material or workmanship.
When making a claim under the warranty, the original receipt of purchase (with purchase
date) must be submitted.
The warranty will not apply in cases of:
-Normal wear and tear
-Incorrect use (e.g. overloading of the appliance, use of non-approved accessories)
-Use of force, damage caused by external influences
-Damage caused by non-observance of the user manual (e.g. connection to an
unsuitable mains supply or non-compliance with the installation instructions)
-Partially or completely dismantled appliances
Specification
Model
IYASHI 1 Person
IYASHI 2 Person
IYASHI 4 Person
Product Size
95.5 x 104 x 194
125.5 x 104 x 194
182.5 x 143 x 195
Power
Consumption
1600W
1800W
2160W
Voltage
220V
220V
220V

9
How to Take a Sauna
1. Warm up the sauna.
After switching your IYASHI sauna on, depending on the ambient temperature allow at least 10
minutes for the sauna to heat up. You will want to start your sauna session when it reaches
about 35 –40 degrees. If you are a beginner, and particularly if you are not in great health, you’ll
want to start with shorter cooler sauna sessions, perhaps no more than 10 –15 minutes starting
at 35 - 40 degrees. This way you’ll give yourself a chance to get used to the heat.
The infrared-emitting heaters will be on continuously until the heat gets up to the temperature
you set.
2. Towels
Place a large towel over the sauna bench seat, two layers if possible. Your body will be sending
out toxins, including heavy metals, with your sweat, and you won’t want your sauna bench or
floor to absorb these. This will keep the bench clean & hygienic. You will also need an additional
towel to wipe away the toxins off your body as you sweat. You might also want to place a small
towel under your feet once you really start sweating but not before as you want some of the
infrared heat to penetrate your feet.
3. If possible, take your sauna in the nude!
If you can’t, then wear the absolute minimum of clothes that you can –not more than a bathing
suit! You need to be able to wipe away those toxins as you sweat during the sauna. It will be
difficult if you are wearing clothes.
4. Drink, Drink, Drink Water!
This is very important so as to avoid dehydration. Have a glass of water before you enter the
sauna and take plenty of water into the sauna with you, too. The last thing you want to do is exit
the sauna halfway through your session to replenish your water supply.
Other good drinks to take into the sauna with you would be a sports electrolyte replacement
drink. NB: Avoid the sauna entirely if you have been drinking alcohol
5. Relax, listen to music, read a book
This is your time and it’s a time to relax. Enjoy some colour light therapy or simply turn on the
reading light or listen to your favourite music on the premium sound system.
6. When to Stop
It’s NOT that the longer and hotter sauna the better. The temperature and the length of the
sauna session you can tolerate can vary depending on your condition on the day; so listen to
your body. Turn down the temperature when you feel too hot and exit the sauna when you feel
you have had enough. You don’t need to “persevere” until you reach a certain temperature or
time!

10
What You Can Expect To Happen In the Sauna
Don’t expect to sweat right away when you enter the sauna. For someone who has just started
having a sauna, it can take a while to start sweating noticeably.
As you use the sauna more regularly, you’ll notice that you sweat more quickly and profusely. At
some point, if you persist, you’ll likely become a champion sweater. The more you sweat, the
more you have to drink to make up for the loss.
Some people don’t sweat in the sauna initially.
If you’re new to the sauna, you might find you don’t sweat at all the first few times, or even the
first several times! That may sound strange, but some people have suppressed sweating
mechanisms due to past pesticide exposure or other toxic exposures.
If that’s the case for you, take things slowly, realizing that you won’t be able to tolerate the
sauna as long or get the same benefits from it without sweating. As you keep at it, the problem
should correct itself and your ability to sweat will return.
Also remember that you have to be well hydrated to get a good sweat going. If you’re not
sweating as well as usual in the sauna, try drinking some more water.
Table of contents
Popular Plumbing Product manuals by other brands


Chicago Faucets
Chicago Faucets 116.859.AB.1 manual

Insignia
Insignia MXOS4000 installation guide

Kohler
Kohler LOURE K-98452T-NW-CP installation instructions

Bristan
Bristan N2 SHC3STP G Installation instructions & user guide

KitchenAid
KitchenAid KST95T1M Dimension Guide

American Standard
American Standard Loft 0660.000 Specification sheet

ShowHouse
ShowHouse DIVINE TS253BN Replacement parts

Quooker
Quooker PRO3 installation guide

Endura
Endura Endura 7 Installation, use & care manual

Hans Grohe
Hans Grohe Logis Classic 71286000 Instructions for use/assembly instructions

Stern
Stern TUBULAR 1000 Series Installation and maintenance guide

Hans Grohe
Hans Grohe Unica'Crometta Series Instructions for use/assembly instructions