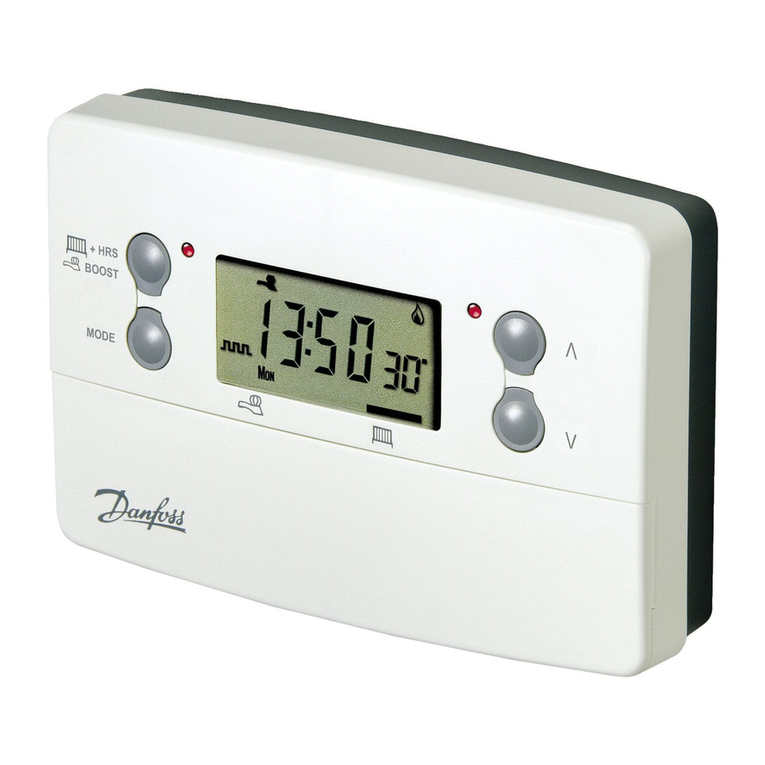
INOW WIFI User manual

INOW WIFI
HEATING ELEMENT MANUAL

Before you begin installation, setup or operation of the unit, please read all of these instructions
carefully.
Safety & Warnings
Electric Towel Rails must be installed by a licensed electrician in accordance with the
current IEE wiring regulations.
The product should be permanently fixed and connected to the 220/240 Volt AC mains
power supply via a fused spur/cable outlet, and earth bonded .
This product is a Class 1 unit and as a result it must be earth connected.
The element must NEVER be used without the towel rail or radiator being filled with
water or fluid at correct fluid level.
Only use the device in a suitable towel rail or radiator, for space heating and/or towel
drying.
This element should be mounted vertically and horizontally when it is filled with fluid
inside the towel warmers or radiators.
It is imperative that you have the correct fluid level(90% fluid of towel rail or radiator
total volume is recommended) in the towel rail before the element is used.
A Never attempt to disconnect the control unit from the heating element. It is a unit that
was factory-sealed.
Ensure the O-ring is on the connection part before installation. This o-ring is preventing
the leakage after installation.
The appliance is not a toy for children.
The unit is not to be used by persons (including children) with reduced physical, sensory
or mental capabilities, only use if they are supervised by a competent person.
Warning!
Never tighten using the housing itself, Always use the correct tools (Spanner).

1. Description of control box
2. How to control the thermostatic element via smart phone ?
2.1 Download “TUYA”APP
a. Search “TUYA” in APP store.
b. Scan this QR code
2.2 Register and Sign up.
Register with your WIFI code to creat your account.
3. How to connect the thermostatic controller with smart phone
via WIFI
3.1 Operation on the thermostatic controller
After creating your account,Switch on the controller, make sure P1 is displayed on the
controller by pressing icon ,then press and hold icon for 5
Display of temperature
Signal of different mode
ON/OFF/Standby
Set temperature
Apply Timer ,room temperature
and WIFI pairing operation

seconds,coming with a sound “DI”,now it is in pairing stage and follow the below operation.
3.2 Pairing operation for controller and APP
Once the controller is on P1 stage,Follow the operation on the smart phone,you will get
the controller to be paired with the APP .

3.3 What should you do if you fail to connect the controller with the APP?
Make sure P1 displays on the screen ,Press and hold the icon for 5 seconds on the
controller , coming with a sound “DI” ,the controller is now in pairing
stage,and repeat the above pairing operation until the pairing work is done successfully.
Pls note: While the controller is connecting,the WIFI icon on the controller will be
flashing,once it is connected successfully,it will be light up and stop flashing.

4. Operation on the smart phone after connecting the APP
successfully
Once the controller is connected with the APP successfully,you can operate it from the
smart phone for below modes .
ON/OFF
Regular temperature setting(Not weekly and 24 hours)
Antifreezing
Boost 2 hours and 4 hours
Weekly and 24 hours program
4.1 ON/OFF and regular temperature setting
Once you switch on the thermostatic controller on the smart phone by pressing ,the
temperature can be controlled from 30℃-70℃ by pressing + and - .
4.2 Antifreezing
You can select the antifreezing by following operation,the temperature will
be maintained at 15℃ for antifreezing. Once you press button + or - on the APP, it will convert
back to the normal temperature setting from antifreezing mode automatically.

4.3 BOOST /TIMER mode
You can have the MAX working temperature temporarily by pressing BOOST icon on the
APP, working in MAX power for 2 hours or 4 hours.After complete working the boost hours,it
will come back to previous working mode automatically.
4.4 Weekly and 24 hours program
Following the below instruction, weekly and 24 hours working way will be
programmed as you prefered.

(Note: The axis column will be grey color for the time period which you won’t set the temperature
and will run in anti-freezing 15 °C automatically,AC is displayed on the screen when it is running in
anti-freezing mode)

5. Manually control
5.1 Radiator mode
When the icon displays on the screen, you are in radiator mode. In this mode, the element
controls the radiator’s internal temperature and heats to a constant set temperature. The internal
thermostat measures the temperature of the heating fluid and instructs the element to heat or stop
heating according to the temperature set.
The temperature displayed is the set temperature. Set temperature range is 30-70 °C and can be
adjusted in steps of 5 °C using the button.
5.2 Room temperature controlled mode
By pressing button on the controller,you can select the room temperature control mode,
When the icon display on the screen, you are in room temperature control mode. In this
mode, the element controls the room temperature and heats to a constant set temperature. The
external thermostat measures the ambient temperature and instructs the element to heat or stop
heating according to the temperature set.
The temperature displayed is the set temperature. Set temperature range is 15-30 °C and can
be adjusted in steps of 1 °C using the button.
5.3 Timer/Boost Function
By pressing button on the controller,you can select the Timer/Boost function 2H and
4H .You can have the MAX working temperature temporarily , working in MAX power for 2
hours or 4 hours.After complete working the boost hours,it will come back to previous working
mode automatically.
6. Autumatic settings
6.1 Excess temperature protection

The temperature information from the NTC inside the heating rob(measuring the radiator
temperature) and the NTC at the main power cable outlet(measuring the room temperature)
are used to ensure correct operation of the radiator,regulated by the control unit.If the
automatic control system is faulty for whatever reason and the water temperature in the
radiator is increasing in an uncontrolled manner,the system has two safety mechanisms to
prevent excessive pressure in the radiator.Firstly,the entire system is completed shut down
electronically when a water temperature of 95°C is reached. If this protection mechanism
fails for whatever reason,a simple downstream thermal fuse ensures complete shut-down,and
the heating rob dies.
6.2 Room temperature compensation
As the NTC that measures the room temperature and feeds back information to the
controller is located on the back of the controller,it is close to the warm radiator. The
measured temperature will therefore not accurately reflect the temperature in other part of the
room.For this reason,there is an automatic temperature adjustment of -3°C in the control unit.
6.3 Open window/door detection
This automatic function detects when the temperature falls by 2°C or more over a short
period of time without any changes having been made to the control unit temperature setting.
In this case,the system assumes that this reduced temperature is due to opened windows or
doors, “OP” will be displayed on the controller unit .
In order to save energy,the radiator heating system is switched off automatically where
the heating system was in operation at the time. And it will be active to heat automatically
again once the temperature is detected in stable condition.

Technical specification
*Voltage: 220-240VAC
* Power:100W-1000W
*Insolation Class: I
*IP rating: IPX4
*Temperature setting:
30-70°C(radiator temperature).
15-30°C(room temperature)
*Boost: 2/4 hours
*Thread size: 1/2”
*Open window detection
*Antifreezing 15°C
*WIFI APP
Table of contents
