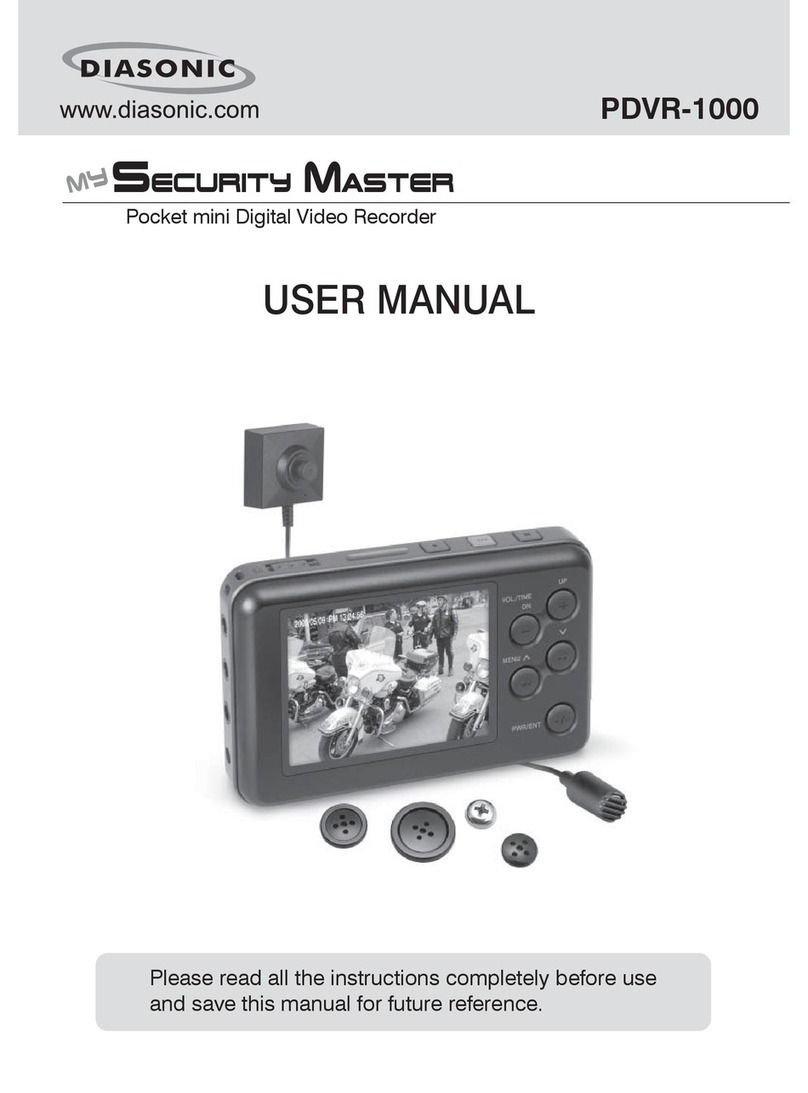
Insight Security VZ INRS0101 User manual

IIVZINRS0101-Quick-Setup.doc Page 1 of 5
VZ INRS0101 – Mini Digital Video Recorder
Quick Set-up Guide
Congratulations on purchasing your Mini DVR, which will give a lifetime of reliable service if cared
for and used correctly. It incorporates many advanced features such as; dual camera connectivity,
alarm inputs and outputs, event or motion detection and more.
Getting the best out of your DVR:
To get the best out of your DVR and ensure its correct use, please read this “Quick Set-up Guide” (which is
designed to make the set-up quick and easy for users, who just want to record Video and audio from a single
connected camera), or the “Full User Manual”, before setting up or operating the unit.
Note:
• The Unit Must be Switched Off, before inserting or removing the SD card
• Turn off the power when the unit is not in use
• Do not connect the unit to a PC, while it is in recording / operating mode,
• Do not attempt to open or carry out repairs to the unit (in the event of failure of the unit, please
contact your supplier)
• Avoid placing the unit in direct sunshine – best working temperature “0” to “40” C
• Connect the unit to a suitable power supply: 5v to 20v DC
• Use quality SD Cards, i.e. Transcend or Sandisk (standard SD cards are fine, you don’t need to use
expensive high speed cards such as the Sandisk Extreme range)
• Do not use thinners, chemical solvents, etc, to clean the unit

IIVZINRS0101-Quick-Setup.doc Page 2 of 5
Easy Set Up Guide for Single Camera Recording;
Connecting your system components;
Figure 1
Schematic of Connection Cable
All connections to the DVR are made via the convenient plug in wiring loom (see figure 1 schematic above). The wiring
loom itself, plugs into the secure connection socket on the rear of the DVR.
Connecting the camera
Connect the camera to the wiring loom (see fig.1 above). The “Video” output from the camera connects to the cable
marked “Video 1 In”, on the wiring loom and the “Audio” (if applicable) to the “Audio 1 In” cable on the loom.
Connecting to a Monitor/TV (if required)
Connect the monitor to the AV Out connection on the wiring loom (see 11 above) – the cables on the wiring loom are
clearly marked “Video-Out” and “Audio-Out”. The monitor can be used to monitor the live camera during recording,
or to play back recorded images (recorded video can also be played back by the USB connection to a PC).
Insert your SD Card (note: max card size supported 32GB)
Remember; the SD Card should not be Inserted or Removed while the DVR is powered on
Connecting the Power
Connect the unit to a regulated power supply (5v – 20v DC)
System Set-up & Configuration;
To set the system up, you will need to use the supplied remote control handset
(remember to remove the battery protection tab before use)
Remote Control
Keypad

IIVZINRS0101-Quick-Setup.doc Page 3 of 5
Powering up the system and Accessing the Main Menu
Powering On
Press the Power button on the remote control to power the system up (remember the SD Card should be inserted before
you power up) – a welcome message appears
Access Main Menu
Press the Menu button on the remote control to access the Main Menu >
Now; use the “Up”, “Down”, “Left” & “Right” Arrows and the “OK” and “ESC” buttons to navigate your way around the
on screen menus and make your selections.
Select System Setting (from the main menu)
…then select and action each menu heading as shown below;
Menu Heading Select Select Comments / Info
Storage
> SD Card
Time & Date
> Set time and date
Language
> English
Power Save
> Power Off
> Never
Video Output
> Video Output
> PAL
Format
> Select “Yes or No”
WARNING: formatting the SD
Card will erase any stored data
currently on the card. You
should therefore only format
the card before you use it with
your DVR for the first time, or
when you want to erase all
previous recordings.
Firmware Update
Ignore this heading
Default Setup
Ignore this heading
WARNING: This will reset all
options to the factory setup
Memory
Ignore this heading
Note: this is an information
screen only
Version
Ignore this heading
This shows the current
Software Version loaded

IIVZINRS0101-Quick-Setup.doc Page 4 of 5
Select Recorder Setting (from the main menu)
…then select and action each menu heading as shown below;
Menu Heading Select Select Comments / Info
Channel Setting
> Channel Auto Switch
> Off
Recording Type
> Video
Motion Detect
> Off
Select “Off” if you want to
record continuously while
the DVR is powered on
Motion Detect
> On
Select “On” if you only
want to record when
movement is detected
If motion Detect “On” recording
is selected, you will need to set
up the Detection Area and
Sensitivity Level in the MD
Setup section below
Schedule
Ignore this heading
MD Setup
Ignore this unless you
have selected “Motion
Detect On” above
…MD Setup
…if motion detect = “On”
> Area Setting
Size & Position the
desired detection area
This displays a box (red
outline) which can be sized and
positioned on the screen to
define the area for motion
detection which will trigger the
recorder.
- The OK button increases the
size of the detection area
- The MENU button decreases
the size of the detection area
- Use the Up / Down / Left &
Right arrows to position the
box in the desired location
…MD Setup
…if motion detect = “On”
> Sensitivity
> High (or Medium / Low)
The higher the sensitivity, the
greater the risk of false alarms.
For most situations however
“High” will be a good choice
Video Segment Sizes
> 5 Mins (or other choice)
Note: this allows you to set the
length of each video segment
to help find a specific bit of
recording on playback (video
images are recorded
continuously whatever size
segment you select)

IIVZINRS0101-Quick-Setup.doc Page 5 of 5
Frame Rate
> 25 FPS
Using a slower frame rate
(i.e.15 FPS), will increase the
length of movie time that can
be recorded on to the SD card,
but movements will look jerky
(like an old Keystone Cops
movie), when played back.
Resolution
> D1
Note: this controls the size of
the image recorded (measured
in pixels), which combined with
Compression Rate, determines
the quality of the images you
record. “D1” is the highest
quality (704x576 pixels)
Compression Ratio
> High
Recording at “25FPS”, “D1”
Resolution and “High”
Compression Rate provides
high quality recordings and
allows approximately 1 hour of
continuous video recording per
1 GB of SD Memory Card
Record Overwrite
> On
Note: if Record Overwrite is set
to “Off” when the SD Card is
full, recording will stop. If set to
“On”, when the card is full, the
system will carry on recording,
continuously over-recording the
oldest images first.
Transit Stamp
> Off
GPS positioning related (not a
feature of this DVR)
Time Stamp
> On
Note: set this to “On” to record
time and date on the video
images
Congratulations;…if you’ve completed the quick set-up as above, your system is now ready to record.
Powering on and off & Auto Recording;
The system automatically starts recording images from the camera when you power the DVR on.
(note: the DVR can be powered off via the Remote Control handset, but you will need to power the system
on again via the external power supply switch)
Playing back your recorded video;
Recorded video can be replayed;
• Directly from the DVR to a Monitor or TV connected to the DVR’s “Audio & Video Out” connection
• By connecting the DVR to a PC via the USB connection cable supplied *
• By extracting the SD Card and inserting it into a card reader connected to a PC *
* When playing back video recordings on a PC, any “Player” software that supports AVI files can be
used including free, standard software such as; Windows Media Player, etc.
Table of contents

