ENGLISH 10-0131
© 2010 BBY Solutions, Inc. All rights reserved. INSIGNIA is a trademark of BBY Solutions, Inc. Registered in some countries. All other products and brand names are trademarks of their respective owners.
Getting started
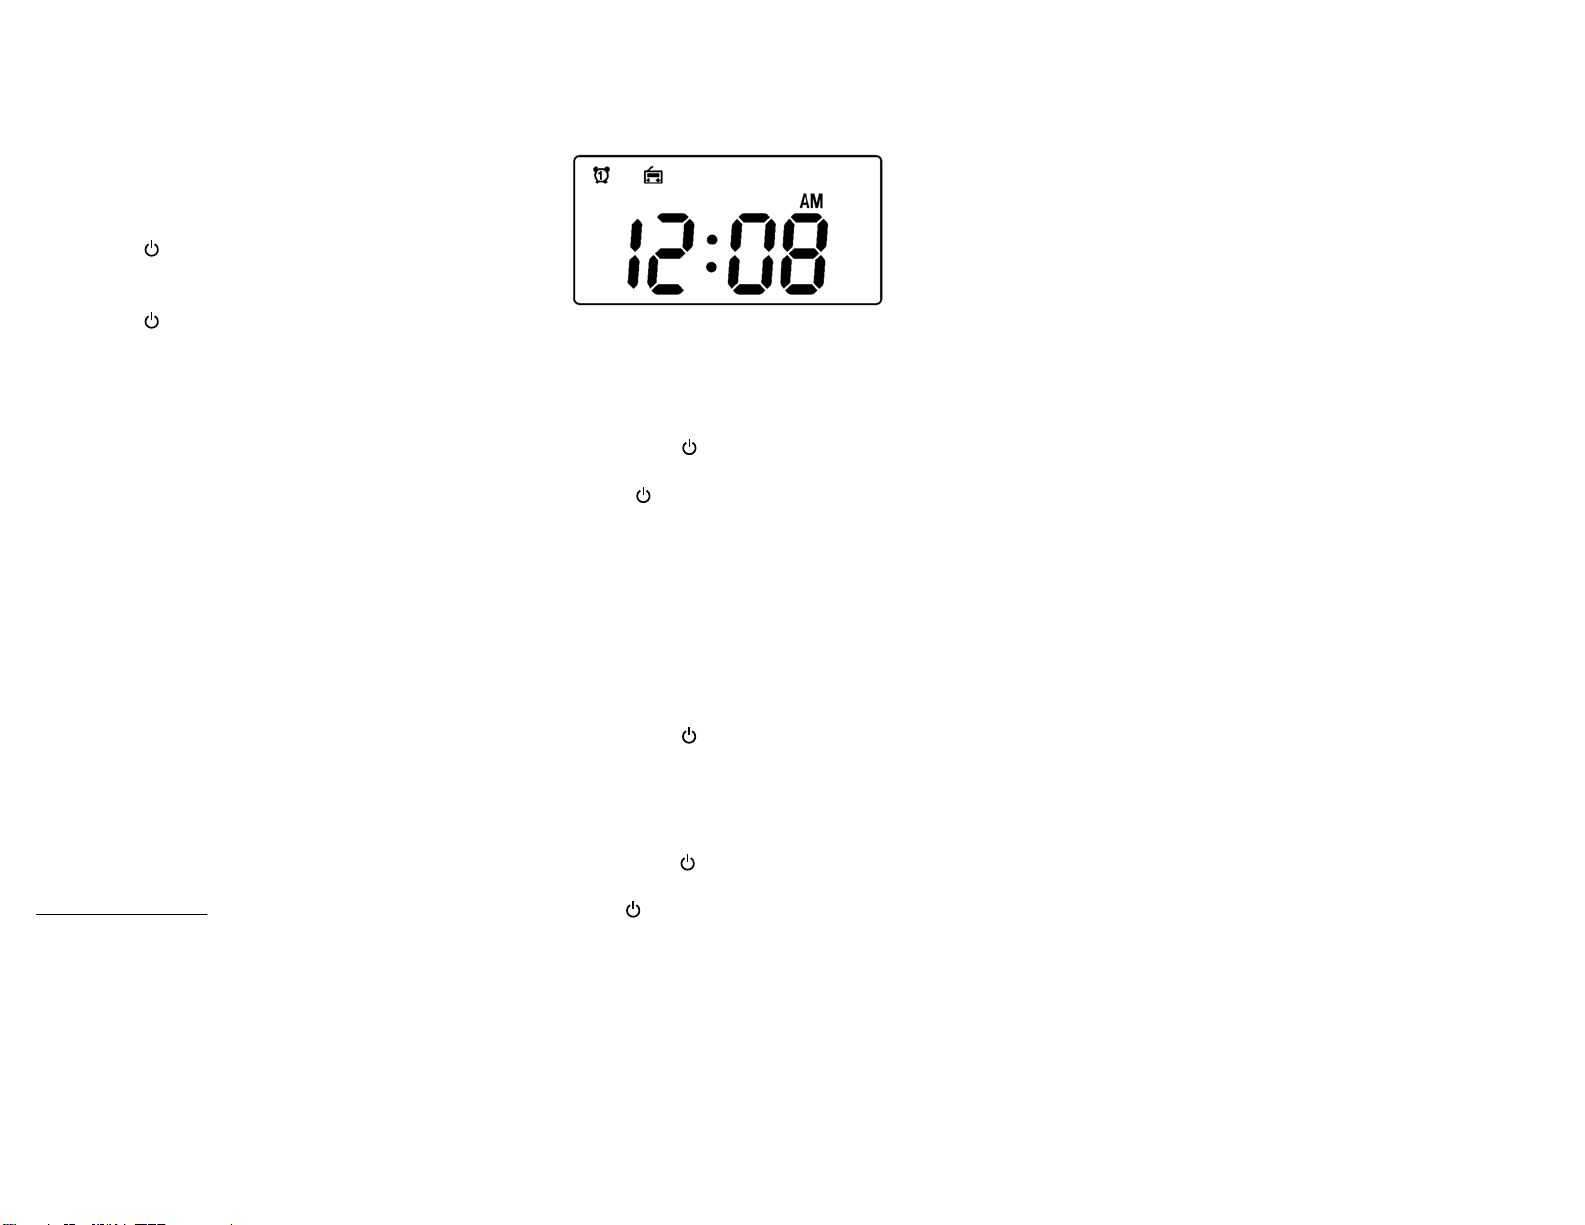
Setting the clock
1Press and hold the TIME SET button on the back of your clock radio. The time
blinks on the LCD.
2Press MIN (minute) to set the minutes and HOUR to set the hours. Make sure
that you set AM/PM correctly.
3Press TIME SET again. The clock is set.
Turning your clock radio on and o
1Press and hold /SOURCE for two seconds. Your clock radio turns on.
2Press DIMMER on the back of your clock radio to set the display backlight of
the LCD to a comfortable level.
3Press and hold /SOURCE again to switch your clock radio to standby mode.
Using Voice Command
1Turn the VC button to ON on the back of the radio. To activate the voice
controls, say “Voice Command” to the clock radio or press the
SNOOZE/ SLEEP/ VOICE COMMAND button. The clock will respond
“What can I do for you?.”
TIPS:
• Speak clearly and in a normal tone.
• Give correct commands (refer to command list below).
• Do not give commands when the clock radio is speaking.
• Speak near the microphone located on the top of the clock radio.
• Commands must be spoken in non-accented English.
2Say any of the following commands for the function you want, then follow
the voice prompts carefully:
• Time (”tīm”)
• Set Time (”set tīm”)
• Alarm (”
e
-’lärm”)
• Set Alarm (”set
e
-’lärm”)
• Sleep Time (”slēp tīm”)
• Radio (”rā-dē-ō”)
• Help (”help”)
• Cancel (”kan(t)-s
e
l”)
[Pronunciation guide derived from online Merriam-Webster dictionary at
www.merriam-webster.com.]
For additional information on using voice control, refer to the User Guide.
Setting and using the alarm manually
1Press and hold the ALARM 1 or ALARM 2 button (depending on which alarm
you want to set) until the display blinks.
2Press HOUR to set the hour you want to wake up, then press MIN (minute) to
set the minute. Make sure you set AM/PM correctly.
3Briey press ALARM 1 or ALARM 2 again to save the setting. The display
stops blinking.
4To cancel the alarm, press ALARM 1 or ALARM 2 again until the alarm
indicator disappears from the display.
Playing the radio
1Press and hold the /SOURCE button for two seconds to turn on your
clock radio.
• Press the /SOURCE button repeatedly to select the AM or FM band.
• If you are listening to FM, uncoil and extend the FM antenna on the back
of your clock radio and move it around to improve reception.
-OR-
If you are listening to AM, turn the radio slightly to improve reception.
• Press TUNE + or TUNE - to tune the radio to a higher or lower frequency.
• Press and hold TUNE + or TUNE - for more than one second to scan to a
higher or lower frequency. The radio automatically scans to the next station.
• Press the VOLUME UP or VOLUME DOWN buttons to increase or decrease
the volume. Adjust the volume to a comfortable level.
2Press and hold the /SOURCE button to turn o your clock radio.
Listening to an external sound source
1Make sure that your clock radio is turned o.
2Connect the external sound source to the AUX IN jack on the back of your
clock radio using a stereo 3.5 mm plug cord (not supplied).
3Press and hold the /SOURCE button for two seconds to turn on your clock
radio.
4Press the /SOURCE button repeatedly to select AUX. “AUX” appears on the
display.
5Start playback on the external sound source, then adjust the volume to a
comfortable level. Control playback on the external audio device.
Specications
Frequency range Bands: FM and AM
Range: FM - 87.5~107.9 MHz (200 KHz steps)
AM - 530~1710 KHz (10 KHz steps)
Station presets FM - 5
AM - 5
External connections 3.5 mm stereo
Volume 0-16 levels
Speakers 2 x 2" - 4 ohm full range
2W x 2 RMS
Power AC power adapter - 110V 60Hz to 9V,1A
DC - 3 x AAA batteries for memory backup
Troubleshooting
For information on troubleshooting, refer to the User Guide.
FCC Part 15
This device complies with Part 15 of the FCC Rules.
FCC warning
Changes or modications not expressly approved by the party responsible for
compliance with the FCC Rules could void the user’s authority to operate this
equipment.
ICES-003 Class B Notice
This Class B digital apparatus complies with Canadian ICES-003.


