Insignia NS-PFT28BK3 User manual

Before using your new product, please read these instructions to prevent any damage.
USER GUIDE
28" Square Fire Table -
Black
NS-PFT28BK3

www.insigniaproducts.com
2
Contents
IMPORTANT SAFETY INSTRUCTIONS . . . . . . . . . . . . . . . . . . . . . . . . . . . . . . . . . . . . . . . . . . . . . . . . . . . . . . . . . . . . . . . . . . . 3
Features . . . . . . . . . . . . . . . . . . . . . . . . . . . . . . . . . . . . . . . . . . . . . . . . . . . . . . . . . . . . . . . . . . . . . . . . . . . . . . . . . . . . . . . . . . . . . . 7
Dimensions. . . . . . . . . . . . . . . . . . . . . . . . . . . . . . . . . . . . . . . . . . . . . . . . . . . . . . . . . . . . . . . . . . . . . . . . . . . . . . . . . . . . . . . . . . . . . . . . . . . . . . . 7
Package contents . . . . . . . . . . . . . . . . . . . . . . . . . . . . . . . . . . . . . . . . . . . . . . . . . . . . . . . . . . . . . . . . . . . . . . . . . . . . . . . . . . . . . 7
Parts . . . . . . . . . . . . . . . . . . . . . . . . . . . . . . . . . . . . . . . . . . . . . . . . . . . . . . . . . . . . . . . . . . . . . . . . . . . . . . . . . . . . . . . . . . . . . . . . . . . . . . . . . . . . . 8
Hardware. . . . . . . . . . . . . . . . . . . . . . . . . . . . . . . . . . . . . . . . . . . . . . . . . . . . . . . . . . . . . . . . . . . . . . . . . . . . . . . . . . . . . . . . . . . . . . . . . . . . . . . . . 9
Assembly. . . . . . . . . . . . . . . . . . . . . . . . . . . . . . . . . . . . . . . . . . . . . . . . . . . . . . . . . . . . . . . . . . . . . . . . . . . . . . . . . . . . . . . . . . . .10
STEP 1: Attaching the bottom plate and feet . . . . . . . . . . . . . . . . . . . . . . . . . . . . . . . . . . . . . . . . . . . . . . . . . . . . . . . . . . . . . . . . . . . . . .11
STEP 2: Attaching the back panel . . . . . . . . . . . . . . . . . . . . . . . . . . . . . . . . . . . . . . . . . . . . . . . . . . . . . . . . . . . . . . . . . . . . . . . . . . . . . . . . . 13
STEP 3: Installing the door. . . . . . . . . . . . . . . . . . . . . . . . . . . . . . . . . . . . . . . . . . . . . . . . . . . . . . . . . . . . . . . . . . . . . . . . . . . . . . . . . . . . . . . .14
STEP 4: Attaching the table to the base assembly . . . . . . . . . . . . . . . . . . . . . . . . . . . . . . . . . . . . . . . . . . . . . . . . . . . . . . . . . . . . . . . . .15
STEP 5: Installing the burner assembly . . . . . . . . . . . . . . . . . . . . . . . . . . . . . . . . . . . . . . . . . . . . . . . . . . . . . . . . . . . . . . . . . . . . . . . . . . . .16
STEP 6: Installing the control panel . . . . . . . . . . . . . . . . . . . . . . . . . . . . . . . . . . . . . . . . . . . . . . . . . . . . . . . . . . . . . . . . . . . . . . . . . . . . . . .17
STEP 7: Adding the lava rocks . . . . . . . . . . . . . . . . . . . . . . . . . . . . . . . . . . . . . . . . . . . . . . . . . . . . . . . . . . . . . . . . . . . . . . . . . . . . . . . . . . . .18
STEP 8: Installing the propane tank . . . . . . . . . . . . . . . . . . . . . . . . . . . . . . . . . . . . . . . . . . . . . . . . . . . . . . . . . . . . . . . . . . . . . . . . . . . . . . . 19
STEP 9: Testing for gas leaks. . . . . . . . . . . . . . . . . . . . . . . . . . . . . . . . . . . . . . . . . . . . . . . . . . . . . . . . . . . . . . . . . . . . . . . . . . . . . . . . . . . . . . 21
Usage . . . . . . . . . . . . . . . . . . . . . . . . . . . . . . . . . . . . . . . . . . . . . . . . . . . . . . . . . . . . . . . . . . . . . . . . . . . . . . . . . . . . . . . . . . . . . . .22
Operation checklist . . . . . . . . . . . . . . . . . . . . . . . . . . . . . . . . . . . . . . . . . . . . . . . . . . . . . . . . . . . . . . . . . . . . . . . . . . . . . . . . . . . . . . . . . . . . . . 23
Before turning on the gas . . . . . . . . . . . . . . . . . . . . . . . . . . . . . . . . . . . . . . . . . . . . . . . . . . . . . . . . . . . . . . . . . . . . . . . . . . . . . . . . . . . . . . . .23
Before lighting your fire table . . . . . . . . . . . . . . . . . . . . . . . . . . . . . . . . . . . . . . . . . . . . . . . . . . . . . . . . . . . . . . . . . . . . . . . . . . . . . . . . . . . . 23
Lighting your fire table. . . . . . . . . . . . . . . . . . . . . . . . . . . . . . . . . . . . . . . . . . . . . . . . . . . . . . . . . . . . . . . . . . . . . . . . . . . . . . . . . . . . . . . . . . . 24
Adjusting the flame . . . . . . . . . . . . . . . . . . . . . . . . . . . . . . . . . . . . . . . . . . . . . . . . . . . . . . . . . . . . . . . . . . . . . . . . . . . . . . . . . . . . . . . . . . . . . . 25
Turning off your fire table . . . . . . . . . . . . . . . . . . . . . . . . . . . . . . . . . . . . . . . . . . . . . . . . . . . . . . . . . . . . . . . . . . . . . . . . . . . . . . . . . . . . . . . . 25
Maintenance . . . . . . . . . . . . . . . . . . . . . . . . . . . . . . . . . . . . . . . . . . . . . . . . . . . . . . . . . . . . . . . . . . . . . . . . . . . . . . . . . . . . . . . .26
Cleaning your fire table . . . . . . . . . . . . . . . . . . . . . . . . . . . . . . . . . . . . . . . . . . . . . . . . . . . . . . . . . . . . . . . . . . . . . . . . . . . . . . . . . . . . . . . . . . 27
Inspecting your fire table. . . . . . . . . . . . . . . . . . . . . . . . . . . . . . . . . . . . . . . . . . . . . . . . . . . . . . . . . . . . . . . . . . . . . . . . . . . . . . . . . . . . . . . . . 27
Storing your fire table. . . . . . . . . . . . . . . . . . . . . . . . . . . . . . . . . . . . . . . . . . . . . . . . . . . . . . . . . . . . . . . . . . . . . . . . . . . . . . . . . . . . . . . . . . . . 27
Transporting your fire table . . . . . . . . . . . . . . . . . . . . . . . . . . . . . . . . . . . . . . . . . . . . . . . . . . . . . . . . . . . . . . . . . . . . . . . . . . . . . . . . . . . . . .27
Troubleshooting your fire table . . . . . . . . . . . . . . . . . . . . . . . . . . . . . . . . . . . . . . . . . . . . . . . . . . . . . . . . . . . . . . . . . . . . . . . . . . . . . . . . . . 27
ONE-YEAR LIMITED WARRANTY . . . . . . . . . . . . . . . . . . . . . . . . . . . . . . . . . . . . . . . . . . . . . . . . . . . . . . . . . . . . . . . . . . . . . .29

www.insigniaproducts.com 3
28" Square Fire Table - Black
IMPORTANT SAFETY INSTRUCTIONS
SAFETY INFORMATION
Please read and understand this entire manual before attempting to assemble, operate, or install the product.
This manual contains important information about the assembly, operation, and maintenance of this fire table. General
safety information is presented in these first few pages and is also located throughout the manual. Keep this manual for
future reference and to educate new users of this product. This manual should be read in conjunction with the labeling on
the product. Safety precautions are essential when any mechanical or propane fueled equipment is involved. These
precautions are necessary when using, storing, and servicing. Using this equipment with the respect and caution
demanded will reduce the possibilities of personal injury or property damage.
The following symbols shown below are used extensively throughout this manual. Always heed these precautions, as they
are essential when using any mechanical or fueled equipment.
DANGER
DANGER indicates an imminently hazardous situation which, if not avoided, will result in death or serious injury.
DANGER
If you smell gas:
1Shut off gas to the appliance.
2Extinguish any open flame.
3If odor continues, keep away from the appliance and immediately call your gas
supplier or fire department.
WARNING
Do not store or use gasoline or other flammable vapors and liquids in the vicinity
of this, or any other appliance. An LP-tank not connected for use shall not be
stored in the vicinity of this, or any other appliance.
WARNING: For Outdoor Use Only
CARBON MONOXIDE HAZARD
This appliance can produce carbon monoxide which has no odor.
Using it in an enclosed space can kill you.
Never use this appliance in an enclosed space such as a camper, tent,
car, or home.
WARNING
Improper installation, adjustment, alteration, service, or maintenance can cause
property damage, injury, or death. Read the installation, operation, and
maintenance instructions thoroughly before installing or servicing this
equipment.
RR
R
ANS Z21.97 • CSA 2.41-2017 Outdoor Decorative Gas Appliances

www.insigniaproducts.com
4
DANGER
Failure to comply with the precautions and instructions provided with this fire table can result in death, serious bodily
injury, and property loss or damage from hazards of fire, explosion, burn, asphyxiation, and/or carbon monoxide
poisoning. Only persons who can understand and follow the instructions should use or service this fire table.
EXPLOSION - FIRE HAZARD
• Keep solid combustibles, such as building materials, paper, or cardboard, a safe distance away from the fire table as
recommended by the instructions.
• Provide adequate clearances around air openings into the combustion chamber.
• Never use the fire table in spaces which do or may contain volatile or airborne combustibles, or products such as
gasoline, solvents, paint thinner, dust particles, or unknown chemicals.
• During operation, this product can be a source of ignition. Keep fire table area clear and free from combustible
materials, gasoline, paint thinner, cleaning solvents, and other flammable vapors and liquids. Do not use fire table in
areas with high dust content.
Minimum fire table clearances from combustible materials: three (3) feet from the sides and three (3) feet from the top.
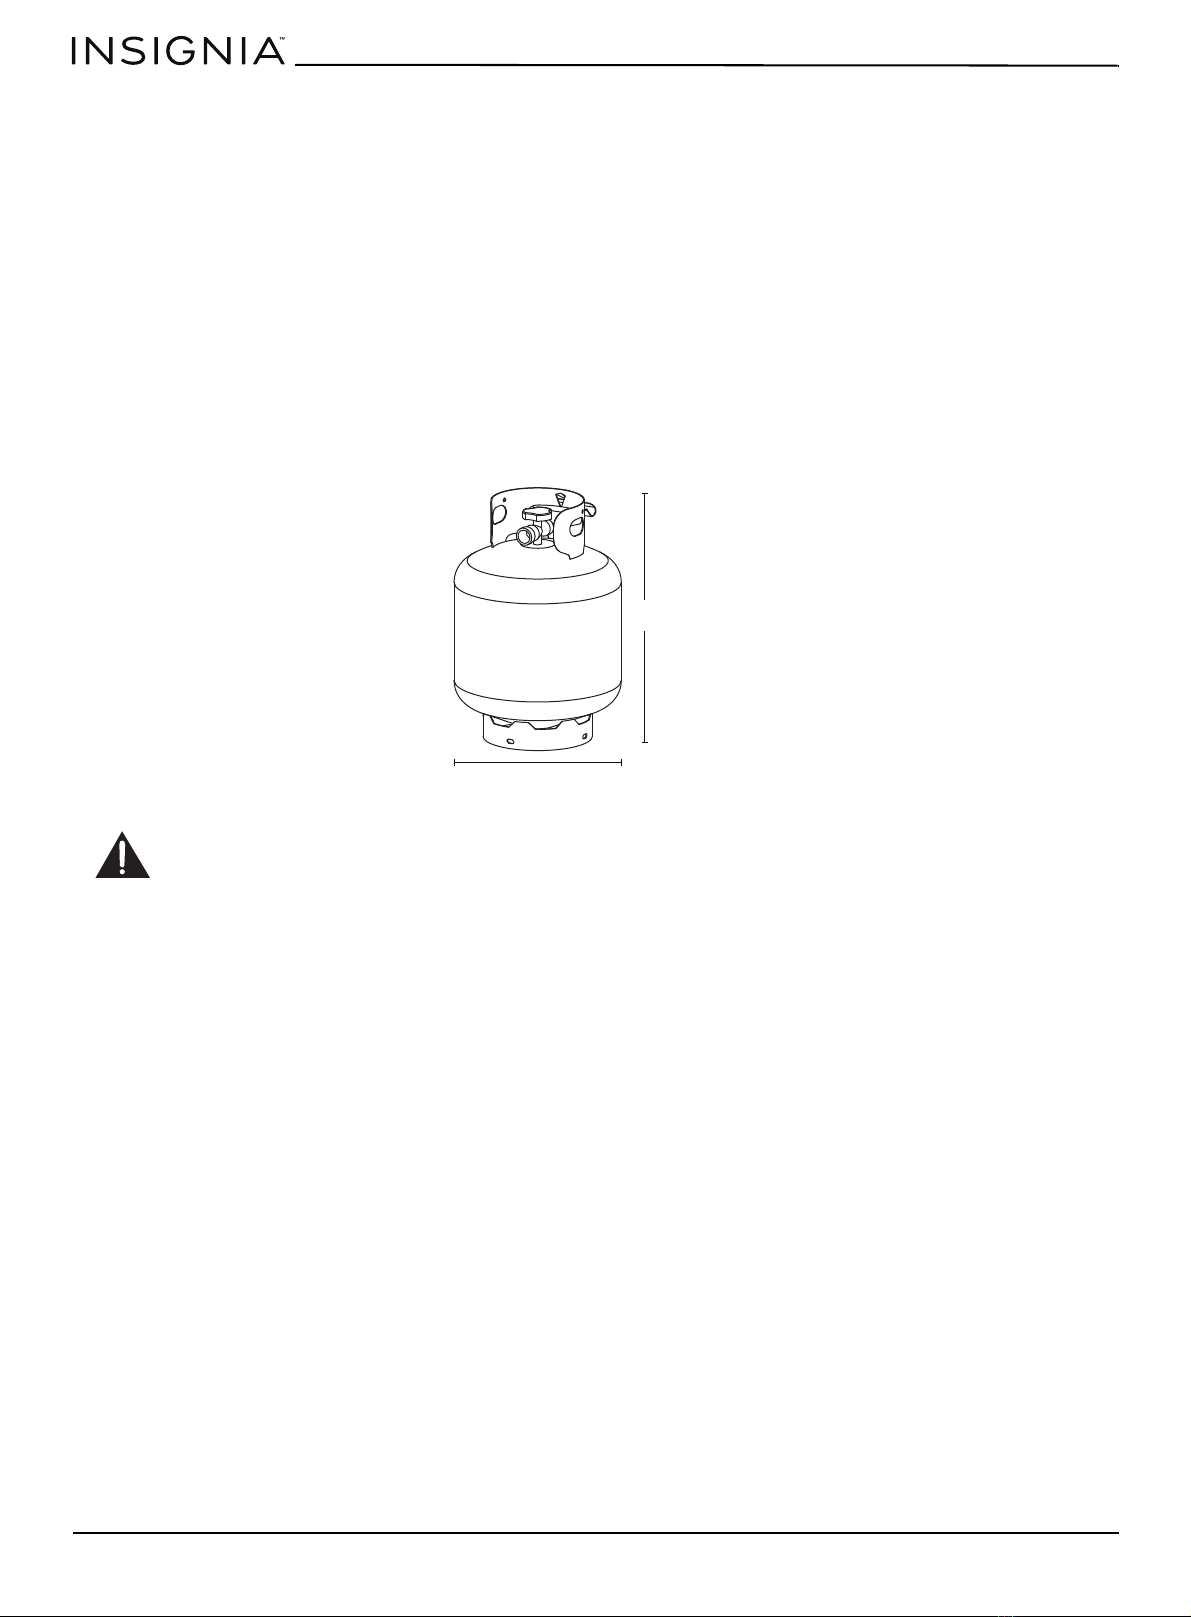
• Never store propane near high heat, open flames, direct sunlight, other ignition sources, or where temperatures exceed
120 degrees F (49° C).
• Propane vapors are heavier than air and can accumulate in low places. If you smell gas, leave the area immediately.
• Never install or remove propane tank while the fire table is lit, near flame, other ignition sources, or while the fire table
is hot to touch.
• This fire table is red hot during use and can ignite flammables too close to the burner. Keep flammables at least three
(3) feet from sides and three (3) feet from top. Keep gasoline and other flammable liquids and vapors well away from
the fire table.
• Store the propane tank outdoors in a well ventilated space out of reach of children. Never store the propane tank in an
enclosed area (house, garage, etc.). If the fire table is to be stored indoors, disconnect the propane tank for outdoor
storage.
CARBON MONOXIDE HAZARD
• This fire table is a combustion appliance. All combustion appliances produce carbon monoxide (CO) during the
combustion process. This product is designed to produce extremely minute, non-hazardous amounts of CO, if used and
maintained in accordance with all warnings and instructions. Do not block air flow into or out of the fire table.
• Carbon Monoxide (CO) poisoning produces flu-like symptoms, watery eyes, headaches, dizziness, fatigue, and possibly
death. You can't see it and you can't smell it. It's an invisible killer. If these symptoms are present during operation of
this product get fresh air immediately!
• For outdoor use only.
• Never use inside house, or other unventilated or enclosed areas.
• This fire table consumes air (oxygen). Do not use in unventilated or enclosed areas to avoid endangering your life.
WARNING
WARNING indicates an imminently hazardous situation which, if not avoided, will result in death or serious injury.
WARNING
We cannot foresee every use which may be made of our fire tables.
Check with your local fire safety authority if you have questions about fire table use.
Other standards govern the use of fuel gases and heat producing products for specific uses. Your local authorities can
advise you about these.
If no local codes exist, follow National Fuel Gas Code, ANS Z223.1. In Canada, installation must conform to local codes. If no
local codes exist, follow the current National standards of CANADA CAN/CGA-B 149.2.
WARNING
Do not store or use gasoline or other flammable vapors and liquids in the vicinity of this or any other appliance.
An LP-tank not connected for use shall not be stored in the vicinity of this or any other appliance.

www.insigniaproducts.com 5
28" Square Fire Table - Black
WARNING: For Outdoor Use Only
WARNING
Improper installation, adjustment, alteration, service, or maintenance can cause property damage, injury, or death. Read
the installation, operation, and maintenance instructions thoroughly before installing or servicing this equipment.
WARNING
BURN HAZARD
• Never leave the fire table unattended when hot or in use.
• Keep out of reach of children.
WARNING
Certain materials or items, when stored under the fire table, will be subjected to radiant heat and could be seriously
damaged.
CAUTION
CAUTION indicates an imminently hazardous situation which, if not avoided, may result in minor or moderate personal
injury, or property damage.
CAUTION
SERVICE SAFETY
• Keep all connections and fittings clean. Make sure propane tank valve outlet is clean.
• During set up, check all connections and fittings for leaks using soapy water. Never use a flame.
• Use as a heating appliance only. Never alter in any way or use with any device.
WARNING
• This product is fueled by propane gas. Propane gas is invisible, odorless, and flammable. An odorant is normally added
to help detect leaks and can be described as a “rotten egg” smell. The odorant can fade over time so leaking gas is not
always detectable by smell alone.
• Propane gas is heavier than air and leaking propane will sink to the lowest level possible. It can ignite by ignition
sources including matches, lighters, sparks, or open flames of any kind many feet away from the original leak. Use only
propane gas set up for vapor withdrawal.
• Store or use propane gas in compliance with local ordinances and codes or with ANS/NFPA 58. Turn off propane when
not in use.
WARNING
• Alert children and adults to the hazards of high surface temperatures. Stay away from these surfaces to avoid burning
skin or igniting clothing.
• Carefully supervise young children when in the vicinity of the fire table.
• Do not hang clothing or any other flammable materials from the fire table, or place on or near the fire table.
• Replace any guard or protective device removed for servicing the appliance prior to placing back in service.
• Installation and repair should be done by a qualified service person. The fire table should be inspected before use and
annually by a qualified service person. More frequent cleaning may be required as necessary. It is imperative that the
control compartment, burners, and circulating air passageway of the appliance be kept clean.
IMPORTANT PROPANE TANK INFORMATION
The propane gas and tank are sold separately. The fire table should be securely assembled and shall be constructed to
maintain a fixed relationship between essential parts under normal and reasonable conditions of handling and usage.
Parts not permanently secured shall be designed so they cannot be incorrectly assembled and cannot be improperly
located or misaligned in removing or replacing during cleaning or other servicing.
Use a standard 20 lb. (9 kg) propane tank only (approximately 12.2 in. (31cm) in diameter and 17.9 in. (45.5 cm high)).
Use this fire table only with a propane vapor withdrawal supply system. See chapter 5 of the standard for storage and
handling of liquefied petroleum gas, ANS/NFPA 58. Your local library or fire department should have this book.

www.insigniaproducts.com
6
Storage of an appliance indoors is permissible only if the tank is disconnected and removed from the appliance. A tank
must be stored outdoors in a well-ventilated area out of the reach of children.
A disconnected tank must have dust caps tightly installed and must not be stored in a building, garage, or any other
enclosed area. The maximum inlet gas supply pressure: 250 psi/1750 kPa. The minimum inlet gas supply pressure:
25 psi/172 kPa. Manifold pressure with regulator provided: 11 inch W.C/ 2.74 kPa. The minimum hourly of 20500 Btu /
6.01 kW is required input rating for an appliance for automatic operation at ratings less than full input rating. The pressure
regulator and hose assembly supplied with the appliance must be used. The installation must conform with local codes, or
in the absence of local codes, with national fuel gas code, ANS Z223.1/NFPA54, natural gas and propane Installation Code,
CSA B149.1, or propane storage and handling code, B149.2.
The propane tank must be constructed and marked in accordance with the specifications for LP gas tanks of the U.S.
Department of Transportation (DOT) or the standard for tanks, spheres, and tubes for transportation of dangerous goods
and commission, CAN/CSA-B339.
• The tank must have a listed overfilling prevention device.
• The tank must have a connection device compatible with the connection for the appliance.
• The tank used must include a collar to protect the tank valve.
• Never connect an unregulated propane tank to the fire table.
Standard 20 lb. tank size
WARNING
A dented, rusted or damaged propane tank may be hazardous and should be checked by your local tank supplier. Never
use a propane tank with a damaged valve connection.
17.9 in. (45.5 cm)
12.2 in.(31 cm)

www.insigniaproducts.com 7
28" Square Fire Table - Black
Features
• 50,000 BTU creates a heat radius of 16.4 ft. (5 m) to keep everyone warm
• Propane fuel source with 20 lb. (9 kg) capacity burns clean and avoids releasing harmful emissions
• Adjustable power control lets you choose a higher or lower level of heat
• Lava rocks efficiently trap heat while adding a decorative touch
• Fence-style steel tabletop with lid holds up to 441 lbs. (200 kg)
• Electric igniter turns your fire table on or off at the push of a button
• Auto-shutoff detects when there is no gas in the tank and turns your fire table off
• 13.7 in. (35 cm) hose gives you flexible placement options
Dimensions
Package contents
•Firetable
•Lavarocks
•UserGuide
24.6 in. (62.5 cm)
27.9 in. (71.1 cm)
27.9 in. (71.1 cm)

www.insigniaproducts.com
8
Parts
Make sure that you have all the hardware necessary to assemble your new fire table:
PART DESCRIPTION QUANTITY
ATableLid 1
B Burner Assembly 1
CTable 1
DDoorframe 1
ELeftSidePanel 1
F Control Panel 1
GDoor 1
HDoorHandle 1
IFoot 4
JLavaRocks1bag
KBackPanel 1
LRightSidePanel 1
MBottomPlate 1

www.insigniaproducts.com 9
28" Square Fire Table - Black
Hardware
Note: You may not use all the included hardware.
LABEL HARDWARE QTY. LABEL HARDWARE QTY.
AA 16 EE 2
BB 2FF 1
CC 2GG 4
DD 2
M6 × 12 mm Bolt
Washer
M6 × 25 mm Bolt
Phillips screwdriver
M4 x 6 mm Screw
ST4.2 x 12 mm Bolt
M5 x 8 mm Screw

www.insigniaproducts.com
10
Assembly
Fire Table
Assembling your fire table. . . . . . . . . . . . . . . . . . . . . . . . . 11
STEP 1: Attaching the bottom plate and feet . . . . . . . . . . . . . . . . . 11
STEP 2: Attaching the back panel . . . . . . . . . . . . . . . . . . . . . . . . . . . . 13
STEP 3: Installing the door . . . . . . . . . . . . . . . . . . . . . . . . . . . . . . . . . . . 14
STEP 4: Attaching the table to the base assembly. . . . . . . . . . . . . 15
STEP 5: Installing the burner assembly . . . . . . . . . . . . . . . . . . . . . . . 16
STEP 6: Installing the control panel . . . . . . . . . . . . . . . . . . . . . . . . . . 17
STEP 7: Adding the lava rocks. . . . . . . . . . . . . . . . . . . . . . . . . . . . . . . . 18
STEP 8: Installing the propane tank . . . . . . . . . . . . . . . . . . . . . . . . . . 19
STEP 9: Testing for gas leaks . . . . . . . . . . . . . . . . . . . . . . . . . . . . . . . . . 21

www.insigniaproducts.com 11
28" Square Fire Table - Black
Assembling your fire table
STEP 1: Attaching the bottom plate and feet
You n eed:
1Attach the bottom plate (M) to the left and right side panels (Eand L) with four M6 x 12 mm bolts (AA). Make sure that
the center ring on the bottom plate (M) is positioned closer to the left side panel with holes on it (E). Tighten with the
Phillips screwdriver (FF).
CAUTION: We recommend that you get assistance during the assembly process to avoid strains or injury, or damage to the fire table
parts.
Note: Before you begin to assemble your fire table, make sure that all parts are present. Compare the parts with the package contents
list and hardware contents above. If any part is missing or damaged, do not attempt to assemble your fire table. Contact customer
service for replacement parts.
AA M6 × 12 mm bolt (4) FF Phillips screwdriver
E left side panel
M bottom plate
L right side panel
I feet (4)
Top of your fire table
Bottom of your fire table

www.insigniaproducts.com
12
2Screw the four feet (I) into the bottom of the left and right side panels (Eand L).
Bottom of your fire table

www.insigniaproducts.com 13
28" Square Fire Table - Black
STEP 2: Attaching the back panel
You n eed:
1Turn the unit upright, then attach the back panel (K) to the left and right side panels (Eand L) with four M6 x 12 mm
bolts (AA). Tighten the bolts with the Phillips screwdriver (FF).
AA M6 × 12 mm bolt (4)
K back panel
FF Phillips screwdriver
Bottom of your fire table

www.insigniaproducts.com
14
STEP 3: Installing the door
You n eed:
1Attach the door handle (H) to the door by putting the M4 x 6 mm (CC) screw through the washer (EE) and through the
holes in the door (G), then tightening the screws until snug.
2Attach the doorframe (D) to the side panels and bottom plate with six M6 X 12 mm bolts (AA), then insert the bottom
spindle of the door (G) into the hole in the bottom plate (M) and doorframe (D). Tighten with the Phillips screwdriver
(FF).
CC M4 × 6 mm screw (2) EE Washer (2) AA M6 × 12 mm bolt (4)G door H Door handleD doorframe FF Phillips screwdriver

www.insigniaproducts.com 15
28" Square Fire Table - Black
STEP 4: Attaching the table to the base assembly
You n eed:
1Place the table (C) face down on a pad or piece of cardboard (to prevent damage), then turn the base assembly over
onto the table so that the holes in the base assembly align with the holes in the table.
2Secure the base assembly to the table (C) with four M6 x 12 mm bolts (AA), then tighten with the Phillips screwdriver
(FF).
AA M6 × 12 mm bolt (4)
Ctable
FF Phillips screwdriver
Bottom of your fire table

www.insigniaproducts.com
16
STEP 5: Installing the burner assembly
You n eed
1Turn the table assembly upright.
2Remove the knob from the burner assembly by pulling it outward off the shaft.
3Place the burner assembly (B) into the square cutout in the table (C) so that the four screw holes in the burner assembly
align with the holes in the square cutout in the table.
4Secure the burner assembly (B) to the table (C) with four STA4.2 x 12 mm bolts (GG). Tighten the bolts with the Phillips
screwdriver (FF).
GG ST4.2 x 12 mm bolt
Bburner assembly
FF Phillips screwdriver
Top of your fire table
Knob

www.insigniaproducts.com 17
28" Square Fire Table - Black
STEP 6: Installing the control panel
You n eed:
1Align the two holes in the control panel (F) with the holes in the left side panel (E), then attach the control panel with
two M5 x 8 mm screws (DD). Tighten with the Phillips screwdriver (FF).
2Replace the knob onto the burner assembly.
DD M5× 8 mm screw (2)
F control panel FF Phillips screwdriver

www.insigniaproducts.com
18
STEP 7: Adding the lava rocks
You n eed:
• Add one bag of lava rocks (J) evenly to the burner tray. Do not cover the ignition parts.
Note: This fire table is compatible with either lava rocks or glass stones. You can choose whichever you prefer. Lava rocks are provided
with this fire table.
JLava Rocks

www.insigniaproducts.com 19
28" Square Fire Table - Black
STEP 8: Installing the propane tank
To make sure that the propane tank is installed correctly, see IMPORTANT PROPANE TANK INFORMATION on page 5.
1Hold the regulator in one hand and insert the nipple into the valve outlet. Make sure that the nipple is centered in the
valve outlet. The coupling nut connects to the large outside threads on the valve outlet.
2Hand-tighten the coupling nut clockwise until it comes to a full stop. Firmly tighten by hand only.
3Slide the propane tank into your fire table and position it in the round tray in the base, then tighten the wing nut that
secures the tank in the tray.
WARNING:
• Do not store a spare LP-gas tank under or near this appliance.
• Never fill the tank beyond 80 percent full.
• Place the dust cap on the tank valve outlet whenever the tank is not in use. Use the dust cap that is provided with the tank valve.
Other types of caps or plugs may result in leakage of propane.
• Turn the cylinder valve OFF and replace the cylinder when the gas pressure is low.
Propane supply hose
and regulator assembly
Wing nut

www.insigniaproducts.com
20
4Close the door.
To disconnect the tank
1Open the door in the front of your fire table, then loosen the wing nut that secures the tank in the tray.
2Fully close the tank valve by turning it clockwise.
3Turn the coupling nut counterclockwise until the regulator assembly detaches, then remove the tank.
Table of contents
Other Insignia Outdoor Fireplace manuals
Popular Outdoor Fireplace manuals by other brands

Sunnydaze Decor
Sunnydaze Decor KF-154 manual

Endless Summer
Endless Summer WAF501CS Cleaning and care

Crosley
Crosley c09003a instruction manual

Outdoor GreatRoom Company
Outdoor GreatRoom Company COR-1264 installation instructions

Hanover
Hanover Monaco MON5PCSW4DFP Assembly instructions

Outdoor Plus
Outdoor Plus Sienna manual

SNOWJOE
SNOWJOE sunjoe SJFP35-STN Operator's manual

MODENO
MODENO Nantucket Fire Bowl OFG116LP owner's manual

ELEMENTI
ELEMENTI OFG201 owner's manual

Extremis
Extremis Qrater Technical sheet

Outdoor GreatRoom Company
Outdoor GreatRoom Company Havenwood HVGW-1224 installation instructions

ROOMS TO GO
ROOMS TO GO Alamo DFP-FP20502 Use and care instructions