manuals.online logo
Brands
  1. Home
  2. •
  3. Brands
  4. •
  5. Insignia
  6. •
  7. TV DVD Combo
  8. •
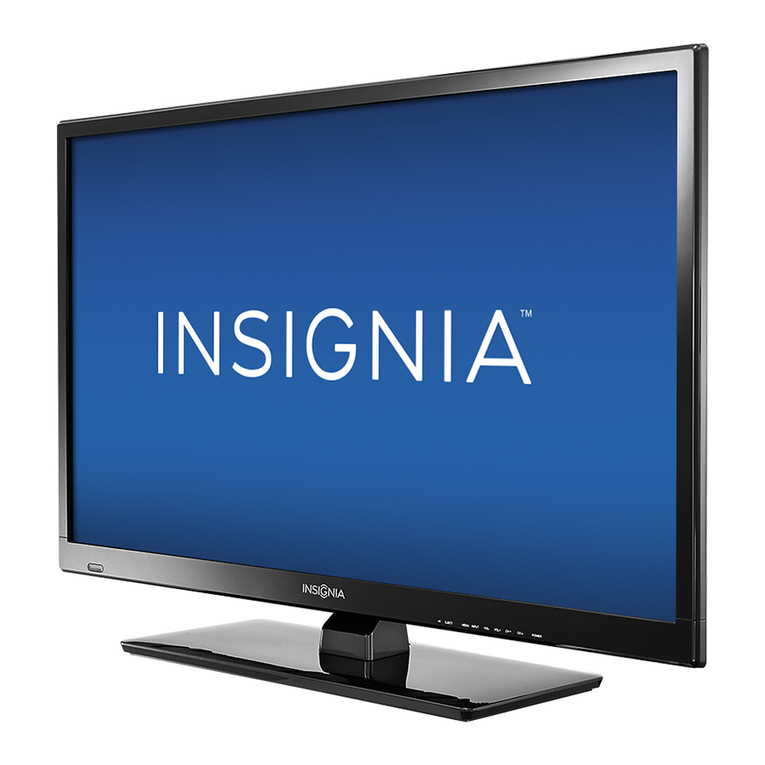
  9. Insignia NS-32LB451A11 User manual

Insignia NS-32LB451A11 User manual

32" LCD TV/Blu-ray Combo, 1080p
QUICK SETUP
GUIDE
NS-32LB451A11
Thank You
for purchasing this ne Insignia television.
We hope you enjoy the quality and reliability
of this product for years to come.
_______________________________
Universal remote control TV codes(for all Insignia TVs manufactured after Jan. 1, 2007)
Philips
PHDVD5, PH5DSS,
PMDVR8, PDVR8
115
DirectTV
RC23
10463
RCA
RCU807
135
One for All
URC-6690
0464
Sony
RM-VL600
8043
Comcast
M1057
0463
Dish Network
VIP508, VIP622
720
Motorola
DRC800
0463
TIVO
Series 3, HD
0091
Universalremotecontrolmakersandmodels Set-topboxmakersandmodels
Remote
control
and 2 AA
batteries
Remote
control holder
Component
cable
Stand Column, TV stand, Cover, and 4 screws
Quick Setup Guide
AC
power
cord
Cleaning
cloth
8 stand column screws 2 stand cover screws
DISK
EJECT/CLOSE
BLU-RAY
POPUP MENU HOME/SETUP
SEARCH
CLEAR
ANGLE
REPEAT
SUBTITLE
LIST
DYN
VOL
NS-RC07A-11
L/R Audio
cable
SEARCH
CLEAR
REPEAT
Turning on yourTV for the rst time
To set up yourTV:
1Make sure that you have:
• Installed the remote control batteries.
• Connected an antenna, cable TV, or satellite TV.
• Connected the power cord.
2Press (power)
on the remote control
to turn on your TV. The Choose Your
Menu language screen opens.
3Press ▲or ▼to highlight the language you want, then press ENTER. The
Choose your Time Setting screen opens.
4Press ▲or ▼ to highlight Mode, then press ◄or ►to select Manual (to set
the date and time manually) or Auto (to set the date and time automatically
from a TV signal source based on the time zone your select).
5 Press ▲or ▼to highlight an option, then press ◄or ►to adjust the option.
You can select:
Mode—Select Auto or Manual. If you select Auto, the date and time are set
based on a time signal received from a digitalTV channel. If you select Manual,
you can adjust the date and time.
Time Zone—Select the time zone.
Daylight Savings—Select On or O.
Year—Select the current year.
Month—Select the current month.
Day—Select the current day.
Time—WhenTime is highlighted, press ◄or ►to move the cursor from eld to
eld, then press ▲or ▼to change the value in the eld.
6Press ENTER. The Choose Your Picture Mode screen opens.
7Press▲or ▼to highlight Home Mode or Retail Mode, then press ENTER. If
you selected Retail Mode, a message appears“If you select Retail Mode, then
Energy Savings is not realized.”If you select No, press ENTER.
PREV
NEXT
STOP
PLAY/
PAUSE
OPEN/
CLOSE
DISC IN
The Choose Your Picture Mode screen reopens. Go back to step 6. If you select Yes,
press ENTER. The Choose Your TV Source screen opens.
8Press▲or ▼to highlight Antenna, Cable, or Cable/Satellite Box (if your cable
TV uses a box, select Cable/Satellite Box), then press ENTER. If you chose
Antenna or Cable, yourTV/Blu-ray combo automatically starts scanning for
channels available in your viewing area. If you chose Cable/Satellite box, your
TV/Blu-ray combo does not need to scan for channels. During auto channel
search, your TV/Blu-ray combo searches for digital channels rst. When the
digital channel search is complete, a message appears asking if you want to
search for analog channels. Select Yes to continue searching for analog
channels, or select No to stop searching for channels.
9To watch TV, press INPUT, then press INPUT repeatedly or press ▲ or ▼
to highlight TV in the input source list, then press ENTER.
Selecting the video input source
• Press INPUT, then press INPUT repeatedly or press ▲ or ▼to
highlight the video source, then press ENTER.
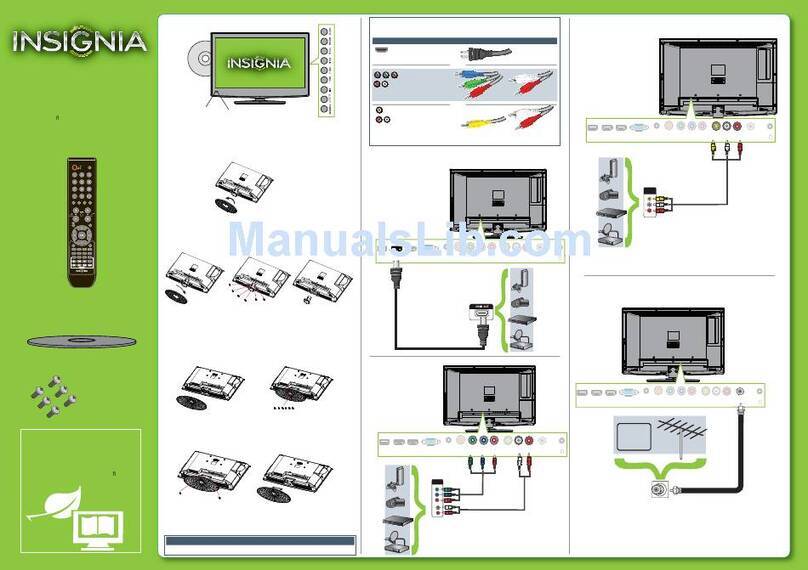
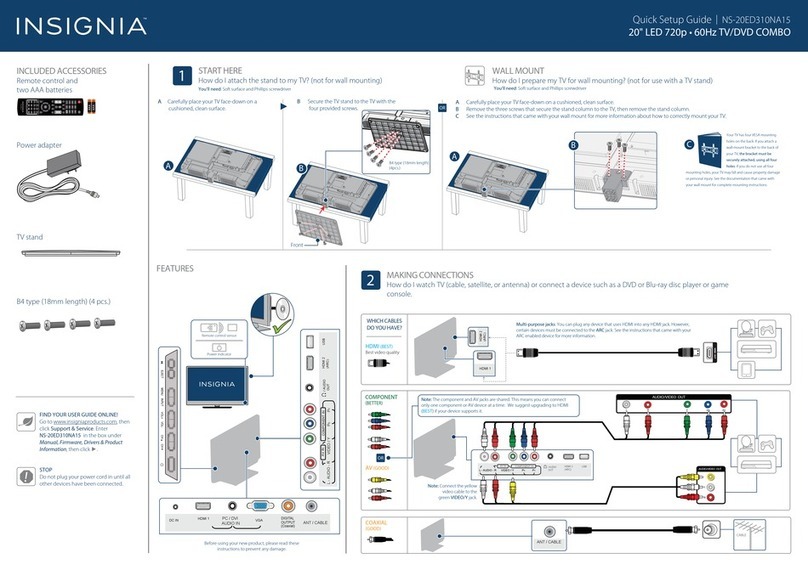
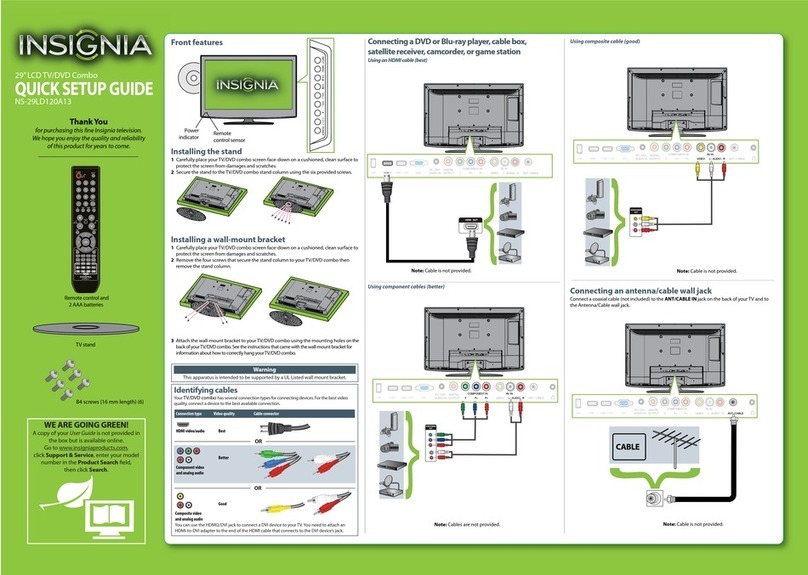
Front features
Installing the stand
1Carefully place your TV screen face-down on a cushioned, clean surface to
protect the screen from damages and scratches.
2Secure the stand to the stand column with the provided four screws and
washers.
3Slide the stand column into the slot in the bottom of theTV/Blu-ray
combo, then secure the stand column with the eight provided screws.
4Secure the stand cover (included) to theTV/Blu-ray combo with the two
screws provided.
Installing a wall-mount bracket
1Carefully place your TV face-down on a cushioned, clean surface to
protect the screen from damages and scratches.
2Remove the two screws securing the stand cover to the TV, then remove
the stand cover.
3Remove the eight screws holding the TV/Blu-ray DVD combo to its stand,
then remove the stand.
4Secure the wall-mount bracket to the back of yourTV using the screws
provided with the wall mount.Wall-mount bracket and screws are not
provided.
Setting up your remote control
1Press down on the battery compartment cover lock, then remove the
battery compartment cover.
2Insert two AA batteries into the battery compartment. Make sure that the
+ and – symbols on the batteries align with the + and – symbols in the
battery compartment.
3Replace the cover.
Programming your remote control
To program your existing universal remote control to work with your new
InsigniaTV, see the table below for common codes. If you have problems
programming your remote or need a dierent remote control code, visit
www.insigniaproducts.com for the latest remote control code information.
To program your universal Insignia remote control to work with other devices
in the home, see your User Guide or visit www.insigniaproducts.com.
Connecting a DVD or Blu-ray
DVD player, cable box, satellite
receiver, or game console
Using HDMI (best)
Connecting a Home
Theater System
Using digital audio
Connecting to a wired router Connect an Ethernet cable (CAT5
or better with an RJ45 connector) to the ETHERNET jack on theback of your
TV/Blu-ray combo and to an Ethernet jack on a router.
Connecting power
Plug the power cord into the AC INPUT jack on the back
of yourTV/Blu-ray combo and into a power outlet.
Note:Whenpluggingor unpluggingthe
cable,hold theconnectoron theend of
the cable.Whenunplugging,donotpull
onthecable. Press downthelocktab and
pullthe connectorout ofthe jack.
ETHERNET PORT
HDMI3
INPUT
(BD Live storage only)
Remote
control sensor
Power
indicator
32" LCD TV/Blu-ray Combo, 1080p IQUICK SETUP GUIDE I NS-32LB451A11
Press to open the
on-screen menu
Press to return to the previous
menu.
Press to close the menu.
Press to select menus, to adjust
selected items, or to move the
on-screen cursor left or right.
Press to select menu items. Press to conrm a selection or
to enter a sub menu.
Two-year limited warranty
See your User Guide or visit
www.insigniaproducts.com for details.
Need additional help?
See your User Guide! This comprehensive
guide includes everything from basic
how-to steps to more advanced features.
Check out our online community forum at
www.insigniaproducts.com for helpful
information from other InsigniaTV owners.
We’re here for you
www.insigniaproducts.com
For customer service, call:
877-467-4289 (U.S./Canada markets)
01 800-926-3000 (Mexico market)
Distributed by Best Buy Purchasing, LLC
7601 Penn Avenue South, Richeld, MN USA
55423-3645
Best Buy Imports, S. de R.L. de C.V. Av. Santa Fe 485,
Segundo Piso, Colonia Cruz Manca, Programa Parcial de
Desarrollo Santa Fe, Delegación Cuajimalpa, Distrito
Federal, México 05349
RFC#BBI0802114Q2
© 2010 BBY Solutions, Inc.
All rights reserved. INSIGNIA is a trademark of BBY
Solutions, Inc. Registered in some countries. All other
products and brand names are trademarks of their
respective owners.
ENGLISH 10-0372
Navigating menus with your remote control
Registering your TV/Blu-ray combo with Netix
To register your TV/Blu-ray combo with Netix:
1 Press INPUT, press ▲ or ▼to highlight BLU-RAY, then press
ENTER. The Settings menu opens.
2 Press ▲ or ▼to highlight Connected, then press ENTER.
The Connected screen opens.
3 Press ▲ or ▼to highlight NETFLIX, then press ENTER.
Amessage asks“Are you amember of Netix?”.
4 Press ▲ or ▼to highlight Yes, then press ENTER.
5 Follow the on-screen instructions to activate yourTV/Blu-ray combo, and
link it to your Netix account. YourTV/Blu-ray combo will be registered, and you
can begin enjoying movies from Netix.
Conguring a wired Internet connection
Tocongureawired Internetconnection:
1 Press ENTER.TheSettings menuopens.
2Press
▲or▼
to highlightNetwork,thenpressENTER.
The Networkmenuopens.
3Press
▲or▼
tohighlight Wired, thenpress ENTER.
The IPSettings screen opens.
4Press
▲or▼
tohighlight IPMode, thenpressENTER.
5Press
▲or▼
to highlightanIP mode, thenpress ENTER.You can select:
• O—Disables thenetworkinterface.
• Manual—Letsyou manuallycongure networksettings, suchasIP address,
subnet mask, and gateway settings
• Dynamic—Uses DHCPto automatically obtainanIP address.
6 Press
▲or▼
tohighlight Apply,then press ENTER.Tocancel manual setup,
selectCancel,then pressENTER.
7Press
◄
togo to the previousmenu.You are ready toaccessthe Internet.
Subnet Mask
Secondary DNS 0.0.0.0
Primary DNS 0.0.0.0
Gateway 0.0.0.0
0.0.0.0
IP Address 0.0.0.0
MAC Address 00:22:84:08:1c:b3
IP Settings
Link Status Link Down
Apply Cancel
IP Mode Dynamic
Conguring a wireless Internet connection
TocongureawirelessInternet connection:
1Press ENTER.TheSettings menu opens.
2Press
▲or▼
tohighlight Network,thenpressENTER.The Networkmenu
opens.
3Press
▲or▼
to highlightWireless, thenpress ENTER.Thelistof wireless
options opens.
4Press
▲or▼
tohighlight IPSettings,thenpressENTER.The IPSettings
screen opens.
Connecting to the Internet to download BD-Live content
YourTV/Blu-ray combo has an Ethernet jack and a built-in Wi-Fi antenna.You can connect to the
Internet using a:
Wired connection (Ehternet jack)
Wireless connection (Wi-Fi antenna)
Settings
Audio
Language
Display
System
Parental
Network WiFi Protected Setup (WPS)
IP Settings
Manual
Network List
Subnet Mask
Secondary DNS 0.0.0.0
Primary DNS 0.0.0.0
Gateway 0.0.0.0
0.0.0.0
IP Address 0.0.0.0
MAC Address 00:22:84:08:1c:b3
IP Settings
Link Status Link Down
Apply Cancel
IP Mode Dynamic
5Press
▲or▼
tohighlight IP Mode,then pressENTER.
6Press
▲or▼
tohighlight an IPmode, thenpress ENTER.Youcanselect:
• O—Disablesthe network interface.
• Manual—Lets you manually congure networksettings, such as IP address, subnetmask, andgateway settings
• Dynamic—Uses DHCP to automaticallyobtain an IPaddress.
7Press
▲or▼
tohighlight Apply,then press ENTER.Tocancel manual setup, selectCancel, thenpress ENTER.
8Press
◄
togo to the previousmenu.Themethod you usetoconnect to a wirelessnetworkdependsonthenetwork
type. Forinformation abouthow to connectto awirelessnetworkand access the Internet, seeyour UserGuide.
Netflix
Settings
Connected
Registering your TV/Blu-ray combo with Pandora
To register your TV/Blu-ray combo with Pandora:
1Press INPUT, press
▲ or ▼
to highlight BLU-RAY,
then press ENTER. The Settings menu opens.
2Press
▲ or ▼
to highlight Connected, then press ENTER.
The Connected menu opens
3Press
▲ or ▼
to highlight Pandora, then press ENTER.
Then follow the on-screen instructions to operate.
Settings
Connected

Other manuals for NS-32LB451A11

5

Other Insignia TV DVD Combo manuals

Insignia NS-19ED200NA14 User manual

Insignia

Insignia NS-19ED200NA14 User manual

Insignia NS-14FCT User manual

Insignia

Insignia NS-14FCT User manual

Insignia NS-19ED200NA14 Quick start guide

Insignia

Insignia NS-19ED200NA14 Quick start guide

Insignia NS-24ED310NA15 User manual

Insignia

Insignia NS-24ED310NA15 User manual

Insignia NS-32LD120A13 User manual

Insignia

Insignia NS-32LD120A13 User manual

Insignia NS-32DD200NA14 User manual

Insignia

Insignia NS-32DD200NA14 User manual

Insignia NS-32DD200NA14 User manual

Insignia

Insignia NS-32DD200NA14 User manual

Insignia NS-24LD100A13 User manual

Insignia

Insignia NS-24LD100A13 User manual

Insignia NS-LTDVD20 User manual

Insignia

Insignia NS-LTDVD20 User manual

Insignia NS-32DD220NA16 User manual

Insignia

Insignia NS-32DD220NA16 User manual

Insignia NS-CL19C User manual

Insignia

Insignia NS-CL19C User manual

Insignia NS-28ED200NA14 Parts list manual

Insignia

Insignia NS-28ED200NA14 Parts list manual

Insignia NS-29LD120A13 User manual

Insignia

Insignia NS-29LD120A13 User manual

Insignia NS-24LD100A13 Quick start guide

Insignia

Insignia NS-24LD100A13 Quick start guide

Insignia NS-32LD120A13 User manual

Insignia

Insignia NS-32LD120A13 User manual

Insignia NS-7UTCTV User manual

Insignia

Insignia NS-7UTCTV User manual

Insignia ns-ltdvd26 User manual

Insignia

Insignia ns-ltdvd26 User manual

Insignia IS-TVDVD20A User manual

Insignia

Insignia IS-TVDVD20A User manual

Insignia NS-20ED310NA15 User manual

Insignia

Insignia NS-20ED310NA15 User manual

Insignia NS-24LD120A13 Parts list manual

Insignia

Insignia NS-24LD120A13 Parts list manual

Insignia NS-LDVD32Q-10A - 32" LCD TV User manual

Insignia

Insignia NS-LDVD32Q-10A - 32" LCD TV User manual

Insignia NS-19LD120A13 Quick start guide

Insignia

Insignia NS-19LD120A13 Quick start guide

Insignia NS-19ED200NA14 Quick start guide

Insignia

Insignia NS-19ED200NA14 Quick start guide

Insignia NS-LDVD26Q-10A - 26" LCD TV Quick start guide

Insignia

Insignia NS-LDVD26Q-10A - 26" LCD TV Quick start guide

Popular TV DVD Combo manuals by other brands

Akai ALED2402 user manual

Akai

Akai ALED2402 user manual

GPX TDE1982B user guide

GPX

GPX TDE1982B user guide

Toshiba SD-P7000 owner's manual

Toshiba

Toshiba SD-P7000 owner's manual

ESA EC520E owner's manual

ESA

ESA EC520E owner's manual

RCA L32HD35D - 32" 720P LCD/DVD Combo Specifications

RCA

RCA L32HD35D - 32" 720P LCD/DVD Combo Specifications

Westinghouse LTV-32w4 HDC user manual

Westinghouse

Westinghouse LTV-32w4 HDC user manual

Haier DTA-1486 owner's manual

Haier

Haier DTA-1486 owner's manual

Akura ATLDVD1510W-ID instruction manual

Akura

Akura ATLDVD1510W-ID instruction manual

Magnavox RSMGD134 owner's manual

Magnavox

Magnavox RSMGD134 owner's manual

Naxa NTD-1351 instruction manual

Naxa

Naxa NTD-1351 instruction manual

Panasonic OmniVision PV-DF2036M operating instructions

Panasonic

Panasonic OmniVision PV-DF2036M operating instructions

VIORE LED19VH65D operating instructions

VIORE

VIORE LED19VH65D operating instructions

RCA LED42C45RQD user manual

RCA

RCA LED42C45RQD user manual

Bush LED32127HDDVDW Installation & operating instructions

Bush

Bush LED32127HDDVDW Installation & operating instructions

Technika LCD 19-240 user guide

Technika

Technika LCD 19-240 user guide

Magnavox 32MD357B - Hook Up Guide user manual

Magnavox

Magnavox 32MD357B - Hook Up Guide user manual

Akura APLDVD2YR18518 user manual

Akura

Akura APLDVD2YR18518 user manual

Toshiba 19SLV411U owner's manual

Toshiba

Toshiba 19SLV411U owner's manual

manuals.online logo
manuals.online logoBrands
  • About & Mission
  • Contact us
  • Privacy Policy
  • Terms and Conditions

Copyright 2025 Manuals.Online. All Rights Reserved.