4.5 Other Device Installation
4.5.1 Floppy Disk Drive Installation
This main board ships with a floppy disk drive cable that can support one or two drives.
Drives can be 3.5” or 5.25” wide, with capacities of 360K, 720K, 1.2MB, 1.44MB, or
2.88MB.
Install your drives and connect power from the system power supply. Use the cable
provided to connect the drives to the floppy disk drive connector floppy.
4.5.2 Sound Connector Port Installation
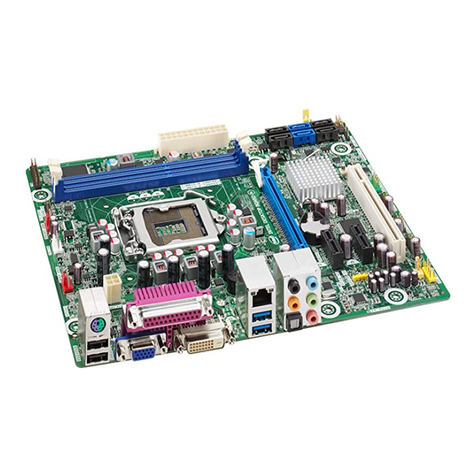
This main board has three audio ports connects audio device.
The left side jack (green) is for a stereo line-out signal. The middle jack (gray) is for a
stereo line-in signal. The right side jack (red) is for a microphone.
4.5.3 Wake on LAN (WOL)
If you have installed a LAN card, use the cable provided with the card to plug into the
main board WOL connector. This enables the Wake on LAN feature. When you system is
in a power saving mode, any LAN signal automatically resumes the system. You must
enable this item using the power Management page of the Setup Utility.
4.5.4 Clear CMOS (JP3)
This jumper allows you to clear the Real Time Clock (RTC) RAM in CMOS. You can
clear the CMOS memory of date, time, and system setup parameters by erasing the
CMOS RTC RAM data. The RAM data in CMOS, that include system setup information
such as system passwords, is powered by the onboard button cell battery.
1. Turn OFF the computer and unplug the power cord.
2. Move the jumper cap from pin 1-2(default) to pin 2-3. Keep the cap on pin 2-3 for
about 5-10 seconds, and then move the cap back to pinsl-2.
3. Plug the power cord and turn ON the computer.
4. Hold down the <DEL> key during the boot process and enter BIOS setup to re-enter
data.
Note1: Except when clearing RTC RAM, never remove the cap on CLRTC1 jumper
default position. Removing the cap will cause system boot failure!
Note2: You do not need to clear the RTC when the system hangs due to over
clocking. For system failure due to over clocking, use the C.P.R. (CPU Parameter
Recall) feature. Shut down and reboot the system so BIOS can automatically reset
parameter settings to defaults values.
4.5.5 ATX Power connectors (20-pin ATXPWRI, 4-pin ATX 12V1)

