Installation
Caution: Do not attempt to open the HDDA-8-F housing. There are no
user-serviceable parts inside the product. Opening the unit
will void your warranty.
To install an HDDA-8-F distribution amplifier, perform the following steps:
1. Turn off power and disconnect the audio/video equipment (DVD
player, satellite receiver, etc.) by following the manufacturer’s
instructions.
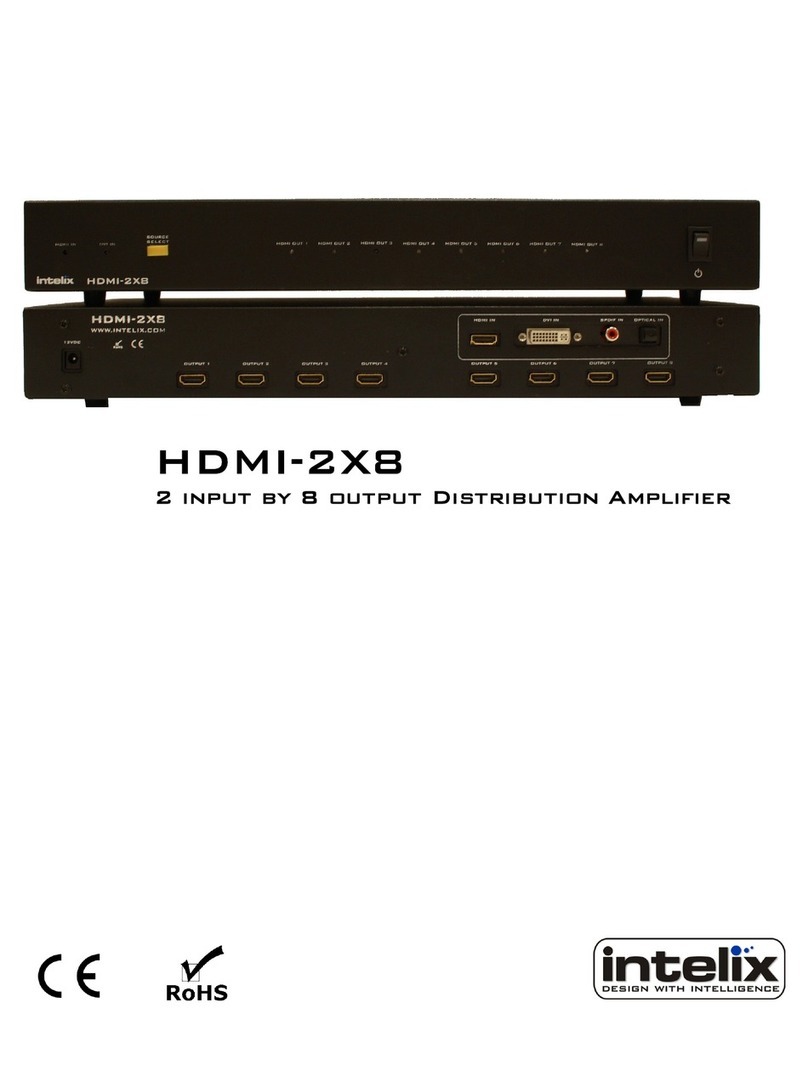
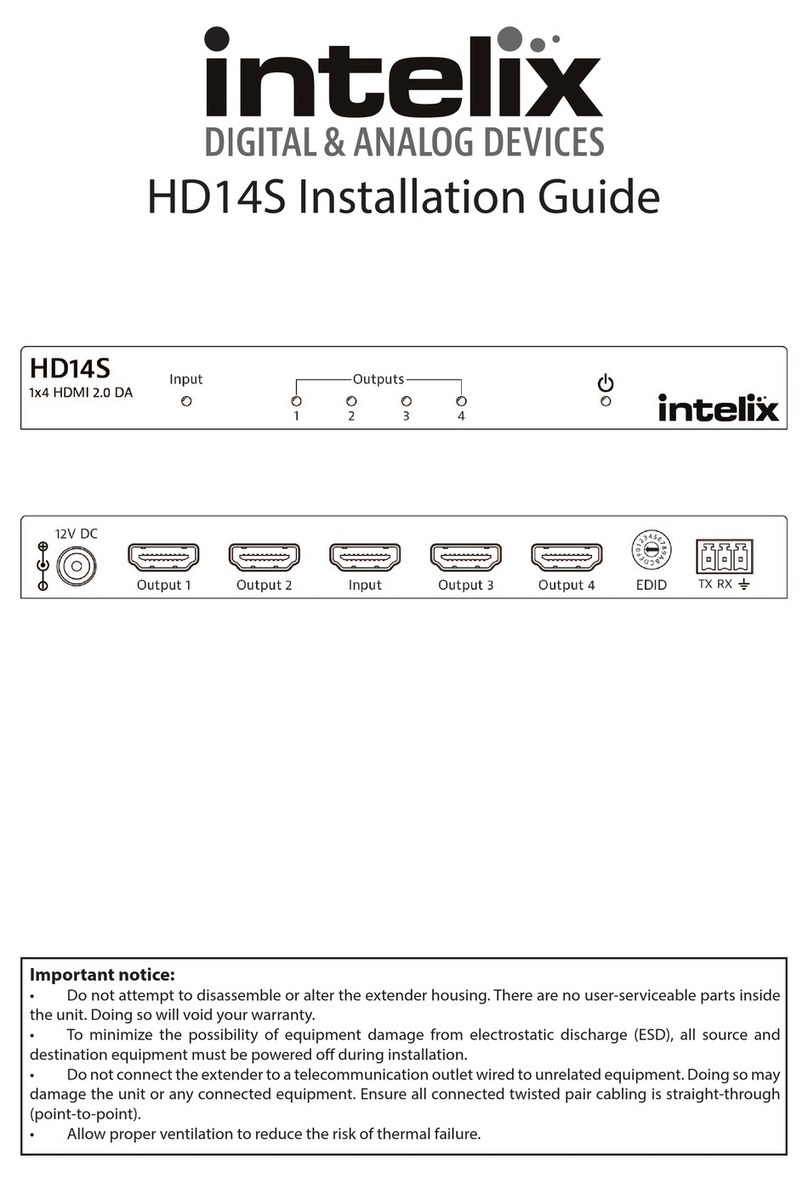
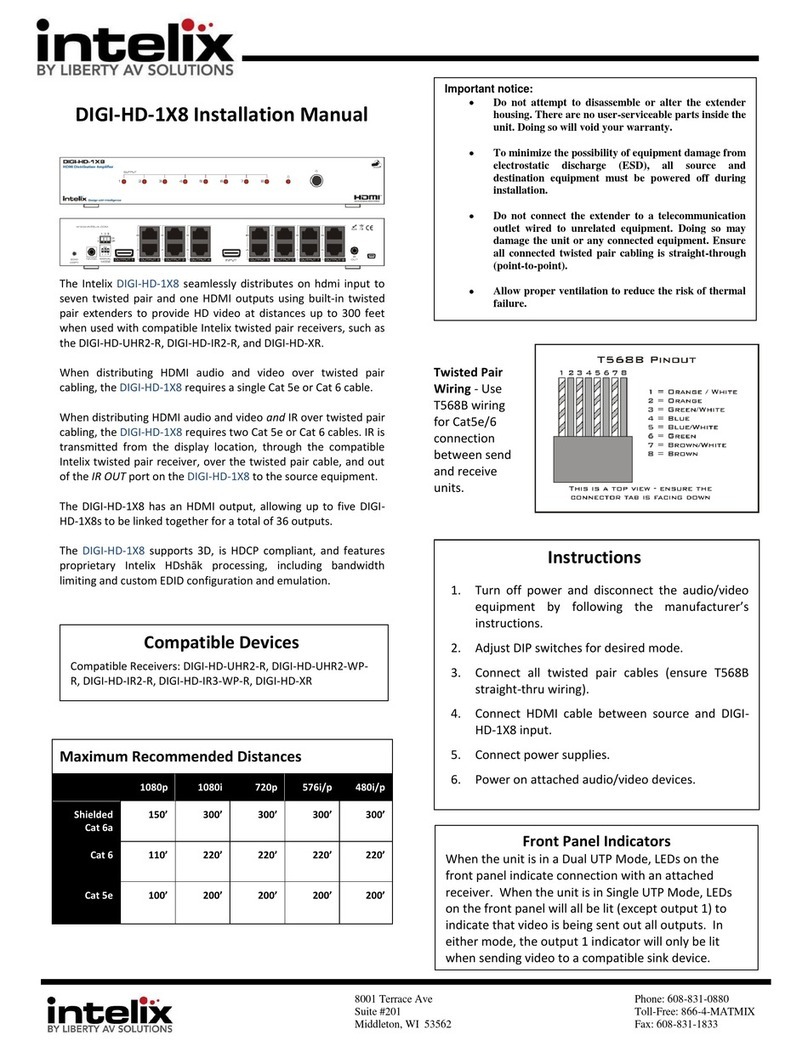
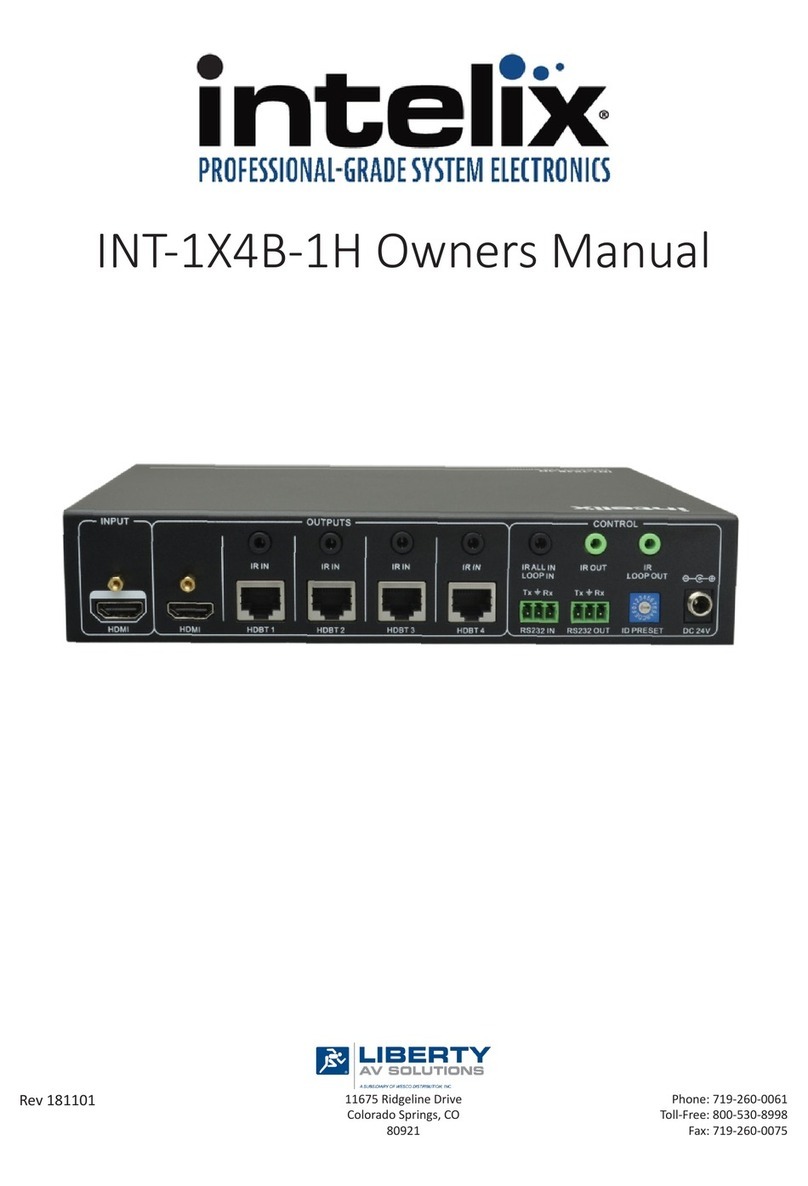
2. Connect the output of the source device to the HDDA-8-F input.
3. Connect the input of the destination devices to the output connectors of the
HDDA-8-F using high-quality audio/video cables. Verify that the total
cable length is under 150 feet or a secondary audio/video over Cat 5 balun
is being used. If linking multiple HDDA-8-Fs, see Linking.
4. Plug the DC connector from the 12VDC power supply into the HDDA-8-F.
5. Plug the power supply into an AC outlet.
6. Power on the source and destination devices.
Linking
To display the same image on more than eight monitors, multiple HDDA-8-
F amplifiers may be linked. Simply connect the input of additional HDDA-
8-F amplifiers to the eighth output of the original HDDA-8-F.
Caution: There will be signal loss with each subsequent HDDA-8-F
connection. Intelix recommends linking a maximum of five
units with the units no more than 30 feet apart.
Troubleshooting
If your equipment malfunctions with HDDA-8-F amplifiers in place, follow
the troubleshooting procedures below:
1. Perform diagnostics on your video equipment by following the
manufacturer’s instructions.
2. Check all the connections and the cabling in between devices.
3. The maximum operational distances over which the HDDA-8-F can be
transmitted is dependant on the equipment used and cable. Ensure that
the maximum recommended operational distances have not been
exceeded.
4. Replace the HDDA-8-F with another HDDA-8-F that is known to be
working.
5. If you still cannot diagnose the problem, contact Intelix for support.
Common Distribution Hook-ups with Composite Video, Y/C Video, and Analog
Audio
