Installation
Caution: Do not attempt to open the Balun housing. There are no user-serviceable parts
inside the SVA2 Balun. Opening the unit will void your warranty.
To install the SVA2 Balun, perform the following steps:
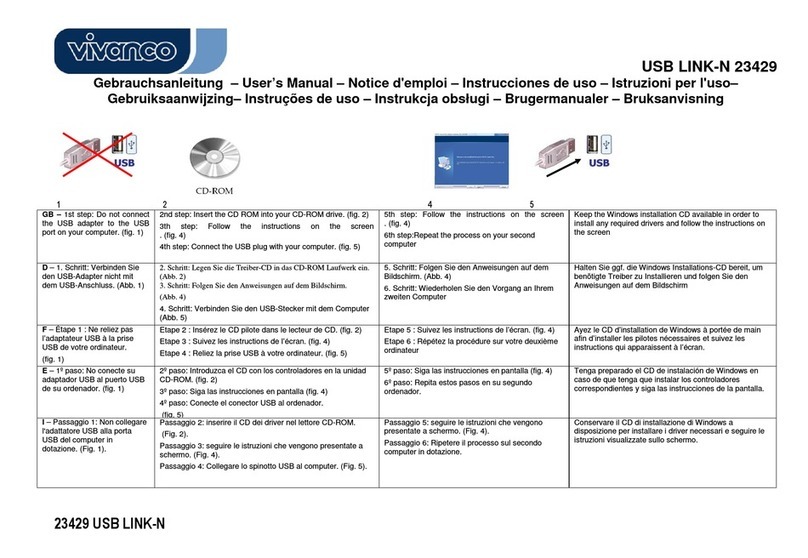
1. Turn off power and disconnect the S-Video source and S-Video monitor.
2. Make certain the modular outlets and cross connects to which you will connect the SVA2
Balun are configured properly and labeled appropriately to identify the circuit.
Caution: Do not connect the SVA2 Balun to a telecommunication outlet wired to unrelated
equipment. Making such a connection may damage the equipment and/or the
Balun. Please ensure that all wiring is “straight-through” twisted pair.
3. Verify the desired twisted pairs are not being used for other LAN or telephone
equipment.
4. SVA2 Baluns operate in pairs.
5. Connect the SVA2 Balun to the S-Video port of the source equipment (i.e., DVD or
VCR). Connect the audio connectors to the audio source via RCA-type audio/video
jumper cables.
Caution: Do not mount the Balun over equipment ventilation openings. Covering such
openings may cause the equipment to overheat.
6. Connect a 4-pair Cat 5 cable from the RJ45 8-position modular jack of the SVA2 Balun
to the twisted pair cabling of the building. The SVA2 requires four pairs if both S-Video
and stereo audio are used.
7. At the destination point, connect an SVA2 Balun to the S-Video monitor or projector.
8. Connect a 4-pair Cat 5 cable from the RJ45 connector of the S-Video Balun to the
appropriate modular wall outlet. See the typical application below. If the S-Video/Audio
Balun is being installed, connect the audio connectors to the audio inputs (i.e.
loudspeakers) via RCA-type audio/video jumper cables.
9. Power on the S-Video equipment at both ends and adjust the monitor image and audio
levels to the desired settings.
Satellite S-Video and Audio Using SVA2
Satellite dish Receiver
Broadband
RCA Audio Cables
SVA2 Balun
S-Video and Audio
Monitor
Category 5
4-Pair UTP
Troubleshooting
If your equipment malfunctions with SVA2 Baluns in place, follow the troubleshooting
procedures below:
1. Perform diagnostics on your video equipment by following the manufacturer’s
instructions.
2. Check all the connections and verify the pin configuration. Verify the RJ45 crimp
pattern conforms to either EIA/TIA 568A or 568B standards, as shown below.
3. Check for reverse polarity.
4. Check for split pairs, improper splices, broken or partially cut wires, or damaged cabling
insulation.
5. The maximum distances supported by the SVA2 Balun are dependent on the type of UTP
cable. Ensure that the maximum recommended operational distances have not been
exceeded.
6. Check that only twisted pair patch cords are being used.
7. Replace the SVA2 Balun with another SVA2 Balun that is known to be working.
8. If you still cannot diagnose the problem, call an authorized Intelix Distributor.

