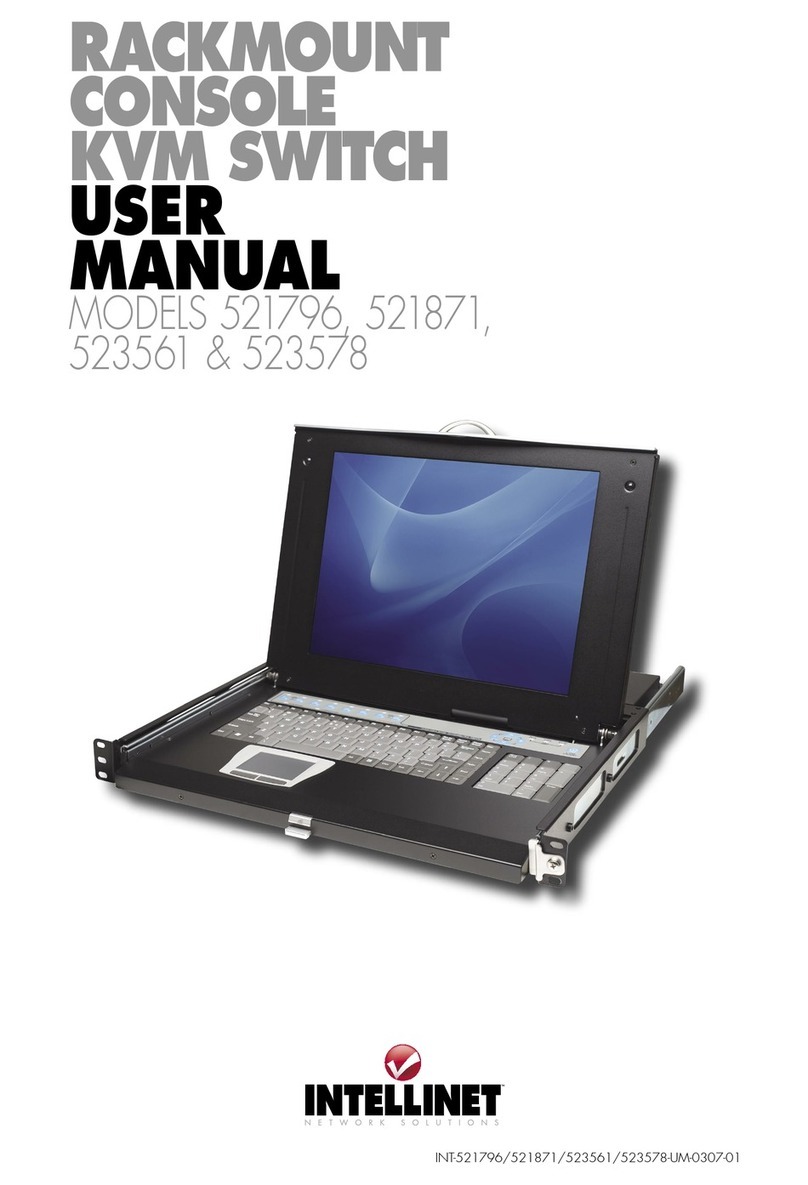
Intellinet 506540 User manual

8-Port
rackmount
LcD consoLe
kVm switch
user manuaL
Model 506540
INT-506540-UM-Ml1-0710-03-0

2
2ENGLISH
Rackmount LCD Console KVM Switch • User Manual English
INTRODUCTION
Thank you for purchasing the INTELLINET NETWORK SOLUTIONS™8-Port Rackmount LCD Console KVM Switch, Model 506540. For a full
list of specications, refer to the datasheet available at www.intellinet-network.com.
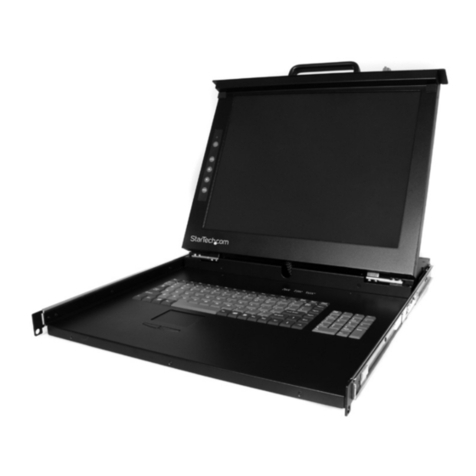
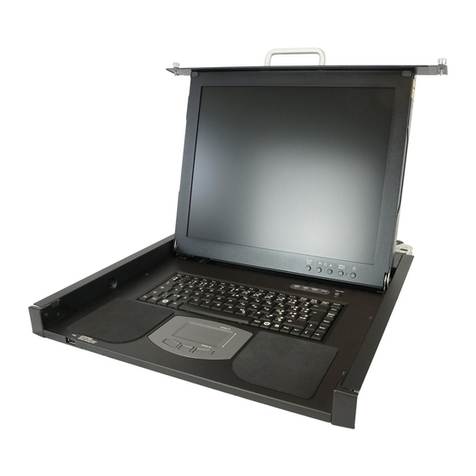
With the industry-standard 19” 1U-height rack drawer, this switch can be easily pulled out and accessed in the extended position, and
the display can be folded down, locked and secured when stored. With the ability to manage and control up to eight PS/2 or USB
computers, you’ll also be able to enjoy these convenient features:
Package Contents
INSTALLATION
To install the Rackmount LCD Console KVM Switch in a rack unit, begin by removing the brackets if the device is already assembled.
1. For both the left and right bracket assemblies, screw the front
of the bracket to the rack, then extend the bracket and attach
it to the back of the rack.
2. Carefully place the switch on the mounted brackets and
loosely attach the front of the switch to the front of the rack
using the included screws.
they contact the back of the switch.

3
ENGLISH
NOTE:
When the control platform is pulled out to its full extension, the bracket guides lock automatically and the power is turned on to the
console.
6. Using the included 1.8 m combo cables, connect the HD15 port connectors on the rear panel of the switch module either to PS/2 ports
or to USB ports on the computers to be included in the conguration. NOTE: The Rackmount LCD Console KVM Switch features hot-
swap capability: Computers can be connected and disconnected without turning o the switch. Be sure, however, that the control
platform is powered on before powering on any of the connected computers, and always plug in the mouse before the keyboard.
to release the front lock and lift up. The LCD panel can be tilted back as far as
120 degrees.
screen on.
9. When shutting down the switch:
turned o to the switch.
OPERATION
The Rackmount LCD Console KVM Switch allows you to select and monitor up to eight connected computers two ways: by simply
Buttons
the PC1 through PC8 buttons used to select
and monitor a connected computer, plus the
red RESET button, which allows you to
re-boot.
- MENU displays the OSD main menu.
- LEFT and RIGHT re-position the LCD image.
- EXIT leaves the currently displayed screen.
On-Screen Display (OSD)
Navigation
can appear on the main screen, the screen will scroll.
Main Screen Headings
PN — This column lists the port numbers for all the CPU ports on the installation. The simplest way to access a particular computer is to
QV — If a port has been selected for Quick View scanning,
4
displays in this column.
PC — If a computer is powered on and on line,
4
displays in this column.
NAME
12 VDC
UNloCK
AUTo loCK
Auto lock
Unlock
Front handle lock

4ENGLISH
Functions
The OSD can be controlled and re-congured using the
functions described below.
F1 GOTO — GOTO allows you to switch directly to a port by
If there is a matching name, it will display on the screen.
number is invalid, it will prompt you to try again.
F2 SCAN — This allows you to automatically scan from the
current selected port through any active and connected
computers. While scanning, a small window on the screen
space bar. The scan interval can be set by the user.
F3 LIST — This lets you broaden or narrow the range of ports
displayed on the main screen. Many of the OSD functions
ports.
OSD main screen with the newly formulated list displayed.
F4 QV
s
icon displays to conrm your selection. Press
F5 EDIT
F6 SET
NOTE:
NOTE:
but not the factory password.
NOTE:
password.
Power On/O and Reboot
When you’re ready to stow the switch after use, follow the steps in Step 9 of Installation.
1. Turn o the power to all connected computers.
2. Disconnect the power adapter from the switch.
4. Turn on the connected computers.

5
DEUTSCH
EINLEITUNG
Vielen Dank für den Kauf des INTELLINET NETWORK SOLUTIONS™
www.intellinet-network.com.
Durch die Rack-Schublade in der 19”/1 HE-Bauform, kann dieser Switch leicht ein- und ausgefahren werden, der Bildschirm kann
haben Sie außerdem Zugri auf die folgenden Eigenschaften:
Lieferumfang
INSTALLATION
KVM Switch mit Konsole • Handbuch Deutsch
rechten Einbaurahmens fest, dann fahren Sie die Rahmen aus
und befestigen sie auf der hinteren Seite des Racks.
Rahmen und befestigen Sie den vorderen Teil des Switches mit
den beiliegenden Schrauben locker am vorderen Teil des Racks.
Schieben Sie die hinteren Befestigungselemente der
Einbaurahmen entlang der Schiene, bis sie die Rückseite des
Switches berühren.
4. Befestigen Sie diese Elemente an der Rückseite des Switches.

6DEUTSCH
HINWEIS:
eingeschaltet wird.
6. Schließen Sie die beiliegenden 1,8-m-Kombikabel an die HD15-Ports auf der Rückseite des Switch-Moduls an sowie entweder an PS2/-
oder USB-Ports der Computer, die Sie vom Switch aus bedienen möchten. HINWEIS: Dieser KVM-Switch ist Hot-Swap-fähig: Computer
Konsole eingeschaltet ist, bevor Sie einen der angeschlossenen PCs einschalten und schließen Sie die Maus immer vor der Tastatur an.
nach hinten geklappt werden.
9. Wenn Sie den Switch ausschalten:
VERWENDUNG
Tasten
der angeschlossenen PCs dienen sowie die
rote RESET-Taste, mit der Sie neu starten
können.
- MENU blendet das Hauptmenü ein.
- LEFT und RIGHT positionieren das Bild.
- EXIT verlässt das aktuelle Menü.
das Touchpad, das statt der Maus für die Steuerung des Bildschirmmenüs verwendet werden kann.
On-Screen Display (OSD) - Bildschirmmenü
des Menüs bendet.
Navigation
Kategorien des Hauptbildschirms
PN
QV
4
PC — Ein PC ist eingeschaltet und verbunden
4
NAME
UNloCK
AUTo loCK
Abdeckungsverschluss
Automatische
Einrastung
Entriegeln

7
DEUTSCH
Functions
Das Bildschirmmenü kann mit den unten stehenden Funktionen
bedient und konguriert werden.
F1 GOTO
indem Sie entweder den PC-Namen oder dessen
erneuten Eingabe aufgefordert.
F2 SCAN — Scannt vom aktuell ausgewählten Port aus nach
ein kleines Fenster die aktuelle Portnummer. Um den Scan
F3 LIST
F4 QV
s
F5 EDIT
F6 SET
HINWEIS: Hierfür wird ein Passwort benötigt.
HINWEIS: Hierfür wird ein Passwort benötigt. Das
entsperrt. HINWEIS: Sowohl für die Sperrung als auch die Entsperrung wird ein Passwort benötigt.
Ein/Ausschalten und Neustart
1. Schalten Sie alle angeschlossenen PCs aus.
4. Schalten Sie die angeschlossenen PCs ein.

8
Consola KVM LCD para montaje en Rack • Manual del usuario Español
INTRODUCCION
Gracias por comprar la consola KVM LCD para montaje en Rack 8 puertos de INTELLINET NETWORK SOLUTIONS™, Modelo 506540. Para
obtener una lista completa de especicaciones visite: www.intellinet-network.com.
Con el estandar de la industria de 19” y 1U-altura de rack, esta consola puede ser facilmente retirado y se puede acceder en su version
extendida, la pantalla se puede plegar, asegurarse y cerrarse cuando se almacena. Con la capacidad de administrar y controlar hasta
ocho computadoras PS/2 ó USB, usted tambien podra disfrutar de las siguientes caracteristicas:
Contenido del paquete
INSTALACION
Para instalar la consola KVM LCD en una unidad de rack, comience por remover los soportes si el dispositivo esta ya esta ensambado.
extienda el soporte y jelo en la parte trasera del rack.
y apriete ligeramente la parte delantera del switch en la parte
frontal del rack con los tornillos incluidos.

9
5. Usando el adaptador de corriente incluido, conecte el jack de 12 V
NOTA: Cuando la plataforma de control se saca en toda su extensión, se ajustan automaticamente los rieles y se conecta
la alimentacion a la consola.
NOTA: La consola KVM LCD para
encender la pantalla LCD.
pantalla LCD
OPERACION
La consola KVM LCD para montaje en Rack le permite seleccionar y controlar hasta ocho ordenadores conectados dos maneras:
Botones
En el grupo de la derecha sobresalen los botones
de la PC1 a la PC8 usados para selecionar y
controlar uan computadora conectada, mas
- LEFT y RIGHT volver a la posición de la
imagen LCD.
actualmente.
para la navegación en pantalla.
Visualización en Pantalla (OSD)
Navegación
Menu principal de Pantalla
PN
QV
4
muestra en esta columna.
PC
4
muestra en esta columna.
NAME
UNloCK
AUTo loCK
Bloqueo
automatico
Abierto
Seguro frontal

10
Funciones
El OSD se puede controlar y volver a congurar con el funciones
F1 GOTO — GOTO le permite cambiar directamente a un puerto
puerto no es valido, se le pedira vuelva a intentarlo.
F2 SCAN
activo conectado a una PC. Durante la exploración, una
intervalo de exploración se puede congurar por el usuario.
F3 LIST
la pantalla principal del OSD con la lista de nueva formulación muestra.
F4 QV
icono:
s
F5 EDIT
F6 SET
hasta 60 segundos.
NOTA:
NOTA:
NOTA:
Encendido/Apagado y Reinicio
2. Desconecte el adaptador de corriente del interruptor.
4. Encienda los ordenadores conectados.

11
Commutateur KVM de console LCD rackable • Manuel de l’utilisateur Français
INTRODUCTION
™, modèle 506540. Pour la
www.intellinet-network.com.
Contenu du pack
INSTALLATION
arrière du rack.
partie avant du rack.
la partie arrière du commutateur.

12
NOTE:
NOTE:
EMPLOI
Touches
sur le clavier.
On-Screen Display (OSD) - Achage à l’écran
Navigation
Catégories du menu principal
PN
QV
4
PC
4
NAME
UNloCK
AUTo loCK
Encliquetage
Déverrouiller
Verrouillage avant

13
Fonctions
suivantes.
F1 GOTO
F2 SCAN — Vous permet le balayage du port actuellement
F3 LIST
Quick View.
F4 QV
s
F5 EDIT
F6 SET
NOTE:
NOTE:
mais pas le mot de passe de la conguration d’usine.
NOTE: Toutes les deux options
Démarrer/Éteindre et Redémarrer

14
POLSKI
Przełącznik KVM • Instrukcja użytkownika Polski
WPROWADZENIE
™, model 506540.
www.intellinet-network.com.
Zawartość opakowania
INSTALACJA

15
POLSKI
UWAGA: Gdy
jest do konsoli.
USB. UWAGA:
KONFIGURACJA
Przyciski
OSD.
Menu OSD
Nawigacja
Pozycje ekranu głównego
PN
QV
4
PC
4
NAME
UNloCK
AUTo loCK
Autoblokada
Zwolnienie blokady
Frontowa blokada ręczna

16
POLSKI
Funkcje
F1 GOTO
F2 SCAN
F3 LIST
F4 QV
s
F5 EDIT
F6 SET
UWAGA:
UWAGA:
UWAGA:
Włączenie/Wyłączenie oraz Restart

17
LCD Console KVM Switch da Rack • Manuale d’istruzione Italiano
INTRODUZIONE
™, Modello 506540. Per una lista
complete delle speciche, fate riferimento alla scheda tecnica disponibile su www.intellinet-network.com.
Contenuto della confezione
INSTALLAZIONE
1. Per il montaggio di entrambe le stae, avvitare la staa
la parte frontale dello switch alla parte frontale del rack

18
NOTA: Quando la piattaforma di controllo è estratta alla massima sua estensione, le guide delle stae si bloccano automaticamente e
NOTA:
tastiera.
essere inclinato indietro no a 120 gradi.
lo schermo LCD.
9. Quando si chiude lo switch:
FUNZIONAMENTO
Tasti
destra ci sono i tasti dal PC1 al PC8 usati per
permette di riavviare.
- MENU mostra il menu principale OSD.
- EXIT mantiene la schermata di
On-Screen Display (OSD)
alla precedente uscita dall’OSD.
Navigazione
Intestazioni delle colonne principali
PN
QV
4
.
PC — Se un computer è acceso e in linea,
4
.
NAME
UNloCK
AUTo loCK
Autobloccagio
Sbloccaggio
Maniglia frontale
di bloccaggio

19
Funzioni
F1 GOTO — GOTO permette di commutare direttamente ad una
porta digitando o il nome del computer o il suo numero di porta
immediatamente richiesto di riprovare.
F2 SCAN — Questo permette di fare la scansione
scansione, una piccola nestra sullo schermo indica il numero
F3 LIST
Veloce.
F4 QV
s
appare a
F5 EDIT
F6 SET
NOTA: Questo richiede una password.
NOTA: Questo richiede una password. La password
NOTA:
Accensione/spegnimento e riavvio
1. Spegnere la corrente a tutti i computer collegati.
2. Disconnettere l’alimentatore dallo switch.

20
WASTE ELECTRICAL & ELECTRONIC EQUIPMENT
Disposal of Electric and Electronic Equipment
(applicable in the European Union and other European countries with separate collection systems)
ENGLISH
This symbol on the product or its packaging indicates that this product shall not be treated as household waste. Instead, it should be
help to conserve natural resources. For more detailed information about recycling of this product, contact your local city
In countries outside of the EU:
If you wish to discard this product, contact your local authorities and ask for the correct manner of disposal.
DEUTSCH
ESPAÑOL
su reciclaje.
FRANÇAIS
POLSKI
do recyklingu.
ITALIANO
smaltito come riuto municipale misto. Si prega di smaltire il prodotto riportandolo al punto vendita o al punto di raccolta municipale
locale per un opportuno riciclaggio.
Other manuals for 506540
2
Table of contents
Languages:
Other Intellinet LCD Drawer manuals
Popular LCD Drawer manuals by other brands

Acnodes
Acnodes KD 51916 Specifications

Gaggenau
Gaggenau DV 461 710 Use and care

Cooper
Cooper H141 Instructions for use

Middle Atlantic Products
Middle Atlantic Products L5-DCD23 instruction sheet

Delfield
Delfield Versa Drawer F17VD84 Service manual

APW Wyott
APW Wyott SPTU-30 Installation and operating instructions