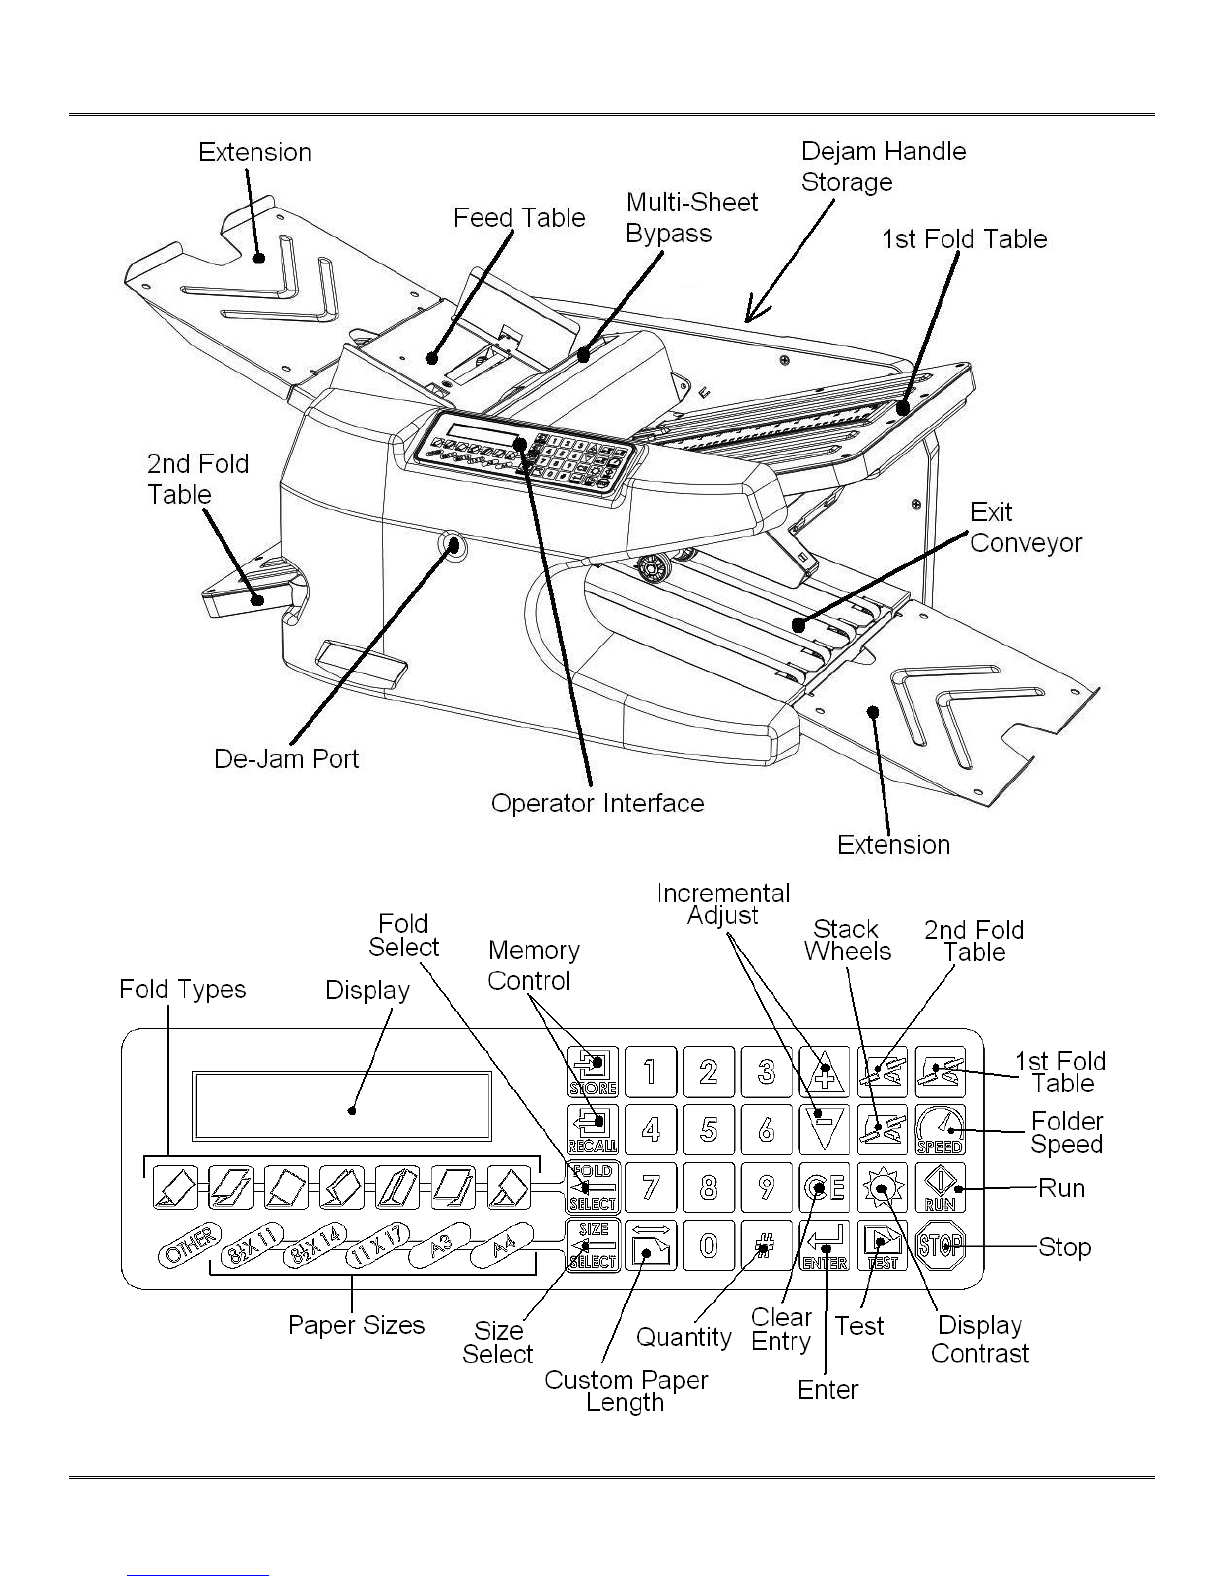
intimus®2051 Folder (2051.11.02.09.15.00)
specific location by entering a value with the
number buttons on the keypad. To do so,
simply type in a value and press the enter
button.
The keypad is disabled when the folder
is in Limp mode. Only the Incremental
Adjustment buttons are functional when in
Limp mode. Also when in Limp mode, the
LCD displays shown below in Figure 17 and
Figure 18 may be disabled. See section 7 -
Limp Mode for more information.
Fold Table 1
XX.XX IN
Figure 17
Fold Table 2
XX.XX IN
Figure 18
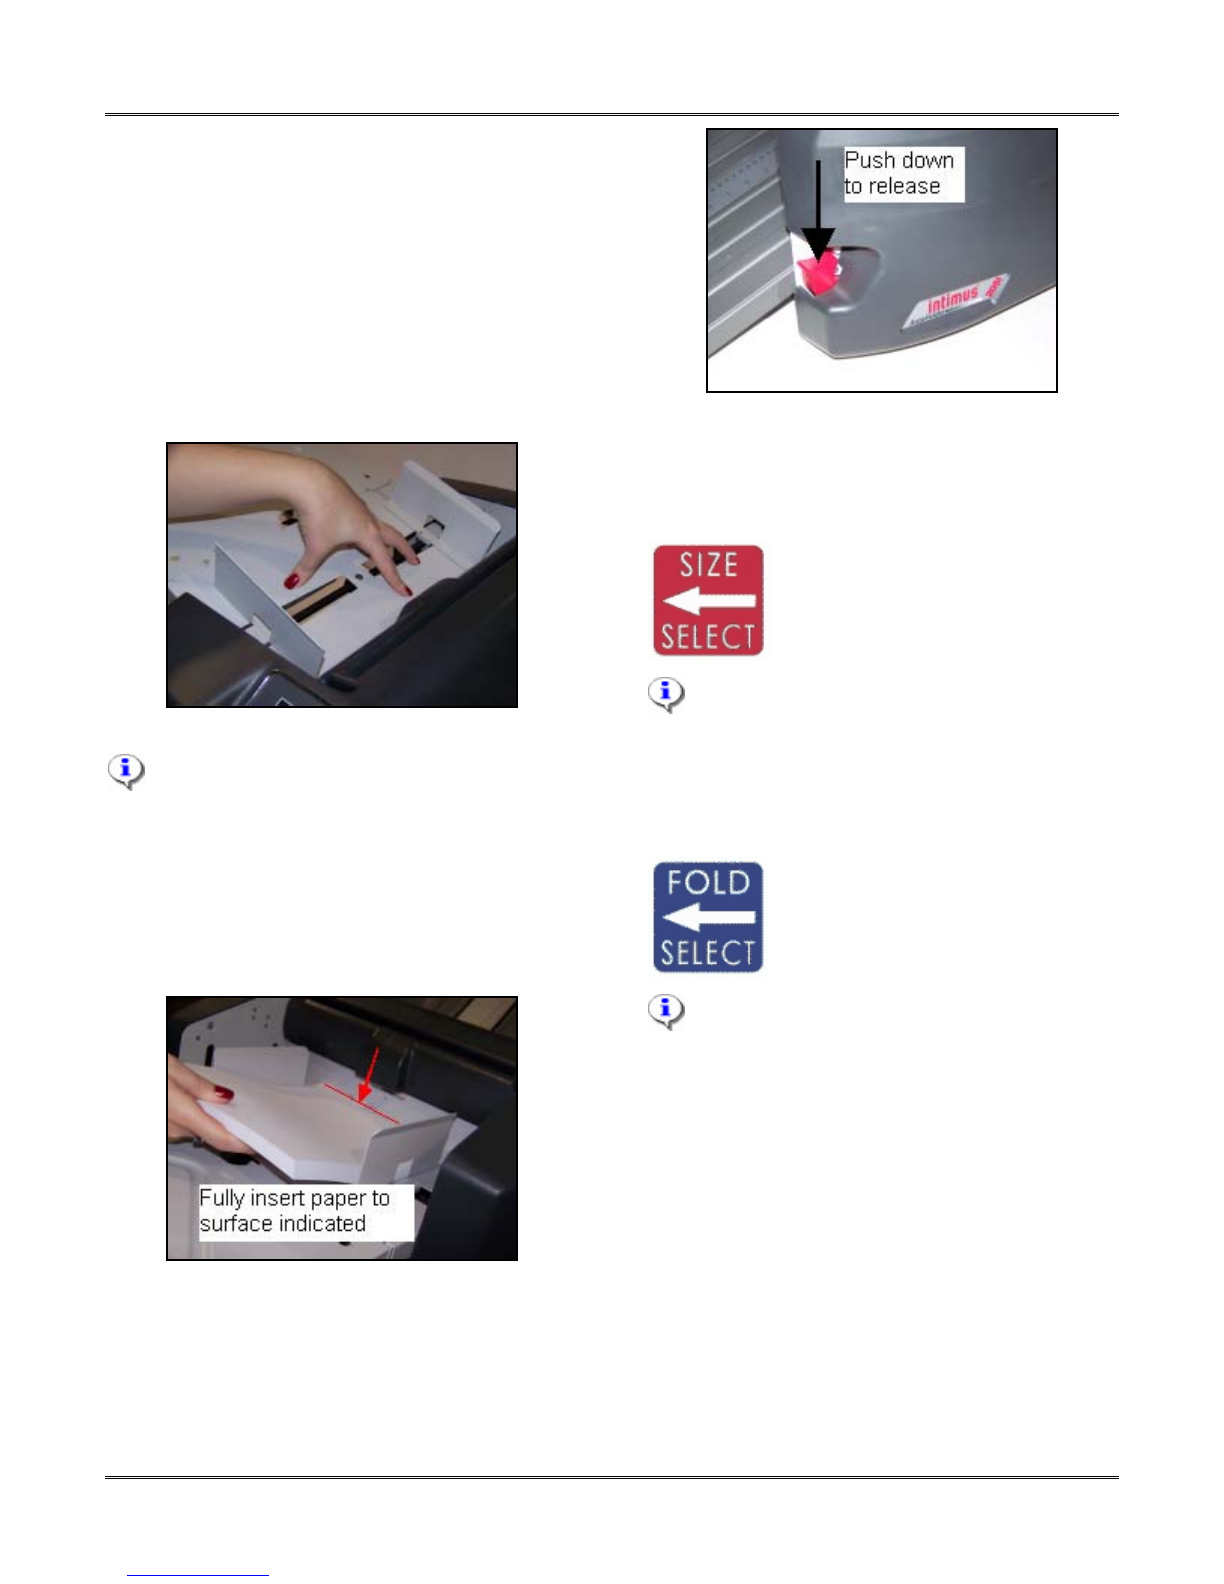
If you find it necessary to make an
adjustment to either fold table when you have a
standard fold type specified, changing the fold
table by more than 1/4 of an inch will place the
folder into “manual” mode, as indicated by the
illumination of the “Other” LED. Moving the fold
table back to within 1/4 of an inch will turn off
the “Other” LED and the standard fold type LED
will again by illuminated.
Your folder is equipped with a “Limp” mode.
In the event that either Fold Table Drive
malfunctions (see error codes 105, 106, 107, or
108), you can still move the fold table manually
and run the folder. For more information
regarding “Limp” mode, see section 7 - Limp
Mode.
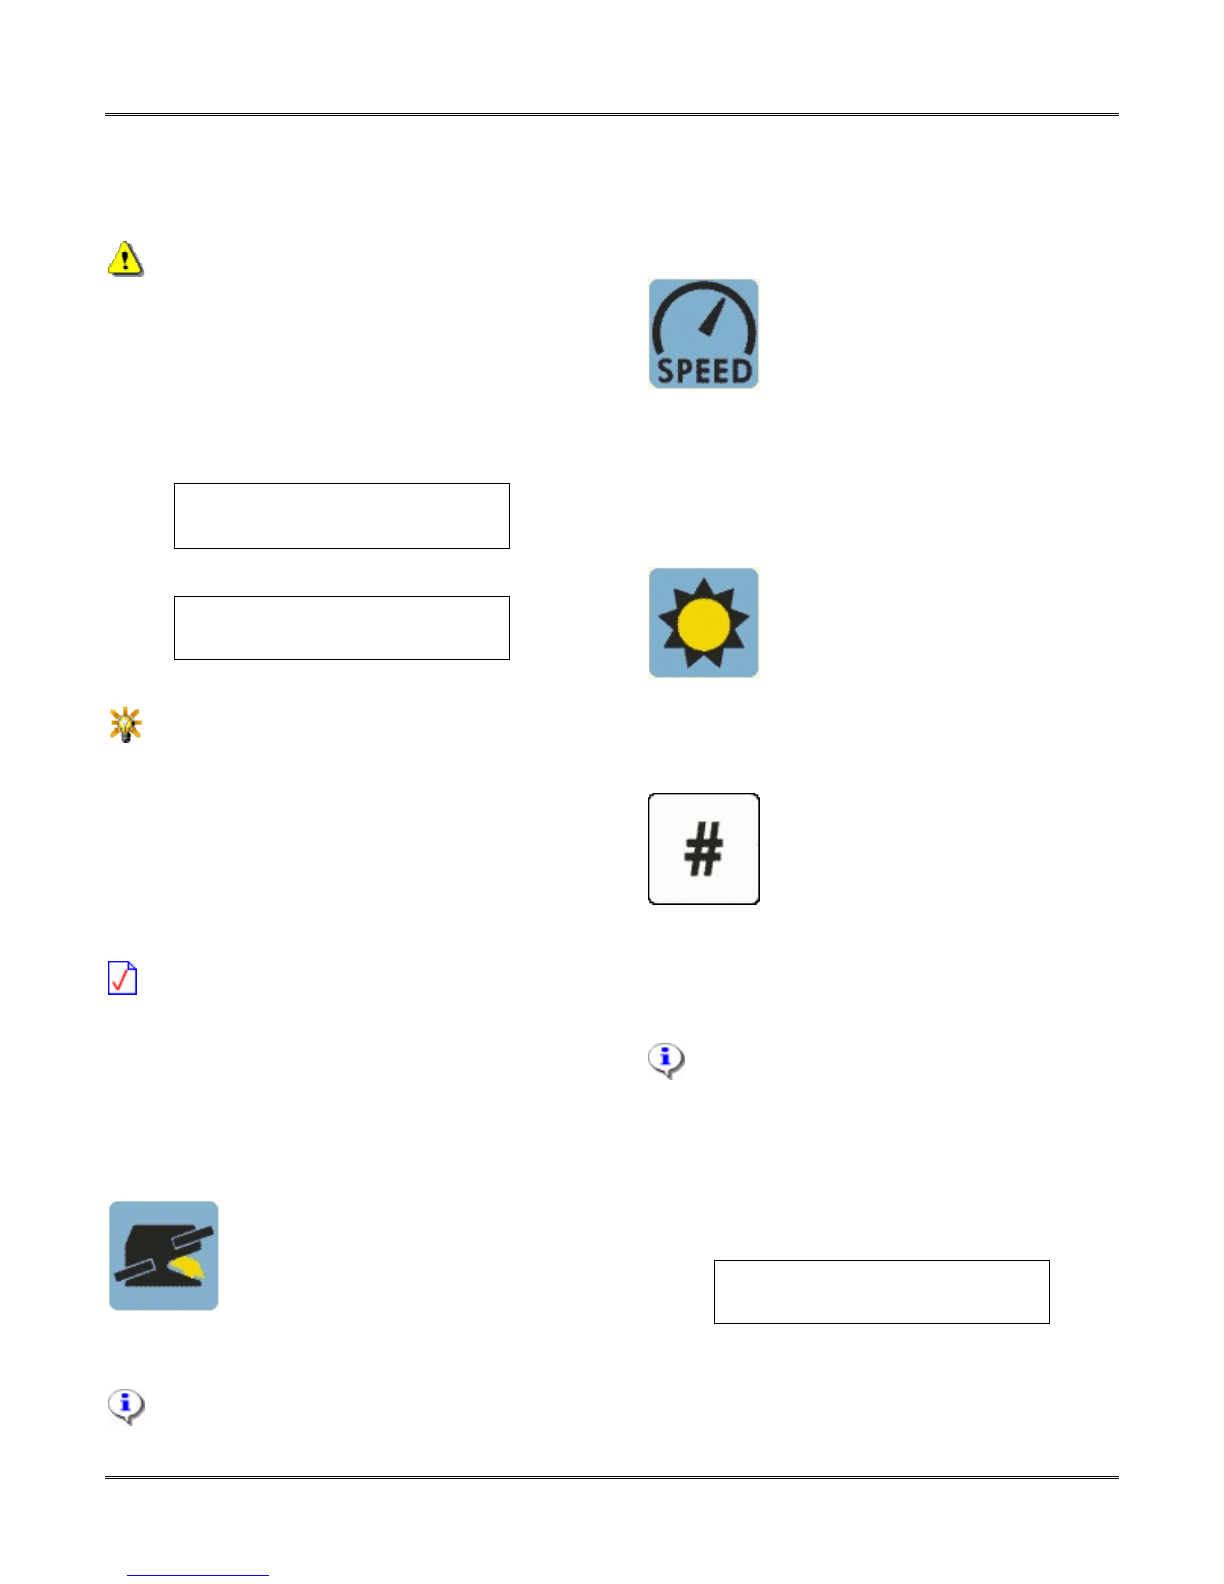
3.3 Stack Wheel Position
To manually adjust the position of
the Stack Wheels, press the Stack
Wheel button (shown on the left),
and then press either the increase
or decrease button (as described
in section 3.1 - Incremental Adjustment
Buttons).
The correct position of the Stack Wheels is
automatically calculated based on the length of
the paper and the position of the fold tables.
Manual adjustment of the Stack Wheels is not
normally required when performing a standard,
pre-programmed fold.
3.4 Folder Speed
To adjust the speed of your folder,
press the Speed button (shown on
the left), and then press either the
increase or decrease button (as
described in section 3.1 -
Incremental Adjustment Buttons).
Folder speed can be adjusted while the folder is
running. For most all folding jobs, the folder
can be run at full speed (100%).
3.5 Display Contrast
To adjust the display contrast of
the LCD display, press the Display
Contrast button (shown on the
left), and then press either the
increase or decrease button (as
described in section 3.1 - Incremental
Adjustment Buttons).
3.6 Quantity and Batch Mode
The Quantity (#) is used to specify
the total number of sheets to be
folded, and to specify a Batch
quantity.
3.6.1 Quantity
To program a specific number of pages to be
folded, press the Quantity (#) button once.
Pressing the Quantity (#) button twice will
skip the Quantity screen and place you directly
into Batch Mode.
Using the numbers on the keypad, enter the
quantity of sheets to fold, and press the enter
key. After entering a quantity, you will
automatically enter Batch Mode.
ENTER QUANTITY TO GO
Qty To Go= 0
Figure 19
3.6.2 Batch Mode
The Batch Mode function gives you the ability to
fold and deliver a specified number of sheets as
Revision 1.0 Martin Yale Industries, Wabash, Indiana, USA 260-563-0641 Page 10 of 29
,
.
http://www.monomachines.com
http://www.monomachines.com