Invision DANTE 64-B-36 User manual

USER MANUAL
DANTE 64-B-36
For your own safety , please read this user manual carefully before you initially start-up
Every person involved with the installation, operation and maintenance of this device has to
•be qualified
•Follow the instruction of this manual
•Consider this manual to be part of the total product
•Keep this manual for the entire service life of the product
•Pass this manual on to every further owner or user of the product
•Download the latest version of the user manual from the internet
INSTRUCTION
Thank you for having chosen Par 64LED . If you follow the instruction given in this manual, we are
sure that you will enjoy this device for long period of time
Unpack your Par64 LED
Before you initially start up, please make sure that there is no damage cause by transportation. Should
there is any, consult your dealer and do not use the device.
SAFETY INSTRUCTION
This device has left our premises in absolutely perfect condition. In order to maintain this condition
and to ensure a safe operation, it is absolutely necessary for the user to follow the safety instruction
and warning notes written in this manual.
Important:
Damages cause by the disregard of this user manuals are not subject to warranty. The dealer will not
accept liability for any resulting defect or problem.
If the device has expose has been exposed to drastic temperature fluctuation (e.g after transportation),
do not
switch it on immediately. The arising condensation water might damage your device . Leave the
device switch off until it reach room temperature
Please make sure that there are no obvious transport damage. Should you notice any damage on the
A/C connection cable or on the casing. Do not take the device into operation and immediately consult
your local dealer.
This device falls under protection class 1. The power plug must only be plugged into a protection class
1
outlet. The voltage and frequency must exactly be the same as stated on the device. Wrong voltage or
power outlets can lead to the destruction of the device and to mortal electric shock.
Always plug in power plug last. The power plug must always be inserted without force. Make sure that
the
plug is tightly connected with the outlet
Never let the power cord come into contact with other cables! Handle the power cord and all
connection with
the mains with particular caution! Never touch them with wet hands, as this could lead to mortal
electric shock.
Never modify, bend, strain mechanically, put pressure on ,pull or heat up the power cord. Never
operate next to source of heat or cold. Disregard can lead to power cord damages, fire or mortal
electric shock
The cable insert or female part in the device must never be strained. There must be sufficient cable to
the device otherwise, the cable may be damages which may lead to mortal damage.
Make sure that the power cord is never crimped or damage by sharp edges. Check the device and the
power cord from time to time.
If extension cord are use, make sure that the core diameter is sufficient for the required power
consumption of the device. All warning concerning the power cords are also valid for possible
extension cords.
Always disconnect from the mains, when the device is not in use or before cleaning it. Only handle the
power cord by the plug. Never pull out the plug by tugging the power cord. Otherwise, the cable or
plug can be damaged leading to mortal electrical shock. If power plug or power switch is not
accessible, the device must be disconnected via mains.
If the power plug or the device is dusty, the device must be taken out of operation, disconnect nd then
be cleaned with a dry cloth. Dust can reduce the insulation witch may lead to mortal electrical shock.
More severe dirt in and at the device should be removed by a specialist.
CAUTION
Keep this device away from rain and moisture
Unplug main lead before opening the housing!
Be careful with your operation. With a dangerous voltage you
can suffer a dangerous electric shock when touching the wires!

There must never enter any liquid into outlets, extension cords or any holes in the housing of the
device. If you suppose that also a minimal amount of liquid may enter the device, it must immediately
be disconnected. This is also valid, if the device was expose to high humidity. Also if the device is still
running, the device must be checked by a specialist if liquid has reduce any insulation. Reduce
insulation san cause mortal electrical shock.
There must never be any object entering into the device. This is especially metal parts. If any metal
parts like
staple or coarse metal chips enter into the device must be taken out of operation and disconnected
immediately.
Malfunction or short circuit cause by metal parts may cause mortal injuries
During initial start up some smoke or smell may arise. This is normal process and does necessarily
means that the device is defective
Keep away Children and armature!
Never leave this device running un attended
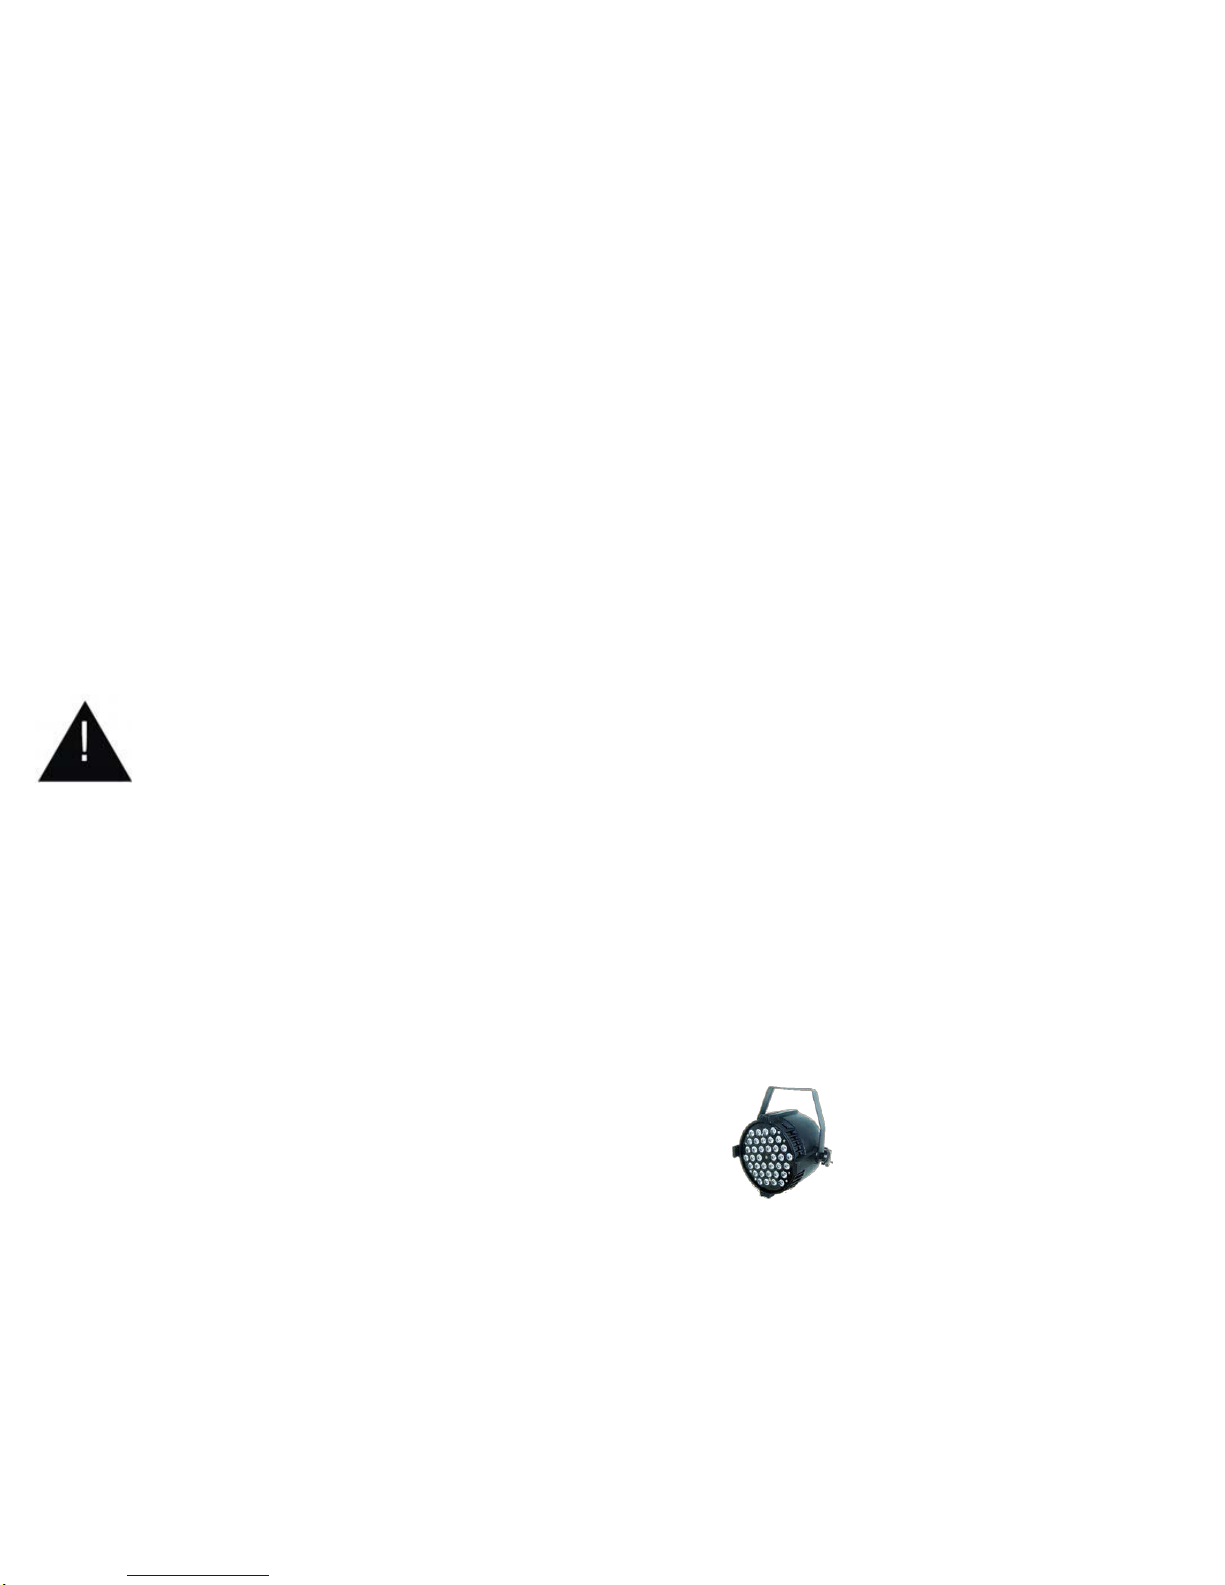
OPERATING DETERMINATIONS
This device is a lighting effect for creating decorative effects. This product is only allowed
to be operated with an alternating voltage of 90V/240V,50/60Hz and was designed for
indoor use only
This device is designed for professional use e.g. on stage in discotheques, theatres etc.
Lighting effects are not designed for permanent operation. Consistent operation breaks will
ensure that the device will serve you for long time without defects.
Do not shake the device. Avoid brute force when installing or operating the device.
When choosing the installation-spot please make sure that the device is not expose to
extreme heat,moisture or dust. There should not be any cable lying around. You endanger
your own and safety of others!
This device must never be operated or stockpiled in surrounding where splash water ,rain,
moisture or fog may harm the device. Moisture or very high humidity can reduce the
insulation and lead to mortal electrical shock. When using smoke machine make sure that
the device is never expose to the direct smoke jet and is installed in a distance of 0.5 meter
between smoke machine and device. The room must only be saturated with an amount of
smoke that the visibility will always be more than 10 meter.
The ambient temperature must always be between –5ºC and +45ºC Keep away from direct
insulation
( particularly in cars) and heater.
The relative humidity must not exceed 50% with an ambient temperature of 45ºC
This device must only be operated in an altitude between -20 and 2000 m over NN.
Never use the device during thunderstorm . Over voltage could destroy the device. Always
disconnect the device during thunderstorms
The symbol ter m i n e s t h e m i n i m u m distance from lighted object. The minimum
distance between light-output and the illuminated surface must be more than 0.1 meters
This device is only allowed for an installation via mounting bracket. In order to safe guard
sufficient ventilation leave 50 cm of free space around the device
The housing must not touch surrounding surface or object.
Make sure that the are bellow the installation place is block when rigging, de rigging or
servicing the fixture
Always fix the fixture with safety rope.
The maximum ambient temperature 45ºC must never exceed.
Operate the device only after having familiarized with its functions. Do not permit operation
by persons not qualified for operating the device. Most damage are the result of
unprofessional operation.
Do not use solvent or aggressive detergents in order to clean the device! Rather use soft and
damp cloth
Please use original packaging if the device is to be transported
Please consider that unauthorized modification on the device are forbidden due to safety
reasons!
If this device will operated in any way different to the describe in this manual, the product
may suffer damage and the guarantee becomes void. Further more, any other operation may
lead to danger like short circuit, burns, electric shock, lamp explosion, crash etc.
HEALTH HAZARD!
Never look directly into the light source, as sensitive person may suffer an
epileptic shock
( especially meant for epileptics)

The installation of the projector has to be build and constructed in a way that can hold 10
times the weight for 1 hour without any harming deformation
The installation must always be secure with a secondary safety attachment, e.g. appropriate
catch net. This secondary safety attachment must be constructed in a way that no part of
installation can fall down if the main attachment fails.
When rigging, dragging or servicing the fixture staying in the area below the installation
place ,on bridges under high working places and other endangered areas is forbidden
The operator has to make sure that safety relating and machine technical installation are
approve by an expert before taking into operation for the first time and after changes before
taking into operation another time.
The operator has to make sure that safety relating and machine technical installation are
approve by an expert after every four years in the course of an acceptance
The operator has to make sure that safety relating and machine technical installation are
approve by a skilled person once a year
Procedure:
The projector should be installed outside areas where persons may walk by or be seated
IMPORTANT! OVERHEAD RIGGING REQUIRES EXTENSIVE EXPERIENCE,
including (but not limited to) calculating working load limit, installation material being use,
and periodic safety inspection of all installation material and the projector. If you lack these
qualification, do not attempt the installation yourself but instead use a professional structural
rigger. Improper installation can result in bodily injury and or damage to property.
The projector has to be installed out of reach of people
If the projector shall be lowered from the ceiling or high joints, Professional trussing system
have to be used. the projector must never be fixed swinging freely in the room
Caution: Projector may cause sever injuries when crashing down! If you have doubts
concerning the safety of a possible installation, do NOT install the projector
Before rigging make sure that the installation area can hold a minimum point load of ten
times the projector’s
Mount the projector with the mounting bracket to your trussing system using an appropriate
clamps
For over head use, always install a safety rope that can hold at least 12 times the weight of
the fixture.You must only use safety ropes with quick links with screw cap. Pull the safety
rope through the hole in the mounting bracket and over the trussing system ar safe fixation
spot. Insert the end in the quick link and lighten the safety screw.
The maximum drop distance must never exceed 20 cm.
A safety rope which already hold the strain of a crash or is defective must not be used again
Adjust the desired inclination angle via mounting bracket and tighten the fixation screws
Connect the fixture to the main with the power plug.
The occupation of the connection cable is as follows:
Cable Pin International
Brown Live L
Blue Neutral N
Yellow/Green Earth
DMX-512 connection / connection between fixture
Only use a stereo shielded cable and 3-pin XLR– plugs and connector in order to connect
the controller with the fixture or one fixture with another.
Only use a stereo shielded cable and 3-pin XLR– plugs and connector in order to connect
the controller with the fixture or one fixture with another.
Occupation of the XLR– connector
DANGER OF FIRE!
When installing the device, make sure there is no highly inflammable material
( decoration articles , etc.) within a distance of min. 0.5m
DANGER TO LIFE!
Before taking into operation for the first time, the installation
has to be approved by an expert!
The wires must not come into contact with each other,
otherwise the

MODE A(0001)
Channe 1
mode
Channe2
speed
Channe
3 red
Channe
4
green
Channe 5
blue
Channe6
black out
Black out 0-25 — — ——
—— Black out
R.G.B.
Function 26-50
0-255
total
brightnes
s control
0-255
Red
brightn
ess
0-255
Green
brightness
0-255
Blue
brightness
Black out
FIicker 51-100
0 Slow
255 Fast
0-255
Red
brightn
ess
0-255
Green
brightness
0-255
Blue
brightness Black out
7 Color
channe 101-150
0 Slow
255 Fast black
out black out
black out
black out
7 color
fade 151-200
0 Slow
255 Fast black
out black out
black out
black out
sound
control 201-240 Sensitivit
y black
out black out
black out
black out
R.G.B .
ALL
BRIGHT
241-255 ALL
BRIGHT black
out black out
black out
black out
MODE B(1001)
Channe1
red
Channe2
green
Channe3
blue
Channe4
black out
Channe5
REORDERING
Channe6
mode
0-255
brightness
0-255
brightness
0-255
brightness
black out
0-255
TotalBrightness
black out
black out
black out
black out
black out
Voice
sensetivity
0 Low 255 high
001-005
7 color
gradient
0-255
red
0-255
green
0-255
blue
black out
0-255 total
brightness
006-010
0-255
red
0-255
green
0-255
blue
black out
0-255
Flash speed
011-255
flash
MODE C(2001)
Channe1
red
Channe
2
green
Channe
3
blue
Channe4
Black
out
0-
255
brightness
0-255
brightness
0-255
brightness
Black
out
Manually Mode
2-00 Sound control button Up / Down Volume sensitivity 2-99 min; 2-00 max
3-00 Red color button Up / Down Brightness 3-00 off 3-01 min; 3-99 max
4-00 Green color button Up / Down Brightness 4-00 off 4-01 min; 4-99 max
5-00 Blue color button Up / Down Brightness 5-00 off 5-01 min; 5-99 max
6-00 Black out
7-00 R、G color button Up / Down Brightness 7-00 off ; 7-01 min; 7-99 max
8-00 R、B color button Up / Down Brightness 8-00 off ; 8-01 min; 8-99 max
9-00 B、G color button Up/Down Brightness 9-00 off 9-01 min; 9-99 max
a R.G.B
b black out
c Flash button Up / Down speed c-00 fast ; c-99 slow
d 7 color change button Up / Down speed d-00 fast d-99 slow
e 7 color Flash button Up / Down speed e-00 fast e-99 slow
f 7 color fade button Up / Down speed f-00 fast ; f-99 slow
0001 DMX addressing button Up / Down channel 0001 to 0510
1001 MODE B FUNCTION ADDRESS 1001 TO 1510
2001 MODE C FUNCTION ADDRESS 2001 TO 2510
DMX - output
XLR mounting– socket:
DMX - input
XLR mounting– socket

1- DMX mode or Master-slave
CLEANING AND MAINTENACE
DANGER TO LIFE!
Disconnect from mains before starting maintenance operation!
We recommend a frequent cleaning of the device. Please use soft lint-free moistened cloth.
Never use alcohol or solvent!
There are no serviceable parts inside the device. Maintenance and service operation are only
to becarried out by authorize dealer
Should you need any spare parts, please use genuine parts.
Should you have further question, please contact your dealer
TECHNICAL SPECIFICATIONS
Please Note : Every information is subject to change without prior notice.
Power supply:
90-240V, 50 /60Hz
Power consumption
108W
Dimension (L x W x H)
Weight
Maximum ambient temperature
40ºC
Maximum housing temperature
60ºC
Minimum distance
0.10 m
Table of contents
Popular Floodlight manuals by other brands

ADJ
ADJ ZIPPER User instructions

Theben
Theben TIME GUARD LIMITED LED400FLW Installation & operating instructions

GE
GE SBF Wide Beam Floodlight instructions

Focon Showtechnic
Focon Showtechnic Expolite Tour-Cyc 540 user manual

PR Lighting
PR Lighting AQUA LED 1500-W FRAMING manual

Valex
Valex 1153109 quick start guide