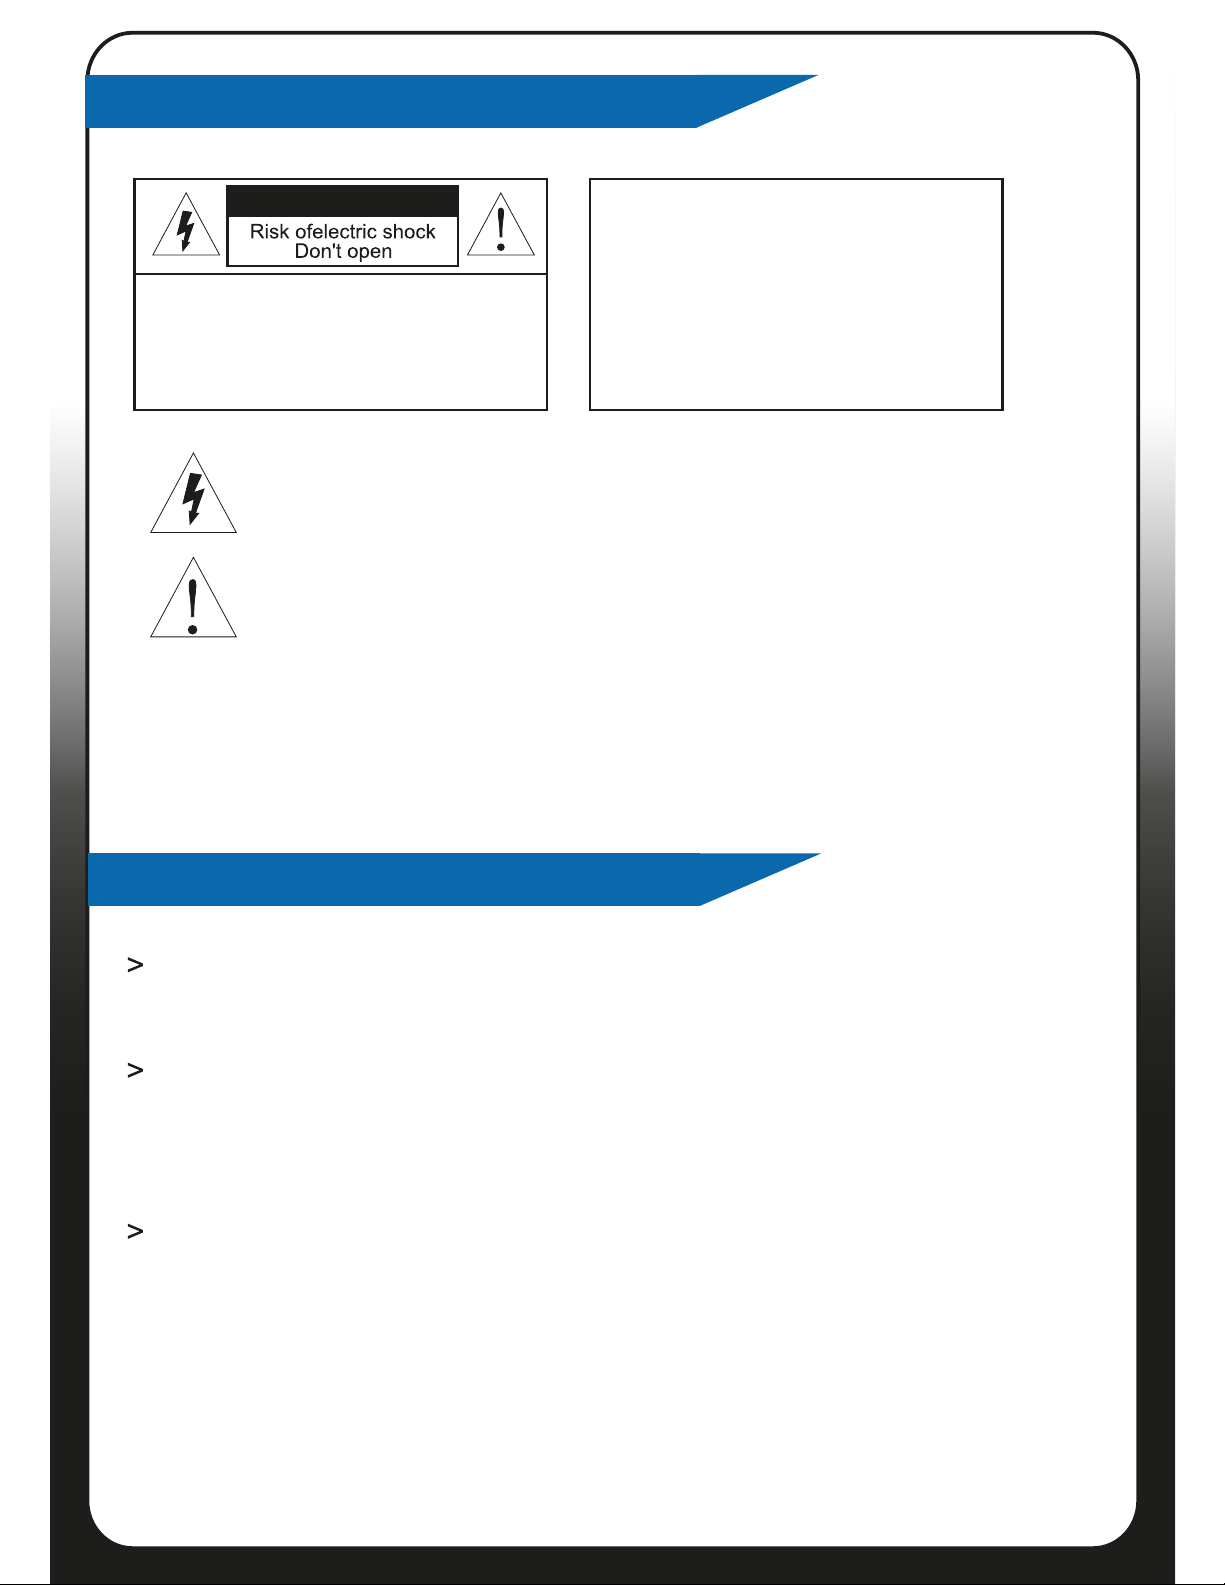
IQCCTV IQC960V-K User manual

User Manual
Version 1
Wide Angle
Lens
IR
Night Vision
20m
Weatherproof
Rated
IP65
HD
Resolution
HD 960H
HD 1 CAMERA 960H KIT

1. Product Overview ......................................... 4
1.1. Product Features ......................... 4
2. Product Contents ........................................ 5
3. Installation .................................................. 6
4. Installation Diagram .................................... 8
5. Trouble Shooting ......................................... 10
6. Specifications .............................................. 11
Contents

3
Warning
Caution: To prevent electric
shock and fire hazards, please
don’t use a power supply not
listed oin the manual.
Warning: To reduce the risk of
electric shock, non-professional
personnel should not remove the
cover.
This symbol alerts the user to operate and maintain the
product according to the manual.
This symbol alerts the user to be careful as the product may
lead to serious shock hazard.
Caution: Any changes or modifications in construction of the
product that are not approved by our company,may affect the
functionality of the camera.
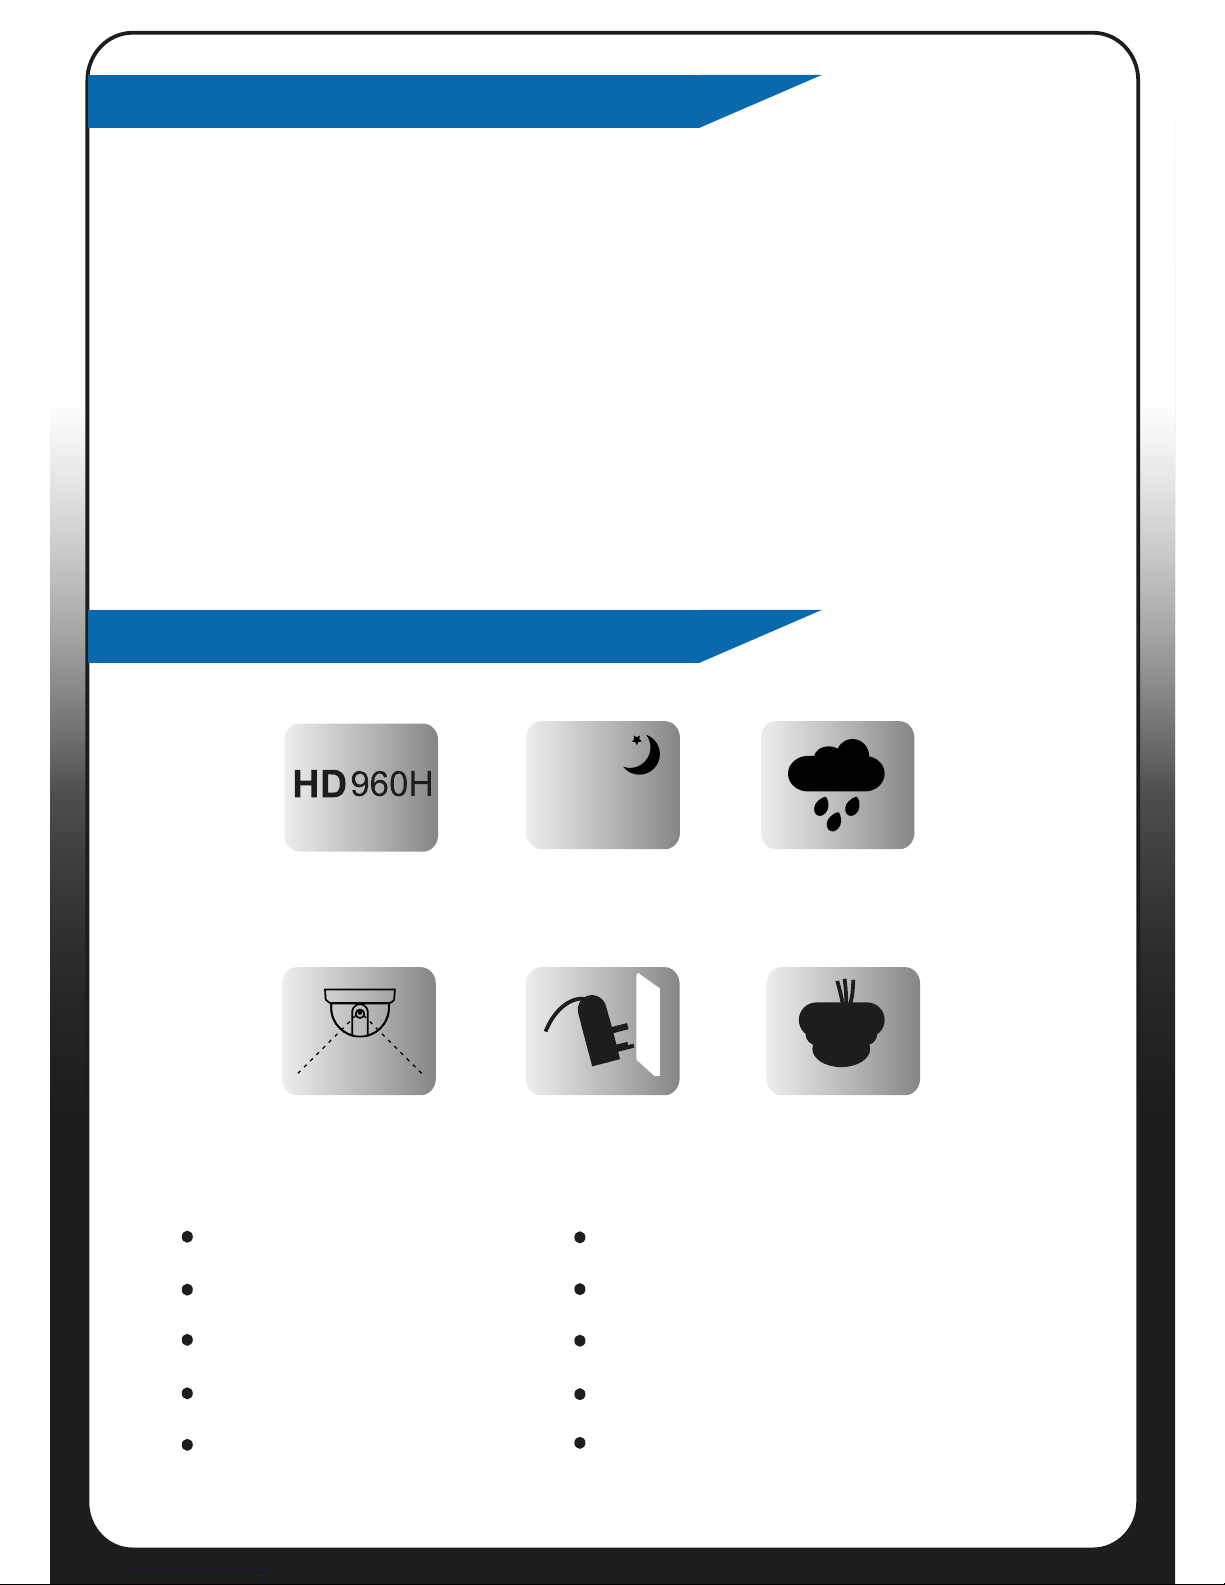
Install and use the camera in an environment that does not
exceed -20°C ~ +50°C and maintain good ventilation.
Do not use the camera in a high pressure or highly corrosive
environment.
This may cause the camera to malfunction or damage the camera.
Do not install the camera in a place where lighting conditions are
not stable.
Drastic illumination changes could cause the camera to malfunction.
Precautions

4
1. Product Overview
Wide Angle
Lens
IR
Night Vision
20m
Weatherproof
- IP65 Rated
HD
Resolution
Plug and Play Cable Managed
Design
High Resolution 960H
20m IR Night Vision
Automatic Gain Control
Backlight Compensation
50° Wide Angle Lens
Compact and Discreet
Cable Managed Design
Easy Installation - Plug and Play
Internal/External
IP65 Rated
Thank you for purchasing the IQC960V-K Internal/External Mini Dome
Camera from IQCCTV.
The camera features a 50° wide-angle lens to capture more without the
need to adjust the camera. The dome is ideal for indoor or outdoor use
(IP65 Rated) and has a cable managed and compact design.
The IQC range of 960H cameras from IQCCTV are designed to offer
crystal clear images and amazing value for money, this is achieved by
removing high-end features not needed in everyday applications.
1.1 Product Features

6. When the camera is in the correct position, put the upper
and lower ring of the camera back into position. Secure
the upper ring back onto the base to secure the
camera in place.
7. Connect the power terminal of the camera to the DC
socket on the supplied PNP cable, connect the camera
video output to the BNC socket on the supplied PNP
cable. Connect the other end of the cables to the
supplied 12V DC regulated PSU and the Video input
on the DVR. *please note these can only be
connected one way, check connections before running
through your walls.'
12v DC Input
Power Cable
BNC
Video Cable
7
7

DVR
TV/Monitor
Power Supply
For Camera
MAINS
POWER
BNC
Video lead
BNC Input
Power
Jack
PLUG & PLAY
CABLE
HDMI
4
5 6
8
9
Power Supply for camera(s)
(Do not use DVR PSU)
Power Lead
Use a supplied power
splitter lead to power more
than one camera.
Plug & Play
Cable
Connect DVR to VGA Monitor
Connect DVR to
TV/Monitor
VGA output also available to
connect to a monitor. * VGA
Cable not included
Connect the HDMI
output from the DVR to
your TV/Monitor HDMI
input. *Monitor not
included.
10
Router
Network
Cable
BNC
Video lead
8
*
* * *
* *
*
* Not Included
Camera
Power Lead
Power
Jack
4. Installation Diagram

9
To Connect Cable to Camera(s)
To Connect Power to the Camera(s)
Connect the power lead coming from the camera to the power jack on
the Plug & Play cable
Connect the BNC connector from the camera to the BNC on the Plug
& Play cable
Connect the power socket on the cable to the Power Supply – See
additional information for connecting more than 1 camera
To Connect Cable to the DVR
Connect the BNC connector to the required channel input on the DVR
To Connect Cable to Router
Connect the Network Cable to the DVR then to a Router
Network Access *Router not included
for
1
2
3
5 6
810
78
To Connect Cable to TV/Monitor
Connect the HDMI Lead to the HDMI output on the DVR then to the
HDMI Input on your TV/Monitor *TV/Monitor not included
8
9
Your system is now ready to use
4

10
Video cable of the camera or
video cable of the DVR are
not connected securely.
Not Enough Power
Wipe the lens with a soft and
clean microfibre cloth
Replace the video cable or
add a video amplifier
Replace the video cable or
add a video amplifier
Check the cable connection
Replace the power supply
The camera has IR LEDs but
there is no night vision
Check to see if the IR LEDs
are illuminated when the
camera is in dark conditions
The transmission distance of
the video cable is too long.
The camera faces sunlight or
flourescent lights.
Adjust the direction of the
camera.
Interference from the camera
power supply. Replace the power supply.
The transmission distance of
the video cable is too long.
The lens is dirty
No Image
No Night
Vision
Blurry
Picture
The screen
picture
shakes
5. Troubleshooting

11
6. Specications
Image Sensor 1/3 Digital Image Sensor
Resolution HD960H
Lens Size 4mm
DSP Functions
Automatic Electronic Iris
Auto Electronic Shutter
Automatic Gain Control
Minimum Illumination 0.1 Lux (IR Off), 0 Lux (IR On)
Night Vision 20m IR Night Vision
Power Supply 12v DC 500mA
Power Consumption < 5000mA
Zero Colour Rolling
Backlight Compensation
True Day/Night (Mechanical IR Filter)

TECHNICAL SUPPORT
For technical support, please contact your local distributor.
Alternatively, call 0871 222 1430
LIMITED WARRANTY
This product is supplied with a 12 month warranty. The warranty excludes products
that have been misused (including accidental damage) and damage caused by
normal wear and tear. In the unlikely event that you encounter a problem with this
product, it should be returned to the place of purchase.
Manufactured for:
IQCCTV, Unit 2 Valley Point, Beddington Farm Road, Croydon, Surrey CR0 4WP
www.iqcctv.co.uk

5
2. Product Contents
1x 18m Plug & Play Cable
Before installing this product, please ensure that it contains the
following;
Contents
1x 12 DC 500mA
Power Supply
1x IQC960V-K
Mini Dome Camera
1x User Manual
User Manual
Version 1
Wide Angle
Lens
IR
Night Vision
20m
Weatherproof
Rated
IP65
HD
Resolution
HD 960H
HD 1 CAMERA 960H KIT

12v DC Input
Power Cable
BNC
Video Cable
1. Select a suitable position on the wall or
ceiling to install the camera. Take the
mounting bracket off the dome camera
by unscrewing the fixing screw using
the Allen key supplied.
2. Rotate the upper ring of the camera, it will
unscrew from the dome base. Be careful
when handling the camera as the parts
are not fixed to the upper ring or the
camera ‘ball’.
3.Using the Dome base as a guide, drill a
hole in the middle of the base circle on
the wall or ceiling where the camera is to
be mounted, to allow the power and video
cable to be fed through.
4. Screw the Dome base to the wall or ceiling
using the Wall Plugs and screws supplied.
5. Feed the Camera’s cable through the hole
and adjust the Camera ‘ball’ so the
camera is positioned in the correct
direction and at the correct angle
6
3. Installation
Table of contents
Other IQCCTV Security Camera manuals