1918
Q: Where can I purchase additional Battery Packs?
A: You can purchase additional Battery Packs by contacting your nearest Roomba
retailer, or by visiting www.RoombaVac.com for online purchase options and
more purchase information.
Q: How does the Virtual Wall Unit work?
A: The Virtual Wall Unit is used to block open doorways and confine Roomba in a room.
The Unit can also be used to divide a large room and force Roomba to clean just one
side of the room. The Virtual Wall Unit sends a harmless, invisible beam across the
opening, confining Roomba to the area where you want it.
Q: Where can I purchase additional Virtual Wall Units?
A: You can purchase additional Virtual Wall Units by contacting your nearest Roomba
retailer, or by visiting www.RoombaVac.com for online purchase options and more
purchase information.
Q: Will the Particle Bin need to be emptied? Does the Filter need to be cleaned?
How often?
A: Debris from the Particle Bin (which includes the Air Filter) should be emptied after
each use. See Caring for Your Roomba on Page 9 for more information.
Q: How can I get extra Replacement Filters?
A: The Filter needs to be replaced if it becomes punctured or if you notice a decline in
the cleaning performance of Roomba. Two spare Replacement Filters are included with
Roomba; additional Replacement Filters are available for purchase in packs of three.
Visit www.RoombaVac.com for more purchase information, or contact your nearest
Roomba retailer for availability.
Q: Will Roomba clean all floor surfaces?
A: Roomba cleans hardwood, linoleum, tile, and low- to medium-pile rugs. The device is
not designed to operate on deep-pile carpets or carpets with tassels or fringe.
Q: Do I need to change the floor adjustment when changing floor surfaces?
A: Roomba’s Self-Adjusting Cleaning Head automatically traverses uneven floor
transitions as it cleans carpet, hardwood, linoleum, and tile.
Q: Will Roomba sweep water from the floor?
A: No, Roomba should not be used to pick up any liquid including water.
Q: Will Roomba fall down stairs or into a step-down room?
A: Roomba automatically senses stairs and turns away from them. However, if the room
to be cleaned contains a balcony, a physical barrier should be used to prevent access to
the balcony and ensure safe operation.
Q: If Roomba gets stuck, what should I do?
A: Help Roomba get unstuck, then press the flashing Room Size Button to restart the
Cleaning Cycle. Please refer to the illustration entitled “Roomba Care Hints” on Pages
12-13, as well as Troubleshooting Tips on Page 16 for more information.
Frequently Asked Questions
Q: Why doesn’t my Roomba clean my floor in straight lines?
A: Roomba uses an algorithm-based cleaning pattern to clean your home most
efficiently. When Roomba starts cleaning it travels around the floor in a spiral pattern
(see Figure 1 on Page 3). Its Non-Marring Bumper will contact a wall, or it may try to
find a wall after spiraling for a while. Roomba follows the wall for a short period of time,
utilizing its Spinning Side Brush to move particles away from the wall and into the
Vacuum’s path. After cleaning along a portion of the wall or other object, Roomba
criss-crosses the room in straight lines. Roomba repeats this cleaning pattern until its
cleaning time has elapsed. This sophisticated navigation ensures that Roomba will clean
your whole room as thoroughly as possible.
Q: Are pets and children safe around Roomba?
A: Roomba has been designed with a number of safety features, including
automatically shutting off when it is picked up or gets stuck. Children and pets should
always be supervised around Roomba for optimum safety and cleaning performance.
Q: Does Roomba clean corners and along the walls?
A: Roomba has a Spinning Side Brush that cleans next to walls, most corners and
other tough to reach places.
Q: Will it go under kickboards, beds, and furniture?
A: Roomba has been designed to fit under the kickboards in your kitchen. If your bed
or furniture is more than 4” off the floor, Roomba will happily clean underneath.
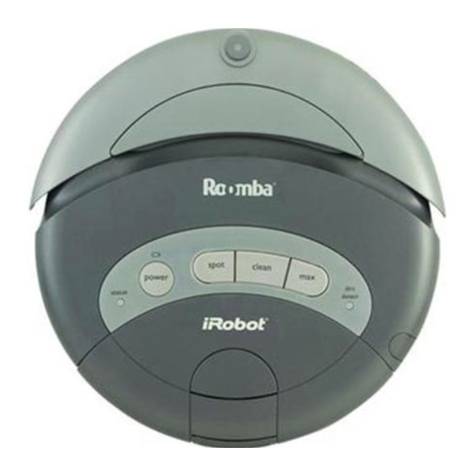
Q: What powers Roomba?
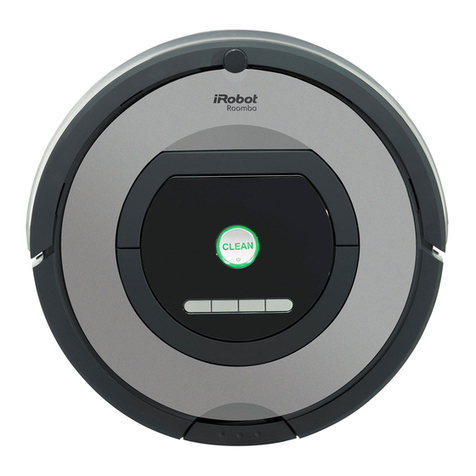
A: Roomba is powered by a NiMH Rechargeable Battery Pack.
Q: How much suction power does Roomba have?
A: Roomba uses a unique, three-stage cleaning system. Two counter-rotating Brushes
sweep up larger particles, while a small, extremely efficient vacuum sucks up the smaller
particles. The Spinning Side Brush sweeps debris from corners and edges of the room into
Roomba’s main cleaning path. This allows Roomba to get impressive cleaning performance
using only 30 Watts, much less power than is required by traditional upright vacuums.
Q: How long will the Battery Pack’s charge last?
A: The life of a fully-charged Battery Pack is dependent on the floor surface to be
cleaned. A single charge can last from about 60 minutes (on medium pile carpet) to
about 90 minutes (on hard floor surfaces).
Q: How many rooms will Roomba clean before the Battery Pack needs to be recharged?
A: It depends on the floor surface to be cleaned. For typical operation, Roomba cleans
three 14’ x 16’ medium-size rooms.
Q: How long does it take to recharge the Battery Pack?
A: The Battery Charger that comes with Roomba takes up to 12 hours to recharge the
Battery Pack. As of February 2003, you can also purchase the Rapid Charger accessory that
recharges the Battery Pack within about two and a half hours. Contact your nearest
Roomba retailer for availability, or visit www.RoombaVac.com for online purchase options
and more purchase information.
