manuals.online logo
Brands
  1. Home
  2. •
  3. Brands
  4. •
  5. Isotemp
  6. •
  7. Water Heater
  8. •
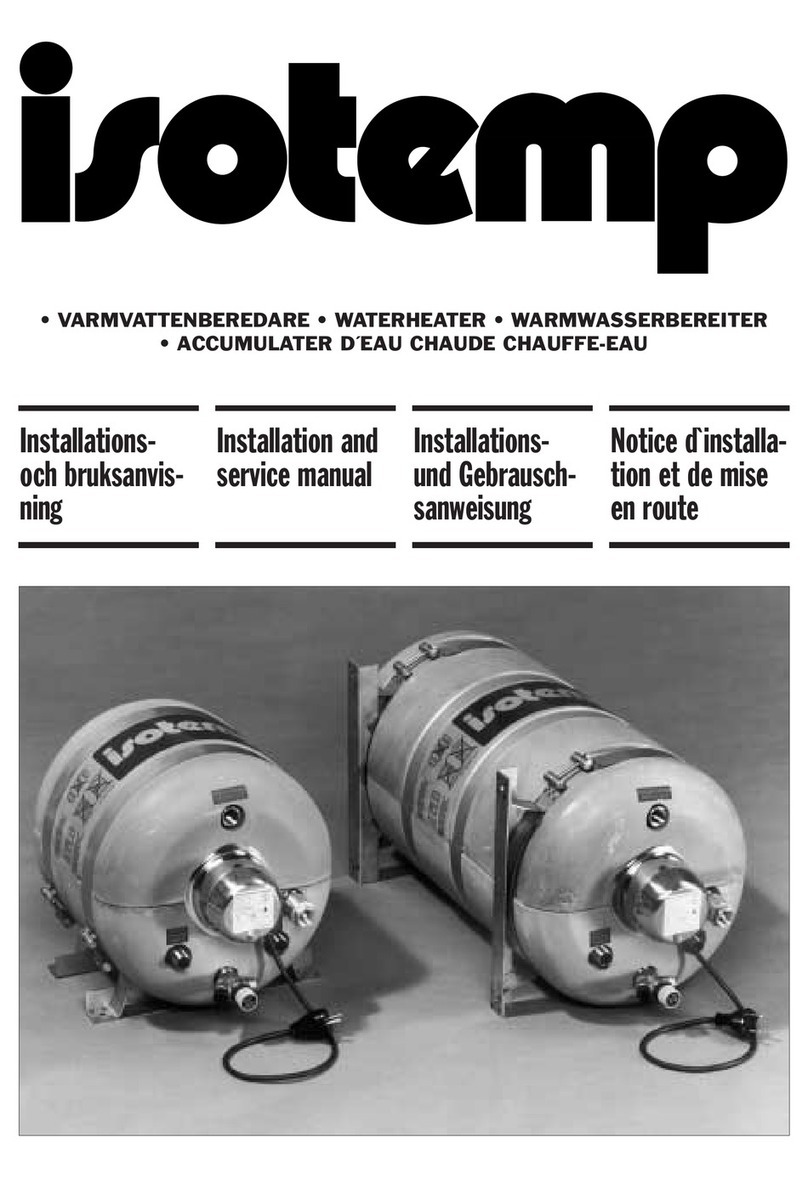
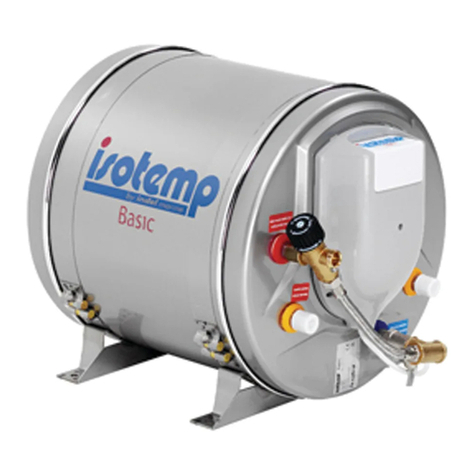
  9. Isotemp Slim Square 601631Q000003 User manual

Isotemp Slim Square 601631Q000003 User manual

Isotemp Slim water heater has been designed and produced to ensure that your water heater will
give long and trouble free operation for many years.
It is important, however, that your Isotemp water heater is correctly installed and maintained. During
the winter period when the unit is not being used, it is essential that it is drained to avoid risk of dam-
age due to freezing.
Every single Isotemp water heater is individually pressure tested prior to delivery and carries a 2
year factory warranty in respect of defects in material and/or manufacture and a limited 5 year war-
ranty on the inner tank.
Operators manual
Slim Square 16L water heater
Fig. 1
Installation:
1. Placement: The water heater may be positioned in a suitable place with the engine water connectors on
the water heater below the level of the engine header tank. The connection hoses between the engine and
the water heater should be kept as short as possible and placed with as little level differences as possible to
keep flow losses on a reasonable level. Long hoses also result in heat losses. The water heater is to be
placed in such a way, that the thermostat, heater element and safety valve are easily accessible for service.
These components and all water connections are placed on the water heater front gable.
2. Mounting: The water heater can be mounted horizontal, vertical or leaning with the safety valve with its
drainage valve as the lowest point, safely fastened in its mounting brackets. (See fig. 1) The mounting brack-
ets can be turned to fit the bottom or a bulkhead on board. Bear in mind the extra weight of the unit, when full
of water.
45° 45°
45° 45°
0-90°
3. Water connections:
3.1 Fittings and hoses: Use only fittings and accessories made of non-corrosive material such as
brass or stainless steel. Avoid plastic fittings on the water heater depending on the heat. For the engine
cooling water connections, use heat resistant (100°C / 210°F) reinforced rubber hoses, resistant to anti-
freeze and pressure proved for 5 bar (70 psi). For the fresh water, cold in and hot out, use heat resistant
fresh water hoses (food industry quality). They shall be rated min. 8 bar (115 psi) and heat resistant.
Seal the threaded connections with e.g. Loctite 577 or Bondline T777.
3.2 Engine connections (see diagram, fig. 2): The water heater is meant for use on fresh water
cooled engines. Some sea water cooled engines, having a thermostat temperature control and possible
hot water hose connections, could also be used, if the working temperature is enough, 65 -85°C / 150 -
185°F. The flow of cooling water from the engine through the water heater must be at least 2 litres/min. If
the boat has two engines, connect the water heater to one engine only. If two water heaters are to be
mounted, connect them in parallel.
Connection to the engine shall be done with min. 16 mm / 5/8” hoses and adaptors to avoid restrictions.
See the instructions in the engine operators manual, regarding hose connection points.
On some smaller engines, 10-15 Hp, it may be necessary to reduce the flow with a restrictor to keep the
engines cooling capacity an a correct level.
3.3 Freshwater connections (see diagram, fig. 2): The water heater is fed with fresh water from
the electrical fresh water pump connected to the fresh water tank. Max pressure for the pump 3 bar (42
psi). A multi chamber pump creates less pressure peaks and gives a smooth flow. The hot water outlet,
which also vents the water heater, should be connected to a mixer tap at the sink and/or basin outlet, to
mix cold water with hot to avoid scalding. If the water heater is equipped with a thermostat mixer valve a
suitable temperature between 38 and 65°C / 100 and 150 °F can bee chosen with the thermostat mixer
valve.
Mount a waste water hose on the safety valve outlet, 10 mm / 3/8”, it must always have a free outlet, to a
lower point. There must be no valves or skin fittings, fitted to the waste water hose. A small quantity of
water may be expended via the safety valve during the heating up period.
3:4 Electrical connection: All internal connections are made in the factory. The mains power supply
cable is fitted with an international plug (EU plug), which should be fitted to a correctly installed socket.
This socket shall be connected to a on board mounted double fuse unit including an earth leak switch. All
”high-voltage” installations on board, must be carried out in a proper way to fulfill valid regulations. The
Isotemp Slim water heater is designed to meet EU regulations in this field. When leaving the boat for
longer periods, it is recommended to pull out the cable connector from the socket. This should be done
even if the shore power system is shut off, as there can be a potential difference in the electrical system,
between the earth from shore and the sea-water earth of the boat. This can seriously damage the heater
element or the water heater.
4. Start up/Test: Start the engine and check the circulation of the cooling water. Secure the hoses after
checking. Compensate with anti-freeze in the header tank on a fresh water cooled engine, for the
additional volume in hoses and heat exchanger. Fill up the water heater with fresh water by starting the
fresh water pump, leaving the hot water tap open to air the system. Check there are no water leaks and
finally connect the power cable when the water heater is full. Check that the safety valve outlet is free to
allow water to escape.
Note: the water expands during warm up, a small quantity may come out through the safety valve.
5. Maintenance:
5:1 Winter drain: When there is a risk of freezing temperatures, the water heater must be drained.
This is done by pulling the lever on the safety valve to its open position. Take off the hot water hose and/
or open the air bleeder screw on the mixer valve, to allow air coming into the tank. It is a small stainless
steel M5 screw.
The water heater can be left safely on board over winter after it has been drained.
5:2 Heater element: The heater element is 750W. The water heater has a working thermostat 75°C /
167°F and a two-pole overheat protection thermostat, 95°C / 203°C. This is manually re-settable, by
pushing the indicator pin at the top of the housing (see figure 3). Also check why the overheat thermostat
initially tripped before re-connection the power supply.
When leaving the boat for long periods, it is recommended to disconnect the power supply cable plug.
This should be done even if the shore power system is shut off, as there can be a potential difference in
the electrical system, between the earth lead and the salt water earth of the boat. This can seriously
damage the immersion and water heater.
The water heater is available in 230 VAC and 115 VAC versions.
5:3 Controls: Check regularly that there is no leakage at the hose connections.
Tecnical data Isotemp Slim Square 16L
I-61019 S Agata Feltria (PU)
Italy
Phone +390541848030
Fax +390541848563
[email protected]
www.isotherm.com
Type Volume lit. L x W x H mm
Weight kg Thermostat
mixer valve Heater
element
601631Q000003 16 565 x 180 x 400
16 Yes 230V/750W
601631Q000000 16 540 x 180 x 400
15 No 230V/750W
Connections fresh water: BSP ½” inside and outside.
Connections engine water: BSP ½” ouside.
Material: Engine water coil, storage tank and all connections: Stainless steel AISI 316
Outside cover and mounting brackets: Stainless steel AISI 304 (Non magnetic)
Gables: Plastic
Heater element: Copper covered by nickel.
Safety valve: 6.0 bar / 85 psi.
Insulation: Injected expanded polyurethane
The manufacturer reserves the right to change the specification without prior notice.
Type Volume
US gal. L x W x H in Weight Lbs Thermostat
mixer valve Heater
element
601623Q000003 4.2 22-5/8 x 7-3/16 x 15-3/4
35 Yes 115V/750W
601623Q000000 4.2 21-1/4 x 7-3/16 x 15-3/4
33 No 115V/750W
FRESH WARM WATER OUT
USCITA ACQUA CALDA
FRESH COLD WATER IN
INGRESSOACQUAFREDDA
ENGINE WATER
ACQUA MOTORE
ENGINE WATER
ACQUAMOTORE
Overheat protection
Working thermostat
Fig. 3
Fig. 2
000792
Thermostat & overheat
protection
Principal connection
diagram
Dimensiones (mm) without thermostat mixer valve
Dimensiones (mm) with thermostat mixer valve
Fig. 4
000790-2
Fig. 5 000750-4
180
540
500
480
380
455
425
400
ACQUA MOTORE
ENGINEWATER ACQUA MOTORE
ENGINEWATER
INGRESSO ACQUA FREDDA
FRESH COLD WATER IN
USCITA ACQUA CALDA
FRESH WARM WATER OUT
180
575
565
480
380
455
425
V
K
400
ACQUA MOTORE
ENGINE WATER ACQUA MOTORE
ENGINE WATER
INGRESSO ACQUA FREDDA
FRESHCOLD WATER IN
USCITA ACQUA CALDA
FRESHWARM WATER OUT
8
5
8
7
18
22
18
15
34
34
16
3
15
7
16
V
K
ACQUA MOTORE
ENGINE WATER ACQUA MOTORE
ENGINEWATER
INGRESSO ACQUA FREDDA
FRESH COLD WATER IN
USCITA ACQUA CALDA
FRESHWARM WATER OUT
Dimensiones (inch) without thermostat mixer valve
Dimensiones (inch) with thermostat mixer valve
Fig. 6
000790-2 in
Fig. 7 000750-3 in
34
4
1
15
8
7
21
18
4
3
316
15
16
18
7
ACQUA MOTORE
ENGINEWATER ACQUA MOTORE
ENGINEWATER
INGRESSO ACQUA FREDDA
FRESHCOLD WATER IN
USCITA ACQUA CALDA
FRESHWARM WATER OUT

This manual suits for next models

1

Other Isotemp Water Heater manuals

Isotemp 0150 Manual

Isotemp

Isotemp 0150 Manual

Isotemp Basic User manual

Isotemp

Isotemp Basic User manual

Popular Water Heater manuals by other brands

HTP SuperStor Ultra SSU-20 Installation start-up maintenance parts

HTP

HTP SuperStor Ultra SSU-20 Installation start-up maintenance parts

Worthington AMTROL DIATROL 537 Installation & operation instructions

Worthington

Worthington AMTROL DIATROL 537 Installation & operation instructions

Raypak 0133-4001 WH Installation and operating instructions

Raypak

Raypak 0133-4001 WH Installation and operating instructions

Giant RESIDENTIAL GAS FIRED WATER HEATERS owner's manual

Giant

Giant RESIDENTIAL GAS FIRED WATER HEATERS owner's manual

Kospel EPMH Series user manual

Kospel

Kospel EPMH Series user manual

Lochinvar Squire SIT040DW Installation & operation manual

Lochinvar

Lochinvar Squire SIT040DW Installation & operation manual

Worcester WR 325 BF Installation and servicing instructions

Worcester

Worcester WR 325 BF Installation and servicing instructions

TESY GCU 1515 L52 RC Instructions for use and maintenance

TESY

TESY GCU 1515 L52 RC Instructions for use and maintenance

Rinnai RC80E Operation and installation manual

Rinnai

Rinnai RC80E Operation and installation manual

CMD Solar CMD272 Owner & Installer Manual

CMD Solar

CMD Solar CMD272 Owner & Installer Manual

State Water Heaters GP650YTVIT instruction manual

State Water Heaters

State Water Heaters GP650YTVIT instruction manual

Elkay DSPOUWCS1 Installation, care & use manual

Elkay

Elkay DSPOUWCS1 Installation, care & use manual

Glen WH-7051 user guide

Glen

Glen WH-7051 user guide

Danfoss DSA1 MINI installation guide

Danfoss

Danfoss DSA1 MINI installation guide

Xylem GOULDS IM252R01 owner's manual

Xylem

Xylem GOULDS IM252R01 owner's manual

Solahart Streamline 270 Owner's guide and installation instructions

Solahart

Solahart Streamline 270 Owner's guide and installation instructions

Buderus SM290.5 E manual

Buderus

Buderus SM290.5 E manual

Rinnai HD32e Operation & installation manual

Rinnai

Rinnai HD32e Operation & installation manual

manuals.online logo
manuals.online logoBrands
  • About & Mission
  • Contact us
  • Privacy Policy
  • Terms and Conditions

Copyright 2025 Manuals.Online. All Rights Reserved.