itema PROMATECH LEONARDO SILVER HI DRIVE 7000 User manual

Cod. C9KS26A
01 - 10 - 2004
HI-DRIVE Console user manuale
SW release from 7501.03xx

Versione 7000

All rights reserved. The text and graphics in this manual are the sole property of
PROMATECH S.p.A.
No part of this publication may be reproduced or transmitted to third parties without the prior
permission of PROMATECH S.p.A.
S.p.A.
Edition dated 01-10-2004
Manufacturer’s address:
Via Case Sparse, 4
24020 COLZATE (BG) Italy

01 - 10 - 2004
Console user manual
1
INDEX
A. Hi Drive special functions .............................................................................. 3
A.1Basic notions for using the Hi Drive loom ..................................................... 3
A.2 Software upgrades and general parameters ................................................. 3
A.3 Hi Drive main page ......................................................................................... 4
A.4 Manual use of the electromechanical brake .................................................. 7
A.5 Sensor check .................................................................................................. 8
A.6 Loom start-up without reset procedure .......................................................... 9
A.7 Manual coupling/disengaging ........................................................................ 10
A.8 Manual synchronising of the dobby and rapier/reed shafts ............................ 11
A.9 Adjusting the oil pump shutdown delay .......................................................... 12
A.10 Coupling/gap control adjustment ................................................................... 12
A.11 Input/output status .......................................................................................... 13
A.12 Reverse slow motion ...................................................................................... 13
A.13 Detecting play in the encoder joints ............................................................... 13
A.14 Detecting/setting the start pick-up ................................................................. 14
B. Encoder and sensor adjustment procedure ......................................... 15
C. Hi Drive allarms ................................................................................................. 18
D. Information codes ............................................................................................ 23
D.1 Reset failed code x ........................................................................................ 23
D.2 Pick-finding failed code x ............................................................................... 24
D.3 Generic messages for Hi Drive code y .......................................................... 27
E. Extra information .............................................................................................. 28
E.1 Problems linked to re-synchronising or reset ................................................. 28
E.2 Sensor and auxiliary encoder efficiency test ................................................. 29

Console user manual
201 - 10 - 2004

01 - 10 - 2004
Console user manual
3
A. Hi Drive special functions
A.1 Basic notions for using the Hi Drive loom
Il presente paragrafo si limita a riassumere le principali differenze tra un telaio Hi Drive ed un
telaio standard per quanto riguarda il suo utilizzo da parte del tessitore.
Per tutte le informazioni relative al collaudo, alle regolazioni, agli aggiornamenti software, ecc.,
fare riferimento ai paragrafi successivi.
Main differences:
Restart lights. The restart lamps flash whenever the loom is moving (apart from continuous
running); the flashing lamps mean that the loom is not safe; always wait for the lamps to go
out before attempting to carry out any work on the loom.
Oil pump. The oil pump stops if the loom is not restarted within a certain time after a loom stop.
If you try to start the loom up normally under such conditions, only the oil pump will start; only
after a further 7 seconds can you then start the loom up properly at continuous running (the
green and white lamps flash alternatively in the meantime).
Switching the loom on. If the green lamp flashes when you switch the loom on, you need to
press the slow motion button to start the loom reset. Once reset, the green lamp should stop
flashing: the loom is now ready to work. If the “reset failed code n” message appears, press
button “X” to see whether there is an emergency and then see para. D1 “Reset failed code x”
to discover the likely causes.
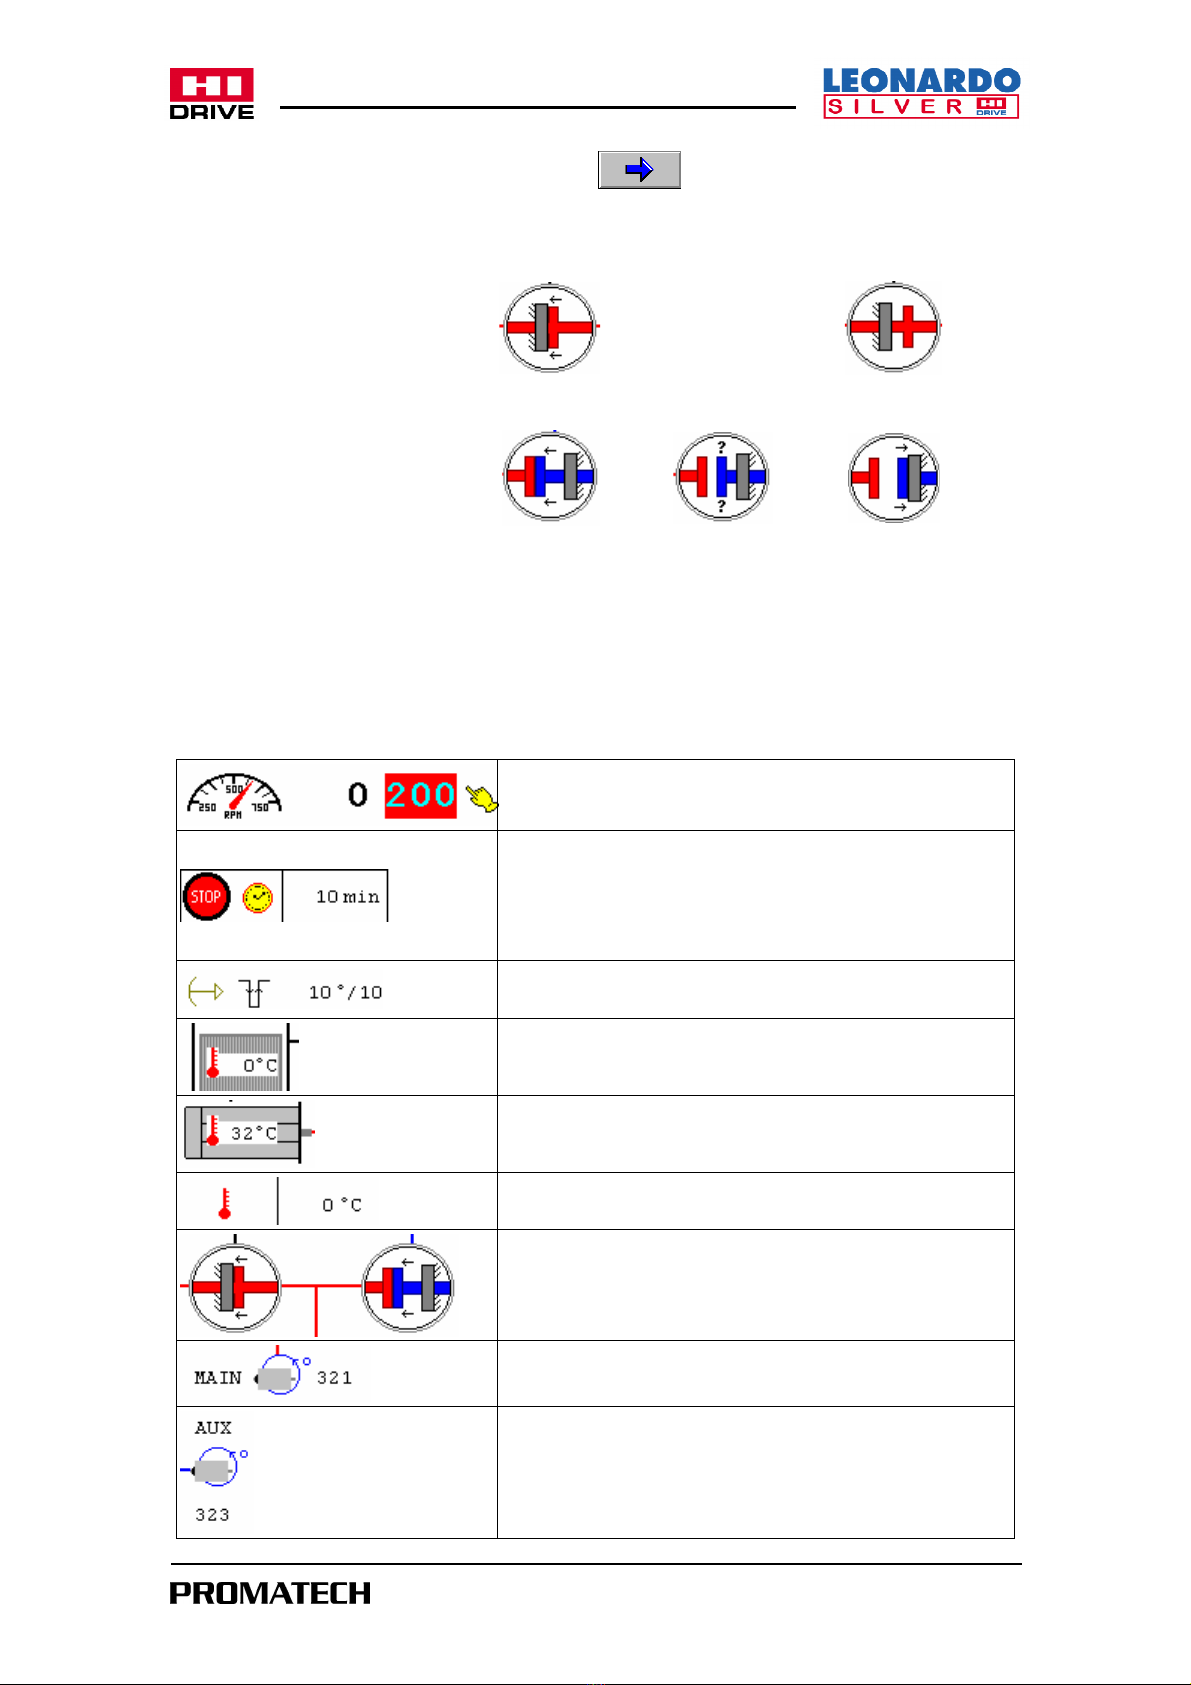
Hi Drive alarms. The list of Hi Drive alarms and explanations are at the end of this manual.
Most of the Hi Drive alarms can be reset by jogging the loom in slow motion, after which you
can continue to use the loom as normal. If this is not possible, switch the loom off and then
back on again; if the problem persists, technical assistance is required.
Special meanings of the lamps. As well as the standard loom functions, the warning lamps
also have the following extra meanings:
-Flashing green lamp on switching the loom on: request to reset the loom; to do this, press
the slow motion button
-Flashing orange lamp on start-up: waiting for Hi Drive to start up: wait for the lamp to stop
flashing
-steady orange lamp during manual use of the brake: brake released
-alternate flashing of the green and white lamps: this means that you need to wait a few
seconds before starting the loom up at continuous running; likely causes: a) the oil pump
has just started; b) too many start/stop commands one after the other
-flashing white lamp with long intervals: the loom is in pre-alarm mode (e.g. the motor
temperature is too high); read the message on the Console to find out what the problem is.
A.2 Software upgrades and general parameters
After each RTC software upgrade, you may need to configure a few settings:
-The following options need to be set in the Loom Setup page (the one that appears when you
first switch the loom on after changing the software release):
- Hi Drive = YES
- Loom width = specify the loom width

Console user manual
401 - 10 - 2004
Hi Drive main page (without Memory Card)
A.3 Hi Drive main page
A “Hi Drive main page” is used on the Console; this opens when you press
The Hi Drive main page contains a series of data that can be set by the user. If a Memory Card
level 3 has been inserted, the relevant extra fields will appear in the page.
Hi Drive main page (with Memory Card)

01 - 10 - 2004
Console user manual
5
This page with the Memory Card inserted has that lets you access a second list of
buttons.
The brake status and coupling
status can be as follows:
The status of the coupling is “unknown” during the intermediate stages between its being en-
gaged and released. Moreover, if the coupling is used manually, the status continues to be given
as “unknown” after release and engaging (because the toothed wheels are tooth against tooth,
but not coupled): you need to jog the loom in slow motion to get the “coupled” status.
Data that can be set and displayed without Memory Card:
Engaged Unknown Released
Engaged Released
Brake statuses
Coupling statuses
Continuous loom running
, picks/min. The actual speed
appears at the side.
Oil pump shutdown time
(in minutes): how long after
the loom has stopped before the oil pump should
automatically stop; NB: the actual shutdown time may be
less than that set if the oil pump motor temperature is
particularly high.
Space covered with one slow motion command
(in
1/10 loom degrees).
Drive temperature (at rest here).
Motor temperature.
Oil pump motor temperature (at rest here).
Status of brake and coupling (see table above).
Main encoder value (degrees).
Auxiliary encoder value (degrees).

Console user manual
601 - 10 - 2004
Buttons in the Hi Drive page, without Memory Card
Extra data that can be set and displayed with Memory Card:
Slow motion speed (picks/min, standard value = 10)
Maximum speed (picks/min * 10). Once set, switch the loom
off and then back on.
Forwards pick-finding speed (picks/min, standard value =
55).
Reverse pick-finding speed (picks/min, standard value = 55).
Forwards self-positioning speed (picks/min, standard value
= 35).
Reverse self-positioning speed (picks/min, standard value =
25).
Drive status
Drive temperature
Drive alarm code
Current in motor; current and voltage in brake.
Motor encoder value (jogging)
Loom/dobby staggering, actual and set, in steps (1 step =
4.28°). Not enabled here.
To increase the loom speed by 1 pick/min.
To decrease the loom speed by 1 pick/min.
Manual use of the brake.
Manual use of the coupling and adjustment of encoders and
sensors.
Sensor check.
To access the zone table.
A.

01 - 10 - 2004
Console user manual
7
Extra buttons in the Hi Drive page with Memory Card
A.4 Manual use of the electromechanical brake
Press in the Hi Drive page. The orange lamp comes on, warning that the brake is re-
leased. Press the slow motion button to engage/release the brake.
Then press to return to the normal Hi Drive page.
If using the handwheel, the loom goes into emergency mode and the Hi Drive device switches off.
Disengage the handwheel and return to the normal Hi Drive page; now press the slow motion
button to switch the device back on again.
Note: with 7501.0120 SW release and higher, once the handwheel has been inserted, all
you need do is press the Slow Motion button to release/engage the brake, without having
to use the Console functions.
Go to next/previous list of buttons.
Show status of HDI board inputs and outputs. 2 of these
buttons are present (I/O1 and I/O2).
Access Setup page.
Access Test page, containing several settings that come in
handy when testing the loom.
Access the "Detect start pick-up" page.
A.

Console user manual
801 - 10 - 2004
A5 Sensor check
The encoders must be properly adjusted and the coupling engaged with zero staggering in order
to carry out this check correctly.
Press in the Hi Drive page. The following page appears:
Carry out just over one full turn in slow motion.
Once the slow motion movement has been completed, information on the 3 rapier/reed shaft
sensors and on the 3 dobby shaft sensors appears on the Console.
The central position and the amplitude of the active status are shown for each sensor, plus the
corresponding nominal values:
Nominal value
Value actually read
The column on the left (Mean °) shows the central position for sensor enabling, while the right-
hand column (Delta °) shows the flag amplitude.
For example, dobby sensor 1 must be enabled between 0° and 60°, meaning it therefore has a
central position of 30° and an amplitude of 60°.
Great precision is needed for the rapier/reed shaft sensors (PZPT): generally speaking, the max
error margin allowed for the central position (Mean °) is roughly 1 degree.
Greater error margins are allowed for the dobby shaft sensors (up to 2.5°).
You can find errors in the connections or sensor failures by comparing the actual values with
the nominal values.

01 - 10 - 2004
Console user manual
9
A.6 Loom start-up without reset procedure
A Memory Card formatted at level 3 is needed.
Use this procedure only if the reset procedure keeps failing after switching the loom off and on
again several times (the green lamp stays on and the loom cannot be used at continuous run-
ning). This procedure ignores all the dobby/loom staggering controls, meaning there is the
risk of defects in the fabric; the operator must carefully check the behaviour of the loom
and stop it immediately he notices that the rapiers are entering the shed when this is closed
or about to close.
Switch on the loom and enter the Memory Card; go to the Hi Drive page and press
followed by ; then set “power on without reset” as YES. This setting is saved even when
the loom is switched off and back on again, but a level 3 Memory Card must always be inserted for
it to work.
If the green lamp flashes asking for the reset procedure to be carried out, press “STOP”: the reset
procedure is not carried out and the green lamp stops flashing; the loom is therefore ready to start.
This procedure comes in handy when testing the loom without any fabric, before the encoders
and sensors have been adjusted. The loom also needs to be started up using this procedure
whenever an encoder has been replaced and so, not having been adjusted, the reset procedure
will be unsuccessful.
Press to open the following page, showing the current status of the various sensors
(green = on, red = off). Note: on a Silver loom there are 4 sensors on the dobby shaft (330°, STEP,
30°, 42°) and 3 on the rapier/reed shaft (330°, 30°, 42°).

Console user manual
10 01 - 10 - 2004
A.7 Manual coupling/disengaging
This procedure is needed when testing the efficiency of the coupling, to check the gap and to time
the dobby and rapier/reed unit manually. This function is also needed to adjust the encoders.
Many controls are inhibited with this procedure, meaning that the operator must pay special atten-
tion not to cause any damage to the fabric.
If this procedure is used to check the coupling by hand, and not to time the loom with the dobby,
we recommend switching the loom off and then back on again afterwards so that any differences
in loom/dobby synchronisation can be corrected during the reset procedure; alternatively, manual
re-synchronising is a possibility.
Go to the Hi Drive page and press to access the “Coupling and Adjustment” page.
While the loom is in this page, the special coupling function is enabled, allowing for the following
operations:
-Press the Slow Motion button to jog the loom normally in slow motion.
-Press the reverse or forwards pick-finding button to disengage the coupling in the current loom
position. You can now check/adjust the coupling gap.
-Once disengaged, press the slow motion button to move just the dobby shaft. This function is
useful if the coupling gap needs to be checked. More specifically, in order to make small shifts
with each slow motion command, set the “Space covered with each slow motion command” to
a low value (e.g. 5) in the main Hi Drive page (this setting must be made before entering the
“Coupling and Adjustments” page).
-Press the forwards or reverse pick-finding button again to de-excite the coupling coil; then jog
the loom in slow motion to re-engage the coupling.
-Dobby sensor adjustment: see Encoder and Sensor Adjustments below.
-Encoder adjustment: see Encoder and Sensor Adjustments below.
If a Memory Card formatted at level 3 has been inserted, the operations described above can be
done without any limitations. Moreover, once the function has been disabled, the loom is ready for
normal operation, unless the synchronising is wrong; in which case, you need to re-synchronise
the dobby/loom manually in order to correct the staggering problem or, in some cases, switch the
loom off and then back on again to perform the reset procedure.
The operations described above are restricted in the absence of the Memory Card for reasons of
safety:
1) the manual disengaging operation is only possible if the loom is in a position between 330° and
30°, in order to guarantee that the rapiers are outside the shed;
2) when the function is disabled, manual re-synchronising is always necessary before starting the
loom at continuous running.
Press key . to return to the main page.
Note: if you press “X” once you enter the “Coupling and Adjustments” page, the main Console
page appears, but the loom remains in “Coupling and Adjustments” mode; press and the
“Coupling and Adjustments” page appears. Press to disable the function and return to
the main Hi Drive page.

01 - 10 - 2004
Console user manual
11
A.8 Manual synchronising of the dobby and rapier/reed shafts
The reset procedure is normally performed each time the loom is switched on to check that the
dobby shaft and the rapier/reed shaft are correctly synchronised and to re-synchronise them if this
is not so.
The reset can fail if the encoders and/or the sensors are not adjusted or are faulty.
In which case, the loom needs to be started up without the reset procedure (see para. A.6 “Loom
start-up without reset procedure”). Doing this, you no longer have the guarantee of
correct synchronising; more specifically, if the loom has not been switched off after incomplete re-
synchronising, the two shafts will almost certainly not be synchronised when the loom is switched
back on.
Manual re-synchronising will be necessary if you can’t re-synchronise them either with the reset
or re-synchronising procedures.
There are two quite distinct procedures for manual re-synchronising: the first (procedure A) re-
quires that the dobby shaft sensors are working; the second (procedure B) requires that the main
encoder is working and correctly adjusted.
Procedure A
1) Go to the Hi Drive page and press to access the “Coupling and Adjustment”
page.
2) Turn the loom in slow motion to roughly 358° on the dial.
3) Press the reverse pick-finding button. The coupling disengages in the first possible position
after 358° (which should be roughly 0°). The actual position at which the rapier/reed unit
stops is shown on the dial.
4) Press the forwards and the reverse pick-finding buttons at the same time. The dobby shaft
will automatically turn to 0° and the coupling will engage with the correct synchronisation.
This synchronisation is based on the dobby shaft sensors, meaning that the procedure
could fail if one of these is faulty.
5) Press key on the Console to return to the main Hi Drive page.
Procedure B
The main encoder must be working and correctly adjusted. Only use this procedure if procedure
A has failed due to a faulty dobby shaft sensor.
1) Go to the Hi Drive page and press to access the “Coupling and Adjustment”
page.
2) Turn the loom in slow motion to roughly 358° on the dial.
3) Press the reverse pick-finding button. The coupling disengages in the first possible position
after 358° (which should be roughly 0°). The actual position at which the rapier/reed unit
stops is shown on the dial.
4) Press the slow motion button: only the dobby shaft should move. Make the dobby shaft
make one full turn to guarantee complete acquisition of the main encoder zero; then take
the shaft to roughly 358°, checking the angle shown on the Console.
5) Press the reverse pick-finding button: the coupling coil should de-excite.
6) Make the loom turn in slow motion: the coupling will disengage at the correct time. Note:
since this is a manual procedure, the coupling timing could be out by one step (4.28 de-
grees).
7) Press key on the Console to return to the main Hi Drive page

Console user manual
12 01 - 10 - 2004
A.9 Adjusting the oil pump shutdown delay
Specify the time (in minutes) in the main Hi Drive page in box
If the loom is still on but stopped (in standby or emergency mode), the oil pump motor automati-
cally stops after a set time.
The pump could stop before the set time if the oil pump motor reaches a certain temperature;
this may well happen when the loom is cold and so the oil is especially thick.
A.10 Coupling/gap control adjustment
1) Go to the Hi Drive page and press to access the “Coupling and Adjustment”
page.
2) Turn the loom in slow motion to roughly 358° on the dial.
3) Press the pick-finding button. The coupling disengages in the first possible position after
358° (which should be roughly 0°). The actual position at which the rapier/reed unit stops is
shown on the dial.
4) Adjust the gap. Press the slow motion key to turn the dobby shaft, with the rapier/reed shaft
at a standstill. The gap must be adjusted to 0.7mm.
5) After adjusting this, press the forwards and reverse pick-finding buttons at the same time.
The dobby shaft will automatically turn to 0° and the coupling will engage with the correct
synchronisation.
6) Press key on the Console to return to the main Hi Drive page.
7) Note: to get very brief “slow motion steps”, useful for aligning the teeth in the coupling
toothed wheels, you can change the “Slow motion step (°/10)” parameter in the Hi Drive
page (symbol ). This parameter must be altered before starting the gap
adjustment procedure and is expressed in tenths of loom degrees. For example, if you set
5, exactly 0.5 degrees will be covered by each slow motion step. The default setting is 10
(corresponding to 1 loom degree).

01 - 10 - 2004
Console user manual
13
A.11 Input/output status
Press and then in the Hi Drive page. The following page appears:
This page lets you see the status of board HDI input and output signals in real time; it can help you
understand what caused the malfunction of the loom.
A.12 Reverse slow motion
Press “Reverse slow motion” and “Forwards slow motions” at the same time on the pushbutton
panels to get reverse slow motion.
Reverse slow motion is only possible in a certain zone of the loom (rapiers outside the shed); if the
loom is working automatically, this zone is even smaller.
The speed of reverse slow motion is fixed at 5 rpm (loom).
A.13 Detecting play in the encoder joints
-Press and then in the Hi Drive page.
-Jog the loom in slow motion; it will execute two slow movements automatically, then two
consecutive messages will appear on the Console with the values of the joint play of the
two encoders. These values cannot be higher than 125 (corresponding to 1.25°).
-Press to return to the Hi Drive page.

Console user manual
14 01 - 10 - 2004
A.14 Detecting/setting the start pick-up
With Memory Card inserted, press and then in the Hi Drive page. The
following page appears:
To trace the start pick-up:
-start the loom up at continuous running.
-press to request the curve for the most recent start.
-press several times to get different curve scale factors.
To set the start pick-up:
-Press . The following box appears:
The datum highlighted is the “derating of the start pick-up”: the higher the value, the slower the
loom start-up. The default setting is 30; the accepted range is 2 - 200.
Note: parameters A and B are currently not available.
Request for start
pick-up curve
Start pick-up curve
angle setting
Zoom in/out

01 - 10 - 2004
Console user manual
15
B. Encoder and sensor adjustment procedure
Note: before carrying out the procedure described below, check that the gap between the flags
and the sensors is 0.4 mm, for all sensors (rapier/reed shaft and dobby shaft).
1) If necessary, adjust the zero degrees on the dial when the reed is in the beatup position
(use the comparator to do this).
2) Switch on the loom and skip the reset procedure (see “Loom start-up without reset proce-
dure”.
3) Carry out at least one full turn in slow motion (acquisition of the encoder zeros).
4) Press in the Hi Drive page.
5) Press The following page appears, listing the various steps required. A red dot
appears against the steps yet to be done; those done and the one in progress are shown by
a green dot. A green dot will appear against step A when the page appears (turn in slow
motion to 358° dial and reverse pick-finding).
6) Carry out the step indicated by the green dot and then press to move to the next
step. The various steps are described below:
-Turn in slow motion to 358° on the dial and then press a pick-finding button (for-
wards or reverse). The coupling disengages in the first possible position after 358°. The
actual position at which the rapier/reed unit stops is shown on the dial; when you turn the
loom in slow motion, only the dobby shaft should move, confirming that the coupling has
been properly disengaged. The nominal position at which the rapier/reed unit stops should
be 0°; in practice, however, the actual position might be slightly different due to mechanical
tolerances.

Console user manual
16 01 - 10 - 2004
-Press to go to step B, then adjust the auxiliary encoder by turning it until all the
4 lamps come on (orange, green, white, red).
-Press to go to step C, then press both the forwards and the reverse pick-
finding buttons at the same time: the dobby shaft should turn until correctly timed with
the rapier/reed shaft, at which point the coupling engages and the two shafts slowly turn
forwards to roughly 10° on the dial.
-Press to go to step D, then adjust the main encoder by turning it until all the 4
lamps come on (orange, green, white, red).
-Press to go to step E. Turn the loom in slow motion to roughly 5° (you can
also jog the loom in reverse slow motion to 5°).
-Press to go to step F. Get the loom to go through just over one full turn in
slow motion, without any interruptions, in order to acquire the encoder error compensation
factor. Once the loom has turned over, a message appears on the Console indicating whether
acquisition has been successful or has failed. If it has failed, take the loom to 5° and try
again (remaining in step F), until the Console reads “Encoder compensation OK”. If com-
pensation fails, the message “Compensation failed code n” appears on the Console, where
n means:
-1: the coupling has not been engaged or the speed of the slow motion is too high
-2: the slow motion has been too short
-3: too many errors on the main encoder: offset too high
-4: too many errors on the auxiliary encoder: offset too high
-5: incorrect start position (other than 5°)
Note: The green dot in symbol in the manual use of the coupling page means that the
encoder compensation factors have been acquired. If, on the other hand, symbol
appears, it means that the encoder compensation factors have not been acquired.
-Press to go to step G, then press it again to return to the default page (which
bears the word ).
7) Rapier/reed shaft sensor adjustment. Press There are two stages to this adjust-
ment: rough adjustment and fine adjustment. During the rough adjustment stage, the loom
automatically goes to 30° (or 330°); the flag should then be adjusted so that it is in line with
the sensor. During fine adjustment, the loom moves to 32.2° (or 332.2°) and the flag needs
to be adjusted so that it is exactly in front of the sensor’s on/off point. Below is the detailed
procedure, taking the 30° sensor as the example:
-turn the loom in slow motion to roughly 20°, unless the loom is already between 5 and 25°;
-jog in slow motion: the loom will automatically go to 30° and the words “Carry out rough
adjustment at 30°” appear on the Console;
-line the flag up with the 30° sensor;
-jog in slow motion again: the loom will automatically go to 32.2° and the words “Carry out
fine adjustment at 30°” appear on the Console;
-the flag should now be roughly in the front of the sensor; adjust it so that it is exactly in front
of the sensor on/off point.

01 - 10 - 2004
Console user manual
17
-Press to quit sensor adjustment.
8) Adjust the heald crossing using the mechanical joint on the dobby.
-To check that the adjustments are correct, switch the loom off and then back on again; then
carry out the sensor check (para. A.5 “Sensor check”).
Table of contents
Popular DC Drive manuals by other brands

Rohm
Rohm BD60A00NUX Technical notes

Power Electronics
Power Electronics SD750 Series Accessories manual

Kollmorgen
Kollmorgen AKD-x00306 installation manual

Rtelligent
Rtelligent 5R60 user manual

Wavelength Electronics
Wavelength Electronics PLD10000 DATASHEET AND OPERATING GUIDE

gefran
gefran ADV200 SP Series Quick start up guide, Specification and installation

Superior Electric
Superior Electric SLO-SYN SS2000MD4M-O installation instructions

Bosch
Bosch Rexroth MOBILEX GFT-W 30 Series operating instructions

Mitsubishi Electric
Mitsubishi Electric FR-D700 Series instruction manual

Esco
Esco EuroLam FA121 Mounting and operating instruction

Danfoss
Danfoss VLT AutomationDrive FC 361 Design guide

YASKAWA
YASKAWA SI-N3/V Technical manual