ITW GSE Hobart 2400 Compact User manual

ITW GSE HOBART ●11001 Us Highway 41 North ●Palmetto, FL 34221 ●U.S.A
T: (toll free is US): 800-899-1841 ●T (International): +1 941-721-1000 ●E: technicalsupport@itwgse.us
Manual
Hobart 2400 Power Coil
400 Hz Ground Power Unit
&
Cable Retriever System
Serial no.
Type 3GWC -200/ -
3GVF-200/260-N
it’s all about connections
OM2250
Rev 0 - June 23 2016

Document no. 577.420-B Page 2 of 70
Diagrams and drawings are subject to change without prior notice.
Latest diagram versions can be found at www.itwgse.com
Printed: June 2015
IMPORTANT NOTICE
We recommend that the battery that
safeguards GPU settings etc.
is changed after 5 years of use in
order not to lose data.
Refer to section 8.3 for further
information
OM2250
Rev 0 - June 23 2016

Operation Manual –Hobart PoWerMaster® 2400 Power Coil –60 - 90 kVA
Index
Document no. 577.420-B Page 3 of 70
INDEX
1.0 Declaration of Conformity........................................................................................5
2.0 Safety Instructions.....................................................................................................6
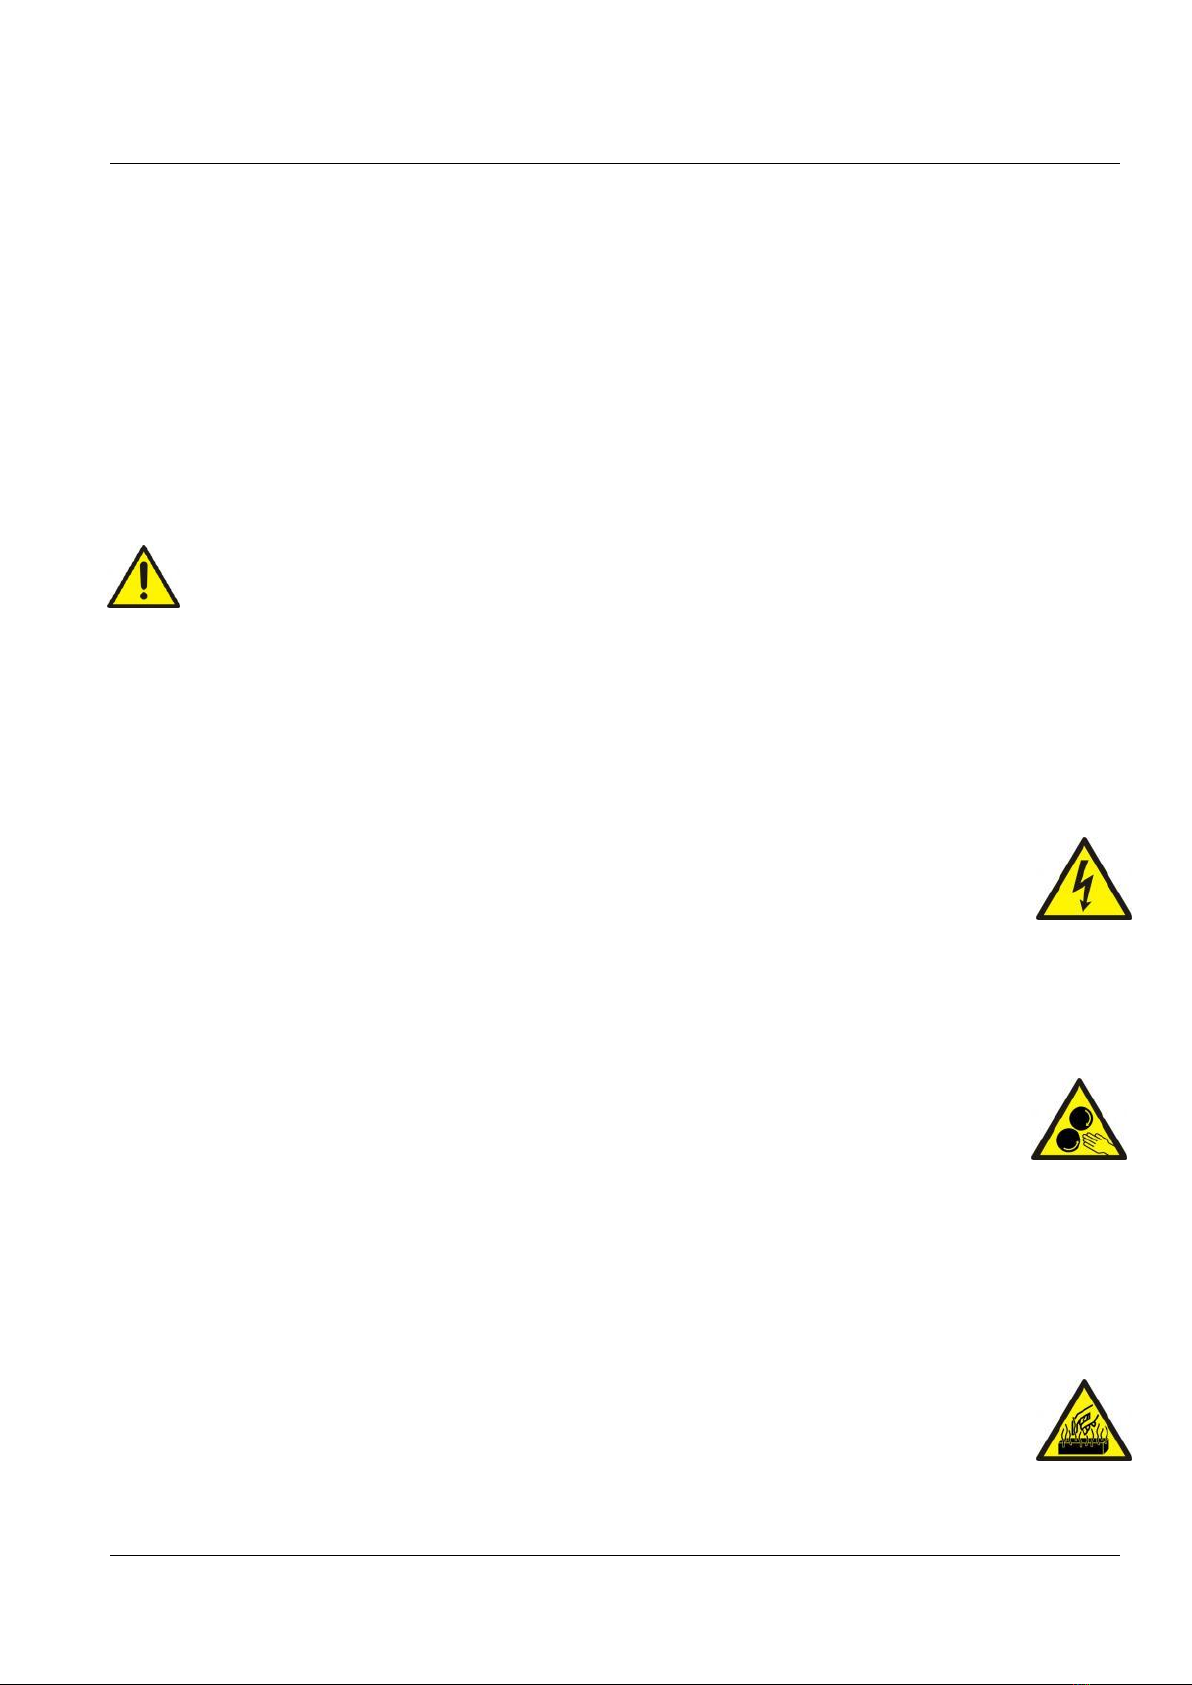
3.0 General Description ..................................................................................................7
3.1 Built in features / protections........................................................................................ 12
4.0 Transport and Installation .......................................................................................14
4.1 Storage Before Installation............................................................................................ 14
4.2 Operational and Environmental Conditions after Commissioning............................... 14
4.3 Transport....................................................................................................................... 14
4.4 Installation and fastening instructions........................................................................... 15
4.5 Connection of Cables.................................................................................................... 17
4.6 Mains Input ................................................................................................................... 18
4.7 400 Hz Output............................................................................................................... 19
4.8 400 Hz Interlock............................................................................................................ 19
4.9 User Remote I/O Terminals.......................................................................................... 19
4.10 TCP/IP On-board Interface........................................................................................... 21
5.0 Technical Specifications .........................................................................................23
6.0 Operator’s Instructions (Display/LED/Keypad layout)..........................................26
6.1 Using the Display/Keypad:........................................................................................... 27
6.2 Operator’s instructions (operating via aircraft plug)..................................................... 27
6.3 Operating the unit: ........................................................................................................ 27
6.4 Basic Menu: .................................................................................................................. 30
6.5 Default Factory Settings: .............................................................................................. 43
7.0 Set-up Lock / Output Mode / Compensation..........................................................44
7.1 Preventing changes of set-up parameters...................................................................... 44
7.2 Output Voltage:............................................................................................................. 44
7.3 Plug & Play Cable compensation: ................................................................................ 44
7.4 Manual Compensation: ................................................................................................. 45
7.5 Fan Control ................................................................................................................... 45
7.6 EF Interlock................................................................................................................... 46
7.7 EF Interlock Ripple Level............................................................................................. 46
7.8 EF Interlock Delay........................................................................................................ 46
7.9 Aircraft Connector Insertion......................................................................................... 47
OM2250
Rev 0 - June 23 2016

Operation Manual - Hobart 2400 Power Coil –60 - 90 kVA
Index
Document no. 577.420-B Page 4 of 70
7.10 GPU Enable................................................................................................................... 47
7.11 Door Switch .................................................................................................................. 47
7.12 Plug Temperature.......................................................................................................... 47
7.13 Neutral Voltage Supervision......................................................................................... 48
7.14 Earth Leakage Level ..................................................................................................... 48
7.15 Earth Leakage Delay..................................................................................................... 48
7.16 Real Time Clock Setup................................................................................................. 48
7.17 Ethernet Configuration.................................................................................................. 49
7.18 Modbus Slave Address.................................................................................................. 49
7.19 LED Brightness............................................................................................................. 49
7.20 Date/Time Format......................................................................................................... 49
7.21 Unit of Measure ............................................................................................................ 49
7.22 Costumer ID.................................................................................................................. 50
7.23 Cable Replacement Mode............................................................................................. 50
7.24 Language....................................................................................................................... 50
8.0 Service, Maintenance, Overhaul.............................................................................51
8.1 Recommended Maintenance Schedule ......................................................................... 51
8.2 Cable Replacement Mode............................................................................................. 54
8.3 Battery back-up & replacement .................................................................................... 55
9.0 Trouble Shooting & Repair.....................................................................................57
9.1 Fault Guidance.............................................................................................................. 58
10.0 Illustrated Parts List ................................................................................................61
11.0 Options....................................................................................................................67
AP-577801 Remote Control Box ................................................................................................. 67
AP-577802 Neutral Conductor Rupture Supervision.................................................................. 68
AP-577803 RS485 Interface (Diagram 477800)......................................................................... 69
AP-577804 Anti-Condensation Heater (Diagram 478800)......................................................... 69
AP-577805 Door Switch (Diagram 477800)............................................................................... 70
AP-591100 Auto Calibration Plug.............................................................................................. 70
OM2250
Rev 0 - June 23 2016

Operation Manual - Hobart 2400 Power Coil –60 - 90 kVA
Declaration of Conformity
Document no. 577.420-B Page 5 of 70
1.0 Declaration of Conformity
OM2250
Rev 0 - June 23 2016

Operation Manual - Hobart 2400 Power Coil –60 - 90 kVA
Safety Instructions
Document no. 577.420-B Page 6 of 70
IMPORTANT SAFEGUARDS
DANGER –TO REDUCE THE RISK OF FIRE OR
ELECTRIC SHOCK, CAREFULLY FOLLOW THESE
INSTRUCTIONS
2.0 Safety Instructions
This unit is only intended to be installed, operated and maintained by competent persons
having the necessary knowledge regarding delivery of external power to an aircraft.
Prior to use, service and maintenance, the competent person must, be familiar with all
relevant parts of this manual.
Electric Shock
To ensure personal health and safety, the electrical installation must fulfil all local regulations and
legislation
Touching live electrical parts can cause fatal shocks and severe burns.
Internal parts where the voltage exceeds 50 V are covered and / or marked with:
Keep all panels and covers securely in place.
Have only qualified people remove covers for maintenance or troubleshooting.
When connecting the unit to the aircraft, make sure that the output power is off.
Frequently inspect the installation for damage and bare wiring –Repair / replace if necessary.
Moving Parts
Keep away from fans, cable drum, cable rollers and cable guides.
Keep panels, covers and guards closed and securely in place.
Have only qualified people remove guards or covers for maintenance or troubleshooting
and if possible only when the mains input dis-connector Q1 is open.
To prevent accidental coiling during service, make sure the mains input dis-connector is open.
Keep hands, hair, loose clothing and tools away from moving parts.
Hot Parts
Do not touch hot magnetics.
Allow a cooling period before doing maintenance.
SAVE THESE INSTRUCTIONS!
OM2250
Rev 0 - June 23 2016

Operation Manual - Hobart 2400 Power Coil –60 - 90 kVA
General Description
Document no. 577.420-B Page 7 of 70
3.0 General Description
The figure below shows the basic principle of the Hobart 2400 Power Coil unit. The 50/60 Hz mains
voltage is converted into a galvanic isolated 3-phase, 400 Hz output voltage. A functional description of
each part is given in the following sections.
3.1 Basic Principle
Input Disconnector (Q1):
The Input Disconnect, disconnects all power to the ground power unit. Upon closing the
disconnect/breaker, the ground power unit passes through an initialization test and then into standby
mode.
OM2250
Rev 0 - June 23 2016

Operation Manual - Hobart 2400 Power Coil –60 - 90 kVA
General Description
Document no. 577.420-B Page 8 of 70
Capacitor Board (A5):
This module includes the following functions:
Input RFI filters to reduce the EMI/EMC emission into the mains to such a level that
surrounding equipment is not disturbed. In addition, the two filters prevent voltage transients
from reaching vital parts in the ground power unit.
Resistors in combination with the soft start contactor (Q5).
Magnetic Wave shaping circuit.
Link from the main supply phases L1-L2-L3 to the Supply Module (G1) and VFD via the
breaker (Q4).
Input Choke & 12-pulse Transformer (L1 / T1):
The combination of the choke, the 12-pulse transformer, the magnetic wave shaping circuit and the
rectifier situated at the inverter module, ensures an almost sinusoidal line current with a Total Current
Harmonic Distortion (ITHD) of 5% at 90 kVA/kW and a unity power factor at all loads. This means
less stress on the main supply network and the distribution transformers.
Inverter Module (PM1):
Beside the rectifier (V1-V6), the DC-filtering capacitors (C1-C6) and the soft start circuit (Q5)
controlled via connector X12, the module consists of a 3-phase inverter which generates a 400 Hz
voltage system with a very low harmonic content and individual phase control. Two PCBs (gate drive
top & gate drive bottom) are used to interface between the control unit and the IGBTs. Voltage
supervision of the DC-filtering capacitors is likewise performed at the gate drives via connector X19.
OM2250
Rev 0 - June 23 2016

Operation Manual - Hobart 2400 Power Coil –60 - 90 kVA
General Description
Document no. 577.420-B Page 9 of 70
Output Transformer (T2):
The output transformer ensures galvanic separation between input and output. It also transforms the
voltages from the Inverter Module into the required aircraft voltage (3 x 200/115 V). The filter choke
for the output AC-filter is an integral part of the transformer.
AC Filter Capacitors (C7-C9) / Output RFI (A7):
The harmonic content of the inverter voltage is further reduced by means of the AC Filter, resulting in a
total voltage distortion of less than 2%. In addition to the filter choke (integrated into the transformer)
and the AC capacitors, the ground power unit is equipped with an output RFI-filter that reduces the high
frequency emissions from the ground power unit or from the aircraft.
Output Contactor:
The ground power unit is equipped with a 3-phase output contactor per outlet. The contactor is engaged
at start-up of the corresponding output, and it is disengaged, when the stop button is activated or a
system error occurs. If the interlock voltage, provided by the aircraft, is not returned to the ground
power unit within the delay settings (refer to chapter 6.3), the contactor also disengages.
Interface Board (A2):
The purpose of this board is to interface between the Control Board and the rest of the ground power
unit. The interface module includes the following functions:
Interface to the Display Board (CAN Bus, 24 VDC and EPO (External Emergency Stop))
Fuse (F1 & F2) provides the 24 VDC for I/O connections
Fuse (F3) for Display Board (A3) and Operator Keyboard (A4)
Fuse (F4) provides the 24 VDC for interface
Fuse (F5) PWM control (X10) of the fans (M1-M2) situated above the magnetics
User EPO input (X14)
Measuring transformers for supervision of the 400 Hz output voltage (X26)
Interface for gate drives situated at the Inverter Module (X13)
Interface for current sensors situated at the Inverter Module (X23)
Relay control of output contactor Q2 (X16)
Soft start control of Q5 (X12)
Input for temperature sensors (X18)
Plug control Start, Stop etc.(X1)
Cable drum limit switch inputs (X2)
VFD control (X3)
OM2250
Rev 0 - June 23 2016

Operation Manual - Hobart 2400 Power Coil –60 - 90 kVA
General Description
Document no. 577.420-B Page 10 of 70
Remote I/O and Dry contacts for PBB (X4)
Protected interface for interlock signals.
Neutral Voltage Supervision.
Neutral Conductor Rupture supervision.
Door Interlock (X27).
Earth Leakage Failure via (X22) and current sensor on ground wire from 400 Hz neutral.
Interface for RS232.
EEPROM (X34) contains the unique identity key of the unit.
Supply Module (G1):
The generation of the 24 VDC / 10 A (Adjusted from factory = 25 Volt) regulated control voltage is
done by the Supply Module G1. This module has a wide input range (340-575 VAC). It is supplied via
the capacitor module and pre-fused from the 3-phase circuit breaker Q4.
Control Board (A1):
The Control Board is based on a micro-controller and a digital signal processor (DSP). Together they
regulate, supervise and diagnose possible external and internal faults. As soon as the ground power unit
is connected to the mains, and constantly during normal operation, the Control Board runs through a
self-check program which checks all internal
functions of the ground power unit. If an internal or
external error is detected, the display shows the nature
of the error. All immediate parameters related to a
shut-down are stored in the ground power unit’s
memory. The Control Board has an on-board Ethernet
RJ45 connector, which can be used to communicate
with the BMS (Building Management System) and
USB host Type A connection to retrieve data from the
converter or to up-date the software.
OM2250
Rev 0 - June 23 2016

Operation Manual - Hobart 2400 Power Coil –60 - 90 kVA
General Description
Document no. 577.420-B Page 11 of 70
Display Board & Keyboard (A3 / A4):
The display module serves as the interface for daily operation.
The display communicates with the Control Board via a CAN bus
(Controller Area Network) and can be placed up to 100 m away
from the unit, when using the Remote Control Box. Furthermore,
the display module includes a USB connection, which can be
used to download the Black Box and the Power Log and for
update of the display software.
ID Chip (A6):
The ID Chip, is connected to Interface Board A2
and fixed to the I/O zone plate.
Contains information on the GPU configuration,
stores all set-up values, Black Box / Power
Log records.
OM2250
Rev 0 - June 23 2016

Operation Manual - Hobart 2400 Power Coil –60 - 90 kVA
General Description
Document no. 577.420-B Page 12 of 70
3.1 Built in features / protections
No Break Power Transfer:
The unit is protected against misalignment during a No Break Power Transfer.
Over/under voltage at input:
The input voltage supervision is based on the rectified DC. The supervision ensures that the unit does
not trip even in the case of an abnormal low input voltage level. This of course presupposes that the 400
Hz output level and quality, required by the aircraft, can still be maintained. If the rectified DC level
gets too low or too high, the unit trips to protect itself.
Over/under voltage at output:
If the output voltage exceeds or is below the levels in the table below, the unit automatically shuts down
and opens the output contactor.
Output Voltage U > 130V –250ms
Output Voltage U > 140V –15ms
Output Voltage U < 104V –500ms
Overload:
If the output current exceeds the overload ratings in the table below, the unit shuts down to protect itself
125% for 600 seconds
150% for 60 seconds
200% for 30 seconds
300% for 10 seconds
400% for 1 second
Short circuit at output:
The unit has a built in system to protect itself & the output cables, if the units output(s) are short
circuited for some reason.
Internal high temperature:
If for some reason the internal temperature on the Inverter Module or the Output Transformer, rises
above the factory set temperature level, the unit shuts down, reporting either “INVERTER TEMP TOO
HIGH” or “TRANSFORMER TEMP TOO HIGH”
Control voltage error:
If the control voltage supplied from G1 is < 20 VDC, the unit shuts down and reports
“CONTROL VOLTAGE LOW”
Aircraft Connector Insertion:
This feature verifies that the aircraft connector is correctly inserted. When the aircraft connector is 90 %
correctly inserted the split “F” pin sends a signal to the unit allowing the respective outlet to be
engaged. Furthermore this feature ensures that the drum can’t coil the cable in when the aircraft
connector is inserted.
How to Bypass / Activate the function please refer to section 6.4.2 & 7.11
OM2250
Rev 0 - June 23 2016

Operation Manual - Hobart 2400 Power Coil –60 - 90 kVA
General Description
Document no. 577.420-B Page 13 of 70
Neutral Voltage Supervision (NVS):
As a standard, the unit is delivered with a jumper wire between the 400 Hz neutral and earth. If the
jumper wire for any reason (eg. Local regulation) is removed, the unit monitors the voltage between the
400Hz neutral and earth. If this voltage exceeds 42 V (factory setting), the unit shuts down and reports
“NVS failure”.
For change of setting please refer to section 6.3.
Neutral Voltage Displacement Supervision (NVD):
The combination of a grounded converter and an un-grounded aircraft might lead to an energized
aircraft chassis. The reason is the neutral voltage displacement caused by an unbalanced load. In case
the aircraft frame is or will be grounded during operation, a broken neutral might result in sparks as well
as burned ground wires.
The neutral voltage displacement of the aircraft chassis is measured as an AC voltage imposed on the
EF interlock signal.
For change of setting please refer to section 6.3.
Earth Leakage Supervision (ELS)
In systems where the 400 Hz neutral is grounded and there is a break of the cable’s 400 Hz neutral, the
ELS system monitors the residual current in the internal neutral / earth connection. The supervision will
shut down the unit in case the residual current reaches the pre-set level.
For change of setting please refer to section 6.3.
Note!
An additional protection method offered by ITW GSE as an option is the Neutral Conductor Rupture
(NCR). The supervision is based on the presence of an injected current in the neutral conductor (i.e. as
long as the injected current is present, the neutral is intact). The advantage of this method is that a
broken neutral will be detected immediately.
In general ITW GSE does not recommend the NCR option for the following reasons:
1) The need for an additional control wire, which is likely to be the first to break.
2) The difficulties of implementing the method in existing installations if a free control wire is not
present.
3) The standard protections built into the Hobart 2400 series are considered adequate to safeguard
against hazards related to a broken neutral.
OM2250
Rev 0 - June 23 2016

Operation Manual - Hobart 2400 Power Coil –60 - 90 kVA
Transport and Installation
Document no. 577.420-B Page 14 of 70
4.0 Transport and Installation
4.1 Storage Before Installation
To secure optimal storage conditions prior to installation, we recommend that the converter is stored
inside. This protects the unit from rain and excessive humidity while it is left without power.
Only equipment in seaworthy packing should be stored outside.
For storage conditions please refer to section 5.0
4.2 Operational and Environmental Conditions after Commissioning
When the converter has been installed and commissioned, we strongly advise that the unit is always
kept with input power on. This provides optimal conditions for the electronic components and prevents
humidity in the form of condensed water from reaching vital parts.
If for some reason the converter has been without input voltage for a period of time, a visual inspection
should be carried out. If condensation on any internal parts is discovered, the parts have to be dry before
the input voltage is again applied.
4.3 Transport
The Hobart 2400 Power Coil is delivered on a specially designed wooden pallet. Transport and
mounting of the Hobart 2400 Power Coil is carried out by lifting the unit by a fork-lift, truck or the like
to the intended mounting position while it is still placed and firmly fixed to on the pallet. For safety
reasons, the passenger boarding bridge should be placed in a horizontal position at the lowest possible
height above ground before lifting is started.
We recommend that you keep the original pallet for future dismantling in connection with service and
maintenance.
Fig. 4.3.1 Transport and mounting of the Hobart PoWerMaster® 2400 Power Coil by means of a
fork-lift truck
Note:
The Hobart 2400 Power Coil must be fastened to the passenger boarding bridge with 8 M12 bolts of
grade 8.8 or superior. To meet UL 1012requirement, suspension brackets must be designed for a
minimum of 4 times the unit weight of 1550 pounds (700 kg).
OM2250
Rev 0 - June 23 2016

Operation Manual - Hobart 2400 Power Coil –60 - 90 kVA
Transport and Installation
Document no. 577.420-B Page 15 of 70
4.4 Installation and fastening instructions
Fig. 4.4.1 Spacing between units and mounting holes for bracket.
OM2250
Rev 0 - June 23 2016

Operation Manual - Hobart 2400 Power Coil –60 - 90 kVA
Transport and Installation
Document no. 577.420-B Page 16 of 70
Fig. 4.4.3 Cable entry via gland plate
Fig. 4.4.4 Center of Gravity
OM2250
Rev 0 - June 23 2016

Operation Manual - Hobart 2400 Power Coil –60 - 90 kVA
Transport and Installation
Document no. 577.420-B Page 17 of 70
4.5 Connection of Cables
Remote I/O terminals available
(refer to section 4.9 for connection of I/O terminals)
50/60 Hz Input terminals: 3 x ¼-20 by 1” (M8/25mm) 25.4 Nm (225 in-lb) (L1–L2–L3)
1 x M10 bolt 50 Nm (444 in-lb) (Ground/PE)
Remote I/O terminals: 18 x 0.4 - 4 mm² (AWG 21-11)
Fig. 4.5.1 Connection of Cables
OM2250
Rev 0 - June 23 2016

Operation Manual - Hobart 2400 Power Coil –60 - 90 kVA
Transport and Installation
Document no. 577.420-B Page 18 of 70
4.6 Mains Input
Due to personal health and safety, the Hobart 2400 Power Coil unit must always be protected
by grounding the PE terminal ( ).
NOTE: The minimum ground wire size is #6 AWG.
Consult local authorities to ensure this meets local requirements.
The mains input connection to the unit should be externally pre-fused according to the table below:
100% load @ PF 0.8 Aircraft:
Rating
60 kW
90 kW
Line Current @ 400V/480V
75/63 A
111/93 A
Recommended Fuse Size
100 A
125 A
Maximum Fuse Size
200 A
200 A
Minimum Input Wire size
#4
#2
Output Wire size*
#2
1/0
* Based on single wire at 30 feet, consult the factory for recommendations on different lengths.
100% load @ PF 1.0 Aircraft:
Rating
60 kW
90 kW
Line Current @ 400V/480V
96/80 A
141/118 A
Recommended Fuse Size
125 A
160 A
Maximum Fuse Size
200 A
200 A
Minimum Input Wire size
#2
#1
Output Wire size*
#2
1/0
* Based on single wire at 30 feet, consult the factory for recommendations on different lengths.
Tightening torques:
Input disconnect: 8 Nm to 17.6 Nm (72 in-lb to 156 in-lb)
Input circuit breaker: 14.9 Nm to 21.7 Nm (132 in-lb to 192 in-lb)
Output contactor: 17.6 Nm (156 in-lb)
Due to the RFI filter at the input, the leakage current for the Hobart 2400 Power Coil is > 40 mA.
OM2250
Rev 0 - June 23 2016

Operation Manual - Hobart 2400 Power Coil –60 - 90 kVA
Transport and Installation
Document no. 577.420-B Page 19 of 70
4.7 400 Hz Output
At delivery, the 400 Hz neutral is connected to the Protective Earth terminal (PE). If a floating output is
required, the green/yellow jumper wire must be removed.
Independent of installation method, it is mandatory to meet local regulations and legislation to
ensure personal health and safety.
4.8 400 Hz Interlock
The interlock safety system ensures that the output contactor stays engaged as long as the aircraft
connector is inserted into the aircraft receptacle. The aircraft provides 28 VDC on the F terminal with
respect to the 400 Hz neutral terminal.
Fig. 4.8.1 Standard wiring diagram for civil aircraft
For service, maintenance and test purposes, the interlock system can be by-passed via the display setup.
To ensure personal health and safety, the ground power unit automatically returns to its initial interlock
mode, once it receives 28 VDC at the F terminal, e.g. when the ground power unit is connected to an
aircraft.
To ensure personal health and safety, the interlock safety system must always be activated
unless the ground power unit is undergoing service, maintenance or test by qualified
personnel.
4.9 User Remote I/O Terminals
Using the Remote I/O terminals, situated behind the front door to the left, it is possible to interface to:
External Emergency Stop (EPO).
The external EPO input A2:X14 is a 24 VDC input, either by using the internal 24 VDC supply
or an external 24 VDC voltage. The SW1 “EPO JUMPER” (at the top right corner of the A2
Module) is then removed. Refer to Fig. 4.9.1 / 4.9.2 for connection.
The terminal block X7 is the dry contacts for bridge management system and contains the
following I/O signals:
oEMERGENCY Roll Out –Input signal (X7:1 - 2)
OM2250
Rev 0 - June 23 2016

Operation Manual - Hobart 2400 Power Coil –60 - 90 kVA
Transport and Installation
Document no. 577.420-B Page 20 of 70
oGPU Enable –Input signal (X7:3 - 4)
o400 Hz Ready / 400 Hz Error –Contact N.O. (X7: 5 - 6) / N.C. (X7: 6 - 7)
o400 Hz On / 400 Hz Off –Contact N.O (X7: 8 - 9) / N.C. (X7: 9 - 10)
oPlug inserted / Plug Unconnected –Contact N.O (X7: 11 - 12) / N.C. (X7: 12 - 13)
oCable In / Cable Out –Dry Contact N.O (X7: 14 - 15) / N.C. (X7: 15 - 16)
o+24 VDC (X7:17 - 18)
Fig. 4.9.1 Example of wiring for external control and Dry Contacts to PBB/BMS
OM2250
Rev 0 - June 23 2016
Other manuals for Hobart 2400 Compact
2
Table of contents
Other ITW GSE Portable Generator manuals
Popular Portable Generator manuals by other brands

Swefog
Swefog Ultimate 3000DMX owner's manual

Bovie
Bovie SPECIALIST PRO Service guide

Thermo King
Thermo King TriPac E Driver Operating Instructions

Generac Power Systems
Generac Power Systems 15 kW EcoGen Installation guidelines

Siemens
Siemens PowerLink 100 Product information

Clearaudio
Clearaudio Smart Synchro user manual