Ivation IVAWDVAC5G User manual

Wet and Dry
Vacuum Cleaner
User Guide
IVAWDVAC5G
Thank you for purchasing the Ivation® Wet and Dry Vacuum Cleaner. This User Guide is intended to provide you with
guidelines to ensure that operation of this product is safe and does not pose risk to the user. Any use that does not conform to the
guidelines described in this User Guide may void the limited warranty.
Please read all directions before using the product and retain this guide for reference. This product is intended for household use only.
This product is covered by a limited one-year warranty. Coverage is subject to limits and exclusions. See warranty for details.
Box contents
Wet and dry vacuum
Removable hose
3-part suction tube
Combination nozzle
Crevice nozzle
Furniture nozzle
User guide

Parts
1. Handle
2. On/off switch
3. Head
4. Filter cage
5. Safety float valve
6. Locking latch
7. Tank
8. Suction hose connection
9. Blow connector
10. Flexible suction hose
11. 3-part suction tube
12. Combination nozzle
13. Wheels
14. Cartridge filter
15. Foam filter
16. Crevice nozzle
17. Cable storage hook
18. Water drain screw
19. Push & clean button
20. Accessory holder
21. Cover for cartridge filter
22. Tightening filter
23. Dust collection paper bag
24. Furniture nozzle
2
1
10
6
14
12
11
22
21
7
16
20
17
13
12
4
5
2
8
3
18
24
16
19
23
10
13
15
11
3
9

Safety Precautions
• Do not leave the vacuum unattended while running.
• Do not use the unit near flammable liquids, gases, or explosive vapors such as gasoline or other fuels.
• Do not use the vacuum on anything that is burning or smoking, such as cigarettes, matches, or hot ashes.
• Keep the cord away from heated surfaces.
• Do not use or store the vacuum in a place where it may become wet or damp.
• Do not use the unit if the cord, plug, or other part is damaged.
• Do not pull or carry the unit by the cord.
• Do not run the vacuum over the cord.
• Do not handle the plug or the unit with wet hands.
• Never vacuum toxic materials.
• Do not store the unit near hazardous materials.
• Do not use the vacuum if the filter is torn or the filter is not installed.
• Use caution when operating the vacuum near children.
• Always unplug the power cord before changing or cleaning the filter.
• Do not leave the vacuum unattended when plugged in.
• Always unplug the unit when it is not in use.
• Turn off the vacuum before unplugging.
• Do not insert any objects into the ventilation openings. Do not vacuum if the ventilation openings are blocked.
• Keep hair, loose clothing, fingers, and all body parts away from openings and moving parts.
• Use caution when using on or near stairs.
Attachments
Combination nozzle: for vacuuming solids and liquids over medium to large areas.
Crevice nozzle: for cleaning small areas and edges.
Furniture nozzle: for cleaning sofas, bed sheets, curtains, etc.
Assembly
Fitting the appliance head
1. Use the locking latch to fasten the appliance head to the tank.
2. To remove the appliance head, open the locking latch and remove.
3. Check that the locking latch is secure.
Fitting the wheels
1. Fit the wheels into the appropriate mountings on the underside
of the tank.
2. Push the wheels firmly into place until you hear a click.
3

Fitting the foam filter (wet vacuuming)
Fit the foam filter over the filter cage.
Fitting the cartridge filter (dry vacuuming)
1. Fit the cartridge filter over the filter cage.
2. Place the cover over the cage and fix it in place with the
tightening knob.
Fitting the paper dust collection bag (dry vacuuming)
1. Place the paper dust collection bag over the vacuuming hole.
2. Only use the paper dust collection bag for dry vacuuming.
Fitting the suction hose
1. Fit the hose to either the suction hose connector for vacuuming
or the blow connector for blowing.
2. To extend the suction hose, attach the 3-part suction tube.
4

Problem
Vacuum will not operate
Dust is coming from the motor cover
The motor is overly loud
Possible causes
Lack of power
Faulty power cord
Tank is full
The cartridge filter or paper dust
collection bag is missing or damaged
There is a blockage in the hose or the
tank inlet.
The cartridge filter or paper dust
collection bag is blocked.
Solution
Check power supply (cord, breakers, fuses, etc.)
Unplug and check the power cord. If damaged,
have it repaired by a professional
Empty tank
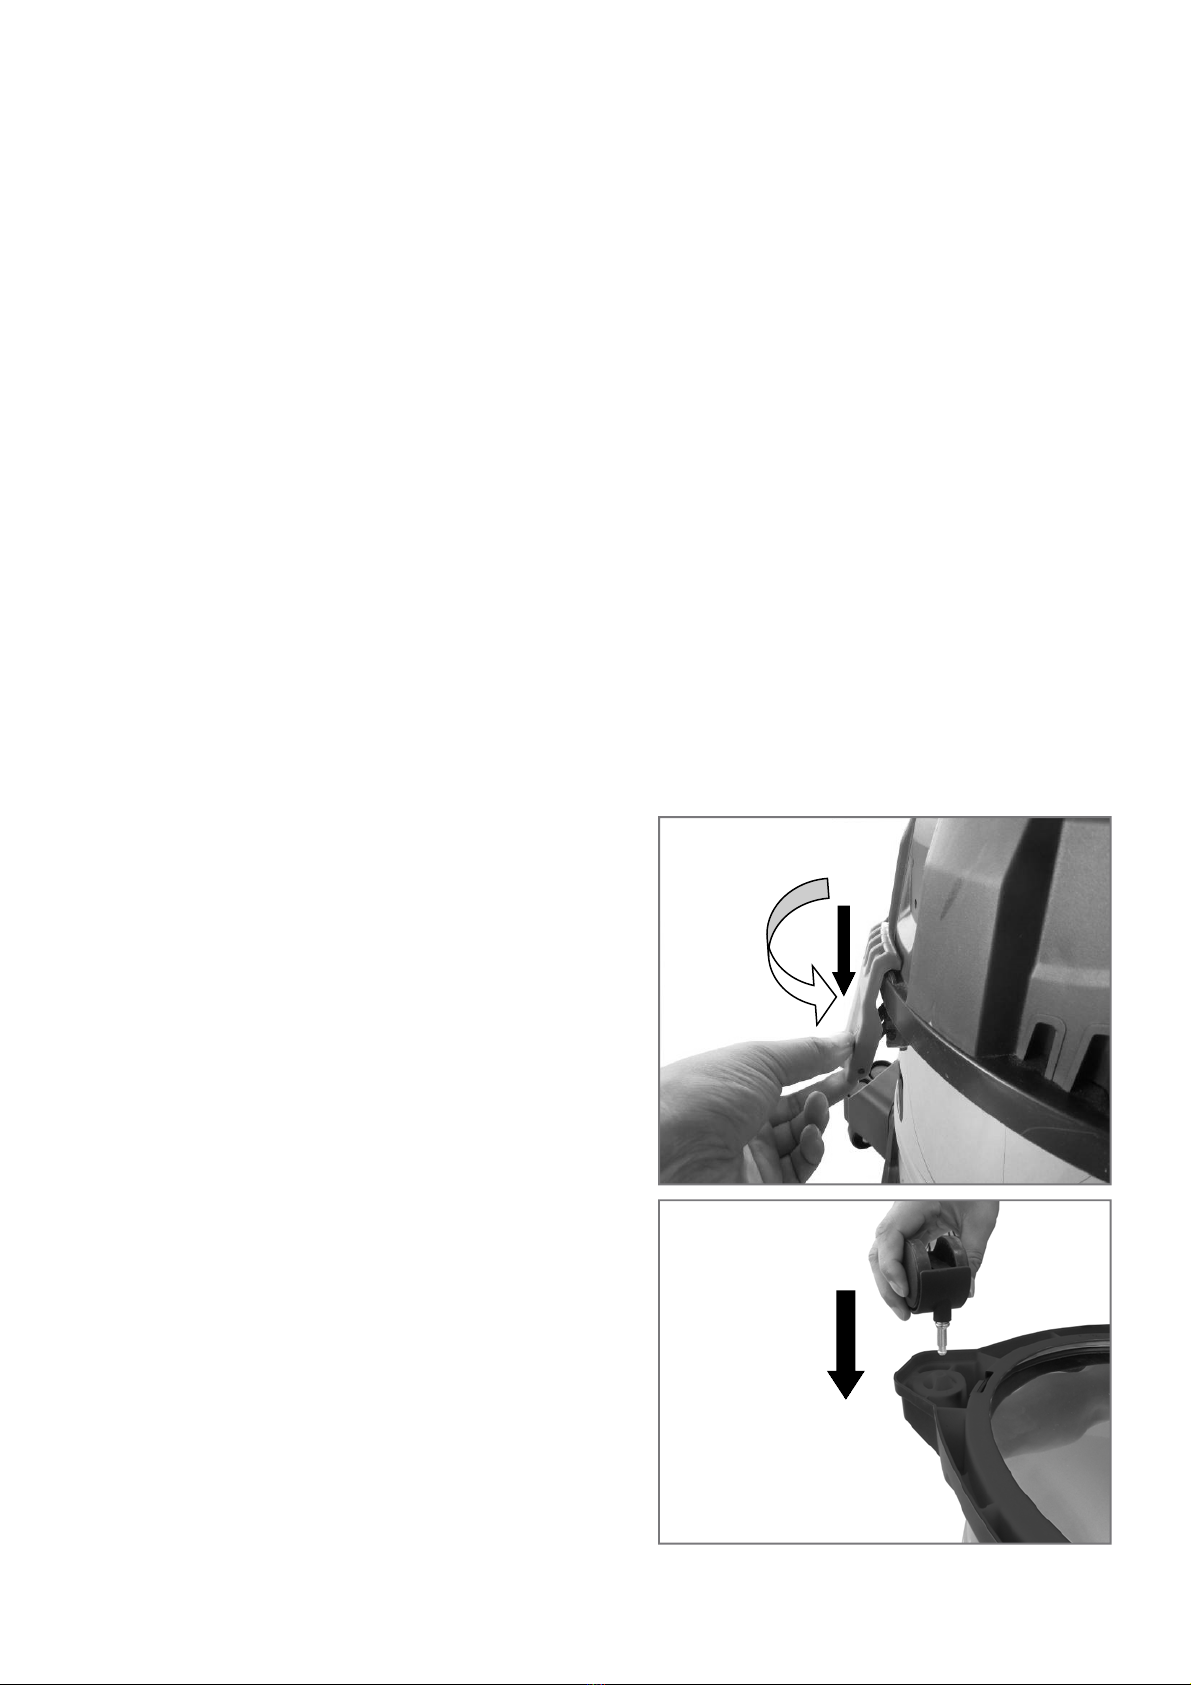
Attach or replace cartridge filter or paper
dust collection bag
Check the nozzle, hose, and tank inlets
for blockage.
Clean the filter or install a new filter or
paper dust collection bag
Operation
Powering the unit on
1. To power on, switch to the “I” position
2. To power off, switch to the “0” position
Dry vacuuming
1. Install the cartridge filter and paper dust collection bag before dry vacuuming.
2. Check that filters are securely in place before vacuuming.
Wet vacuuming
1. Install the foam filter before wet vacuuming.
2. Check that the filter is securely in place before vacuuming.
Draining water after wet vacuuming
1. Open the water drain screw by turning it counterclockwise.
2. Drain the liquid.
Note: when wet vacuuming, the floating safety switch will close when the maximum tank level is reached. This will result in the unit
becoming louder. When this happens, switch off the unit and empty the tank.
Setting up the blower
1. Before switching the hose from suction to blowing, unplug the unit.
2. Empty the unit of any dirt or liquid before using the blower.
3. Remove the hose from the vacuum port.
4. Connect the suction hose to the blow connector on the backside of the power head, locking it into position.
5. Fit the hose with the desired extension and/or nozzle.
6. Plug the unit into the power supply.
7. Before turning the vacuum on, firmly hold the loose end of the hose. Turn the switch to the on position.
Care and maintenance
Cleaning the appliance head
• Clean regularly with a damp cloth and mild detergent. Do not use cleaning agents or solvents, as these may damage the plastic
parts in the unit.
Cleaning the tank
• Clean regularly with a damp cloth and mild detergent. If the level of dirt is low, clean with running water.
Cleaning the foam filter
• Clean the filter with a small amount of mild detergent under running water. Allow to air-dry.
Cleaning the cartridge filter
• Block the hose inlet, then press the push and clean button. This will quickly blast the dirt from the cartridge filter.
Troubleshooting
5

Specifications
Rated power: 120V
Rated frequency: 60Hz
Rated current: 10A
Peak horsepower: 5
Tank volume: 5.3 gal.
Weight: 13 lbs. (6kg)
Customer service
info@myivation.com
866-849-3049
6
Distributed by
C&A Marketing, Inc.
114 Tived Lane East
Edison, NJ 08837 USA
Europe: C&A Europe
167 Hermitage Road
Crusader Industrial Estate
London N4 1LZ
United Kingdom
Made in China
Ivation and the Ivation logo are registered
trademarks of C&A Holdings, LLC in the U.S.
©2017 All rights reserved
Table of contents
Other Ivation Vacuum Cleaner manuals