Jaen Siracusa 15R+ User manual

MANSR+V10 - November 2023


1
CONTENTS
CARE 3 ⚠
MAINTENANCE 4
Tools 5
Changing Strings 5
Adjusting the Bridge Height 6
Adjusting the Compensation 7
Adjusting the Truss Rod Tension 9
Adjusting the Pickup-String Clearance 11
Checking/Replacing the Battery 12
USE 13
Electric Controls 13
Box: Magnetic Pickup Mode - Enhanced Single Coil 14
Deciding on the Amplifier 15
Connecting Your Guitar 16
Box: Plugs and Cables 16
Specifications 21

2
Congratulations on your purchase of this Siracusa 15R+ or Siracusa 16R+ guitar!
Your satisfaction is my number one priority. Thank You for choosing my product, and
please consider my guitars for future purchases.

3
CARE
⚠
Siracusa guitars are nothing like conventional archtops with plates that
triple the thickness, virtually indestructible. So, please, read and observe
what follows.
⚠Do not allow the guitar to stay in places where humidity,
temperature or light conditions are extreme. These can affect very
seriously the stability of wood and adhesives. Relative Humidity must
be kept around 50% at all times!
Try not to press excessively on the sides of your instrument. For
example, trying to reach for something on the floor ahead of you
while playing seated.
⚠Oil finishes are soft, so they don’t form a tough coat on top of
the wood. This is really very different from the conventional guitar
finishes that you already know. If your guitar has an oil finish, treat it
very carefully, especially the very soft top. Also, see page 8 for a
special situation where the top can suffer damage.
Protect your instrument from accidents:
Try to keep it in its case, always with the drawbolts closed, when
you are not using it. Do not trust too much in the stability of guitar
stands.
Try not to wear buckles, key holders or zippers that may cause
damage to the instrument while playing.

4
Clean your instrument with well proven products designed
specifically for this job. Avoid abrasive cleaners or those containing
silicone or solvents such as alcohol or acetone.
Do not try to lubricate the machine heads.
Try to clean the strings after use with a dry clean cloth.
Avoid the contact with alcoholic beverages. If it happens sometime,
absorb them with a dry cloth without rubbing.
Connect your instrument only to reliable equipment that have a
ground connection. The power line must have a ground-fault
interrupter. If you do not follow these recommendations, you can
cause damage to the instrument as well as to yourself.
⚠If you don’t plan to use your guitar for some time, remove the
battery to avoid leak damage.
If you are going to modify your instrument, contact me first.
If you are a repairman working on this guitar, please contact me if
you have any doubts on how to perform the repairs. I can also supply
the necessary parts.
Even if you are careful with your instrument, some wear will take
place in normal use:
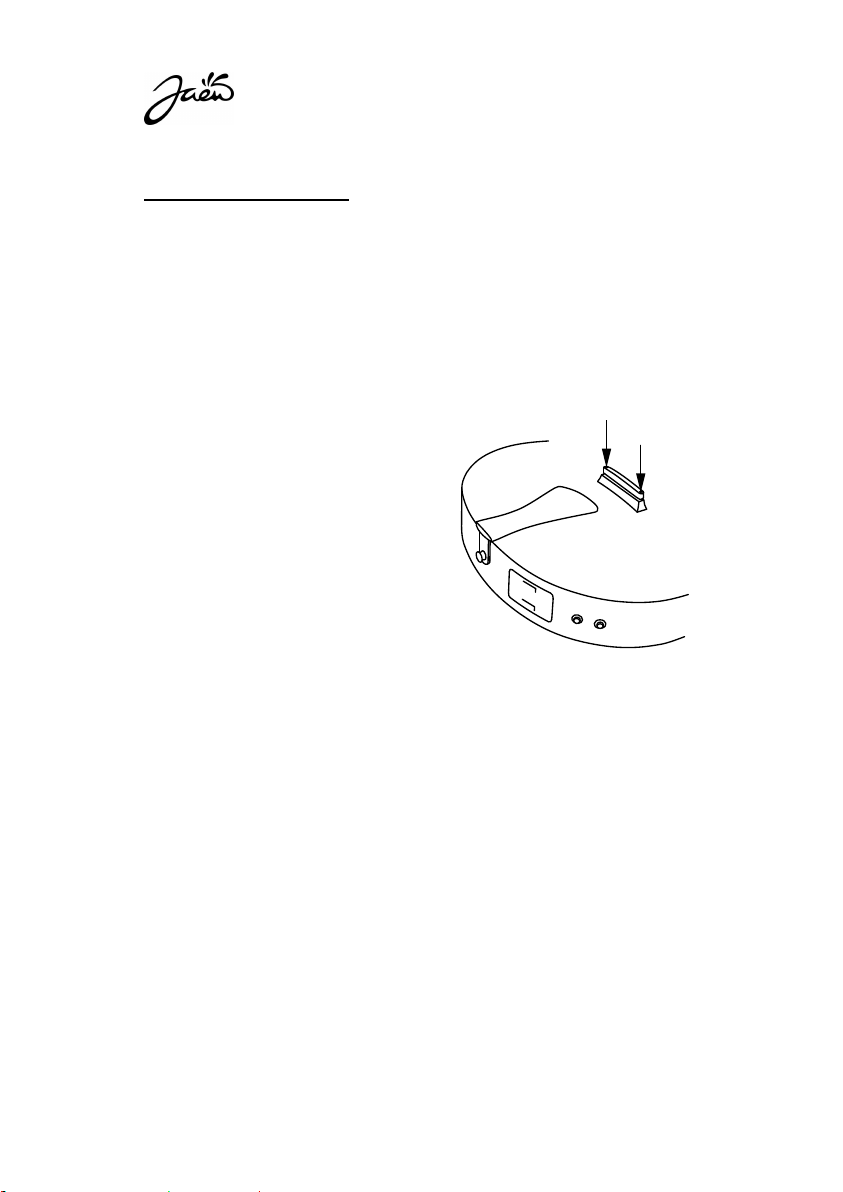
Frets must be redressed or changed after some time.
The finish and the wood below it can suffer color changes,
usually to a more yellow/orange hue. The high gloss will not last
a lifetime.
The gold or chrome plated pieces may lose their plating.

5
MAINTENANCE
Tools
Your guitar comes with a tool pouch, enough for the most common
operations described below. It contains a small (2 mm) and a large (4 mm)
Hex keys.
Changing Strings
You should do this…
Whenever the strings don’t sound bright, are worn or dirty or have
tuning problems in certain areas of the fretboard.
Necessary tools and materials: Pliers and strings.
Method:
Loosen one string. To untie it from the machines and the tailpiece,
cut it with the pliers. This is the best way to avoid damaging the
string anchors at the tailpiece, your fingers or the finish.
Place the new string in the tailpiece.
Insert the string into the hole in the post and pull until it is around
50 mm high above the fretboard.
Bend the end slightly, just at the exit from the tuner post.
Turn the tuner until the string feels tight, then tune it.
Cut the remaining, leaving about 1 cm out of the post.
Repeat for each string.

6
Adjusting the Bridge Height
You should do this…
Whenever there are buzzes in wide areas of the fretboard. The height
may be lowered if the action is too high and there are no buzzes.
Necessary tools: You will need the small Hex key supplied with the guitar.
Method:
Depending on the problem affecting
more the bass strings than the treble
strings, you will have to turn the
corresponding adjustment screw to
each side of the bridge saddle.
Clockwise to lower it, and
counterclockwise to raise it. The
adjustment will be finished when the
strings are high enough so that, in
your playing style, there are no
buzzes.
Notes:
I usually set the action very low before delivering my instruments.
You can always raise it if you like it better.
If you use thin plain strings, it is possible to have buzzes because
they don’t have enough tension for straightening out the small
irregularities in the steel caused by playing. Use new strings before
performing any adjustment.
After this adjustment, you should also check the truss rod tension
and compensation adjustments, as explained later.

7
Adjusting the Compensation
This procedure must be performed so that all the notes and their octaves
sound reasonably in unison, independent from their position on the
fretboard. A guitar that is not well compensated can be especially
unpleasant when playing chords that mix notes fingered in high frets with
open strings.
You should do this…
When your new strings are a different gauge, or you plan to use an
alternate tuning permanently.
When the bridge has been moved, usually as a consequence of
removing all the strings (which I don’t recommend).
When the height of the bridge has been modified substantially.
However...
Don’t do this every time that you change the strings, it’s not
necessary.
Don’t do this if you find that your worn strings don’t intonate well.
Instead, change them and check if the new ones are OK.
Necessary tools: Electronic tuner or a good ear.
Method:
Start with new strings, already tuned in the guitar for at least a few
hours.
Check if the natural harmonic for the second string in fret 12 is the
same as the fingered note in that same fret. If the tuner (or your
ear) finds that the fingered note is higher than the harmonic, the

8
bridge will have to be moved closer to the
tailpiece. Otherwise, move it further
away from the tailpiece (see drawing).
Check the same for the fifth string, but
this time try to move only the bass
side of the bridge, as you should not
modify its position for the string
that you adjusted first.
Notes:
⚠Some bridges may be hard to
move. Don’t force anything, you can damage the top if you press
hard on it. It is better to loosen the strings but, if the finish is oil,
then loosen the strings completely!
Worn strings, deformed from playing or dirty can be impossible to
play in tune—never try to adjust the compensation for old strings,
it’s wasted time.
Some wound strings have defects in the uniformity of their
windings that make them useless. Plain strings have their problems
too: some show a kind of coiling right out of the package that
doesn’t correspond to the curvature that they assumed while in
the package—don’t use these, especially if they are in a low
tension set.
The fixed bridges found in archtop guitars don’t allow a perfect
adjustment for every string, but the discrepancy is usually quite
small.
The saddle in your guitar has been adjusted for string sets that have
a wound third string. If you use a plain third, you may need a
different saddle. Inquire.

9
Adjusting the Truss Rod Tension
You should do this…
When there are buzzes but the action is high. This has three main
probable causes:
- Change of the tension exerted on the neck, usually following the
change of the string gauge or alternate tunings.
- Wood adaptation to the strings/truss rod tension and compression
forces. This is especially important during the first year of life of the
instrument.
- Changes in relative humidity.
Necessary tools: There are two different methods, depending on your
playing style. To perform the “A” method you will need a thin guitar string
(0.010”) and, perhaps, some assistance. For the “B” method, you won’t
need the string. If, after the check, you must make the adjustment, you will
need both the small and the large Hex keys supplied with the guitar.
Method A.- This is the way to adjust your guitar if your style is more limited
to the first frets, including lots of open strings.
Press a string (preferably, the third or fourth) simultaneously on
frets 1 and 15. Check if the 0.010” string, working as a gauge, fits
between the top of the seventh fret and the bottom of the chosen
string. If it fits snugly, then stop here: you won’t need any
adjustments.
Remove the magnetic truss rod access cover: insert the small Hex
key into its hole until you find some resistance, then pull.
If the gauge (the 0.010” string) fits loose (so there is still some
clearance), turn the adjustment nut with the large Hex key,
clockwise as seen from the peghead end, an eighth of a turn or less
(see drawing).

10
If the gauge doesn’t fit, turn the adjustment nut with the large Hex
key, counter-clockwise as seen from the peghead end, an eighth of
a turn or less (see drawing).
Wait until the following day, then adjust
the height of the bridge (Page 6) and
repeat the process.
Put in place the magnetic truss rod access
cover again.
Method B.- This is the way to adjust your guitar if
your style involves all the fretboard.
Press a string (preferably, the third or fourth) simultaneously on
frets 1 and 15. Press it lightly on the seventh fret and check if there
is a gap between the fret and the string. If there is one, but it is
extremely small, close to nothing, then stop here: you won’t need
any adjustments.
Remove the magnetic truss rod access cover: insert the small Hex
key into its hole until you find some resistance, then pull.
If there is a noticeable gap between the fret and the string at fret
#7, then turn the adjustment nut with the large Hex key, clockwise
as seen from the peghead end, an eighth of a turn or less (see
drawing).
If the string is making contact with the seventh fret, turn the
adjustment nut with the large Hex key, counter-clockwise as seen
from the peghead end, an eighth of a turn or less (see drawing).
Wait until the following day, then adjust the height of the bridge
(Page 6) and repeat the process.
Put in place the magnetic truss rod access cover again.
CCW
CW

11
Adjusting the Pickup-String Clearance
You should do this…
When you notice that the amplified sound of a string or group of strings
is louder or weaker than the others, or when the output of the pickup is
too high or too low. This adjustment is only for the magnetic pickup.
Necessary tools: You will need the small Hex key supplied with the guitar.
Method: The magnetic pickup in Siracusa 15R+/16R+ guitars is set at a
fixed height, so all the adjustments will be only on the individual
polepieces, two per string. Turn them clockwise to reduce the output of
a string, and counterclockwise to increase it.
Note:
The pickup in your guitar has two rows of polepieces. I favor this design
because it makes possible to use bronze wound strings instead of the
usual steel or nickel wound strings that are used for electric guitars. Let
me explain this.
Bronze wound strings have a fantastic acoustic tone, but their volume is
quite low when used with magnetic pickups. The plain strings in the set
(usually the first and second) will have a much higher volume, resulting
in a very strong imbalance. The logical way to correct this problem is to
raise the polepieces of the wound strings and lower the polepieces of
the plain strings, trying to equalize their output. However, in my
experience, achieving an acceptable balance is impossible for pickups
that feature adjustable polepieces just for one of their coils, no matter
how extreme the adjustment (even removing the polepieces for the
plain strings). However, it can be done if both coils have them, which is
the way my pickups are made.

12
Checking/Replacing the Battery
The battery will typically last hundreds of
hours. It can be checked by inserting the
small Hex key (supplied) into the hole in
the battery cover (A in figure). Push
gently and notice the color of the LED
next to it: if green, the battery is fine.
Otherwise (red or off), replace it,
removing the four screws on the battery
cover.

13
USE
Electric Controls
All the controls are located at the pickguard:
Magnetic Pickup Volume Pot
Piezo Pickup Volume Pot
Magnetic Pickup Mode
Magnetic Pickup Tone Pot
Master Volume Pot

14
The independent volume controls for the two pickups, magnetic and piezo,
are located above the pickguard, close to the magnetic pickup. The master
volume, which allows you to set the volume of both pickups at the same
time, is located below the pickguard, just as the tone control for the
magnetic pickup. These two mimic somehow the ones that you find in
many single-pickup archtops, with some subtleties:
The output of the guitar, controlled by the master volume, will have a
fixed blend of piezo and magnetic, adjusted by means of the two
independent volume controls. Notice that the guitar always keeps
the piezo and magnetic outputs separate.
The tone control will affect just the magnetic pickup. I put it there
because all players expect to have it. However, the piezo does not
have a tone control. More on this below.
Most archtops with controls below the pickguard place the tone pot
closer to the end of the pickguard. Here it is just the opposite; I think
that the pot in that position is easier to find by touch, so it’s the
volume that goes there.
Magnetic Pickup Mode - Enhanced Single Coil
There is an additional control below the pickguard, a small switch that changes
the magnetic pickup coil configuration from Humbucker to Single Coil (see
drawing on Page 13). When in Humbucker mode (toggle towards the peghead),
you’ll have a full tone, almost free of hum. In the Single Coil position (toggle
towards the tailpiece), the tone will be more clear and bright, although more
prone to being affected by electromagnetic interference.
Single coil pickups obtained by canceling one of the coils of a humbucker (as
done here) are usually disregarded by most players, as they tend to be weaker
than real single coils. Nonetheless, your Siracusa 15R+/16R+ guitar has a very
uncommon pickup and circuitry: when in single coil mode, a third coil is added
on top, giving you the tone and punch that you expect from a real single coil.
The tone capacitor also switches to a larger value (47nF instead of 22nF). I like
to call this the Enhanced Single Coil mode.

15
Deciding on the Amplifier
This guitar can be used either with a single amplifier with two independent
channels or with two separate amplifiers. Separate amps will have the
obvious advantage of their physical distance.
If you are a fan of tube amps, they’ll work great for connecting your
magnetic pickup, but not so for your piezo, that needs some processing to
sound natural. Keep in mind that the preamp in this guitar is in reality a
simple buffer, designed just for overcoming the problems that a passive
piezo circuit would have with cables and potentiometers. If you want to get
the best of it, you’ll have to use a good piezo preamp or a good amp
designed for piezo pickups.

16
Connecting your Guitar
Before explaining this subject, you’ll need some information about plugs
and cables, summarized in the following table:
PLUGS
There are many different types, but conventional electric guitars use
1/4” TS Plugs. The TS indicates that they are designed to be used with
a Shielded (hence the S) cable with a single conductor inside,
available at the Tip (hence the T). There are also TRS plugs, meaning
that they have another conductor inside the shield, connected to a
Ring piece (R) right below the tip, and so they can transmit two
separate signals.
CABLES
A cable with 1/4” TS plugs at both ends is known as Guitar Cable.
A cable with a 1/4” TRS plug at one end can be several things, depending on what’s
at the other end. Among all the possibilities:
If there is another 1/4” TRS plug, this is usually known as Stereo Cable. It
carries two signals from the guitar to some other equipment that will take
care of both.
If there are two plugs, no matter their type, this is usually called Y Cable.
There is some confusion here, because this Y shape, by itself, says little
about its function, so that name is a generic. If there are TRS plugs at the
other two ends of the Y, then this cable will simply fork a stereo signal to
two stereo destinations. These cables serve no purpose for this guitar. The
type with a 1/4” TRS plug at one end that forks into two 1/4” TS plugs at the
other two ends of the Y is the one that is useful for us, and is usually called
Insert Cable. A cable like this will allow you to route the two signals in the
TRS plug (at its Tip and Ring) to two different devices or two separate inputs
on the same device (at the Tip of each TS plug). There is a convention for
telling apart the TS plugs in these cables: the one that is connected to the
Ring of the TRS is Red. The other is usually black or white.
Guitar Cables and Insert Cables are the ones to use for connecting this guitar. Stereo
Cables can be used in some situations where you have a stereo equipment managing both
signals, but this is unusual.

17
The Siracusa 15R+/16R+ has two jacks at its side, shown here:
1
2
#1 is a Mono jack and #2 is a Stereo jack, both for 1/4”plugs. The most
useful ways to connect this guitar are:
a. Guitar Cable in #1, nothing in #2
This is just like any conventional
electric guitar with a magnetic
pickup. You’ll have two volume
controls available (the one close to
the pickup plus the master volume
below the pickguard), plus the tone
control and the HB/SingleCoil
switch, these two below the
pickguard.
The battery is not used at all, so
you may leave the cable connected
permanently.
Ch.A
1

18
b. Guitar Cable in #1, Guitar Cable in #2
You can route the signals to two
separate amps/amp channels for
your piezo and magnetic pickups:
#1 is the magnetic, #2 is the piezo.
All the controls shown on Page 13
are operational.
This has the advantage that it uses
Guitar Cables, easily available
everywhere, so it may be really
useful if you forgot to bring your
special Insert Cable to the gig. Also
if your amps are separated by more
than what the Insert Cable permits.
To prevent battery drain, remove the plug from #2 when you are done
playing .
c. Nothing in #1, Insert Cable in #2
You can route the signals to two
separate amps/amp channels for
your piezo and magnetic pickups.
The black (or white) TS plug at one
end of the Y corresponds to the
piezo, the red TS plug at the other
end corresponds to the magnetic.
All the controls shown on Page 13
are operational.
Having a single cable at the guitar is
an advantage. However, many
times the distance between the
two TS plugs is not enough for
what you need; think for example
Ch.A Ch.B
21
Ch.A Ch.B
2
This manual suits for next models
1
Table of contents
Other Jaen Musical Instrument manuals