JCM Load Monitoring ALRS User manual

2 | P a g e
Unit 6, Logman Centre, Greenbank Crescent,
East Tullos, Aberdeen, AB12 3BG
Table of Contents
Functions………….…………………………………………………………………………………………………..Page 3
User instructions…………………………………………………………………………………………………..Page 4
Turn system ON…………………………………………………………………………………………Page 4
Units of measurement……………………………………………………………………………….Page 4
Peak mode…………………………………………………………………………………………………Page 4
Test battery……………………………………………………………………………………………….Page 5
Settings menu…………………………………………………………………………………………...Page 5
Auto off……………………………………………………………………………………….…Page 6
Data out…………………………………………………………………………………………Page 6
ID……………………………………………………………………………………………………Page 6
Tare function……………………………………………………………………………….…Page 7
Zero function………………………………………………………………….………………Page 7
Pair the ALRS system.………………....………………………………………………………………………..Page 8
Load cell resolution …..…………………………………………………………………………………………Page 9

3 | P a g e
Unit 6, Logman Centre, Greenbank Crescent,
East Tullos, Aberdeen, AB12 3BG
Available functions
The ALRS load cell is a multi-range system that gives you four units of measurement in
(Te/Kg/Lbs/US TN). The system has a peak mode and an auto on/off function which is a
battery saving option.
We can guarantee you a telemetry working range of a minimum of 300 metres over
360°, this will give you peace of mind knowing that you will never lose signal.
The load cell is turned on via a switch on the load link and the monitoring system is
switched on via the on button on the ALRS handset. This is to save battery during long
term out of use. The load cell can be left switched on and can then be switched on/off
from the ALRS handset but it will stay in standby mode using battery.
The ALRS also has a data logging feature so when needed your load cell can do so much
more for you.
The ALRS system also has a peak hold function so you can monitor your peak load.
You can check the battery system on both the handset and load cell at any time.

4 | P a g e
Unit 6, Logman Centre, Greenbank Crescent,
East Tullos, Aberdeen, AB12 3BG
User Instructions
TURN ON LINK
On the load link there is a switch press to 1 position to switch the link on and
press 0 to switch the link off.
TURN ON SYSTEM
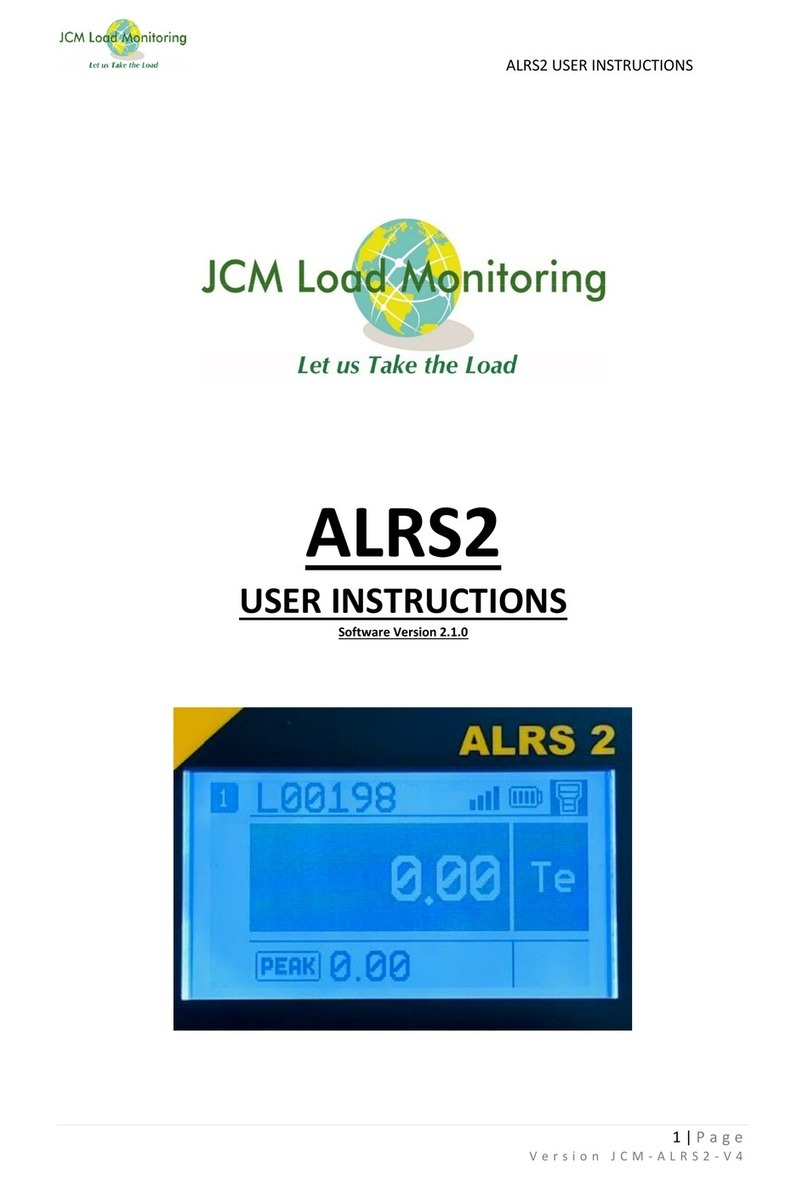
To turn on your ALRS system press the ON button, your handset will show the
ID number of the load cell and count down from 20 seconds and then display your
load (0.00Te)
To zero your load cell press the ZERO button and your handset will as (zero) and
then zero your system.
UNITS OF MEASUREMENT
To change your units of measurement press the PAGE button once and the
handset will show (UNITS) then press ON button to accept. Your handset will
display a unit, press the PAGE button to scroll through each of the units, once
you are happy with your selection press the button to accept.
PEAK MODE
To use the PEAK mode on the ALRS system press the PAGE button until PEAK is
displayed on the handset then press the ON button to accept. Your handset
will show (OFF, default setting), press the PAGE button and the handset will
show (ON), press ON to accept. Your handset is now set in peak mode and the
letter (P) will be displayed on the right hands of your display.
If you need to zero your peak load press the ZERO button to zero your peak
load.

5 | P a g e
Unit 6, Logman Centre, Greenbank Crescent,
East Tullos, Aberdeen, AB12 3BG
If you need to leave your PEAK mode use the same process as you did to get into
peak but this time select (OFF) and press ON to accept. You will go back to
normal weighing operation.
The default setting when the handset is switched on is PEAK mode is OFF, you will
need to switch this function to ON when you require PEAK mode.
TEST BATTERY
To test your ALRS battery system while your system is ON press the ON button
once and your handset will show RX (handset) and the % of battery, press the ON
button again and your handset will show TX (load cell) and % of battery. Press
ON to go back to normal weighing operation. We recommend changing
batteries once you get down to 20% RX/TX of battery.
SETTINGS MENU
The ALRS system communicates between the handset and the load cell using an ID
number, this ID must be set correctly for the system to work properly.
Once you have entered the settings menu you must enter the ID of the ALRS
system to exit the menu.
The ALRS system also has a SETTING menu. This is where you can use the AUTO
ON/OFF battery saving menu and also data logging.
To enter the settings menu, with your handset OFF, press and hold the TARE
button and then press and hold the ON button then release together. Your
handset will show SETTINGS, press the ON button to accept. You can press the
PAGE button to scroll through the following menus, Units, Auto OFF, Data Out
and ID.
To accept units press the ON button, you will have two options
FIXED = Kgs and Te units

6 | P a g e
Unit 6, Logman Centre, Greenbank Crescent,
East Tullos, Aberdeen, AB12 3BG
SLCTAbL = TE, Kgs, Lbs, US Te
To accept either option press the ON button to accept.
AUTO OFF
When you select AUTO OFF from the settings menu, press ON button to accept.
OFF = Battery saving mode OFF
ON = Battery saving mode ON
Press the PAGE button to choose either option, to accept press the ON
button to accept.
The AUTO ON mode will automatically shut down your system if your system has
had no change in readings for a period of time.
DATA OUT
When you select DATA OUT from the settings menu, press the ON button and
the option of PC OFF is displayed, if you wish to switch the DATA OUT on press the
PAGE button and the handset will display PC ON, press ON button to
accept.
To be able to use the DATA OUT function you will need a dongle and software that
can be sourced from our sales department.
When DATA OUT is switched ON you have the option to receive data via RS232 or
RADIO, with the ALRS handset you will always use the RADIO option. When you
have accepted PC ON the handset will display RS232, press the PAGE button and
the display will show RADIO, press ON to accept.
ID

7 | P a g e
Unit 6, Logman Centre, Greenbank Crescent,
East Tullos, Aberdeen, AB12 3BG
To exit the settings menu, you must enter the ID of the ALRS system.
When you select ID from the settings menu, press the ON button to enter.
Your handset should have stored the ID number, if it does not press the PAGE
button to increase the single digits of the ID number and then press the TARE
button to move to the digit to the left to increase the double digits of the ID number.
Your ID number will be displayed on the calibration certificate that you receive with
your load cell as standard. Once you have entered your ID number press the ON
button to accept.
You will now return to normal weighing.
Tare/gross weight Function
If you have any gross weight on the load cell and you wish to remove it, press the
tare button and this will remove the gross weight. Once the tare button is pressed
the display will show 0.000 nt (net tare). If you press the tare button again this will
add the gross weight back onto the display. The display will then show te (tonne).
Zero Function
If you need zero the weight displayed on the handset, press the zero button.

8 | P a g e
Unit 6, Logman Centre, Greenbank Crescent,
East Tullos, Aberdeen, AB12 3BG
How to Pair the ALRS
Firstly, before we can go any further, we will need to know what your load cells I.D
number is. If you turn on your handset it will display your I.D number?
Once you know what the I.D is you can then turn off the handset again.
Now here is a breakdown of the steps to go through
1. Insert two AA batteries back in to your load cell, leaving the middle battery out.
2. With your handset press the TARE & ON buttons together, your handset
should now read SETTINGS
3. If you can now insert your middle battery back into your load cell.
4. Your handset should now read ECO MODE
5. Press the PAGE button until your handset reads (ID #)
6. Press the ON button to accept and your handset will now read (00)
7. Now enter your load cells I.D number, you will know what you’re I.D number is, this is
the section in above.
8. To enter in your I.D number press the PAGE button to increase the I.D, you can
press the TARE button to move your I.D over to the left, if you make an error or go
past the I.D number you need, press the ZERO button to reset back to 00
9. Once you have set your I.D press the ON button to accept.
10. Your load cell should go back into working order.
If customer has still got issues, then the load cell should be sent back to JCM for further
inspections.

9 | P a g e
Unit 6, Logman Centre, Greenbank Crescent,
East Tullos, Aberdeen, AB12 3BG
Load Cell Resolution
The load cell resolution can be altered or changed during calibration process & set to
customers’ requirements if required.
JCM sets the resolution as standard unless requested from customers.
1Te - 12.5Te (0.002Te)
25Te - 75Te (0.005Te)
100Te –500Te (0.010Te)
You can obtain the calibration instructions from JCM if you wish to adjust the resolution
during a calibration routine
Table of contents
Other JCM Load Monitoring Measuring Instrument manuals