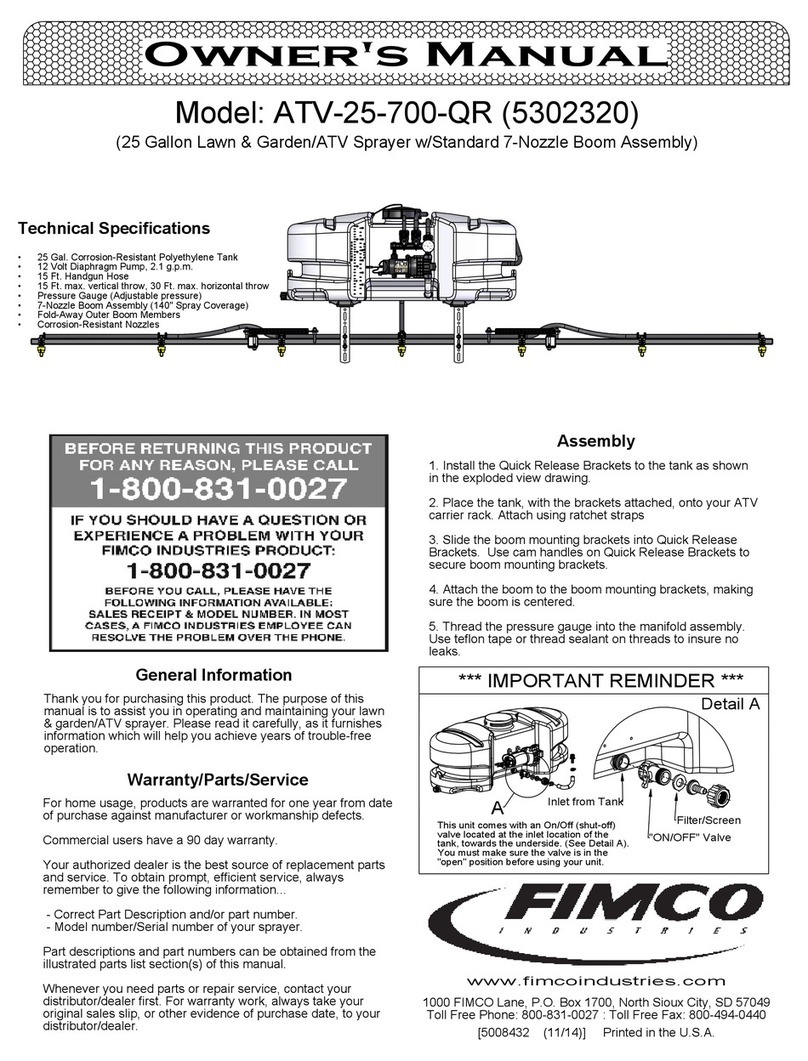
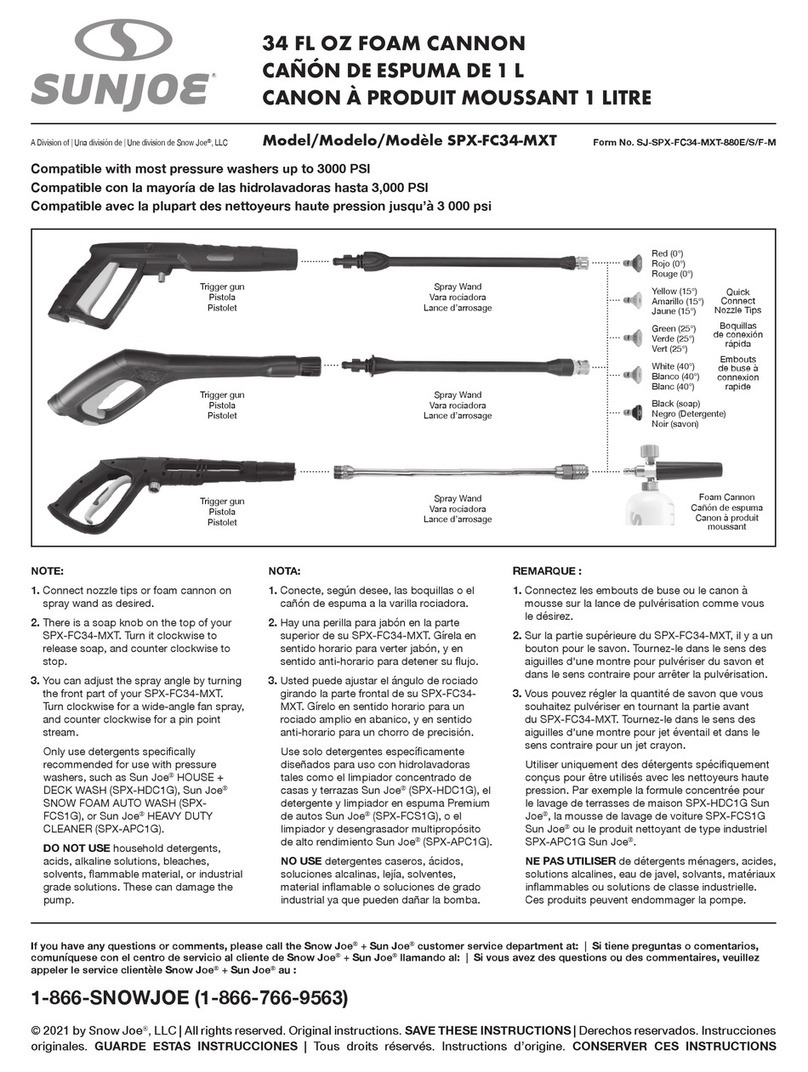
Jefferson JEFA052 User manual

Jefferson Tools, Herons Way, Chester Business Park, Chester,CH4 9QR, United Kingdom
T:
+44 (0) 1244 646 048 F:
+44 (0) 01244 360 314 E:
sales@jeffersontools.com
www.jeffersontools.com
Operation Guide
www.jeffersontools.com
10L Paint Pot System
10L Paint Pot System
JEFA052

Jefferson Tools, Herons Way, Chester Business Park, Chester,CH4 9QR, United Kingdom
T:
+44 (0) 1244 646 048 F:
+44 (0) 01244 360 314 E:
www.jeffersontools.com
DANGER WARNING: Over-pressurisation can result in explosion
Any attachments used with this equipment should be checked for compatibility with rated pressure before use.
Ensure that the equipment connected to the tank or hose outlet has a higher pressure rating than the regulated air pressure in the
tank. It is important to avoid over-pressurisation to reduce the risk of explosion, injury or damage.
1. General Safety Guidelines
Please read and ensure that you understand all of the operating instructions, safety precautions and warnings in this Instruction Manual before
operating or maintaining this equipment. Most accidents that result from compressor operation and maintenance are caused by the failure to
observe basic safety rules or precautions.
An accident can often be avoided by recognizing a potentially hazardous situation before it occurs, and by observing appropriate safety
procedures. Never use this equipment in a manner that has not been specically recommended by manufacturer, unless you rst conrm that the
planned use will be safe for you and others.
Read all instructions carefully before assembling components and operating this equipment. Incorrect procedure could result in damage to the
equipment, severe personal injury and/or property damage. When spraying ammable materials, electric powered products must be placed at
least 20 feet from target in a well-ventilated area. Vapours can be ignited by static discharge or electrical sparks and result in severe personal
injury.
1) Do not spray paints or other inammable uids indoors which have a ash point below 21 degree C, 70 degree F. Keep working environment
well ventilated. Turn off all pilot lights and open ames before spraying.
2) Wear a suitable respirator which is approved for the paint product you are using.
3) Do not use halogenated hydrocarbon solvents with this system, which contains aluminium parts and may explode. Cleaning agents, coatings,
paints, and adhesives may contain halogenated hydrocarbon solvents. Don’t take chances, consult your material supplier to be sure. (e.g.
methylene chloride and 1,1,1 - Trichlorethane).
4) Caution: When a ammable liquid is sprayed there may be danger of re or explosion especially in a closed area.
5) Caution: Arcing parts. Keep the compressor at least 20 feet away from explosive vapours.
6) Caution: Static electricity can be developed by spraying. Ground unit and object to be sprayed. On electric units, unit power cord must be
connected to a grounded outlet. Use only three wire extension cords. Static explosion can occur with ungrounded unit.
7) Always follow the safety precautions and warnings printed on paint container and ensure compatibility before use.
8) Do not pull on hoses to move equipment, DO NOT kink or bend the hose sharply.
9) Keep children, animals or unqualied individuals way from equipment and work area.
10) Conductive metal containers must be used when ushing ammable uids through the system. Always ush at low pressure with spray tip
removed. A metal part of the spray gun must be held rmly against the grounded metal pail when ushing or relieving pressure from the gun.
About this equipment
This equipment rugged in construction and designed to operate with the best possible delivery efciency. Like any ne precision tool, its most
efcient operation depends on a solid knowledge of its operation capabilities and maintenance.
With proper material preparation and maintenance, this equipment will produce outstanding performance and uniform nishing results for
years to come.
Compressor & Air Requirements
For optimum results the air compressor should maintain a constant minimum air ow of 7CFM at a minimum of 50psi. Air supply must be clean,
dry, and oil free.

Jefferson Tools, Herons Way, Chester Business Park, Chester,CH4 9QR, United Kingdom
T:
+44 (0) 1244 646 048 F:
+44 (0) 01244 360 314 E:
www.jeffersontools.com
Do not modify the construction or design of the tank or any other part of this equipment:
Assemble the tank components in accordance with the instructions contained in this user manual. Do not drill into the tank or weld any
attachments to it. Do not alter the design by any means or use the equipment for any other use than it is intended.
Only use approved attachments parts and components:
Use only accessories supplied with this equipment and assembled as shown in these instructions. Do not use non-compatible accessories or re-
placement parts. Contact your nearest authorised Jefferson dealer for advice or telephone +44 (0) 1244 646 048 for advice.
Check pressure tank and accessories for damage and correct assembly before use:
Never use this equipment if it is damaged in anyway. Never try to repair a broken part - contact your nearest authorised Jefferson dealer for advice.
Ensure that the equipment is cleaned thoroughly after use and maintained regularly:
Clean and dry the equipment after each use to prevent blockages caused by dirt and debris. Ensure that the ports to the safety valve gauge and
outlet are free of hardened paint or other materials which could prevent free movement of air.
Do not adjust or remove the lid while the tank is under pressure:
Ensure that the air supply to the equipment is turned off then turn the regulator knob counter clockwise to relieve the air pressure before opening
the lid. Check that the tank is not under pressure by pulling the safety valve ring.
Do not use reactive chemicals:
Using reactive chemicals can damage the lid gasket and safety valve seal increasing the risk of equipment failure under air pressure. Do not use
halogenated hydrocarbon solvents with this system, which contains aluminium parts and may explode. Cleaning agents, coatings, paints, and
adhesives may contain halogenated hydrocarbon solvents. Don’t take chances, consult your material supplier to be sure. (e.g. methylene chloride
and 1,1,1 - Trichlorethane).
Do not over-tighten the lid clamps:
Over-tightening the clamps can cause weakening of the lid gasket and reduce the effectiveness of the system and increase the risk of accident. En-
sure that the lid gasket is kept clean to avoid leakage. If the gasket is worn or damaged replace it before use, contact your nearest Jefferson Dealer
for details.
2. Box Contents :
Before assembling and using this equipment please ensure that all the items are included in the box and free from damage.
1x 10L Paint Tank
1x 1.8mm Nozzle Spray Gun
1x 8m Black Paint Hose
1x 8m Red Air Hose
1x Small Brush
2x Assembly and Maintenance Spanners
1x Manual
3. Description
This 10L Paint tank is equipped with an air regulator, pressure gauge, safety valve and uid outlet. The maximum pressure is 8Opsi.
Please note: This equipment is not designed for use with highly abrasive or corrosive materials or those containing rust which can damage internal
parts and increase the risk of product failure and personal injury.

Jefferson Tools, Herons Way, Chester Business Park, Chester,CH4 9QR, United Kingdom
T:
+44 (0) 1244 646 048 F:
+44 (0) 01244 360 314 E:
www.jeffersontools.com
4. Assembly
1. Connect the regulator assembly to the swivel adaptor on the tank lid. Check the bottom of the regulator for the location of the tank collection.
2. Insert the lift handle into the threaded hole in the centre of the tank lid. Tighten the hex nuts with spanner provided.
3. Connect the air supply hose to an air inlet tting on the tank regulator (right or left side optional).
4. Attach the atomisation air hose to an air outlet tting which is directly opposite the air inlet tting.
5. Connect the material hose to the uid outlet adaptor located on the tank lid.
6. Check all ttings and connections are secure before use.
5. Air Pressure Regulator
The pressure regulator is used to manage the amount of pressure applied to the paint in the tank and determines the pressure of the paint being
delivered to the spray gun.
Always start with the pressure in the tank at “zero” and increase the pressure in the tank gradually until the required spray pressure and pattern is
obtained for the job at hand.
Recommended paint tank pressures:
1. Internal Mix Guns: Use higher paint tank pressures up to the maximum pressure (but not exceeding 50lbs).
2. External Mix Guns: Use lower paint tank pressure.
Important: Before turning on the air pressure, screw out the air regulator T-Handle adjusting screw all the way counter-clockwise to shut off the
pressure. Turn on the air, then adjust the regulator to the required pressure (approximately 12lbs for external mix guns). Never exceed 50lbs air
pressure.
6. Operation
1. Before lling the tank, ensure that the paint is thoroughly mixed and strained to remove skins or undissolved particles that might otherwise
block the ow of material through the hose and spray gun.
Note: The 10L Paint Tank can hold most 1 gallon paint tins (these can be set inside the tank without the user having to pour the paint into the
paint tank directly.)
2. Place the lid assembly on the tank and hand tighten the tank lid clamp screws to secure.
3. Shut off the paint tank regulator by turning the T-Handle counter-clockwise. Adjust the compressor regulator to obtain the required air pressure
to the spray gun.
4. Adjust the regulator on the paint tank to obtain the desired air pressure for the materials and surface being sprayed. The higher the painting
surface is above the level of the paint tank, the more pressure you will need for effective spraying. Normal operating pressure on the paint tank is
25 - 30PSI. To reduce the pressure, rotate the T-Handle adjusting screw counter clockwise until the desired pressure setting is obtained.
Important: Never exceed 80PSI pressure when using this equipment.

Jefferson Tools, Herons Way, Chester Business Park, Chester,CH4 9QR, United Kingdom
T:
+44 (0) 1244 646 048 F:
+44 (0) 01244 360 314 E:
www.jeffersontools.com
7. Cleaning & Maintenance
It is very important that the tank, material hose and spray gun are cleaned thoroughly after each use.
WARNING: Always ensure that the air supply is turned off and bleed off any excess pressure in the paint tank by pulling the safety valve ring before
loosening the thumb screw and clamps to remove the lid.
1. Turn off the main air supply to the tank, remove all pressure from the tank be pulling the safety valve ring until the pressure level bleeds down.
2. Turn the -T-Handle adjusting screw on the regulator counter-clockwise until no spring tension is felt.
3. Loosen the thumb screws, tip clamps and tip the tank lid down to one side. Loosen the spray gun sun air cap retaining ring approximately three
turns then turn on the main air supply.
4. Cup a cloth over the air cap on the spray gun and pull the trigger. This will help to force the material back through the hose into the tank.
5. Empty and clean the tank and parts which have come into contact with the spraying materials.
6. Use a suitable non-corrosive solvent to clean the tanks and parts.
7. Replace the lid and secure clamps, reattach the air supply and spray the solvent through the system until it is fully rinsed and sprays clear.
8. Troubleshooting

Jefferson Tools, Herons Way, Chester Business Park, Chester,CH4 9QR, United Kingdom
T:
+44 (0) 1244 646 048 F:
+44 (0) 01244 360 314 E:
www.jeffersontools.com
7. Parts Diagram

Jefferson Tools, Herons Way, Chester Business Park, Chester,CH4 9QR, United Kingdom
T:
+44 (0) 1244 646 048 F:
+44 (0) 01244 360 314 E:
www.jeffersontools.com
8. Parts List

Jefferson Tools, Herons Way, Chester Business Park, Chester,CH4 9QR, United Kingdom
T:
+44 (0) 1244 646 048 F:
+44 (0) 01244 360 314 E:
www.jeffersontools.com
Limited Warranty Statement
Jefferson Professional Tools & Equipment, or hereafter "Jefferson" warrants its customers that its products will be free of defects in workmanship
or material.
Jefferson shall, upon suitable notication, correct any defects, by repair or replacement, of any parts or components of this product that are
determined by Jefferson to be faulty or defective.
This warranty is void if the equipment has been subjected to improper installation, storage, alteration, abnormal operations, improper care,
unauthorised service or repair.
Warranty Period
Jefferson will assume both the parts and labour expense of correcting defects during the stated warranty periods below.
All warranty periods start from the date of purchase from an authorised Jefferson dealer. If proof of purchase is unavailable from the end user,
then the date of purchase will be deemed to be 3 months after the initial sale to the distributor.
1 Year
•Jefferson 10L Paint Pot (excluding consumable parts and materials e.g. hoses, spray guns etc.)
90 Days
• All replacement parts purchased outside of the warranty period
Important: All parts used in the repair or replacement of warranty covered equipment will be subject to a minimum of 90 days cover or the
remaining duration of the warranty period from the original date of purchase.
Warranty Registration / Activation
You can register and activate your warranty by visiting the Jefferson Tools website using the following address:
www.jeffersontools.com/warranty and completing the online form. Online warranty registration is recommended as it eliminates the need to
provide proof of purchase should a warranty claim be necessary.
Warranty Repair
Should Jefferson confirm the existence of any defect covered by this warranty the defect will be corrected by repair or replacement at an
authorized Jefferson dealer or repair centre.
Packaging & Freight Costs
The customer is responsible for the packaging of the equipment and making it ready for collection together with a copy of the original proof
of purchase. Jefferson will arrange collection and transportation of any equipment returned under warranty.
Upon inspection of the equipment, if no defect can be found or the equipment is not covered under the terms of the Jefferson warranty, the
customer will be liable for any labour and return transportation costs incurred.
These costs will be agreed with the customer before the machine is returned.
Warranty Limitations
Jefferson will not accept responsibility or liability for repairs made by unauthorised technicians or engineers. Jefferson’s liability under this
warranty will not exceed the cost of correcting the defect of the Jefferson products.
Jefferson will not be liable for incidental or consequential damages (such as loss of business or hire of substitute equipment etc.) caused by the
defect or the time involved to correct the defect. This written warranty is the only express warranty provided by Jefferson with respect to its
products.
Any warranties of merchantability are limited to the duration of this limited warranty for the equipment involved.
Jefferson is not responsible for cable wear due to flexing and abrasion. The end user is responsible for routine inspection of cables for possible
wear and to correct any issues prior to cable failure.

Jefferson Tools, Herons Way, Chester Business Park, Chester,CH4 9QR, United Kingdom
T:
+44 (0) 1244 646 048 F:
+44 (0) 01244 360 314 E:
www.jeffersontools.com
Claiming Warranty Coverage
The end user must contact Jefferson Professional Tools & Equipment (Tel: +44 (0) 1244 646 048) or their nearest authorised Jefferson dealer where
final determination of the warranty coverage can be ascertained.
Step 1 - Reporting the Defect
Online Method:
• Visit our website www.jeffersontools.com/warranty and complete the Warranty Returns form. You can complete the form online and submit
it to us directly or download the form to print out and return by post.
Telephone Method:
Contact your Jefferson dealer or sales representative with the following information:
• Model number
• Serial number (usually located on the specification plate)
• Date of purchase
A Warranty Returns form will be sent to you for completion and return by post or fax, together with details of your nearest authorised Jefferson
repair centre. On receipt of this form Jefferson will arrange to collect the equipment from you at the earliest convenience.
Step 2 - Returning the Equipment
It is the customer's responsibility to ensure that the equipment is appropriately and securely packaged for collection. Please ensure that you in-
clude a copy of your proof of purchase. Please note that Jefferson cannot assume any responsibility for any damage incurred to equipment during
transit. Any claims against a third party courier will be dealt with under the terms & conditions of their road haulage association directives.
Step 3 - Assessment and Repair
On receipt, the equipment will be assessed by an authorised Jefferson engineer and it will be determined if the equipment is defective and in need
of repair and any repairs needed are covered by the warranty policy. In order to qualify for warranty cover all equipment presented must have been
used, serviced and maintained as instructed in the user manual.
Where repair is not covered by the warranty a quotation for repair, labour costs and return delivery will be sent to the customer (normally within 7
working days).
Note: If the repair quotation is not accepted Jefferson Professional Tools & Equipment will invoice 1 hour labour time at £30 per hour plus return
carriage costs (plus VAT).
In cases where no fault can be found with the equipment, or, if incorrect operation of the equipment is identified as the cause of the problem, a
minimum of 1 hour labour at £30 per hour plus carriage costs will be required before the equipment will be despatched back to the customer.
Any equipment repaired or replaced under warranty will normally be ready for shipment back to the customer within 7 working days upon receipt
of the equipment at an authorised Jefferson Repair centre (subject to part availability). Where parts are not immediately available Jefferson will
contact you with a revised date for completion of the repair.
General Warranty Enquiries
For any further information relating to Jefferson warranty cover please call +44 (0) 1244 646 048 or send your enquiry via email to

Jefferson Tools, Herons Way, Chester Business Park, Chester,CH4 9QR, United Kingdom
T:
+44 (0) 1244 646 048 F:
+44 (0) 01244 360 314 E:
www.jeffersontools.com
EC Declaration Of Conformity
We, Jefferson Professional Tools & Equipment, as the authorised European
Community representative of the manufacturer, declare that the following equipment
conforms to the requirements of the following Directives:
Equipment Category: Coating Vessels
Notified Body: TUV SUD Industrie Service
IS-DBB-MUC
Westendr. 199
80686
Signed by: Stephen McIntyre
Position in the company: Operations Director
Date: 03 September 2015
This technical document is held by: Jimmy Hemphill
Technical file holder’s address as shown below.
Name and address of manufacturer or authorised representative:
97/23/EC (as amended) Pressure Equipment Directive

Jefferson Tools, Herons Way, Chester Business Park, Chester, CH4 9QR, United Kingdom
T:
+44 (0) 1244 646 048 F:
+44 (0) 01244 360 314 E:
sales@jeffersontools.com
www.jeffersontools.com
Equipment Category: Coating Vessels
Notified Body: TUV SUD Industrie Service
IS-DBB-MUC
Westendr. 199
80686
Signed by: Stephen McIntyre
Position in the company: Operations Director
Date: 03 September 2015
This technical document is held by: Jimmy Hemphill
Technical file holder’s address as shown below.
Name and address of manufacturer or authorised representative:

Jefferson Tools, Herons Way, Chester Business Park, Chester, CH4 9QR, United Kingdom
T:
+44 (0) 1244 646 048 F:
+44 (0) 01244 360 314 E:
sales@jeffersontools.com
www.jeffersontools.com
IMPORTANT! SAFETY FIRST!
Before attempting to use this product please read
all the safety precautions and operating instructions
outlined in this manual to reduce the risk of fire,
electric shock or personal injury.
Table of contents
Other Jefferson Paint Sprayer manuals
