Jenile PACK TRAVEL User manual

PACK TRAVEL
INSTRUCTION MANUAL
Specially designed for deaf and hearing impaired people.

2
All your products are already
connected to each other.

3
Summary :
The contents of your package
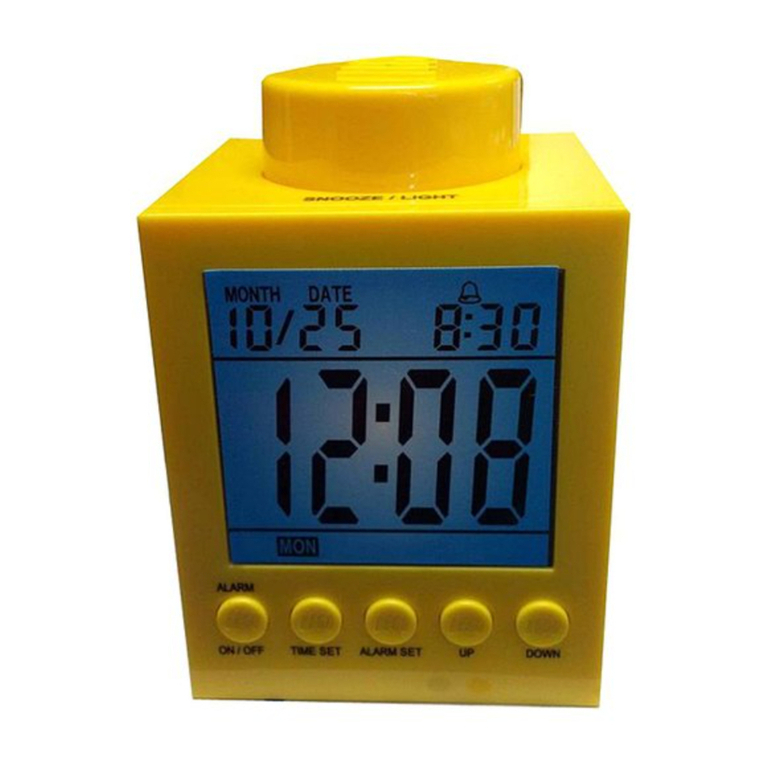
Alarm Clock
Doorbell SP14
3 :
4-12 :
13-14 :

4
A- Alarm Clock
B- Doorbell
C- Travel Kit
E- 1 USB connection port
F- Manual instruction in english
D- Metal bracket
A B C
D E F
The contents of your package

5
O
N
P
Q
R
U V
N- Time alarm switched on
O- Doorbell alarm switched on
P- Snooze function activated
S- Weekday
T- Date
Q- Battery level
Alarm Clock
S
T
WX
U- USB connection port
V- Micro USBconnection port
R- Time
W- Cushion attachment cord
X- Micro USB charger port

6
A- Power ON/OFF
B- ON/OFF alarme button
C- ON/OFF sound alarme button
- Language (EN: english / FR: french)
G- Changing time / date button
D- FL: flash only
LO: flash + vibrator
HI: flash + loud vibrator
H- Changing time / date button
I- Settings button
E- ON/OFF button doorbell alarm
J- Alarm setting button
K- Alarm setting time
F
L- Plug button
M- Snooze button to delay
the alarm for 10 minutes
A
B
C
DE
F
G
H
I
J
K
L
M

7
Technical Specifications
Wireless
Rechargeable battery
Works with a lithium battery (included)
Weight: 132g
Distance: 150 meters maximum in free fields
Radio frequency: 433 Mhz
Dimensions (height x width x depth): 8,5 x 11 x 2,5 cm
Autonomy: 2 weeks (depending of the use)
Mounting kit supplied
Installation and configuration EASY
2 years guarantee (battery 1 year)
Working principle
The vibrating alarm clock can function on its own or with the Jenile doorbell.
Instead of an alarm ring and/ or doorbell ring, it emits flashes and/or vibrations.

8
Use
Thanks to the alarm clock, you receive the signal from the Jenile doorbell. The
Jenile alarm clock includes a rechargeable battery.
The picture of a battery in the top right of the screen indicates its charge level:
Low battery:
you need to recharge the cube
blue LED: battery is in charge
No LED lightened up:
the charge is complete
Green LED& flashing :
Someone rang at the door

9
Green LED & vibrating:
Someone rang at the door
When you have seen your
alarm clock snap you must
press the snooze button (M)
on your alarm clock to stop it
M
If the green LED is blinking it is to warn
you that someone rang. the green
LED will continue flashing until the next
doorbell to indicate that someone
previously rang the doorbell.
Alarm flashwithout green LED :
It’s time to wake up!
Alarme vibrateswithout green LED:
it’s time to wake up!

10
Tests
The alarm clock is easy to test. If the alarm clock does not work in accordance with
the instructions below, we invite you to contact your seller.
To test your alarm clock, set the power button to ON to turn it on, then check that
your alarm button is ON as well as the button "doorbell".
When the buttons are well positioned, please press on the doorbell jenile

11
Insert the V port of your cable on a USB support
Insert the U port of your cable in the (X) plug of your device
If the alarm clock does not light up, please check that the battery is not empty and
by putting your alarm clock in charge:
U
V
X
Settings
CAUTION: Your products have already been connected to each other, no manipula-
tion is necessary. But if you want to redo the connection here are the instructions to
follow

12
Settings
1. Time / Date settings :
Press K. «Time» starts to flash.
Press on the I button to settle in 24 hours
(French time) or 12 hours (English time) use
Gand Hto change time then press K.
Press on the Ibutton twice. Use Gand H
buttons to change time.
Press on the I button to adjust the minutes,
then the date. Always use the Gand H
buttons to change the settings.
2. Alarm clock settings:
Press on the Jbutton. “Alarm” (N) starts to
flash.
Press on the Ibutton. Use Gand Hbuttons
to change time.
Press on the I button to adjust the minutes.
You can register up to 5 different alarm
rings.
Press on the I button to switch on the next
alarm ring. The number which appears
under “MONTH” (T) indicates the number of
alarm rings.
Press on the I button to adjust the minutes,
then the date. Always use the Gand H
buttons to change the settings.
GHI
J
NT
GHI
K

13
3. Synchronization of the alarm clock with the doorbell:
Switch on the Ebutton “doorbell” to “ON”.
With a toothpick, press down the L button, a red light on the front side will light up.
Immediately press on the doorbell, the red button flashes: you succeeded to
connect your alarm clock to the doorbell.
Make a test; your alarm clock flashes in every color and a small green LED
indicates that it has been triggered by the doorbell. Press “snooze” (M) to stop the
alarm. If you don’t, the green LED will continue flashing until the next doorbell to
indicate that someone previously rang the doorbell. The number which appears
under “MONTH” (T) indicates the number of alarm rings.
L
E

14
Doorbell SP14
A- Doorbell B- Bracket fixing C- Battery 23A 12V
Technical Specifications
Dimensions (height x width x depth): 53x34x20mm
Color: white
Weight: 20g
Power supply: battery included 23A 12V
Autonomy: 1 year
Transmission frequency: 433,33 Mhz
2 years guarantee
AB
Installation
This button is fixed to the wall near the door, with screws and (B).
fixed
C

15
Working principle
A signal system is composed of at least one transmitter and one receiver. When a
person presses the bell button, the signal is converted into radio-frequency pulses.
Those radio-frequency pulses (433 Mhz) are transmitted wireless to the flash
receivers or to the Jenile vibrators. Then, they flash/vibrate in green.
Use
Whether your doorbell works correctly, you can see a red LED will light up when you
press the doorbell. If this is not the case, it means that no more battery, so you
must change (C)
Settings
Your products are already connected to each other. If this is not the case, the
connection is very simple, please look at the setting of the cube flash & Pocket
vibrator.
- Battery 23A 12VC
. . . . . . . . . . . . . . . . . . . . . . . . . . . . . . . . . . .
Safety and care
Respect all the using and care instructions.
To clean the alarm clock, only use a soft and slightly damp cloth.
Do not use any corrosive or abrasive cleaning agents.
Do not bring it in contact with any liquid.

www.jenile.com
Other Jenile Alarm Clock manuals
