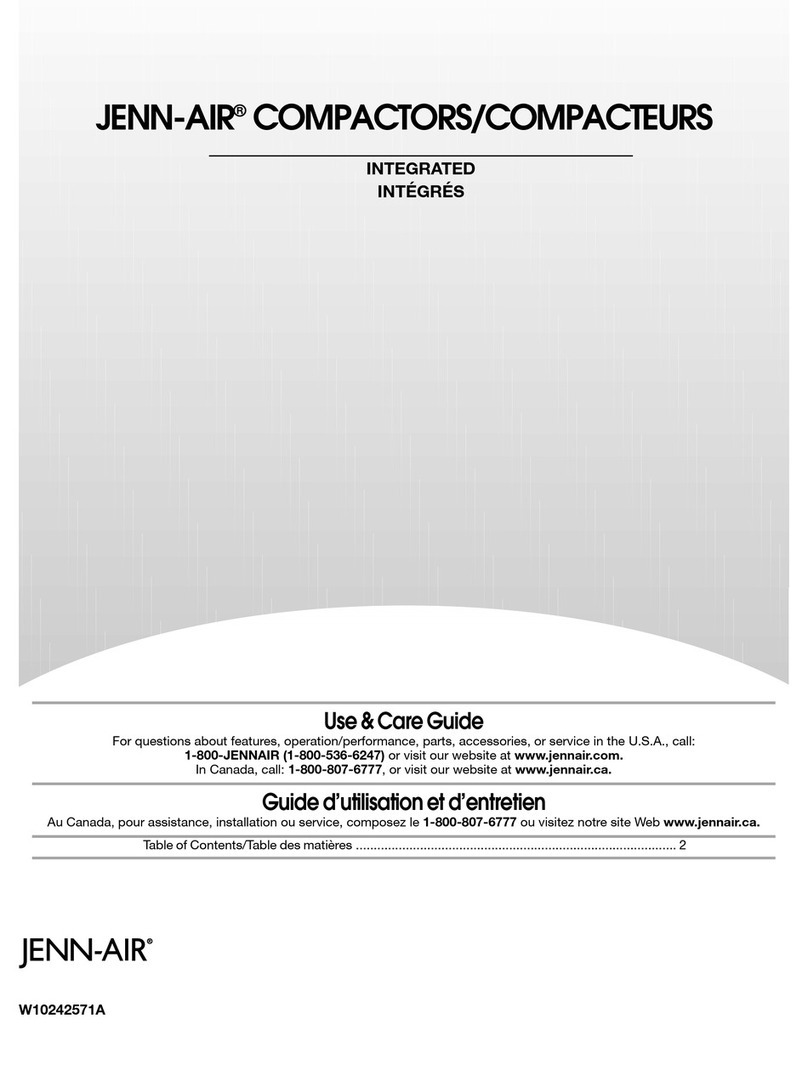
Jenn-Air STC406 User manual

JENN-AIR ®
Use and Care Manual
COMPACTOR
MODELSTC406& TC406W

SAFETYPRECAUTIONS
1.Readall instructionsbeforeusingyourcompactor.
2.Do notletchildrenoperateorplaywithyourcompactor.Anythingplacedin
the unitwillbe crushedor compacted.
3. Keepthe compactorlockedwhenit'snotinuse.Removethe keyknobtoa
safe place.
4.Use ample amounts of paper products in trash loads,to decrease the
chancesofglassfragmentspiercingthe bag.
5.Alwaysplaceglassbottles,etc.,ontheirsidesinthecenterofthe drawerso
thewastepaperbelowandbesidethebottlecanhelpkeepbrokenglassnear
the centerofthe bag,away frombagsides.
6.Always handlea filledcompactorbagwith care. Never liftitby the sides.
Brokenglassor othersharpobjectsinthe bagcan causeinjury.
7.Alwayscarrya filledcompactorbagbythefoldedtopora bagcarrier.Watch
outforglassthatmayhavecutthroughthe bag sides.
8.Do notusethe compactorforanypurposeexceptthejobitwasdesignedto
do.
9.Beforetouchingthe ramcover,wipeoffany brokenglass.
10.Do not shoveitemsdownintothe compactorwithhandsor feet.Toavoid
beingcut,letthe compactordothecompacting.
11.Do not compactaerosolcans or any containeror materialwhichmight
containpoisonousorexplosiveproductssuchas insecticides.
12.Donotcompactclothsorcanscontainingpaintliquids,thinners,lighterfluid,
etc.whichcouldcreatea firehazard.
13.Do not spillanyliquidsoncompactortop.
INSTALLATION SAFETY
1.OBSERVEALL GOVERNINGELECTRICALCODES AND ORDINANCES.
2. Besureyourcompactoriselectricallygroundedin an approvedmanner. ;-
3. Do not removethe powersupplycordgroundprong.
4. Do not usean extensioncord.
5. Use carewhen levelingyourcompactor,so thatthe unitdoesnotdropon
yourhand.
6. Use care whenchangingfrontpanels.As with anycut metaledges,they
couldcause injuryifhandledcarelessly.
7. Neveroperatethe compactorwhenthe drawerhandleisremoved.
8.Besureyourcompactorisproperlyinstalledinanappropriatelevelareaand
a placesuitablefor the size,functionandprotectionof the compactor.
SAVE THESE INSTRUCTIONS FOR FUTURE REFERENCE,
2
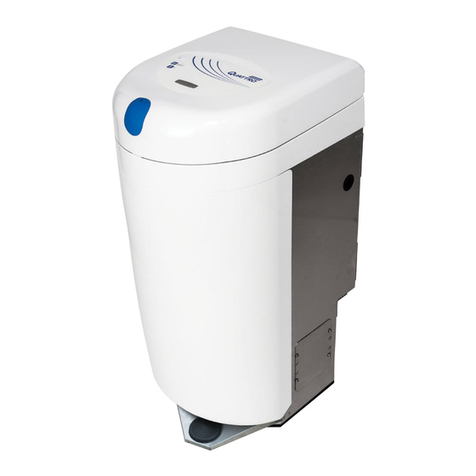
Parts of the Compactor
Air Freshener Key-Knob
BagRetainers Compartment Start-OffSwitch
Model-Serial
NumberPlate
DrawerHandletI
ColorFront
Panel
BagCarrierHandle
Lever-ActionLock
ToeReleaseBar
DrawerOpener
AdjustableToe

Using the Compactor
To Start
1.Openthe drawer bypressingthe toe releasebarorpullhandle.
2. Dropin the trash,foldingor crushingoversizeditems.Make suretrashdoesnot fall
behindcontainer.Neverfill containerbeyondrim.
3. Closedrawercompletelyor compactorwillnotoperate.
4. "rumkey-knobtoSTART;letknobgo.Compactorwillautomaticallystopattheendofthe
cycle.Whenthecompactorhasstopped,the key-knobwillremainat theON position.
To Stop
1. Tostop compactorduringacycle, turn key-knobtoLOCK/OFEThen turn ittoON.The
compacting ram will rise.
2.Once ramstops dsing, drawer can beopened. Compactor is alsoready for routine
operation.
To Lock
1.Thecompactorcanbelockedsothatitcannotbeoperated.Thisisespeciallyimportant
to preventsmallchildren from operating or playing withcompactor.
2. To lock, turn key-knob to LOCK/OFF position, remove knob and place in a secure
location. This locksthe control panel butnot the drawer.Therefore,before running the
compactor,check to see if any item has been mistakenlyplaced in the drawer.
Loading Tips
•The compactorisdesigned to handlemostdry trash.Howeveritis nota substitute fora
food waste disposer. Most food waste will become sour and odoriferous when held at
roomtemperature.
• Load bottlesor canson their sides in the center ofthe drawer.
• Wrap all wet or messy food waste in newspapers or paper towels to help absorb
moisture.
Do Not Compact The Following Items
•Highlyflammable materials,suchas paint or oil-filledragsand paintcans that might
causea concentration ofexplosive vapors and thus afirehazard.
• Any containeror aerosolcan whichmight contain poisonousor explosive products.
• Itemsthat may developoffensiveodorssuch asraw meat,fish, citrus rinds, disposable
diapers and personalhygieneitems.

install, and
Removing the Bag
To Install _ew Bag
1. Beforeinstallinga new bag, be sure drawerside is securelylockedand that the
containerisclearand freeofsharpdebristhatcouldpuncturethebag.
2.Fit thebag carderin the drawer.Tuckthe ropehandles behindthe bag retainers.
(See Fig.A)
3. Putunopenedbag indraweras shown•Spreadfrontbag comersand slidecuffover
right-frontcomer.(See Fig. B). _
U U
Fig.A Fig.B
:'t
4. Spread rearcomersandslidecuffoverleft-rearcorner•Tuckcuffsbehindbagretainers.
(See Fig.C)
5. Pressinsideof bag againstdrawerbottom,sides and corners for smoothfit. (See
Fig.D)
NOTE:Aspecialtypeofdisposablepaperbaglinedwithplastichasbeendesignedforuse
in thecompactor.Additionalbags may be purchasedfrom any retailoutletsthat sell
appliancepartsandaccessodesandfromJenn-Airdealers(Jenn-AirModelTCB12).DO
NOT USE paper grocerybags, plasticbags or bags otherthan the plastic-linedbags
eepactallymadeforthecompactor.Thesebagsareneitherstrongenoughorlargeenough
to holdcompactedwaste.
6

To Remove a Filled Bag
1. When the levelof compacted trash nearsthe top ofthebag andnomoretrashcanbe
added,removethebag.
2.Opendrawer.Pullallfourbagcuffsoutoftheretainersonthesidesofthedrawer;unfold
flaps.Tuckinslottedsides.(See Fig.E)
3. Bringtopedgesofbagtogether.Rollor foldtopedgestoclosebag.(See Fig.F)
4. Removebagcarrierhandlesfromsideretainersand hold.(See Fig.G)
5. Pressdownlever-actionlocklocatedonrightsideofdrawer(See Fig.H).Holdlatchand
tiltsideofdraweruntilthelatchclearsthedrawerfront.Usebagcarrierhandlestoliftout
bagandcarryaway.Ifglassisinthebag,usecarewhenhandlingbag.Donotpickbag
up bysides.
ig G LJ Fig.H_
b
I
II,
I
6. Pushside of drawerto close.Lockthe lever-actionlock.Placecleanbagin drawer.

Other Hints on
Caring for the Compactor
Cleaning Compactor
Exterior Surfaces: Wipewithwarm,sudsywateranda dampcloth.Rinse.Drywitha soft
cloth.
Insideof Drawer:Whilecleaninginsideofdrawer,wear
rubbergloves.Theremaybebitsofglassinthedrawer.
Washwithadampclothusingwarm,sudsywater.Rinse
and dry.
Forease incleaning,thedrawersidecanberemoved.
Pressdownlever-actionlockandtiltsideofdrawer;hold
latchdownuntildrawerclears.Liftoutdrawerside.(See
Fig.I)Toreplace,slideitbackinthetiltedposition.Press
latchdownandpushsideofdrawerin uprightposition.
Locklatch.
Fig. I
Inlide Cabinet: Removedrawerbypullingitout untilit
stops.Notethetracksinwhichthedrawerrollersmove.
Uftthefronttoclearthedrawerstops.Graspdraweron
thesides,as showninFig.J,andliftoutofcabinet.Set
aside.
Whiledrawerisoutofcabinet,checktheramcoverand
cleanif necessary,Whilewearingrubbergloves,wipe
glassparticlesoftramcoverwithaclothorpapertowels.
Use warmsudsywatertoremovefoods.Rinseanddry.
(See Fig.K)
Vacuuminsideofcabinetif necessary.Whileweadng Fig.J
rubbergloves,wash,rinseand dry cabinetinterior.
Toreplacedrawer,insertrollersintotracks.Liftdrawerto
clearstoptabs.Pushindrawer.
Fig.K

Air Fvgshener
Usingan airfreshenerwillhelpcontrolodorsthatmight
developinthetrash.Placeasolidairfreshener,suchas
a stick-ondisc-shapedfreshener,intotheairfreshener
compartment.Thereare manysolidairfreshenersavail-
able at supermarketsand departmentstores.The air
freshenershouldlast4 to6 weeksdependingonroom
temperatureand howdryroomairis.
Compartmentthatholdsairfreshenercan beremoved
forcleaningifnecessary.
Adjustable Toe Plate
Insomeinstallationsthetoeplatemayrubthefloorcovering.Ifthisoccurs,thetoeplate
clearancemaybechangedas follows:
•Determinetheamountofinterferenceofthetoe platewiththecarpetorflooring.
•Slidethedrawerfromtheunit.
•Laydrawerbottomup.
•Witha rulerand pencildrawa linewheretoeplateinterfereswiththefloorcovering.
•Usea pairofscissorsandcut toeplatealongthisline.
•Replacedrawerintheunit.
9

Changing Front Panels
YourJenn-AirModelTC406compactorcomesequipped i-TWOSIDED
withtwo reversiblefrontpanelspainted Black/White _COLORPANELS
andAlmond/HarvestGold.Tochangethecolorofyour _-_'_
compactor'sfrontpanel,followthedirectionsbelow.All _"_:_'_-/__2SPACERS
youneed is a medium sized screwdriver. _j'_i d__"
(NOTE: Your Model TC406W compactor comes _l_WAr_I w
equippedwith onlyone reversiblefrontpanel painted
Black/White.) ERTRIM
•Slideoutdraweruntilit •Removetwoscrew,, Removethecolorpanel
stops, shown, youwant.
•Liftfronttoclearstops. •Removehandle. •Becareful- edgesmay
•Pullstraightout. besharp.
>
•Installdesiredcolor Option:Matchyour •Replacethedrawer:
panelinfront,behind kitchen'scolorschemeby - Putdrawerrollersoverstopsin
drawertrim. replacingcolorpanels thedrawerguides.
•Reinstalltheremaining withyourowncreation - Slidedrawerbacktostops.
colorpanelbetween (wallpaper,paneling). - Liftfrontofdrawertoclearstops.
spacers. See"Installation
•Makesurepanelsare Instructions:' - Slideitallthewayin.
allthewaydown.
•Replacehandleand •WARNING: REPLACE HANDLE BEFORE
OPERATING COMPACTOR TO AVOID INJURY
screws. FROM MOVING PARTS.
I0

Before You Call
For Service
Checkthefollowinglistto besureaservicecallisreallynecessary.A quickreferenceofthis
manual,as wellas reviewingadditionalinformationon itemsto check,may preventan
unneededservicecall.
If the compactor won't operate:
• Haveyoucheckedthe mainfuseorcircuitbreakerbox?
• Isthe drawercompletelyclosed?
•Isthe key-knobturnedalltheway toSTARTbeforeitisreleased?
• Isthe electriccordsecurelypluggedin?
if compactor stops during operation:
•Pushdrawerinwhileturningkey-knobtostart.Repeatifnecessary.Rearrangetrash
load- donotloadrigiditemsat frontofdrawer.
Trashnot compacted:
•Drawermustbeat leastV3fulltosee compaction.
Not enoughcompaction or force:
•Compactingworksbestwhenonlya fewitemsareloaded.Usethecompactingcycle
frequently.
Bottlesdon't break:
•Notallbottleswillbreakeverytime,dependingupontrashloadbelowthem.
Drawer won't open:
•Drawerwillopenonlywhenramisalltheway up.
•Toraisethe ram,pushdrawerin firmly;turnkey-knobto START;releasekey-knob.
•Open drawer;laycansand bottlesflat incenterofdrawer.
•Startcompactoragain.
If You Need Service
•CalltheauthorizedJenn-AirServiceContractorlistedin theYellowPagesorthe
dealerfromwhomyourappliancewas purchased.
•YourJenn-AirServiceContractorcanprovidebetterandfasterserviceifyoucan
accuratelydescribeproblemsandgivemodelandserialnumberoftheappliance.
Besuretoretainproofofpurchasetoverifywarrantystatus.RefertoWARRANTY
forfurtherinformationofowner'sresponsibilitiesfor warrantyservice.
NOTE: Completeserviceand parts literatureare availablefrom any authorized
Jenn-AirPartsDistributor.
Allspecificationssubjecttochangebymanufacturerwithoutnotice.
11
This manual suits for next models
1
Table of contents
Other Jenn-Air Garbage Disposal manuals