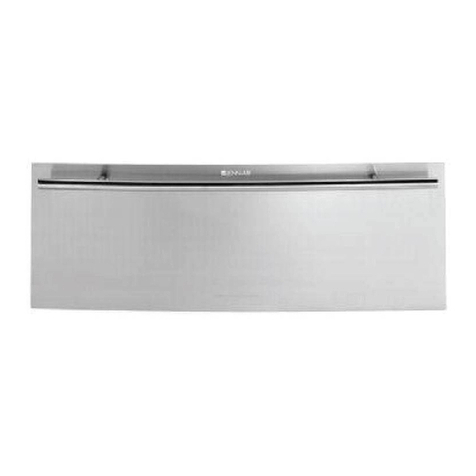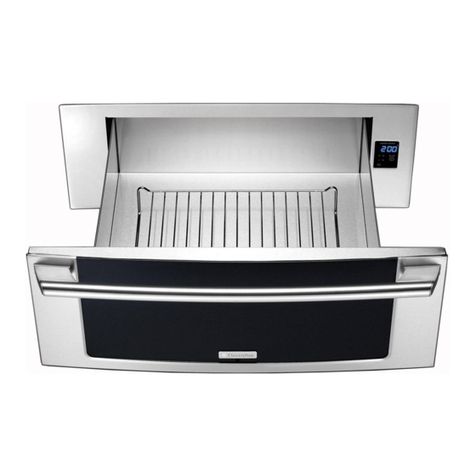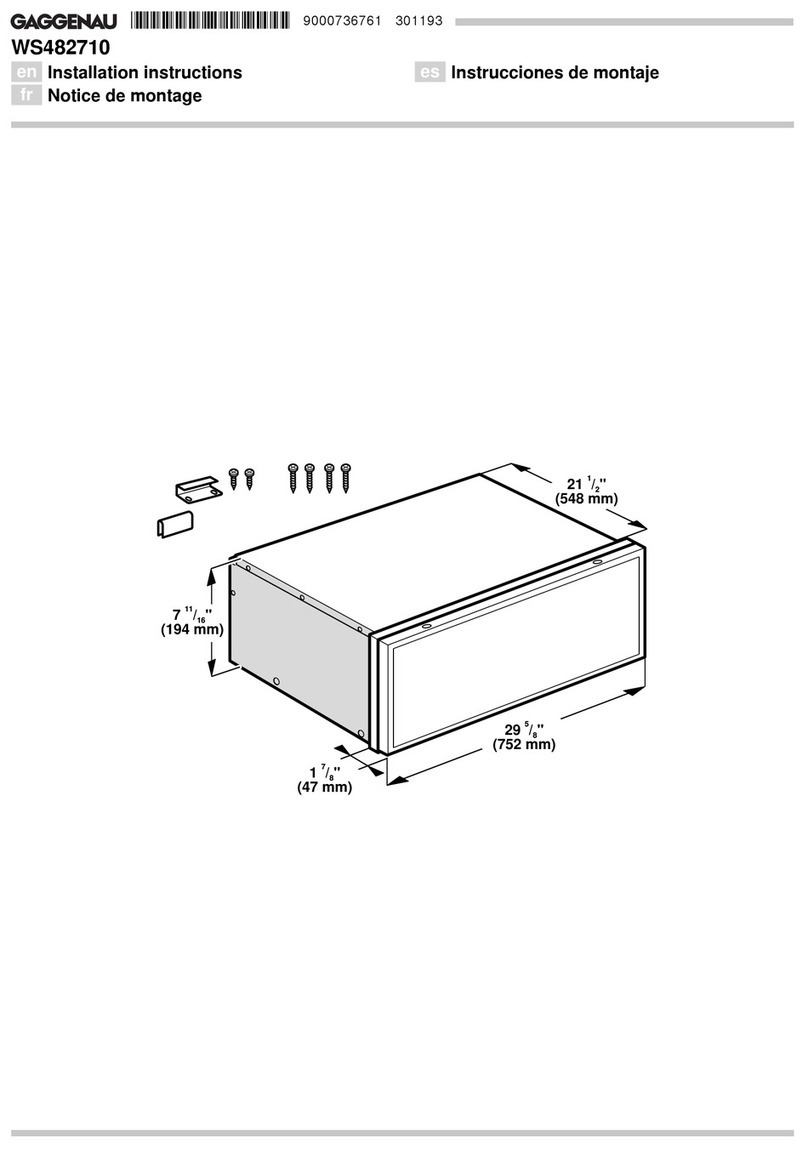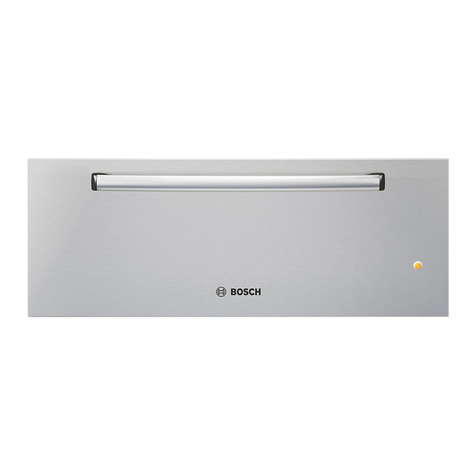
Disassembly Procedure
©2003 Maytag Appliances Company 16021975 Rev. 0 9
WARNING
!To avoid risk of electrical shock, personal injury, or
death, disconnect power to unit before servicing.
Unit Removal
1. Remove carriage from unit.
2. Remove screws securing front frame to cabinet.
3. Slide unit out onto protective cover.
4. Disconnect electrical supply cord.
Carriage Removal
1. Remove inner drawer rack and pan.
2. Remove carriage from slides by lifting/depressing
release levers as indicated on slides and pulling
forward.
3. Place carriage assembly on protective cover.
4. Reverse procedure to reassemble.
Slide Removal
1. Remove carriage.
2. Remove slide-mounting screws through access holes
in slide.
3. LH slide – gently twist clockwise to release front
mounting tab and pull forward.
RH slide – gently twist counter clockwise to release
front mounting tab and pull forward.
4. Replace and reverse procedure to reassemble.
Drawer Gasket
1. Remove drawer and carriage.
2. Remove screws securing gasket/frame to front
frame.
3. Replace and reverse procedure to reassemble.
Heating Element
1. Remove unit from installation.
2. Remove access panel from right front side.
3. Disconnect heating element wiring.
4. Remove heating element mounting screws.
5. Remove heating element.
6. Replace and reverse procedure to reassemble.
Thermostat
1. Remove unit from installation.
2. Remove control knob.
3. Remove access panel from right front side.
4. Remove thermostat mounting screws through front
access hole.
5. Remove capillary tube mounting brackets from inner
cavity.
6. Slide capillary tube from cavity.
7. Replace and reverse procedure to reassemble.
NOTE: Do not kink or break capillary tube. Route
capillary tube away from electrical terminals.
Timer
1. Remove unit from installation.
2. Remove control knob.
3. Remove access panel from right front side.
4. Remove timer mounting nut through front access
hole.
5. Replace and reverse procedure to reassemble.
Indicator Light
1. Remove unit from installation.
2. Remove access panel from right front side.
3. Push indicator light through front frame.
4. Remove wiring.
5. Replace and reverse procedure to reassemble.
Front Frame
1. Remove drawer and carriage.
2. Remove unit from installation.
3. Remove gasket frame/gasket, control knobs, and
indicator light.
4. Remove screws from top and bottom covers directly
behind front frame.
5. Drill out pop rivets securing front frame to unit body.
6. Replace and reverse procedure to reassemble.
