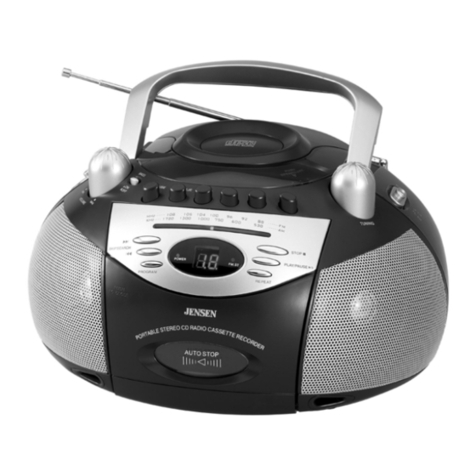
Jensen CD-470 User manual

JENSEN®
CD-470
AM/FM
STEREO
COMPACT
DISC
PLAYER
INSTRUCTION
MANUAL
PLEASE
READ
THIS
INSTRUCTION
MANUAL
CAREFULLY
BEFORE
USING
THE
UNIT
AND
RETAIN
IT
FOR
FUTURE
REFERENCE

CAUTION
CLASS
1
LASER
PRODUCT
A
CLASS
1
LASER
PRODUCT
APPAREL
LASER
DE
CLASSE
1
PRODUCTO
LASER
DE
ClASE
1
CAUTION
INVISIBLE
LASER
RADIATION
WHEN
OPEN
AND
INTERLOCKS
DEFEATED.
AVOID
EXPOSURE
TO
BEAM
>4tk
This
product
contains
a
low
power
laser
device.
Follow
the
advice
below
for
safe
operations.
ON
PROTECTION
AGAINST
LASER
ENERGY
EXPOSURE
*
As
the
laser
beam
used
in
this
compact
disc
player
is
harmful
to
the
eyes*
do
not
attempt
to
disassemble
the
casing,
*
Stop
operation
inmedlately
if
any
liquid
or
solid
object
should
fall
into
the
cabinet*
*
Do
not
touch
the
lens
or
poke
at
it*
If
you
do,
you
may
damage
the
lens
and
the
player
may
not
operate
properly*
*
Do
not
put
anything
in
the
safety
slot.
If
you
do,
the
laser
diode
will
be
ON
when
the
CD
door
is
still
open,
*
If
the
unit
is
not
to
be
used
for
a
long
period
of
time,
make
sure
that
all
power
sources
are
disconnected
from
the
unit.
Remove
all
batteries
from
the
battery
compartment,
and
unplug
the
AC-DC
adaptor
from
the
wall
outlet*
Make
it
a
practice
to
remove
the
AC-DC
adaptor
by
grasping
the
plug
and
not
by
pulling
the
cord*
*
This
unit
employs
a
laser.
The
use
of
controls
or
adjustment
or
performance
of
procedures
other
than
those
specified
here
may
result
in
exposure
to
hazardous
radiation,
ON
PLACEMENT
*
Do
not
use
the
unit
in
places,
which
are
extremely
hot,
cold,
dusty
or
humid,
*
Place
the
unit
on
a
flat
and
even
surface*
*
Do
not
restrict
the
airflow
of
the
unit
by
placing
it
in
a
place
with
poor
ventilation,
by
covering
it
with
a
cloth
or
by
placing
it
on
a
carpet.
ON
CONDENSATION
*
When
left
in
a
heated
room
where
it
is
warm
and
damp,
water
droplets
or
condensation
may
form
inside
the
unit.
*
ffhen
there
is
condensation
inside
the
unit,
the
unit
may
not
function
normally,
*
Let
the
unit
stand
for
1
to
2
hours
before
turning
the
power
on,
or
gradually
heat
the
room
up
and
dry
the
unit
before
use*
Should
any
trouble
occur,
remove
the
AC
adaptor
and
refer
servicing
to
qualified
personnel.
EN-1

LOCATION
OF
CONTROLS
1
.
1
3.
4
5.
a
7,
a
a
10
.
IL
12
.
13.
14.
la
16.
IT.
18.
19.
20
.
21
.
22
.
23.
24
25.
BUILT-IN
SPEAKER
POWER
INDICATOR
HANDLE
DIAL
SCALE
FM
STEREO
INDICATOR
LCD
DISPLAY
POWER
ON
/
OFF
SWITCH
m
IN
JACK
PHONE
JACK
DC
INPUT
JACK
CD
DOOR(ON
BACK)
VOLUME
CONTROL
FUNCTION
SWITCH
(CD,
RADIO,
AUX
IN)
BAND
SWITCH
(AM
/
FH
/
FM
ST.)
CD
DOOR
OPEN
BUITON
PROGRAM
BUTTON
REPEAT
BUTTON
SHUFFLE
BUTTON
(RANDOM
PLAY)
STOP
BUTTON
FAST
REVERSE
BUTTON
FAST
FORWARD
BUTTON
PLAY
/
PAUSE
BUTTON
FM
TELESCOPIC
ANTENNA
TUNING
BUTTON
BATTERY
COMPARTMENT
11
EN-2

POWER
SOURCES
BATTERY
OPERATION
1.
Set
the
POWER
ON/OFF
switch
to
the
OFF
position*
Z
Remove
the
cover
from
the
battery
compartment
on
the
bottom
of
the
unit.
3.
Follow
the
polarity
diagram
inside
the
compartment
and
insert
4
x
size
batteries
(LR14,
UM-2)*
Heavy
duty
alkaline
batteries
arc
recommended.
4
Re-attach
the
battery
cover
and
be
sure
it
locks
into
position
,
Note:
In
order
to
operate
the
unit
on
batteries,
the
AC/DC
adaptor(not
included)
must
be
disconnected
from
the
DC
6V
jack.
AC/DC
ADAPTOR
OPERATION
This
unit
will
also
operate
using
an
AC/DC
adaptor
(not
included)
with
6V
DC/
700
mA
output©-(5^©
,
Before
connecting
the
adaptor,
set
the
POWER
ON/OFF
switch
to
the
OFF
position.
1.
Insert
the
DC
plug
of
the
AC/DC
adaptor
into
the
DC
jack
on
the
left
side
of
the
unit*
Z
Plug
the
AC/DC
adaptor
into
a
convenient
standard
120VAC/60Hz
wall
outlet.
LISTENING
TO
THE
RADIO
RADIO
OPERATION
1*
Set
the
volume
control
to
a
low
level.
Z
Set
the
CD/RADIO/ALX
IN
switch
to
RADIO
position.
Set
the
desired
radio
band
with
the
AM/FM/FM
ST
switch.
3*
Set
the
POWER
ON
/
OFF
switch
to
the
ON
position
and
the
power
LED
will
turn
on.
4
Tune
in
a
desired
station
by
tuning
the
TUNING
knob,
when
a
FU
stereo
program
is
being
received,
the
FM
ST
""
LED
will
turn
on.
+If
the
EM
station
signal
is
weak
and
there
is
a
large
amount
of
noise
(hiss),
set
the
AM/
FM/FM
ST
switch
to
FM
position
to
select
FM
MONO
mode,
the
^
FM
ST
LED
will
turn
off.
Although
the
sound
effect
is
not
better
than
FM
STEREO
mode,
the
background
become
quiet.
5.
For
best
FM
reception,
pull
out
and
extend
the
FM
antenna
to
obtain
the
best
reception.
For
best
AM
reception,
rotate
the
unit
horizontally
to
obtain
the
best
reception.
6*
Adjust
the
VOLUME
CONTROL
for
your
desired
listening
level*
7*
To
turn
off
the
radio,
set
the
POWER
ON/OFF
switch
to
OFF
position,
the
power
LED
will
turn
off.
EN'3

DISC
PLAYING
GETTING
STARTED
1.
S
et
the
VOLUME
control
to
low
level,
Z
Press
the
CD
door
open
button
to
open
the
CD
compartment,
3l
Place
a
disc
onto
the
spindle
inside
the
CD
compartment
with
label
side
in
front,
4
Close
the
CD
door.
5.
Set
the
CD
/
RADIO
/
AUX
IN
switch
to
CD
position,
6l
Set
the
power
ON
/
OFF
switch
to
ON
position
to
turn
on
the
power,
the
power
LED
will
turn
on.
7.
After
the
disc
is
read,
the
display
will
show
the
total
track
numbers
and
then
the
disc
will
stop.
a
Press
the
PLAY
/
PAUSE
button
once,
the
disc
will
start
playing
from
the
beginning.
9,
Adjust
the
VOLUME
to
desired
level,
10.
To
turn
off
the
CD
function,
press
STOP
to
stop
the
playback
and
set
the
POWER
ON
/
OFF
switch
to
OFF
position,
the
power
LED
will
turn
off.
GENERAL
OPERATION
Play
/
Pause
Button
Ml
Press
once
to
start
playback
in
the
original
order
The'^^"'
show
on
the
display.
Press
again
to
stop
the
disc
play
temporarily.
The'^^^
will
flash.
FR/FF-Skip/Search
Biittoes
^44
Press
once
to
skip
to
next
track
►
W
or
back
to
previous
track
Press
continuously
to
search
forward
or
backward
\44
^
Repeat
Button
1.
During
play
mode,
press
once
to
play
a
track
repeatedly.
The
Repeat
Indicator,
"
CID
will
appear
and
flash
in
the
Display.
2.
During
play
mode,
press
twice
to
play
the
entire
disc
repeatedly.
The
Repeat
Indicator,
“
”,
will
be
shown
steadily
in
the
Display.
3.
To
cancel
the
repeat
function,
press
repeatedly
until
the
Repeat
Indicator,
CT)
”
disappears
in
the
Display.
SHUF
-
Shuffle
Button
(
For
Random
Play)
1.
Press
the
SHDF
button
once,
the
SHUF
will
show
on
the
display.
Z
Press
the
PLAY/PAUSE
button
(
if
in
stop
mode)
,
all
tracks
on
the
disc
will
be
played
in
random
sequence,
after
all
the
tracks
have
been
played,
the
disc
will
stop
automatically.
Stop
Button
Press
once
to
stop
playback.
PROG-Program
play
1.
In
stop
mode,
press
the
PROG
button
once,
the
display
will
show
'^PGM
01*
then
change
to
*PGM
00*
and
flash,*01*
means
program
number,
*00*
means
track
number.
(Press
the
STOP
button
to
cancel)
EN-4

Z
Pressot^M
button
to
select
the
desired
track-
Z
Press
PROG
button
again
to
enter
the
track
into
meDiory,
the
display
will
show
^PGM
02*
then
change
to
*PGM
00*,
*02*
means
the
prograjn
number
increase
one
step,
4
Repeat
step
2
&
3
to
program
the
order
of
more
tracks
up
to
20
tracks
can
bo
programmed
into
memory.
E
Press
PLAY/PAUSE
button
HI
to
Start
the
program
play,
6l
To
stop
the
program
play,
press
the
STOP
button.
7.
For
program
play
in
step
*6*,
press
the
PROG
button
&HI
button.
8*
To
check
the
program
memory,
in
program
play
mode,
press
the
or
\4i4
button.
Or
in
stop
mode,
press
the
PROG
button
repeatedly,
the
display
will
show
the
program
number
then
quickly
change
to
track
number,
9.
To
erase
the
program
memory,
open
the
door
or
turn
off
the
power.
AUX
IN
OPERATION
You
can
play
other
music
sources
(MP3
player
or
other
digital
audio
player)
through
the
speakers
of
this
unit
by
connecting
the
AUX
l.N
JACK
to
your
external
players
LINE
OUT
JACK
or
HEADPHONE
JACK.
1.
Set
the
POWER
ON/OFF
switch
to
OFF
position,
set
the
volume
to
low
level.
Z
Use
an
audio
cable
with
two
terminals
that
are
3.
Sam
plug
(not
supplied),
plug
one
end
into
the
AUX
IN
JACK
and
the
other
end
to
the
LINE
OUT
/
HEADPHONE
JACK
of
your
digital
audio
player.
a
Set
the
CD/RADIO/AUX
IN
switch
to
AUX
IN
position.
4
Set
the
POWER
ON/OFF
switch
to
ON
position
to
turn
on
the
power,
the
power
LED
will
turn
on.
5.
Play
your
digital
audio
player
6l
Adjust
the
VOLUME
CONTROL
for
your
desired
listening
level.
7.
To
turn
OFF
the
AUX
IN
function,
set
the
POWER
ON/OFF
switch
to
OFF
position,,
the
power
LED
will
turn
off
.
HEADPHONE
JACK
You
can
use
a
earphone
/
headphone
to
listen
to
music.
L
Adjust
the
volume
to
low
level.
Z
Insert
a
earphone
/
headphone
into
this
jack.
3,
Adjust
the
volume
to
your
desired
level.
*The
speaker
sound
will
cut
off
when
you
insert
a
earphone
/
headphone
into
this
jack.
MAINTENANCE
Cleaning
the
Lens
If
the
lens
becomes
dusty,
clean
it
with
a
camera
lens
blower.
Be
careful
not
to
scratch
the
surface
of
the
lens.
Cleaning
the
Cabinet
From
time
to
time,
clean
the
cabinet
with
a
soft
dry
cloth.
For
more
stubborn
stains,
Slightly
moisten
the
cloth
with
water
or
a
mild
detergent
solution.
Never
use
benzene,
alcohol
or
other
solvents
as
they
may
damage
the
finish
of
the
cabinet.
EN-5

SPECIFIC^
SPECIFICATIONS
Power
Supply
:
AC-DC
adaptor
:
6V
700mA
polarity
©—(5—®
(not
included)
Batteries
Ll-2
or
"C"
size
X
4
(6V)(not
included)
Power
Consumption
:
8W{MAX)
Output
Power
:
O.Sff
X
2
(IfttS)
10?i
THD
{RADIO
SECTION)
Frcq.
Range
:
AH
;
535
-
ITOSkliz
FM
:
88
-
108
MHz
i^tennas
:
AM
:
BUILT-IN
Ferrite
Bar
FM
:
ROD
MTEMA
<AIX
IN
SECTION)
Sensitivity
:
300mV
Input
impedance
:
^
20
KOHM
<CD
SECTION)
Tracking
System
:
3-Beara
Laser
Laser
Pick
Up
:
Semiconductor
Laser
D/A
Conversion
:
8
Times
Over
Sampling
Digital
Filter,
I
Bit
DAC
Dimensions
:
172(11')
J
150(11)
s
64(D)
ram
CARE
AND
MAINTENANCE
L
Clean
the
unit
with
a
soft,
damp
(never
wet)
cloth.
Solvent
or
detergent
should
never
be
used.
2.
Avoid
operating
your
unit
under
direct
sunlight
or
in
hot,
humid
or
dusty
places.
3.
Keep
your
unit
away
from
heating
appliances
and
sources
of
electrical
noise
such
as
fluorescent
1
amps
or
motors.
4.
For
better
Clock
Display
clarity,
avoid
operating
the
unit
under
direct
sunlight
or
in
strong
r
oom
illumination.
5.
If
drop-outs
or
interruptions
occur
in
the
music
during
Cl
play,
0
r
if
the
CD
fails
to
play
at
all,
its
bottom
surf;
may
require
cleaning.
Before
playing,
wipe
the
disc
from
the
center
outwards
with
a
good
soft
cleaning
cloth.
EN-6

TROUBLESHOOTING
GUIDE
Cleaning
the
Disc
When
a
disc
becomes
dirty,
clean
it
with
a
clean
cloth.
Wipe
the
disc
from
the
center
out.
Note
“Do
not
use
solvents
such
as
benzinej
thinner,
commercially
available
cleaners
or
anti-static
spray
intended
for
analogue
discs,
’1'^
Should
you
experience
difficulties
in
the
use
of
this
player
please
refer
to
the
following
chart
before
contacting
your
dealer
or
the
place
of
purchase.
Troubleshooting
Guide
Problem
Points
to
check
Player
fails
to
function
The
disc
may
be
inserted
upside
down.
The
disc
not
mounted
correctly
on
the
chuck.
Dirty
or
a
defective
disc.
Dirty
pick
up
lens.
CD
door
not
closed.
Moisture
condensation,
allow
the
player
to
warm
up
to
room
temperature
for
60
minutes,
AC
Power
to
an
adaptor
switched
off.
Weak
batteries.
No
sound
from
Earphones
Earphones
plug
is
not
firmly
inserted
into
the
phones
socket.
No
sound
when
played
through
an
external
amplifier
Connection
is
incorrect.
power
to
an
external
amplifier
not
switched
on
Intermittent
Sound
Dirty
or
defective
disc.
Dirty
pick
up
lens.
The
player
is
subject
to
excessive
vibration
or
shock,
low
battery
power.
Poor
Earphone
connection.
Please
refer
to
the
instructions
on
the
enclosed
warranty
card
for
returning
your
unit
For
service.
When
returning
the
unit,
please
remove
batteries
to
prevent
damage
to
the
unit
in
transit
and/or
from
possible
battery
leakage.
We
are
not
responsible
for
batteries
turned
with
the
product
or
for
the
cost
of
replacement.
Distributed
by:
Spectra
Merchandising
International,
Inc,
Chicago
Industry
Tech
Park,
4230
North
Normandy
Avenue,
Chicago,
IL
60634,
U.
S.
A.
Please
have
model
number
ready,
for
Customer
Service,
call
:
1
-
800
-
777
-
5331
EN-7
Printed
in
China
Table of contents
Other Jensen CD Player manuals

Jensen
Jensen CD-26 User manual

Jensen
Jensen JMC-670 User manual

Jensen
Jensen CD-60W User manual

Jensen
Jensen CD-560 User manual

Jensen
Jensen CD615X User manual

Jensen
Jensen CD-750 User manual
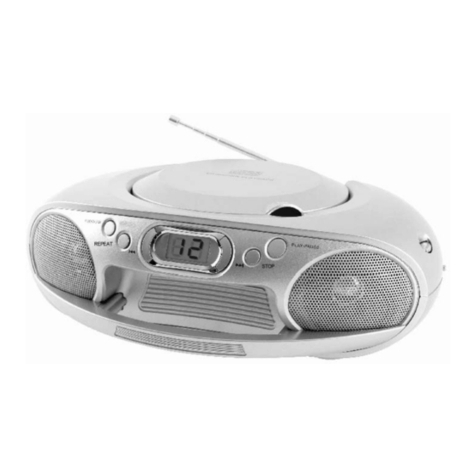
Jensen
Jensen JMC-180A User manual

Jensen
Jensen MCD5070 User manual

Jensen
Jensen JMC-326 User manual
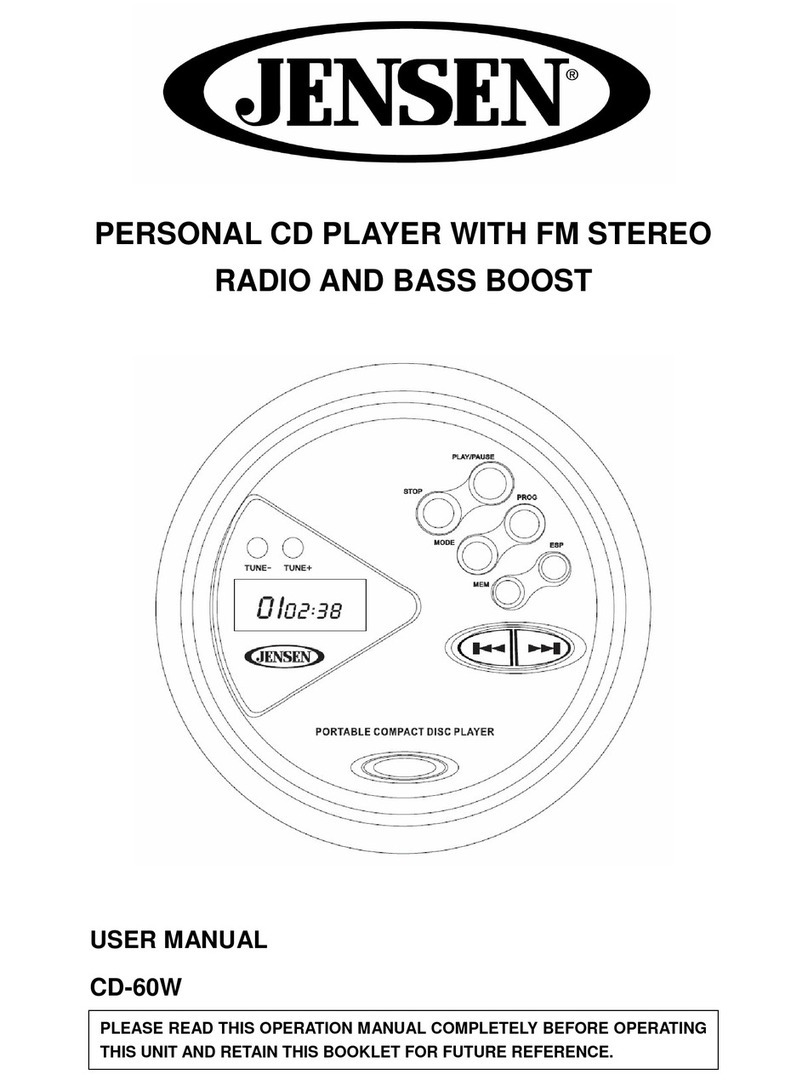
Jensen
Jensen CD-540 User manual

Jensen
Jensen JMC-180 User manual

Jensen
Jensen CD-490 User manual

Jensen
Jensen MP5000 - GUIDE User manual

Jensen
Jensen RF10DC Operating instructions

Jensen
Jensen CD-475 User manual

Jensen
Jensen XCH 6RF Instruction Manual
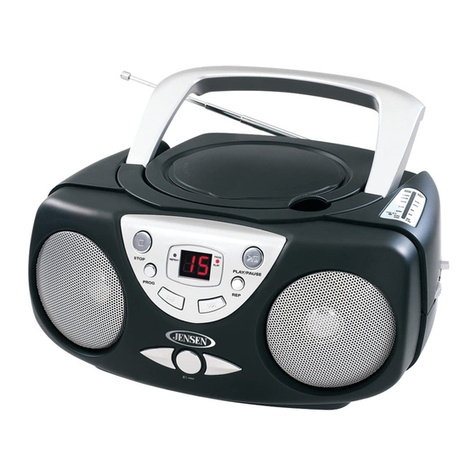
Jensen
Jensen CD-470C User manual

Jensen
Jensen CD-36 User manual

Jensen
Jensen CD-600 User manual

Jensen
Jensen AWM910 User manual