
CAUTION: We r s fety gl sses over your eyes.
See JIMS®c t log for Hundreds of top qu lity profession l tools.
The l st tools you will ever need to buy.
IInnssttrruuccttiioonn SShheeeett FFoorr TTooooll NNoo.. 55880022
Rev O
3-16
No.5802-IS
22
555 D wson Drive, C m rillo, CA 93012 Phone 805-482-6913 • F x 805-482-9224
Visit us on the web t WWW.JIMSUSA.COM
A Division of Thiessen Products, Inc.
one of four holes in No. 5802-1 socket adapter while aligning remaining holes with adjuster screws. Finger
tighten both adjuster screws into remaining holes in edge of socket adapter so that No. 5802-1 tool is locked
in place and cannot rotate.
Note: Only tighten adjuster screws finger tight.
. Install 30mm socket onto No. 5802-1 Socket Adapter.
7. Insert bottom post of tool No. 177 into bottom hole of fork leg.
8. Adjust fork spring compressor tool using a ¾” socket and ratchet until the 30mm socket mates with fork tube
cap.
Caution: Only use hand tools. Do not use impact or power tools.
9. Remove fork cap by rotating fork tube by hand. After fork cap clears threads of fork tube, expand No. 177
slowly with ¾” socket and ratchet until the fork assembly is no longer under spring pressure. Remove fork
assembly and repeat process on next fork assembly. Keep fork assembly upright until oil has been drained.
Note: See below for cartridge removal.
10. Reassembly is the reverse of disassembly. Clean all parts. Insert spring, washer, and spacer into fork assem-
bly, then install assembly into No. 177 Fork Compressor Tool. Compress tool until fork cap is just ready to
start threading into fork tube. Turn fork tube by hand until the fork cap is threaded completely into fork tube.
11. Loosen adjuster bolt on JIMS No. 177 until fork assembly is clear of socket and remove from tool.
12. Clamp fork assemblies into triple tree and tighten fork caps following service manual torque specifications.
13. Install front fender, wheel, and brake caliper following service manual instructions. Test ride motorcycle before
going onto public roadways.
TO REMOVE AND INSTALL DAMPER CARTRIDGE.
1. Disassemble fork assemblies following the procedure above, JIMS instruction sheet No. 1776-IS, and service
manual.
2. Remove fork spacer, washer, and spring from each fork assembly and set aside. Pour oil from fork tubes into
drain pan. Collapse fork tubes into sliders.
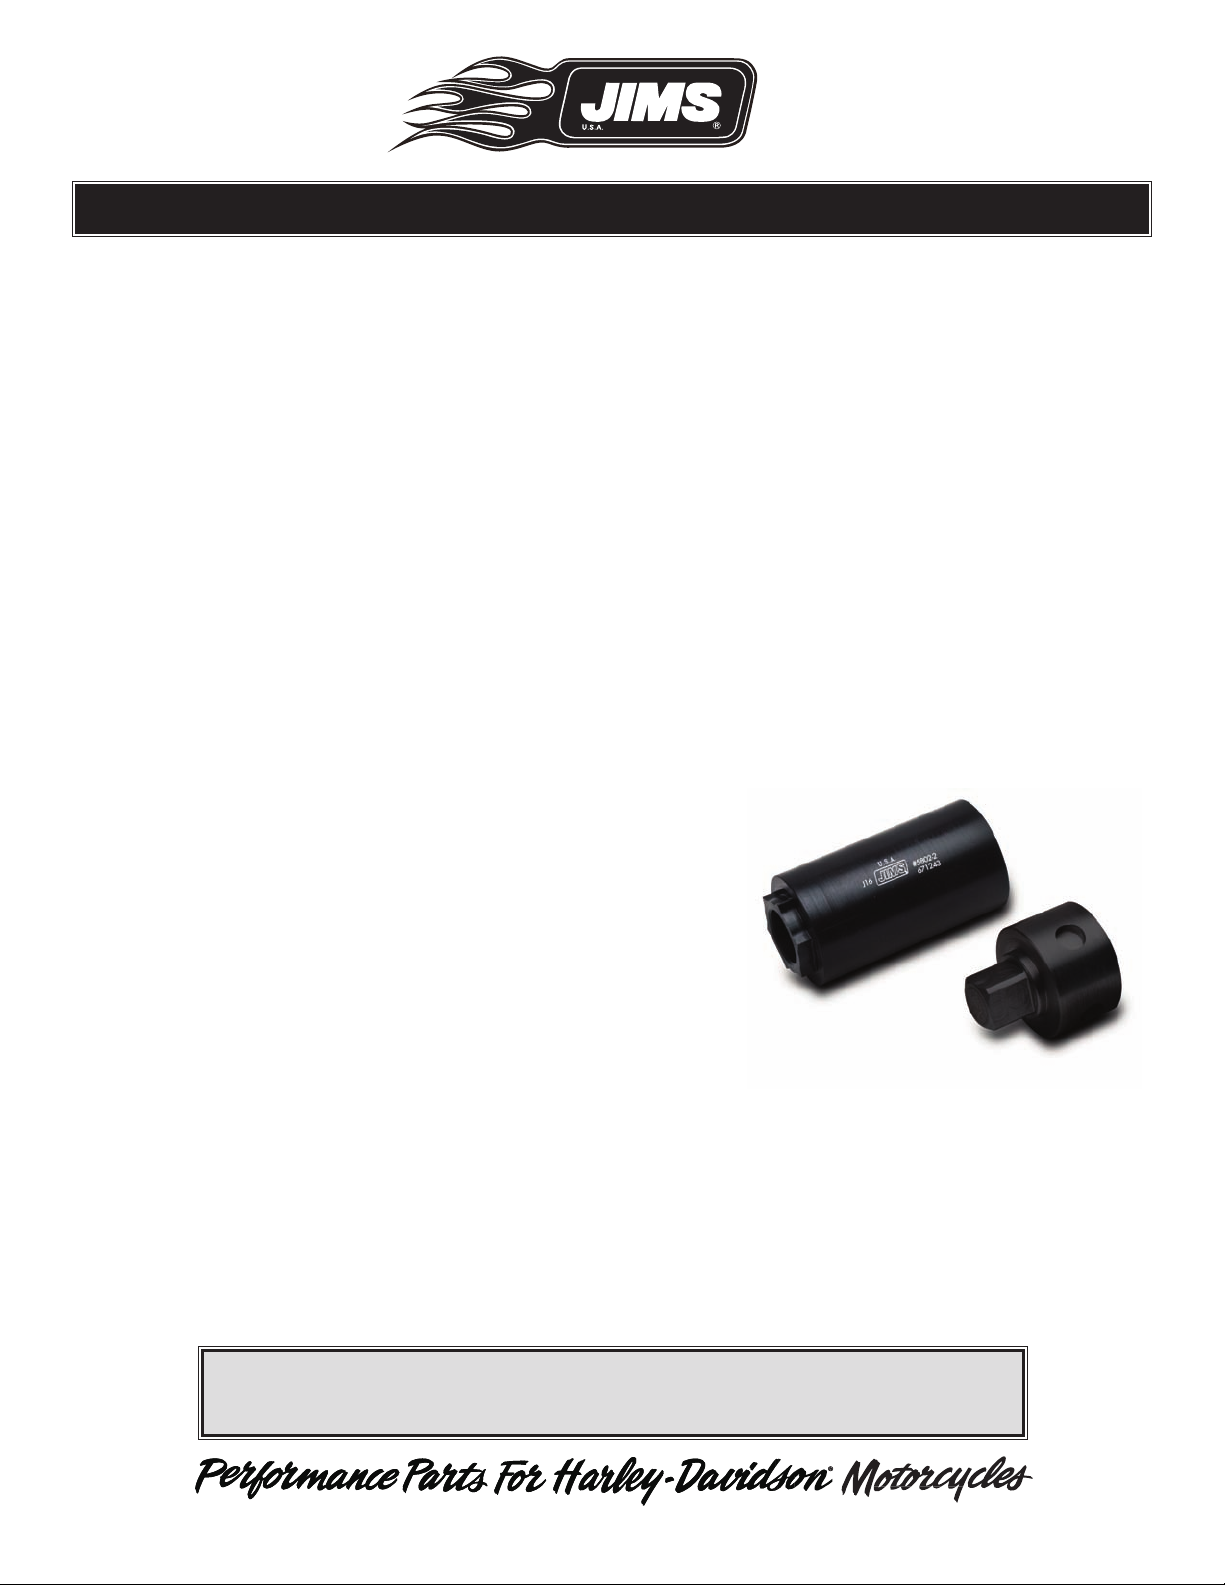
3. Connect 3/8” extension(s) together and into No. 5802-2 Cartridge Tool. You must have enough extension
so ratchet with extension(s) and socket No. 5802-2 can mate into cartridge with enough room for ratchet.
With ratchet wrench, extension(s), and cartridge tool, insert into fork tube and mate with fork cartridge.
4. Using second 3/8” ratchet with 8mm hex driver, loosen the bottom fork bolt while holding cartridge from
rotating with JIMS No. 5802-2 tool and ratchet.
5. When installing cartridge, use a new crush washer on bottom cartridge retaining bolt. Tighten to specified
torque while holding ratchet and cartridge from rotating as described in step 4.
. Assemble remaining fork assembly following above instructions and service manual.


 Supplementary service manual")


