manuals.online logo
Brands
  1. Home
  2. •
  3. Brands
  4. •
  5. Jindara
  6. •
  7. Indoor Fireplace
  8. •
  9. Jindara Opal User manual

Jindara Opal User manual

Compact Zero Clearance
Cabinet Installation
ZCC Part No. 225333
Installation notes:
The Gason Zero Clearance Cabinet is an approved cabinet that allows for Eureka/Jindara Insert woodheaters as stated above to be installed within
replace in accordance with AS2918:2001.
This can be achieved by following the installation guidelines listed below.
• Select the position that you wish to to install your ZCC, car roof cavity (The outer
being 255mm requires a 25mm clearance on either side to combustibles, making overall clearance 305mm).
•
• . Note: Line up centre holes with corresponding holes depending on model. Refer to diagram on sheet 2.
• Fit the to the upstands and terminate at the required height above the roof line.
• Fit 300mm x 100mm vermin proof vent directly behind where the will be located, as near as practicable to the r. This vent will
allow air access to the zero box either from another room or external air. Note, if installed on r, an additional two vents are
required. i.e. Either thr r, one each side of the zero box, or alternatively, through the side wall(s), if applicable.
• Build your frame around the
mantaining the clearances listed above.
•
• Cover the rest of the frame to suit your requirments with plaster, timber, MDF etc.
•
• Install the mantel if required. Note if mantle is made out of a combustible material the following dimensions must be adhered to.
All dimensions are minimum and must under no circumstances be reduced. Gason Pty Ltd accepts no liability whatsoever for their
interpretation of AS2918:2001.
Sheet 1 NEXT 2 GPN 231080 Rev.A
545
763 Zero
Clearance
Box
To suit Insert models: Opal SRS4, Riverina SRS3,
D
A min. 60mm gap for
Opal SRS4/Riverina SRS3
and 120mm gap for
Stockade SRS5/Barossa SRS3
timber stud.
The timber stud may need
to be notched out to allow
for the minimum required
Stockade SRS5, Barossa SRS3, Kimberley Mk2, Hamersley Mk2
Federation Mk2 & Victorian Insert
NOTE:
F
Tripleskin
Flue
690
660
836
30
E
MODEL A B C D E F G H I J
Opal
Riverina
Stockade
Barossa
Kimberley
Hamersley
Federation
Victorian
A
C
Hearth Width
12 570 890 810 40 20 1040 1100 50 250 530
12 550 950 810 40 20 1340 1390 50 250 510
18 615
18 705 1000
All dimensions in millimetres, images not to scale
Clearance to combustibles
Insert your chosen appliance into the zero cabinet. Note: x2 galvanized c-section brackets supplied are required to centralise
Opal/Riverina, Stockade/Barossa. For installation of Kimberley, Hamersley, Federation and Victorian, appliances must sit on c-section
to ensure correct installation height is achieved. Fit active ue and cowl once appliance is in position.
See oversheet for dimensions.
(non-combustible cement sheet, villaboard or similar) in the position desired for the ZCC, ensuring hearth will
1140 25 250 550
940 1063 100 50 1050
B
12 570 890 810 40 20 1040 1100 50 250 530
12 550 950 810 40 20 1340 1390 50 250 510
18 705 1000
18 705 1000
1063 100 50 975 1225 150 250 600
1063 100 50 975 1225 150 250 600
1063 100 50 975 1225 150 250 600
Cover the front face of framing with a minimum 4mm cement sheet or non-combustible material.
A. F.
mm in front
of unit
Hearth depth
the ZCC
ZCC
ZCC
extend fully underneath ZCC as shown above for relevent model. Place the ZCC into position.
Sheet 2 NEXT - GPN 231080 Rev.A
6 inch Flue Kit (Eureka & Jindara)
Spigot
3rd Skin
2nd Skin
1st Skin
Heater
10” Upstand
• 10” Upstands
55mm
97mm
• 8” Upstand
10” Gal Flue
8” Gal Flue
6˝ S/S Flue
8” Upstand
425mm
370mm
10”
8”
450mm
370mm
4th Skin
Non-combustible
hearth
Breast plate no
thicker than 30mm
(appliance to
mantle upright)
(max)
2petS1petS
Plaster, timber, MDF etc.
Minimum 4mm thick
cement sheet, villaboard
or non-combustible
material on front face
of framing
Minimum Requirements:
•5 x 6” S/S Flue
•4 x 8” Gal Flue
•4 x 10” Gal Flue
Note: Some states will use dierent size ue kits
which will require the appropriate upstand.
Non-combustible material can
overlap clearance gap between
ZCB and frameing, and run over
the front of the ZCB. DO NOT
silicon or adhear material to ZCB
as heat expansion of ZCB will
cause cracking.
H
G
J
I
E
Vent - Position vent
such that access is
available to fan power
supply when vent is
removed.
NOTE: Position of upstands on Zero Box di ers depending
on model type. Line up centre screw hole on Zero Box with
corresponding notch on upstands.
Barossa, Stockade
& Kimberley Models
Opal & Riverina
Models
Hamersley Models
Victorian Insert
& Federation Models
Hearth depth
mm in front
of unit
Vent may be
located in the
wall of on the oor.
Compact Zero Clearance
Cabinet Installation

This manual suits for next models

14

Other Jindara Indoor Fireplace manuals

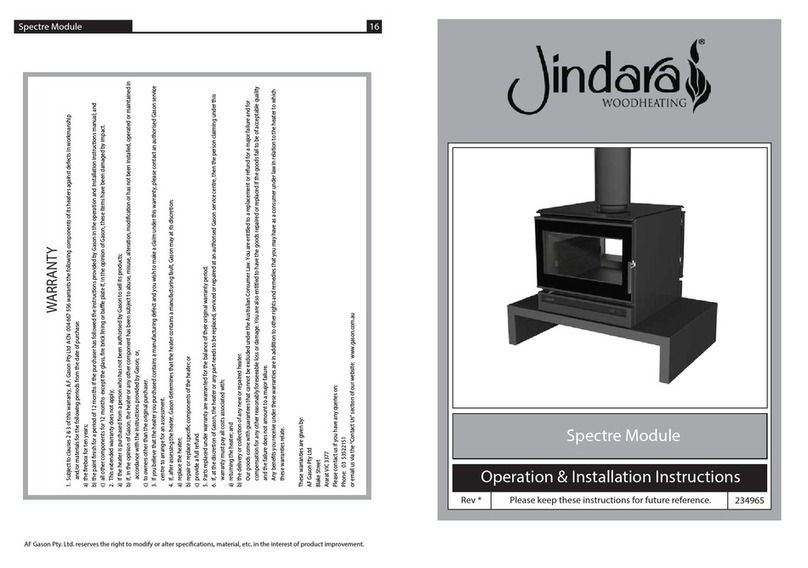
Jindara Spectre User manual

Jindara

Jindara Spectre User manual

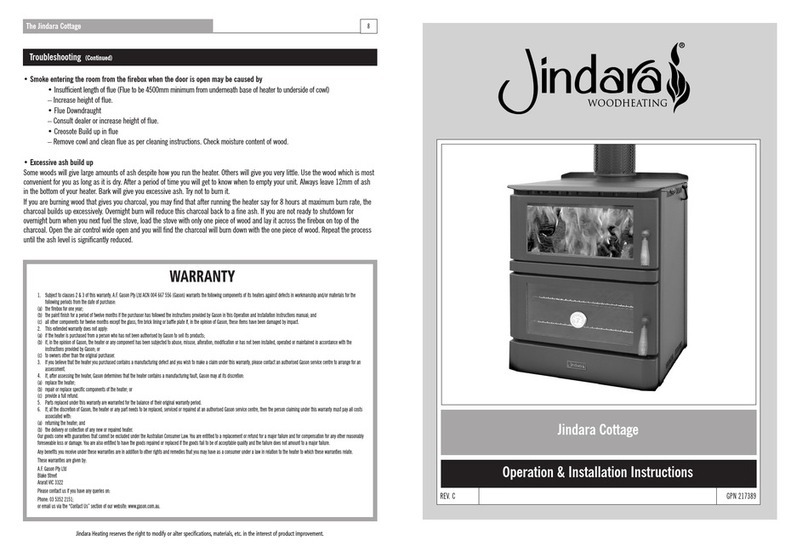
Jindara Cottage User manual

Jindara

Jindara Cottage User manual

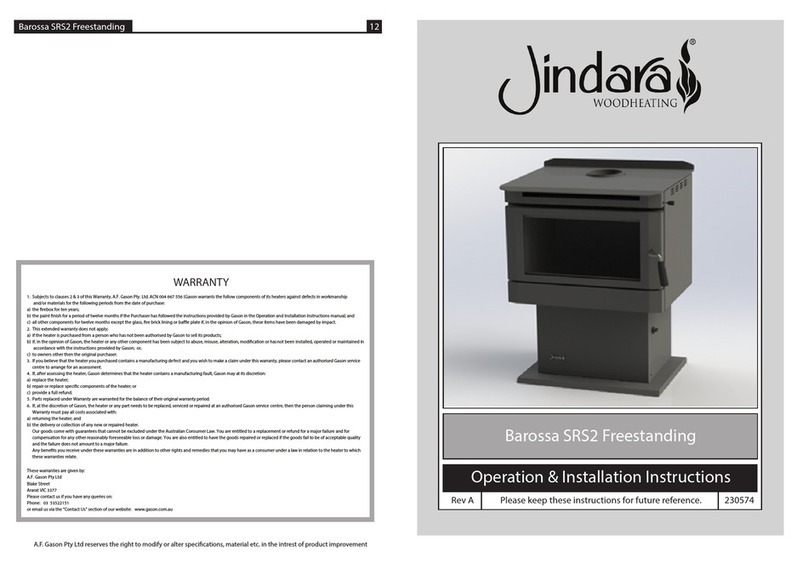
Jindara Barossa SRS2 Freestanding User manual

Jindara

Jindara Barossa SRS2 Freestanding User manual

Popular Indoor Fireplace manuals by other brands

Desa (V)GM36 installation instructions

Desa

Desa (V)GM36 installation instructions

Vermont Castings 500DVM Installation & operating instructions

Vermont Castings

Vermont Castings 500DVM Installation & operating instructions

Masport inbuilt gas fires Owner's manual & installation guide

Masport

Masport inbuilt gas fires Owner's manual & installation guide

Rocal DROP X1320 user guide

Rocal

Rocal DROP X1320 user guide

pyromaster H33BDVRRN Homeowner's installation and operating manual

pyromaster

pyromaster H33BDVRRN Homeowner's installation and operating manual

climacity Pur Line Biochimenea Zeus quick start guide

climacity

climacity Pur Line Biochimenea Zeus quick start guide

Baxi Fires Division 949 owner's guide

Baxi Fires Division

Baxi Fires Division 949 owner's guide

Lennox P1BRENTW-A installation instructions

Lennox

Lennox P1BRENTW-A installation instructions

EdilKamin WINDO2 75 Installation, use and maintenance

EdilKamin

EdilKamin WINDO2 75 Installation, use and maintenance

Dru Paco RCH G20 installation manual

Dru

Dru Paco RCH G20 installation manual

Wagener Sparky CA installation instructions

Wagener

Wagener Sparky CA installation instructions

Stonegate Melrose Dark Cherry Assembly and operation manual

Stonegate

Stonegate Melrose Dark Cherry Assembly and operation manual

Contura 590T manual

Contura

Contura 590T manual

Montigo L52-DF Installation & maintenance manual

Montigo

Montigo L52-DF Installation & maintenance manual

SEI FA9620 Assembly

SEI

SEI FA9620 Assembly

Firenzo Athena Bay AG Installation and operation handbook

Firenzo

Firenzo Athena Bay AG Installation and operation handbook

Remii WM SLIM Series Repair guide

Remii

Remii WM SLIM Series Repair guide

Archgard 25-BVI20N-3 User's installation, operation and maintenance manual

Archgard

Archgard 25-BVI20N-3 User's installation, operation and maintenance manual

manuals.online logo
manuals.online logoBrands
  • About & Mission
  • Contact us
  • Privacy Policy
  • Terms and Conditions

Copyright 2025 Manuals.Online. All Rights Reserved.