manuals.online logo
Brands
  1. Home
  2. •
  3. Brands
  4. •
  5. Joemeek
  6. •
  7. Music Equipment
  8. •
  9. Joemeek MicroMeek MQ1 User manual

Joemeek MicroMeek MQ1 User manual

AUX input (L)
AUX input (R)
AUX input (L)
AUX input (R)
XLR breakout point (Mic input)
to XLR connector
48V Phantom switch
Main output (L) Mono when
MQ1 is ‘ON’
Main output (R)
MicroMeek MQ1 Quick Start Guide MicroMeek MQ1 Quick Start Guide
JOEMEEK JOEMEEK
COMPRESSIONCOMPRESSION COMPRESSIONCOMPRESSION
IMPORTANT - PLEASE REGISTER YOUR PRODUCT NOW! To be eligible for future updates, and
your full factory warranty, you must register online. See enclosed CD or email-
---> [email protected] <---
Fletcher Electroacoustics Ltd. St Marys, Barton Road, Torquay, Devon. TQ1 4DP. ENGLAND
(International) - +44 1803 321921 (UK) - 08707 JOEMEEK
IMPORTANT - Correct earthing means lower noise recordings
Install the MQ1 as shown.
Please check package contents
·MicroMeek Drivebay unit
·MicroMeek connection card
·26 way audio/data cable
·XLR microphone cable
·JOEMEEK installation CDROM
·Quick Start Guide
·Mounting screws
General Safety Precautions
·Do not spill any liquid of any kind on
the unit
·Do not place heavy objects on the unit
·Do not attempt to service the unit
yourself
MicroMeek controls
(ON) enables MicroMeek mic or instrument
input. When off, the auxiliary inputs are fed
directly to the main outputs.
(Input Gain) adjusts the gain of the 5 stage
CurrentSense pre amplifier for mic and
line/instrument inputs.
(Comp) Enables the JOEMEEK optical
compressor. Indicator shows green when
compression is enabled, and flashes orange
with compression effect.
(Compression) Adjusts the overall
compression effect - like a threshold control.
(Att) Compression attack time - in - fast,
1ms. out-slow, 5ms
(Rel) Compression release time - in - fast,
500ms. Out-slow, 1500ms
(Instrument) Unbalanced high impedance
instrument input
(Low) +/- 16dB 80Hz MeQ control
(Mid) +/- 16dB 1.8KHz MeQ control
(High) +/- 16dB 8KHz MeQ control
(Input Meter) Post compression level
indicator. -30dB, 0dB, +10dB
(Out vol) Output gain trim from off to +6dB.
MicroMeek MQ1 inputs and outputsMicroMeek MQ1 inputs and outputsMicroMeek MQ1 inputs and outputsMicroMeek MQ1 inputs and outputs
Supplied screws
Earthing strap
Make sure that the earthing tag has a good metal-metal connection to the computer case. This
ensures maximum noise performance when recording.
Install the daughter board in any available slot, and connect the ribbon cable to daughter
board and main MQ1 unit. Add a power cable to the MQ1, and re-assemble your system.
Refer to the FAQ section on the disk for advice on sound card connecting cable advice.
disclaimer: By installing the MicroMeek in your computer you will be opening your computer
case. Please consult your computer's handbook before continuing: you may be invalidating your
computer's guarantee by proceeding with this installation yourself.
If you are not confident at handling computer parts, please seek a qualified person to complete
the installation for you.
Fletcher Electroacoustics does not accept any responsibility for damage caused by mis-
installation.

Other Joemeek Music Equipment manuals

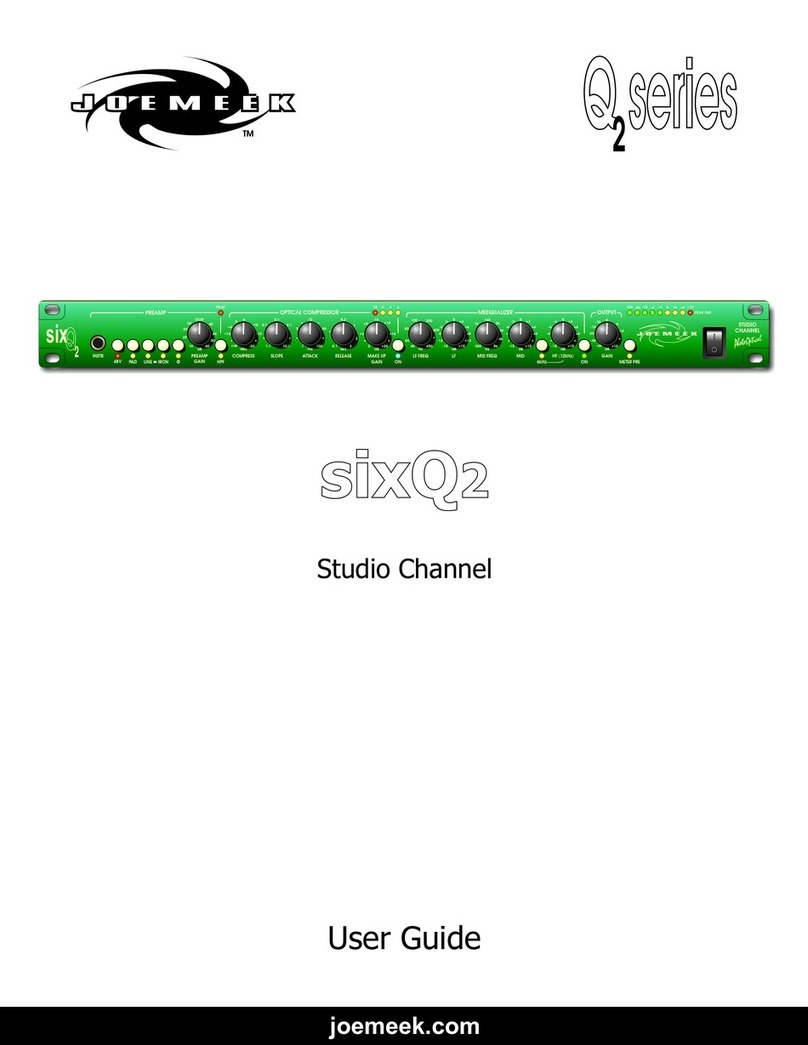
Joemeek sixQ2 User manual

Joemeek

Joemeek sixQ2 User manual

Joemeek meC 500 Series User manual

Joemeek

Joemeek meC 500 Series User manual

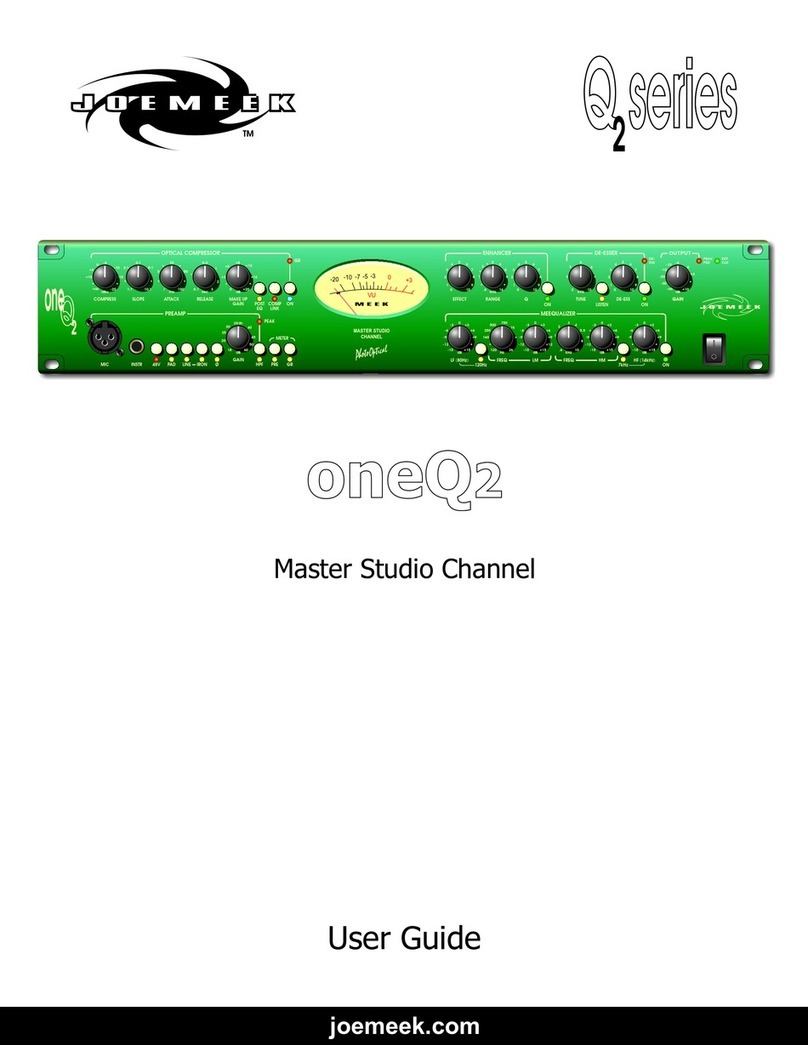
Joemeek oneQ2 User manual

Joemeek

Joemeek oneQ2 User manual

Joemeek twinQ2 User manual

Joemeek

Joemeek twinQ2 User manual

Joemeek British Channel VC6Q User manual

Joemeek

Joemeek British Channel VC6Q User manual

Joemeek FloorQ User manual

Joemeek

Joemeek FloorQ User manual

Joemeek Pro Channel VC3Q User manual

Joemeek

Joemeek Pro Channel VC3Q User manual

Joemeek mc2 User manual

Joemeek

Joemeek mc2 User manual

Joemeek VC1QCS User manual

Joemeek

Joemeek VC1QCS User manual

Joemeek Pro Channel VC3 v2 User manual

Joemeek

Joemeek Pro Channel VC3 v2 User manual

Joemeek VC2 User manual

Joemeek

Joemeek VC2 User manual

Popular Music Equipment manuals by other brands

The Guitammer Company BK-CT user guide

The Guitammer Company

The Guitammer Company BK-CT user guide

Lithium Grim PhotoFet Building instructions

Lithium Grim

Lithium Grim PhotoFet Building instructions

LOOPTROTTER Monster compressor owner's manual

LOOPTROTTER

LOOPTROTTER Monster compressor owner's manual

Dateq SPL-5TS user manual

Dateq

Dateq SPL-5TS user manual

ENYA MUSIC ACOUSTICPLUS Moon user manual

ENYA MUSIC

ENYA MUSIC ACOUSTICPLUS Moon user manual

XIX Acoustics Acoustic Ramp Assembly & installation

XIX Acoustics

XIX Acoustics Acoustic Ramp Assembly & installation

Foxrox Electronics PARADOX TZF Quick start gude

Foxrox Electronics

Foxrox Electronics PARADOX TZF Quick start gude

Art DPDB Applications

Art

Art DPDB Applications

PS Audio MultiWave P1200 installation instructions

PS Audio

PS Audio MultiWave P1200 installation instructions

Applied Research and Technology TransY user manual

Applied Research and Technology

Applied Research and Technology TransY user manual

SPL DrumXchanger manual

SPL

SPL DrumXchanger manual

TC Electronic BRAINWAVES PITCH SHIFTER quick start guide

TC Electronic

TC Electronic BRAINWAVES PITCH SHIFTER quick start guide

SetonixSynth Rottnest user manual

SetonixSynth

SetonixSynth Rottnest user manual

Ashdown THE ANT user manual

Ashdown

Ashdown THE ANT user manual

Harman Kardon AVR 525 brochure

Harman Kardon

Harman Kardon AVR 525 brochure

Wharfedale Pro Pro WPG-331 user guide

Wharfedale Pro

Wharfedale Pro Pro WPG-331 user guide

Sonuscore lo ki owner's manual

Sonuscore

Sonuscore lo ki owner's manual

Fishman POWERBRIDGE user guide

Fishman

Fishman POWERBRIDGE user guide

manuals.online logo
manuals.online logoBrands
  • About & Mission
  • Contact us
  • Privacy Policy
  • Terms and Conditions

Copyright 2025 Manuals.Online. All Rights Reserved.