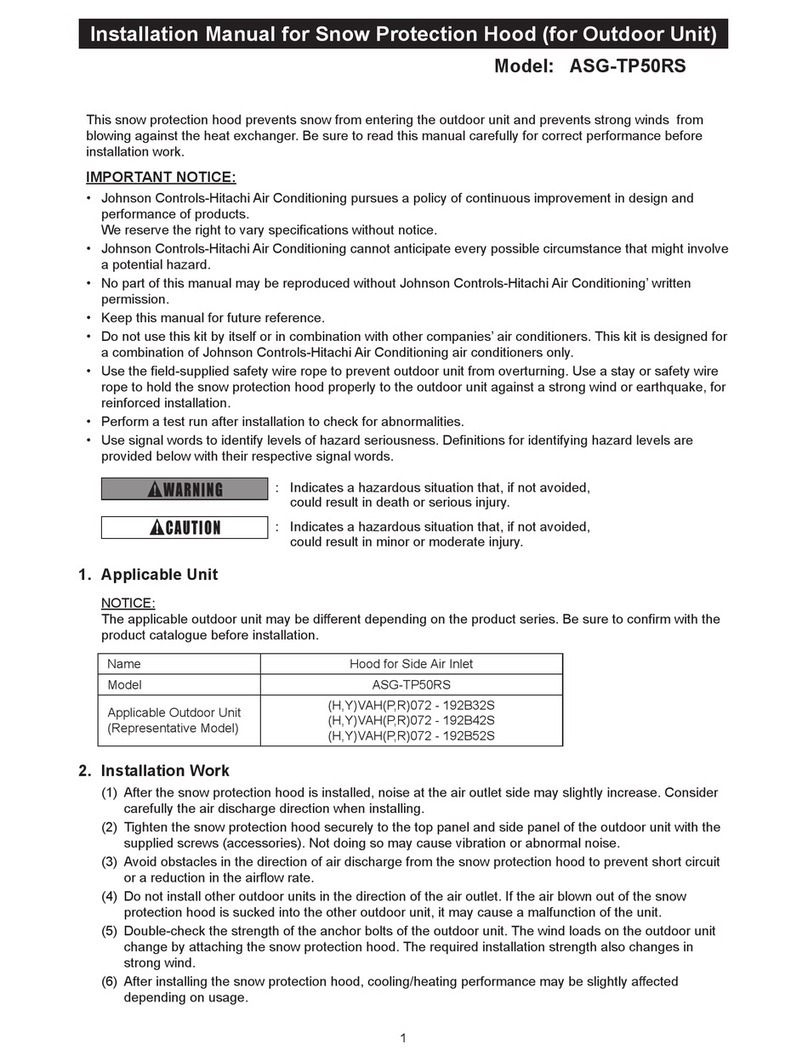
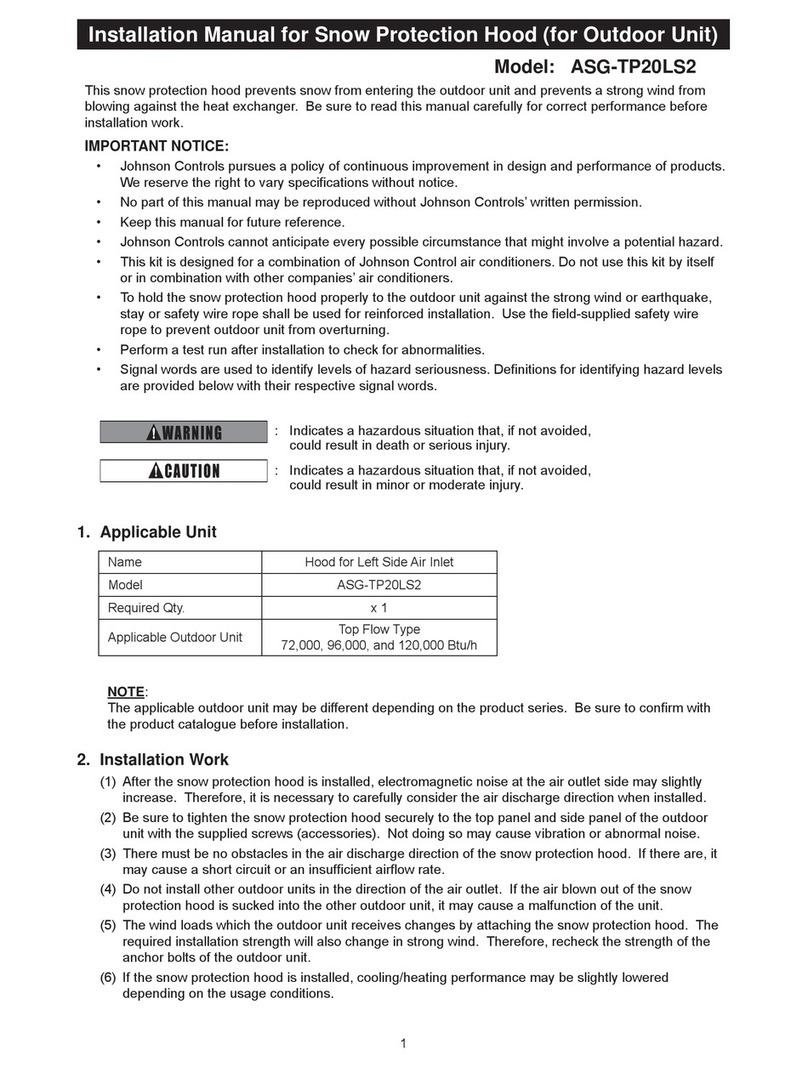
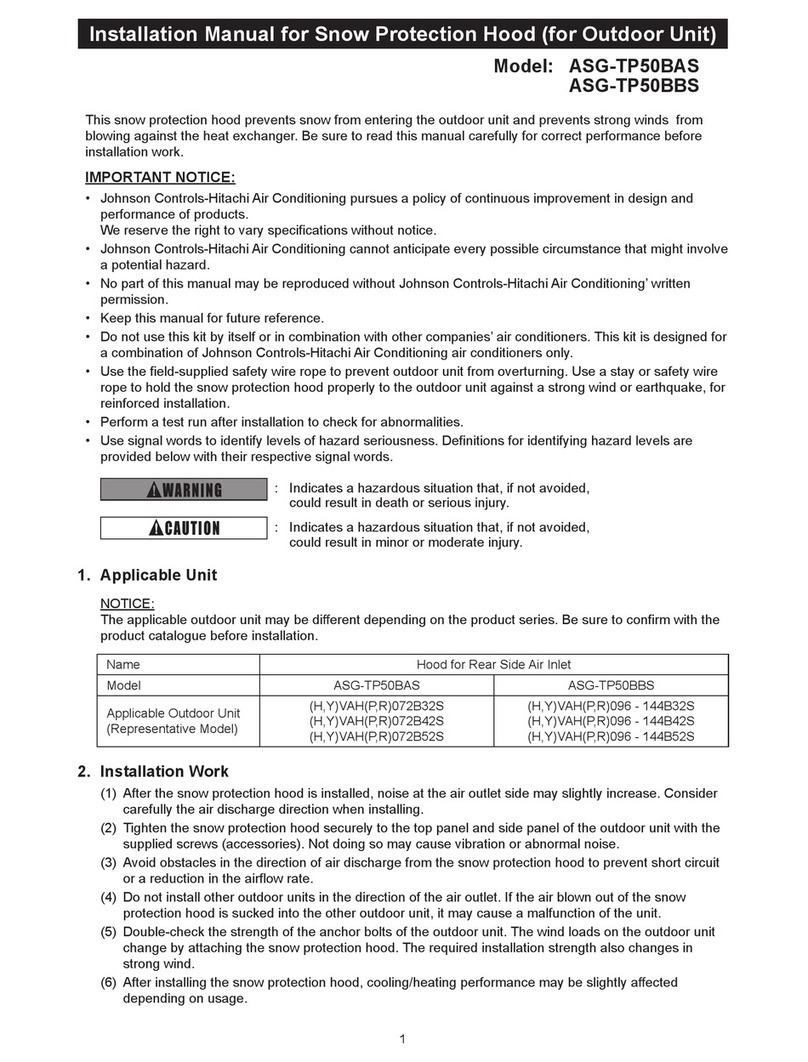
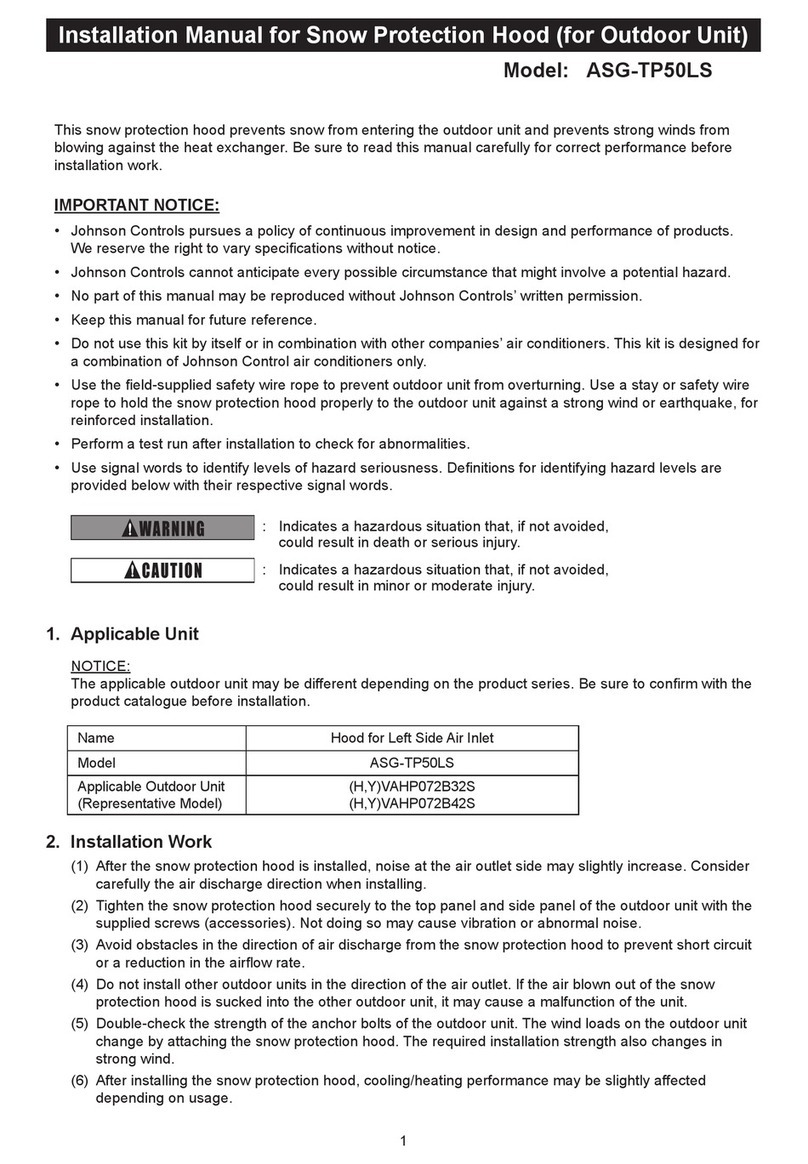
Johnson Controls ASG-TP20RS2 User manual

Model: ASG-TP20RS2
Installation Manual for Snow Protection Hood (for Outdoor Unit)
This snow protection hood prevents snow from entering the outdoor unit and prevents strong winds from
blowing against the heat exchanger. Be sure to read this manual carefully for correct performance before
installation work.
IMPORTANT NOTICE:
• Johnson Controls pursues a policy of continuous improvement in design and performance of products.
We reserve the right to vary specifications without notice.
• No part of this manual may be reproduced without Johnson Controls’ written permission.
• Keep this manual for future reference.
• Johnson Controls cannot anticipate every possible circumstance that might involve a potential hazard.
• This kit is designed for a combination of Johnson Control air conditioners. Do not use this kit by itself or in
combination with other companies’ air conditioners.
• To hold the snow protection hood properly to the outdoor unit against the strong wind or earthquake, stay
or safety wire rope shall be used for reinforced installation. Use the field-supplied safety wire rope to
prevent outdoor unit from overturning.
• Perform a test run after installation to check for abnormalities.
• Signal words are used to identify levels of hazard seriousness. Definitions for identifying hazard levels are
provided below with their respective signal words.
: Indicates a hazardous situation that, if not avoided,
could result in death or serious injury.
: Indicates a hazardous situation that, if not avoided,
could result in minor or moderate injury.
1. Applicable Unit
NOTE:
Applicable outdoor unit may be different depending on the product series. Be sure to confirm with the
product catalogue before installation.
Name Hood for Right Side Air Inlet
Model ASG-TP20RS2
Required Qty. x 1
Applicable Outdoor Unit Top Flow Type
72,000, 96,000, and 120,000 Btu/h
2. Installation Work
(1) After the snow protection hood is installed, electromagnetic noise at the air outlet side may slightly
increase. Therefore, it is necessary to carefully consider the air discharge direction when installed.
(2) Be sure to tighten the snow protection hood securely to the top panel and side panel of the outdoor
unit with the supplied screws (accessories). Not doing so may cause vibration or abnormal noise.
(3) There must be no obstacles in the air discharge direction of the snow protection hood. If there are, it
may cause a short circuit or an insufficient airflow rate.
(4) Do not install other outdoor units in the direction of the air outlet. If the air blown out of the snow
protection hood is sucked into the other outdoor unit, it may cause a malfunction of the unit.
(5) The wind loads which the outdoor unit receives changes by attaching the snow protection hood. The
required installation strength will also change in strong wind. Therefore, recheck the strength of the
anchor bolts of the outdoor unit.
(6) If the snow protection hood is installed, cooling/heating performance may be slightly lowered
depending on the usage conditions.
1
To hold the snow protection hood properly to the outdoor unit against the strong wind or earthquake, stay or
safety wire rope shall be used for reinforced installation. Use the field-supplied safety wire rope to prevent
outdoor unit from overturning.
●Install the snow protection hood to avoid direct facing to the seasonal or strong wind.
●Apply touch-up coating or caulking at the screw holes of the outdoor unit in order to prevent rusting.
(field-supplied)
●Even though the stainless, it may rust by contacting with salt or iron. Pay good attention when
installation or maintenance.
●The snow protection hood is heavy-weight. More than two personnel are required for installation and be
sure to wear the protective equipment (such as gloves).
●The screws and the snow protection hood must be protected from scratch or scrape. If not, it may
cause of rusting. Handle with care when the snow protection hood is installed and assembled.
3. Selection of Installation Place
(1) Install the outdoor unit at the suitable height with consideration for snow accumulation. Increase the
base height or additionally provide the frame under the unit (higher than snow accumulation), and fix
the outdoor unit securely with anchor bolts.
(2) Secure enough service space with consideration for snow accumulation height and snow removal
operation.
(3) There must be no obstacles in the air discharge direction.
(4) Be sure to apply touch-up coating or caulking agent at the screw attaching portions for rustproofing.
(5) In case of multiple outdoor units installation, provide the service space as shown below.
< Service Space for Multiple Outdoor Units Installation >
< Caulking Procedures (Example) >
1
2
Caulking Agent
(field-supplied)
(field-supplied)
Fill up the screw hole
with caulking agent.
Preparation Articles
Caulking Agent (with high viscosity)
(Recommended Product: SHINETSU Silicon KE45RTV (transparent type),
Cloth (for wiping off surplus caulking agent)
Screw into the hole filled with
caulking agent.
* Wipe off the protruding agent
with a cloth.
Screw
(accessories)
Caulking Agent
Hood for Left Side Air Inlet
(Other Snow
Protection Hood Option) Outdoor Units
Min. 2 inch (50mm) Min. 2 inch (50mm)
Hood for Right Side Air Inlet
If no air inlet hood is provided
between outdoor units,
2 inch (50mm) or more space
is required for servicing.
2

Unit: inch (mm)
No. Accessory Qty. Remarks
ASG-TP20RS2
1Right Side Plate 1
2Left Side Plate 1
3Faceplate
(Top Side) 1
4Faceplate
(Back Side) 1
5Screw
(for Installation)
M5 x 15/32L (12L)
(tapping screw
type B)
8
(2)
For installation:
accepting burring TP hole
(2): Spare
6Screw
(for Assembling)
M5 x 9/16L (14L)
(tapping screw
type C)
16
(2)
For installation:
accepting weld nut
(2): Spare
4. Before Installation
Check that all the following accessories are packed with the unit before installation.
3

5. Installation Procedures
(1) Tighten the faceplate (back side) ( 4) with the right side plate ( 1) and left side plate ( 2) together
(8 places) by using screws for assembling ( 6).
(2) Tighten the faceplate (top side) ( 3) (6 places) by using screws for assembling ( 6).
(3) Tighten loosely two screws (for installation) at the top of the snow protection hood ( 5) to the outdoor
unit, and set the snow protection hood (for right side air inlet) to the outdoor unit. Tighten the other
four screws ( 5) except for the top two screws, and finally tighten the top two screws securely.
NOTE:
The fitting slots for the hood are adjustable with the securing positions within +1/8 inch (+3mm). For
hood installation, there must be no gap between the outdoor unit top plate and the hood upper part. If
there is a gap, ice may form inside the hood.
21
4
6
3
6
5
5
Shape of
Fitting Slot
Hood Upper Part
Snow Protection Hood
(for Right Side Air Inlet)
Outdoor Unit
(Screws for Installation at
Top of Snow Protection Hood)
(12)
(7)
9/32
15/32
4

6. Installation Appearance
Dimension
Applicable Outdoor Unit
a
Top Flow Type
72,000 Btu/h
37-5/16
(948)
Top Flow Type
96,000 and 120,000 Btu/h
47-5/8
(1,210)
15-3/4
(400)
7-7/8
(200)
7-7/8
(200)
90-25/32
(2,306)
a
29-17/32
(750)
Safety Wire Rope
to Prevent Overturning
(field-supplied) Hood for Air Outlet
(other snow
protection hood option)
Hood for
Rear Side Air Inlet
(other snow protection
hood option)
Hood for
Right Side Air Inlet
Hood for
Left Side Air Inlet
(other
snow protection
hood
option)
Outdoor Unit
Available Combinations
Applicable Outdoor Unit
Model
Top Flow Type
72,000 Btu/h
Top Flow Type
96,000 and 120,000 Btu/h
Hood for Air Outlet ASG-TP20FAS1 ASG-TP20FBS1
Hood for Rear Side Air Inlet ASG-TP20BAS1 ASG-TP20BBS1
Hood for Left Side Air Inlet ASG-TP20LS2
Hood for Right Side Air Inlet ASG-TP20RS2
NOTE:
This installation manual applies only to the combination indicated with .
For other snow protection hood options, refer to each installation manual.
Unit: inch (mm)
5

© 2015 Johnson Controls, Inc.
P5415545
Code No. LIT-12012090
Issued April, 2015
7. Maintenance and Servicing
Even if during the warranty period, the snow protection hood may be rust under the salt damage or rusty
conditions(such a place that aid-, alkaline- or corrosive moisture is always filled with). It is recommended
to provide the salt damage-resistance/serious salt damage-resistance products (made-to-order) if the snow
protection hood is used under such condition.
In order to prolong the product life, perform the periodical maintenance to prevent significant aging due to
the deterioration. Carry out the following periodical inspection and maintenance works in conjunction with
air conditioners’ inspection.
(1) Red Rust Generation and Coating Film Check
If red rust is generated, or coating film is peeled/cracked, scour the rust off or apply touch-up coating.
When re-coat such portions afterwards, be sure to grind the coating by sandpapers(#180 – 230) before
applying coating agent. The coating agent may give bad effects to your skin. Wear the protective
equipment such as vinyl gloves when handling coating agent to prevent contacting with skin.
(2) Retightening Screws for Installation and Assembly
Check for loose screws and retighten when inspection and maintenance is performed. In order to
prevent screw breakage, be sure to tighten with the following torques:
* M5 Tapping Screw Type C for Assembling 6: 2.6 + 0.7 [Ibf-ft] (3.5 + 1.0 [N•m])
* M5 Tapping Screw Type B for Installation 5: 1.8 + 0.7 [Ibf-ft] (2.5 + 1.0 [N•m])
Table of contents
Other Johnson Controls Ventilation Hood manuals

Johnson Controls
Johnson Controls ASG-TP50BAS User manual

Johnson Controls
Johnson Controls ASG-TP50RS User manual

Johnson Controls
Johnson Controls ASG-TP20FAS1 User manual

Johnson Controls
Johnson Controls ASG-TP50LS User manual

Johnson Controls
Johnson Controls ASG-TP20LS2 User manual

Johnson Controls
Johnson Controls ASG-TP50FCS User manual
Popular Ventilation Hood manuals by other brands

ADURO
ADURO DraftOptimizer User manual and installation guide

Beko
Beko HCP 61310 I user manual

Electrolux
Electrolux EFP 6456 Operating and installation instructions

Zanussi
Zanussi ZHB92670KA user manual

Smeg
Smeg KSE951X2 instruction manual

Fulgor Milano
Fulgor Milano SOFIA Instructions for installation and use