Johnson J-STATION User manual

J-STATION
USER’S
GUIDE

I

DECLARATION OF CONFORMITY
Manufacturer’s Name: Johnson Amplification
Manufacturer’sAddress: 8760 S. Sandy Parkway
Sandy,Utah 84070, USA
declares that the product:
Product Name: J-Station
Product Options: All (requires a Class II power adapter that conforms to the requirements of
EN60065,EN60742,or equivalent.)
conforms to the following Product Specifications:
Safety: EN 60065 (1993)
IEC 65 (1985) with Amendments 1, 2 & 3
EMC: EN 55013 (1990)
EN55020 (1991)
Supplementary Information:
The product herewith complies with the requirements of the LowVoltage
Directive 73/23/EEC and EMC Directive 89/336/EEC as amended by Directive
93/68/EEC.
Johnson Amplification
Vice-President of Engineering
8760 S. Sandy Parkway
Sandy,Utah 84070, USA
Tel:801-566-8800
Fax:801-566-7005
Effective March 31, 2000
European Contact: Your Local Johnson Amplification Sales and Service Office or
Harman Music Group
8760 S. Sandy Parkway
Sandy, Utah 84070, USA
Tel.801-568-7638
Fax 801-568-7642
II

Warranty
We at Johnson Amplification are proud of our products and back-up each one with the following
warranty:
1.The warranty registration card must be mailed within ten days after purchase date to validate this warranty.
2.Johnson Amplification warrants this product,when used solely within the U.S.,to be free from defects in materials
and workmanship under normal use and service.
3.Johnson amplification liability under this warranty is limited to repairing or replacing defective materials that show
evidence of defect, provided the product is returned to Johnson amplification WITH RETURN AUTHORIZATION,
where all parts and labor will be covered up to a period of one year.A Return Authorization number may be
obtained from Johnson amplification by telephone.The company shall not be liable for any consequential damage
as a result of the product's use in any circuit or assembly.
4.Proof-of-purchase is considered to be the burden of the consumer.
5.Johnson amplification reserves the right to make changes in design,or make additions to, or improvements upon
this product without incurring any obligation to install the same on products previously manufactured.
6.The consumer forfeits the benefits of this warranty if the product's main assembly is opened and tampered with
by anyone other than a certified Johnson amplification technician or,if the product is used with AC voltages out -
side of the range suggested by the
manufacturer.
7.The foregoing is in lieu of all other warranties, expressed or implied, and Johnson amplification neither assumes
nor authorizes any person to assume any obligation or liability in connection with the sale of this product.In no
event shall Johnson amplification or its dealers be liable for special or consequential damages or from any delay in
the performance of this warranty due to causes beyond their control.
NOTE:The information contained in this manual is subject to change at any time without notification.Some
information contained in this manual may also be inaccurate due to undocumented changes in the product or
operating system since this version of the manual was completed.The information contained in this version of
the owner's manual supersedes all previous versions.
III

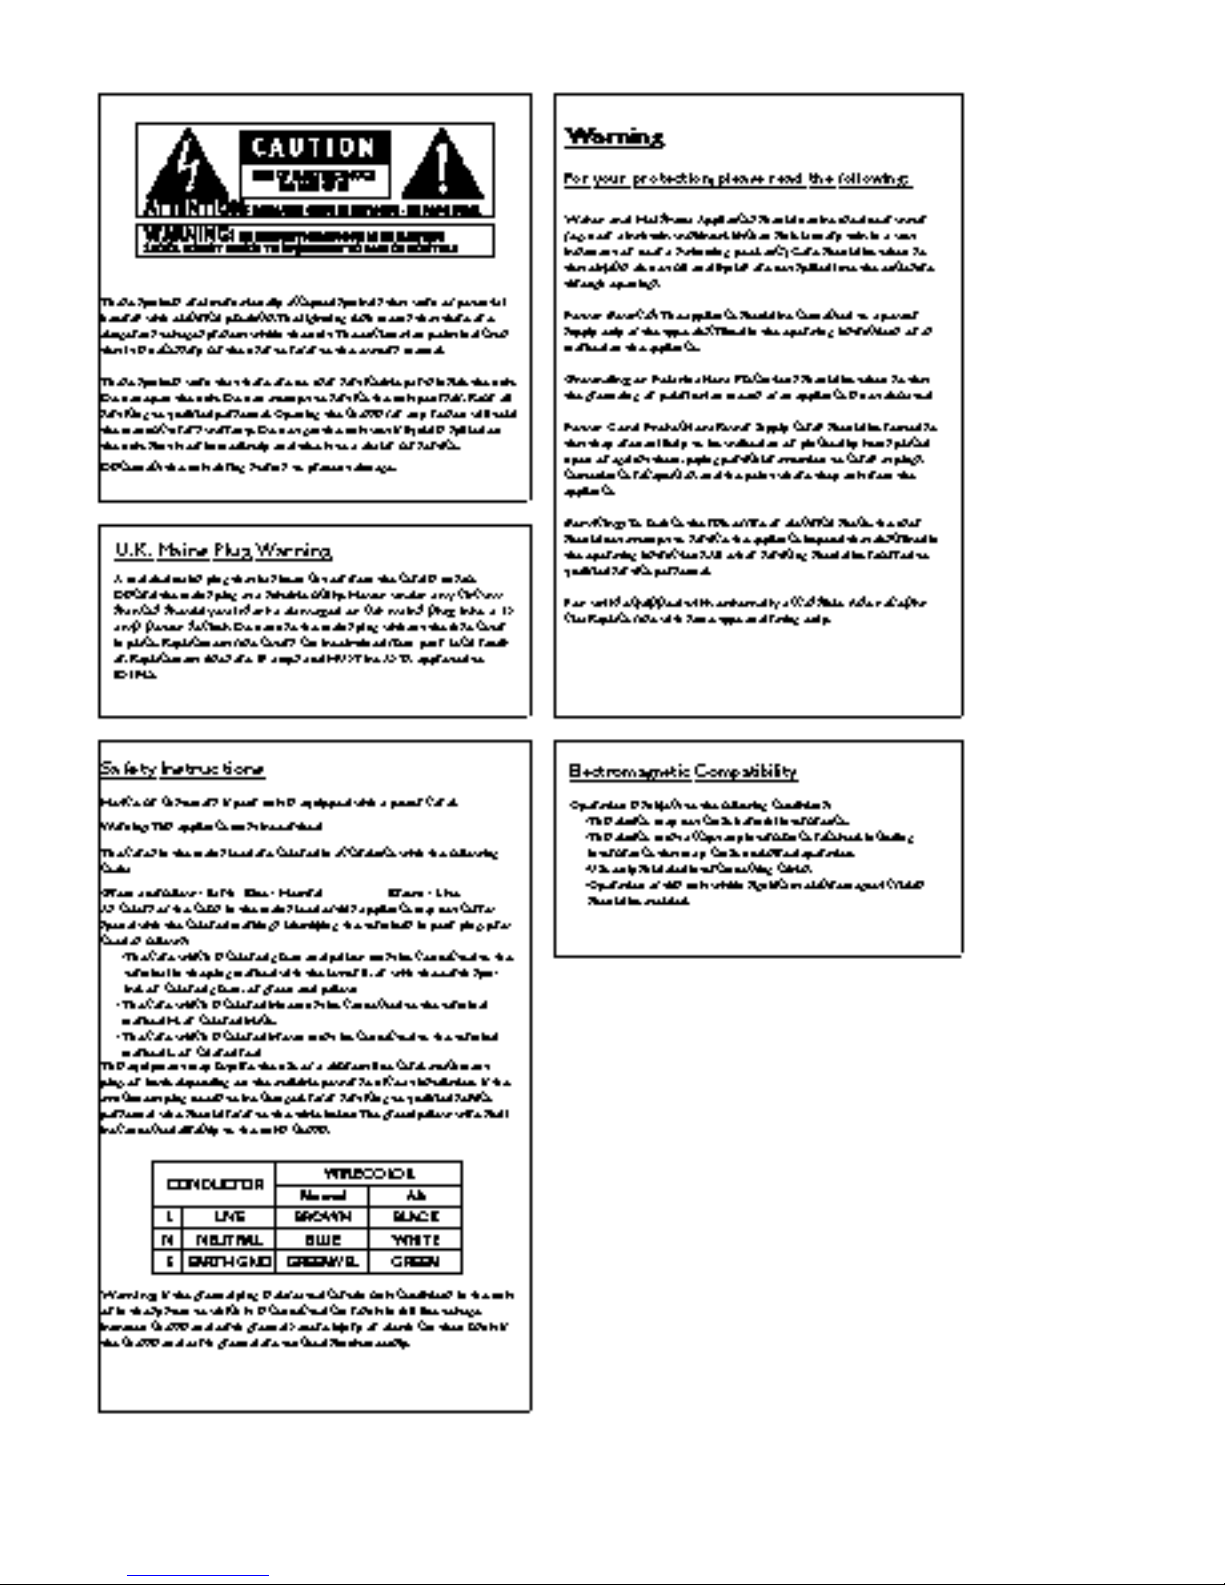
Safety Information ..................................................................................I
Declaration of Conformity ..................................................................II
Warranty ..................................................................................................III
Table of Contents ..................................................................................IV
Section One - Introduction
Congratulations ......................................................................................1
Included Items ........................................................................................1
Features ....................................................................................................1
Quick Start ..............................................................................................2
A Guided Tour ........................................................................................3
The Front Panel..................................................................................3
The Rear Panel ..................................................................................5
The Side Panels ..................................................................................5
Getting Started........................................................................................6
Making Connections..............................................................................6
Mono/Stereo........................................................................................6
S/PDIF Digital Output ......................................................................6
Applying Power ..................................................................................6
About the J-Station ................................................................................7
The Presets..........................................................................................7
Bypass Mode........................................................................................7
Edit Mode ............................................................................................7
Tuner Mode ........................................................................................8
Utility Mode ........................................................................................8
SectionTwo - Editing Functions
Editing/Creating Presets........................................................................9
Top Level Editing ....................................................................................9
Selecting an Amp Model ..................................................................9
Amp Model Editing............................................................................9
Amp Controls ....................................................................................10
Effects Editing......................................................................................10
Delay Editing........................................................................................11
Reverb Editing ....................................................................................11
Compressor Editing ..........................................................................11
Noise Gate Editing ............................................................................11
Deep Level Editing..................................................................................12
Storing/Copying a Preset......................................................................15
SectionThree - Effects
About the Effects....................................................................................16
Effects Definitions ..................................................................................16
Compressor........................................................................................16
WahWah..............................................................................................17
Amp Modeling ....................................................................................18
Cabinet Emulator ..............................................................................19
Noise Gate..........................................................................................19
Effects....................................................................................................20
Chorus ............................................................................................20
Flanger ............................................................................................20
Phaser..............................................................................................21
Tremolo ..........................................................................................21
Rotary Speaker..............................................................................21
AutoWah........................................................................................22
Pitch/Detune..................................................................................22
Delay ....................................................................................................22
Reverb ..................................................................................................23
Section Four -Tutorial
Guided Example......................................................................................24
Choose a Preset ....................................................................................24
Turn the Compressor Off....................................................................24
Select the Amp Model ..........................................................................24
Adjust the EQ..........................................................................................24
Adjust the Noise Gate..........................................................................25
Select the Phaser....................................................................................25
Turn the Delay Off ................................................................................26
Adjust the Reverb..................................................................................26
Set the Preset Level ..............................................................................26
Store the Preset......................................................................................26
Section Five - Other Functions
Utilities......................................................................................................27
Assign Menu........................................................................................27
Output Mode......................................................................................28
Dry Track ............................................................................................28
Digital Output Level..........................................................................28
Global Cabinet Emulator..................................................................28
MIDI......................................................................................................29
MIDI Loop Back ................................................................................29
MIDI Channel......................................................................................29
Sysex Dump........................................................................................29
Continuous Control..........................................................................30
Factory Reset......................................................................................30
Foot Controller Options......................................................................31
Editor/Librarian ......................................................................................31
Section Six - Appendix
Factory Preset List ................................................................................32
MIDI Implementation ............................................................................32
Specifications............................................................................................33
Table of Contents
IV

Congratulationson your purchase of the Johnson J-Station!You now have one of the most
powerful studio tools available anywhere.The J-Station is a professional guitar amp modeling, bass amp
modeling,and effects processing system, complete with a digital output for direct recording.There is no
other direct recording device quite like the J-Station in the world.The J-Station includes 14 of the most
popular guitar amp models,3 bass amp models, 2 acoustic guitar models,and 12 different effects to choose
from.The simple user interface provides intuitive controls and an obvious operating system.Although the
operating system is extremely simple,carefully reading this User’s Guide will help you get the most
satisfaction out of your
J-Station.
Included Items
The utmost care was taken as your J-Station was being manufactured.Everything should be included and in
perfect working order. Please make sure that you have received the following items:
• J-Station
• PS0913B or PSS3 Power Supply
• Editor/Librarian Software for Windows
• User’s Guide
•Warranty Registration Card
Please take a moment to complete theWarranty Card. It is your safe guard in the unlikely event that your
J-Station malfunctions. Save all packing materials and use them to return your J-Station should a problem
arise.
Features
• 14 Guitar Amp Models
• 3 Bass Amp Models
• 2 Acoustic Models
• 12 Studio Quality Effects
• S/PDIF Digital Output
• Full MIDI Implementation
• 24 bit Processing
• ChromaticTuner
• Editor/Librarian Software
• DryTrack Capability
• External Power Supply
• 30 Factory/30 User Presets
• Foot Control Options: J3 and J8

Quick Start
We have included this handy Quick Start guide for those of you who are anxious to get started and prefer
to play now and read later.
Making Connections:
Connect your instrument to the input jack on the right side of the J-Station.Connect the Left and/or Right
Outputs to the input(s) of your mixer.
Apply Power:
Turn the MasterVolume knob on the front panel of the J-Station all the way down (fully counter
clockwise).Connect the plug of the power supply to the power jack on the J-Station.Connect the other end
of the power supply to anAC outlet.Turn the power switch located on the left side of the J-Station to the on
position.Turn your mixer’s power switch to the on position and adjust the volume(s) to their nominal
position (0 dB). Gradually increase the J-Station’s MasterVolume knob to achieve the desired volume.Be
sure that the input(s) of your mixer are not clipping.If clipping occurs, reduce the level of the J-Station’s
MasterVolume.
Select the Desired Output Mode:
Select either Mono or Stereo Output Mode.To do this, press the Shift button.Then press the
Tuner/Utility button.Press the Tap-It (>) button until St shows in the Display. Rotate the Data knob to
select On for Stereo Mode,or OF for Mono Mode.Press the Tuner/Utility button again to exit the Output
Mode selection.
Select Preset:
The J-Station comes loaded with 30 pre-programmed Factory Presets, and 30 User Presets. From the
factory,the User Presets are exact duplicates of the Factory Presets.This allows you to experiment without
running the risk of losing any of the original sounds contained in the J-Station.Use the Data knob to select
different Presets.Once you have found Presets that suit your taste,you can alter the sounds to your specific
needs.
CustomizeYour Sound:
Rotate the Gain knob to adjust the amount of distortion.The Treble,Mid,and Bass knobs will adjust the
EQ,and the Level will adjust the volume of the Preset.Rotate the Select knob to change Amp Models.The
Comp button turns the Compressor on and off,and the Compression Ratio can be adjusted by pressing and
holding the Compressor button and rotating the Data knob.The Compressor Gain can be adjusted by
pressing the Shift button, and then pressing and holding the Compressor button and rotating the Data
knob.The Gate button turns the Noise Gate on and off,and the Gate Threshold can be adjusted by pressing
and holding the Gate button and rotating the Data knob.The Gate Attack Time can be adjusted by pressing
the Shift button,then pressing and holding the Gate button and rotating the Data knob.Successive presses
of the Effect Type button will select the Modulation/Pitch Shift Effect,which will be indicated by the Effect
name lighting on the left side of the J-Station console.The level of these Effects can be adjusted with the
Effects knob,and the speed, pitch or sensitivity (depending on the type of Effect selected) may be adjusted
by pressing the Shift button and rotating the Effect/Speed knob.The Delay Level can be adjusted with the
Delay knob,and the feedback is adjusted by pressing the Shift button and rotating the Delay/Feedback
knob.Repeated presses of the Tap-It button will set the Delay time to the rate at which it is tapped.The
Reverb knob will adjust the level of Reverb.
Remember that you are not at risk of losing any sounds the J-Station came with because the User Presets
are duplicates of the Factory Presets.So, don’t be afraid to experiment.

GuidedTour
Front Panel
1.Shift - This button is used to access alternate functions for various editing functions.Pressing and holding
this button for 3 seconds will access the Deep Level editing mode.See page 12 for more
information on Deep Level editing.
2.EffectType - This button is used to select the type of Modulation or Pitch Shifting effect in the currently
active Preset.Successive presses of this button will advance through all of the available
Modulation or Pitch Shifting effects.The Effects button is also used to select the previous
menu (<) in the Deep Level editing mode and Utility functions.
3.Comp - This button turns the Compressor on and off. Pressing and holding this button accesses the
Ratio. It is also used in conjunction with the Shift button to access the Compressor’s gain
parameter.
4.Tap-It - This button is used to synchronize the Delay repeats with the tempo of the music.Tapping this
button will set the DelayTime at the rate in which it is tapped. It is also used to select the next
menu (>) in the Deep Level editing mode and Utility functions.
5.Gate - This button turns the Noise Gate on and off. Pressing and holding this button provides access to
the Noise Gate’sThreshold.It is also used in conjunction with the Shift button to access the Noise
Gate’sAttack Time Parameter.
6.Tuner/Utility - This button is used to activate and deactivate theTuner.It is also used in conjunction with
the Shift button to access the Utility functions.
7. Store - This button is used to save custom settings to the User Presets.Pressing this button once allows
you to choose the User Preset where the custom settings will be stored,and the second press of
the Store button saves the settings to the selected User Preset.

8.Tuner Indicators - These LEDs provide a visual reference while theTuner is active.The arrow on the left
indicates the note is flat.The arrow on the right indicates the note is sharp,and the
green LED in the middle lights when the note is in tune.
9.Numeric Display -The Display shows the currently active Preset number while in Performance mode,
and Parameter values during certain editing functions.
10. Model Matrix - The Model Matrix provides a visual indication as to which Amp Model is currently
active.The name of the currently activeAmp Model will light.
11. Model Select - This knob is used to select the desired Amp Model.
12.MasterVolume - The MasterVolume adjusts the output level of all Presets.
13. Level - This knob adjusts the individual volume level of the currently active Preset.
14. EQ Knobs - These knobs adjust the amount ofTreble,Midrange, and Bass frequency enhancement for
the model in the currently active Preset.
15. Gain - This knob adjusts the amount of drive or distortion content in the model in the currently active
Preset.
16. Data - This knob is used to select Presets, and to increase or decrease the value of a selected
Parameter.
17. Reverb - This knob adjusts the amount of Reverb effect added to the currently active Preset.
18. Delay/Fback -This knob adjusts the amount of Delay effect added to the currently active Preset. It is
also used in conjunction with the Shift button to adjust the number of repeats
(Feedback) the Delay will produce.
19. Effects/Speed - This knob is used to adjust the level of Modulation or Pitch Shifting effect in the
currently active Preset.It is also used in Conjunction with the Shift button to adjust the
Speed of the Modulation Effects,the Amount of the Shifted Pitch or Detune, and the
Sensitivity of the AutoWah.
20. Effects Matrix - The Effect Matrix provides a visual indication of the selected type of Modulation or
Pitch Shifting Effect in the the currently active Preset.

Rear Panel
1. Left/Right Outputs - Connect one of these jacks to a channel input on your mixer for mono
applications,or both of these jacks to two channel inputs on your mixer for stereo
applications. Be sure to select the desired output mode from the Utility menu.See
page 28 for more information on selecting the output mode.
2.MIDI In/J8 Selector Switch -This switch is used to select whether the 5 pin DIN jack will be used for
the Johnson J8 Foot Controller, or as a MIDI input.Push this switch to the
right for MIDI applications, and to the left for J8 use.
3.MIDI In/J8 Jack - Connect either the J8 Foot Controller,or the MIDI Out of your computer to this jack
for remotely controlling,or programming the J-Station. Be sure to set the MIDI In/J8
selector switch to MIDI before connecting any MIDI device.
4.MIDI Out/Thru - Connect from this jack to either the MIDI Input on your computer for sending
information from the J-Station to the computer,or to the MIDI Input on other MIDI
devices you wish to control.
5. Footswitch Jack - Connect the J3 Footswitch to this jack for Bank Up,Bank Down, and Preset select.
6. S/PDIF Digital Output -This is the digital output from the J-Station.The signal at this output is in a
stereo digital format, and is to be connected to a digital S/PDIF input such as
those found on digital recording devices.
ATTENTION: Do not connect the S/PDIF output to analog auxiliary, CD, phono,or tape inputs on consumer
electronic devices.It is not compatible with these inputs.
7.Power Jack - Connect only the provided PS0913B or PSS3 power supply to this jack.
Side Panels
1. Input - Connect your instrument to this jack.
2. Headphone Output - Connect stereo headphones to this jack. Do not connect a mono plug here as
doing so may damage the output driver.
3. Power Switch - This switch is used to turn the J-Station on and off.

Getting Started
Making Connections
Before connecting the J-Station, make sure that the power amplifier for your speakers is turned off,and that
the power switch on the J-Station is off.
There are several different connection options available when using the J-Station.You may run mono into
one channel, stereo into two channels, connect digitally to the input of a digital recorder or mixer,or a
combination of these.The following diagrams show the connections for some of these options.
Mono/Stereo Set Up
Connect your instrument to the input of the J-Station.Connect the Left (for mono) or Left and Right (for
stereo) outputs of the J-Station to the line inputs of a mixer. Connect the provided Power Supply from the
Power Jack on the J-Station to anAC outlet.
S/PDIF Digital Set Up
The J-Station includes a S/PDIF digital output eliminating multiple A/D and D/A conversions when recording
digitally. Connect from the S/PDIF output of the J-Station to the S/PDIF input on your digital mixer or
recorder.You must have S/PDIF inputs on the receiving device in order to use this output.You may use the
analog and digital outputs of the J-Station simultaneously. Be sure to use a 75 ohm or RCA video cable to
connect from the Digital Output to a recording device.
ATTENTION: Do not connect the S/PDIF output to analog auxiliary, CD, phono, or tape inputs
on consumer electronic devices. It is not compatible with these inputs.
Applying Power
Once the audio connections have been made,turn the MasterVolume all the way down (counterclock-
wise). Turn the Power Switch located on the left side of the J-Station to the on position. Select your
desired Output mode in the Utility menu.See page 28 for more on selecting the Output mode.Turn your
mixer and the power amp for your speakers to the on position.Set the channel faders of your mixer to the
nominal level (0 dB).Turn the MasterVolume of the J-Station up to achieve the desired volume level.

About the J-Station
The Presets
Presets are numbered locations of programmed sounds which reside in the J-Station. Presets can be recalled
with the Data knob.The J-Station comes with 30 Factory and 30 User Presets available.The Factory Presets
will not allow you to store any changes to them.The User Presets are locations where your creations may
be stored. From the factory, the 30 User Presets are exact duplicates of the 30 Factory Presets.This allows
you to make your own Presets without the worry of losing any of the sounds that the J-Station came with.
When you first turn your J-Station on,it will default to the last preset that had been selected.When you
select a Preset, the number of the Preset will be shown in the Display. An LED in the right corner of the
Display indicates whether you are in a User Preset or a Factory Preset.
To select a preset, simply rotate the Data knob located in the center of the front panel.The numeric display
will change with each click of the Data knob to indicate the current preset.The Presets are arranged in 10
User Banks and 10 Factory Banks with 3 Presets in each Bank.The left number in the Display indicates the
Bank and the right number indicates the Preset.
After selecting a Preset, all Parameter values will relate to the values of the knobs at the time the Preset was
stored.The current position of the knobs will not reflect the values that you are hearing.The knobs must be
turned at least one whole number before the J-Station will update the Parameter value to the position of the
knob.
Bypass Mode
The J-Station does not have a total bypass function.Some effects can be bypassed, other effects can in
essence be bypassed by turning the level down, but the Amp Modeling will always be active.
Edit Mode
The J-Station allows you to customize Presets to suit your particular needs and applications.Editing functions
allow you to replace,or modify several aspects of the effects which make up the Preset.When a Preset is
selected on the J-Station,the settings which were stored to that particular Preset will be recalled.There are 2
different levels of Edit Mode:Top Level and Deep Level. Top Level editing provides quick access to commonly
adjusted Parameters. Deep Level edit mode provides access to all Parameters.Pressing any buttons (except
Tuner or Store), or turning any knobs will access theTop Level Edit Mode. Pressing and holding the Shift
button will access the Deep Level Edit Mode. Editing functions are also accomplished through the use of a
computer and the J-Station Editor/Librarian software. No edits will be stored to the Preset unless the Store
function is performed. See page 9 for more information on editing functions.

Tuner Mode
TheTuner in the J-Station allows you to accurately tune your instrument prior to a recording session. Enter
Tuner mode by pressing the Tuner button.The Tuner button will light,and the display will briefly showtu
indicating that you are inTuner mode. To begin tuning, play a note on your instrument (a harmonic at the
12th fret usually works best).The display window will show the note being played,and the Tuning LEDs
above the Display will indicate whether you are sharp,flat, or in tune.The arrow to the left indicates the
note is flat and should be tuned up.The arrow to the right indicates the note is sharp and should be tuned
down.When your note is in tune,the green center led will light.
InTuner mode, you can change your tuning reference by rotating the Data knob.The default factory setting
is A=440 Hz which will be displayed as 40.The tuning reference ranges from 427 Hz (displayed as 27) to 453
Hz (displayed as 53), which is the equivalent of ± 50 cents (1/2 semitone) in either direction from 440 Hz.
When you scroll down from 427 Hz,you will also find alternate dropped tunings. Alternate tunings are A =
Ab (1 semitone down displayed as Ab), A = G (1 whole tone down displayed as G),and A = Gb (3 semitones
down displayed as Gb).The display window will briefly show the currently selected tuning reference.
ExitTuner mode by pressing theTuner button again.
Utility Mode
The Utility Mode contains several menus affecting global functions for the J-Station.The Tuner/Utility but-
ton is used in conjunction with the Shift button to gain access the Utility Mode.Once the Utilities have
been accessed, pressing the EffectType button (<) will select the previous Utility menu, and pressing the
Tap-It button (>) will move forward through the Utility selections. Rotating the Data knob will change the
value or status of the selected Utility. Pressing the Tuner/Utility button will exit the Utility menu and return
the J-Station to the previous mode.See page 27 for detailed information regarding the Utility functions.

SectionTwo - Editing Functions
Editing/Creating Presets
Creating your own signature sound with the J-Station is easy and intuitive.The J-Station lets you create your
own Presets, or fine tune existing Presets to suit your needs. There are two levels of editing in the J-Station.
TheTop Level editing allows simple adjustments such as level,and speed.The Deep Level editing allows all
parameters of every effect to be adjusted.
Regardless of whether you are creating a Preset using theTop Level or Deep Level editing modes, you must
first start with one of the User or Factory Presets.It is not possible to start with a completely empty Preset.
The Preset number does not necessarily need to be the location which you intend to have it reside,as you
can save your creation to any User Preset location during the Store process.
Top Level Editing
Select a Preset as your starting point by rotating the Data knob.Once you have selected a Preset, several
aspects of the sound can be edited.
Selecting an Amp Model
The J-Station provides 14 Guitar Amp Models, 3 Bass Amp Models,and 2 Acoustic Models.Only one Model
can be used at a time.The Models are chosen by rotating the Select knob. The name of the currently active
Model will light in the Model Matrix.
Amp Model Editing
Once you have selected the Amp Model that you intend to use,you can edit the gain and tonal
characteristics of that Model,as well as assigning a volume level for the preset.This is done through the use
of the knobs located along the bottom of the J-Station. Each Amp Model defaults with a specific type of
Speaker Cabinet Emulation. However,you can select alternate Cabinet types.See page 19 for more
information on selecting Cabinet types.

Amp Controls
The amp control section consists of a Gain,Treble,Mid, Bass, and Level knob.These knobs adjust the
selected amp models Drive, EQ, andVolume. Each amp model has a default knob setting when it is selected.
When you first select an amp model,the knobs will not necessarily reflect the current values associated with
the sound you are hearing. In other words, the amp does not “look” at the current setting of the knob when
an amp model is first selected.Once a knob is turned at least one whole number,the sound will update to
reflect the knobs current position.The following is a description of each knobs function.
Gain - This knob controls the amount of distortion gain (drive).
Treble - This knob is used to increase or decrease the amount of high frequency enhancement.
Mid - This knob is used to increase or decrease the amount of mid-range enhancement.
Bass -This knob is used to increase or decrease the amount of low frequency enhancement.
Level - This knob is used to increase or decrease the volume level for the preset.This adjustment differs
from the MasterVolume in that the master volume will increase, or decrease the level of all presets.
The level knob will only increase or decrease the volume of the selected preset.
Effects Editing
The Effects section includes Chorus,Flanger,Phaser,Tremolo,Rotary Speaker,AutoWah,Pitch Shifting, and
Detuning.These Effects are accessed by pressing the EffectType button.Only one of these Effects can be
used at a time.The name of the currently selected Effect will light in the Effect Matrix.Successive presses of
the EffectType button will advance through all available Effects. Once the desired Effect is selected, the
level of the Effect can be adjusted by rotating the Effect knob.Pressing the Shift button and rotating the
Effect/Speed knob will adjust the Speed of any Modulation Effect (Chorus, Flanger,Phaser,Tremolo, Rotary
Speaker),the Sensitivity of the AutoWah Effect,or the Amount of Pitch/Detune.

Delay Editing
The Delay effect includes adjustments for the Delay Level,DelayTime, and Regeneration Parameters.
Rotating the Delay knob will adjust the Level of the delay in the currently active Preset. Pressing the Shift
button and rotating the Delay knob will adjust the Regeneration (number of repeats) of the Delay effect.
The Tap-It button is used to adjust the DelayTime (the length of time between repeats). Tapping this but-
ton synchronizes the repeats to the rate at which it was tapped.
Reverb Editing
The Reverb Level is the only Reverb parameter available for adjustment in theTop Level edit mode. Rotating
the Reverb knob will adjust the amount of Reverb added to the signal.
Compressor Editing
The Compressor provides smooth and transparent compression with the ability to adjust the Ratio,Gain and
bypass or activate the Effect. Pressing the Compressor button will turn the Compressor on and off.
Pressing and holding the Compressor button will access the Ratio and rotating the Data knob will change
the Ratio.Pressing the Shift button and then pressing and holding the Compressor button will access the
Compressor’s Gain Parameter and rotating the Data knob will adjust the Gain.
Noise Gate Editing
The Noise Gate is an extremely useful effect that stops noise from coming through your amp when you are
not playing.Pressing the Gate button will turn the Noise Gate on and off.Pressing and holding the Gate
button will access the Gate Threshold and rotating the Data knob will adjust the Threshold.Pressing the
Shift button and then pressing and holding the Gate button will access the Noise Gate’sAttackTime.The
Attack Time can then be adjusted by rotating the Data knob..The Attack Time is the length of time it takes
the Noise Gate to open once you begin playing.

Deep Level Editing
Select a Preset which will be your starting point by rotating the Data knob. Once you have selected a
Preset,every aspect of the sound can be edited in the Deep Level edit mode.To access the Deep Level
editing,press and hold the Shift button for 3 seconds.The Shift button will begin to blink and the word
edit will briefly scroll across the display.Then the Display will show a number between 0and 39 which
corresponds to the 40 different Parameters available for adjustment.Use the EffectType (<) button to
select the previous Parameter number,and the Tap-It (>) button to select the next Parameter number.
Once the desired Parameter has been selected,the Display will alternate between showing the selected
Parameter number, and the value for the Parameter.Rotate the Data knob to change the value of the
selected Parameter. The following charts list every Parameter, the corresponding Parameter number, and the
possible values for each parameter.
Parameter
Compressor
On/Bypass
Threshold
Ratio
Gain
Frequency
Parameter Number
00
01
02
03
04
ParameterValues
00 = Bypass
01 = On
0 to 50 = -50dB to 0dB
00 = 1.1:1
01 = 1.2:1
02 = 1.5:1
03 = 2:1
04 = 3:1
05 = 4:1
06 = 6:1
07 = 8:1
08 = 10:1
09 = infinity:1
00 to 30 = 0dB to 30dB
00 = 50 Hz
01 = 63 Hz
02 = 80 Hz
03 = 100 Hz
04 = 125 Hz
05 = 160 Hz
06 = 200 Hz
07 = 250 Hz
08 = 315 Hz
09 = 400 Hz
10 = 500 Hz
11 = 630 Hz
12 = 800 Hz
13 = 1 kHz
14 = 1.25 kHz
15 = 1.6 kHz
16 = 2 kHz
17 = 2.5 kHz
18 = 3.15 kHz
19 = Full Range

Parameter
Noise Gate
On/Bypass
Attack Time
Threshold
Parameter Number
16
17
18
ParameterValues
00 = Bypass
01 = On
00 - 10
01 - 99
Parameter
Cabinet Emulator
CabinetType
Parameter Number
15
ParameterValues
00 = No Cabinet
01 = Brit 4x12
02= Johnson 4x12
03 = Fane 4x12
04 = Johnson 2x12
05 = American 2x12
06 = Jennings Blue 2x12
07 = Tweed 1x12
08 = Blonde 2x12
09 = Bass 4x10 w/Tweeter
10 = Folded Horn 1x18
11 = Flexi Bass
Parameter
Amp Modeling
ModelType
Gain
Treble
Mid
Bass
Level
Parameter Number
09
10
11
12
13
14
ParameterValues
00 = J Crunch
01 = J Solo
02 = J Clean
03 = Boutique
04 = Rectified
05 = Brit Stack
06 = Brit ClassA
07 = BlackFace
08 = Boat Back
09 = Flat Top
10 = Hot Rod
11 =Tweed
12 = Blues
13 = Fuzz
14 = Modern
15 = British
16 = Rock
17 = More A1
18 = More A2
00 - 90
00 - 90
00 - 90
00 - 90
00 - 90
Parameter
Wah/Pitch
On/Bypass
WahType
Wah Heel
WahToe
Parameter Number
05
06
07
08
ParameterValues
00 = Bypass
01 = On
00
00 - 127
00 - 127

Parameter
Volume Master Level
Volume Pedal
Parameter Number
38
39
ParameterValues
00 - 127
00 - 127
Parameter
Reverb On/Bypass
Type
Level
Diffusion
Density
Decay
Parameter Number
32
33
34
35
36
37
ParameterValues
00 = Bypass
01 = On
00 = Club
01 = Studio
02 = Bathroom
03 = Plate
04 = Soundstage
05 = Garage
06 = Hall
07 = Church
08 = Arena
09 = 2 Spring 7”
10 = 2 Spring 14”
11 = 3 Spring 14”
12 = Rattle & Boing
00 - 99
00 - 99
00 - 99
00 - 09
Parameter
Delay On/Bypass
Type
Level
DelayTime Course
DelayTime Fine
Delay Feedback
Parameter Number
26
27
28
29
30
31
ParameterValues
00 = Bypass
01 = On
00 = Mono Delay
01 = Analog Delay
02 = Pong Delay
03 = Analog Pong Delay
00 - 99
00 - 30
01 - 99
00 - 99
Parameter
Effects On/Bypass
Type
Level
Speed/Pitch/Type
Depth/Detune
Regeneration
Position
Parameter Number
19
20
21
22
23
24
25
ParameterValues
00 = Bypass
01 = On
00 = Chorus
01 = Flanger
02 = Phaser
03 = Tremolo
04 = Rotary Speaker
05 = Envelope Filter
06 = Pitch/Detune
Effect Dependent
Effect Dependent
Effect Dependent
Effect Dependent
00 = Pre Amp Modeling
01 = Post Amp Modeling

Storing/Copying a Preset
After a Preset has been edited to your liking,the changes must be stored to a User Preset if the J-Station is
to remember your modification. Selecting a new Preset, or turning the J-Station off before performing the
Store function will cause the modifications that you had made to be lost.The Store button is used to save
any modifications that you had made to a Preset,or to copy a Preset to a different location. The following
steps outline the procedure for Storing or copying a Preset:
1.Press the Store button once.The Display will begin to flash the Preset number indicating that you can
select a new Preset location.
2.Rotate the Data knob to select the Preset location where changes will be saved.
3.Press the Store button again to complete the Store function.
To copy a Preset to a new location,select the Preset you wish to copy and then follow steps 1 through 3.
Other manuals for J-STATION
1
Table of contents
Other Johnson Music Pedal manuals