manuals.online logo
Brands
  1. Home
  2. •
  3. Brands
  4. •
  5. JVC
  6. •
  7. HDTV
  8. •
  9. JVC LT-43C860 User manual

JVC LT-43C860 User manual

Other JVC HDTV manuals

JVC LT-32C655A User manual

JVC

JVC LT-32C655A User manual

JVC LT-55C860A User manual

JVC

JVC LT-55C860A User manual

JVC BlackCrystal BC50R User manual

JVC

JVC BlackCrystal BC50R User manual

JVC LT-48K780 User manual

JVC

JVC LT-48K780 User manual

JVC EM40NF5 User manual

JVC

JVC EM40NF5 User manual

JVC LT-39C770 User manual

JVC

JVC LT-39C770 User manual

JVC LT-24C660 User manual

JVC

JVC LT-24C660 User manual

JVC LT-24C655C User manual

JVC

JVC LT-24C655C User manual

JVC BlackSapphire SP55M-C Owner's manual

JVC

JVC BlackSapphire SP55M-C Owner's manual

JVC LT-49C770 User manual

JVC

JVC LT-49C770 User manual

JVC LT-48C770 User manual

JVC

JVC LT-48C770 User manual

JVC Emerald EM32FL User manual

JVC

JVC Emerald EM32FL User manual

JVC HDTV User manual

JVC

JVC HDTV User manual

JVC LT-48C570 User manual

JVC

JVC LT-48C570 User manual

JVC EM39T User manual

JVC

JVC EM39T User manual

JVC LT-55C860 User manual

JVC

JVC LT-55C860 User manual

JVC LT-32C790 User manual

JVC

JVC LT-32C790 User manual

JVC LT-32C790 User manual

JVC

JVC LT-32C790 User manual

JVC LT-32C670 User manual

JVC

JVC LT-32C670 User manual

JVC LT-32K680 User manual

JVC

JVC LT-32K680 User manual

JVC LT-24C655 User manual

JVC

JVC LT-24C655 User manual

JVC LT-40C880 User manual

JVC

JVC LT-40C880 User manual

JVC BlackCrystal JLE42BC3500 User manual

JVC

JVC BlackCrystal JLE42BC3500 User manual

JVC LT-32C660 User manual

JVC

JVC LT-32C660 User manual

Popular HDTV manuals by other brands

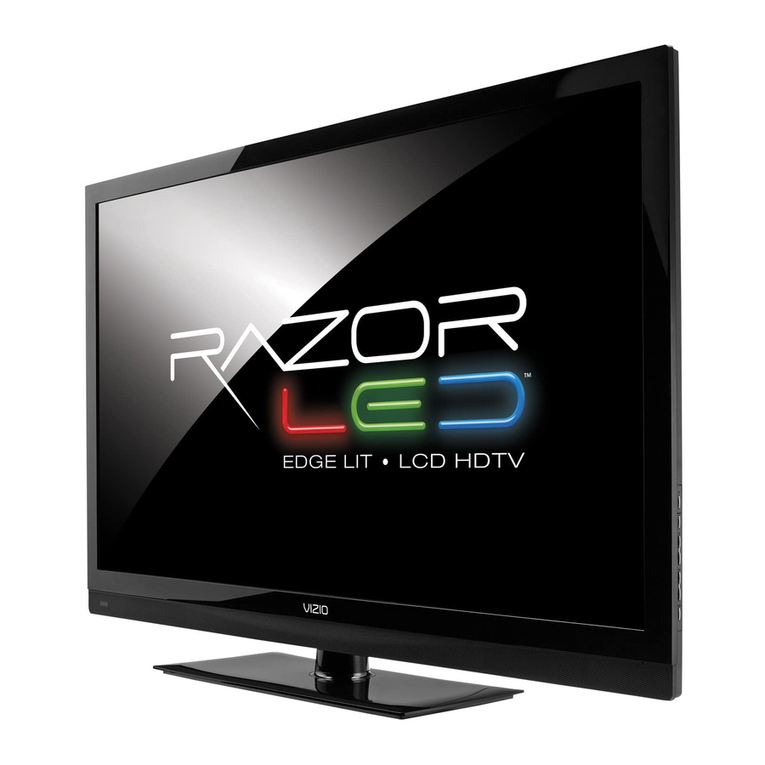
Vizio M602i-B3 user manual

Vizio

Vizio M602i-B3 user manual

Sharp LC60LE830UN brochure

Sharp

Sharp LC60LE830UN brochure

LEECO uMax85 user manual

LEECO

LEECO uMax85 user manual

Pendo PNDLFHU55 quick start guide

Pendo

Pendo PNDLFHU55 quick start guide

Philips 32PFL9604H null

Philips

Philips 32PFL9604H null

Philips 32PFL8404H null

Philips

Philips 32PFL8404H null

RCA RTU7575-B manual

RCA

RCA RTU7575-B manual

Sceptre X23 user manual

Sceptre

Sceptre X23 user manual

Medion LIFE P13901 user manual

Medion

Medion LIFE P13901 user manual

Vizio D32h-C0 user manual

Vizio

Vizio D32h-C0 user manual

LG 50PC1DRA Specifications

LG

LG 50PC1DRA Specifications

Samsung Tantus HCJ555W instruction manual

Samsung

Samsung Tantus HCJ555W instruction manual

Sceptre X460BV-FHD Specifications

Sceptre

Sceptre X460BV-FHD Specifications

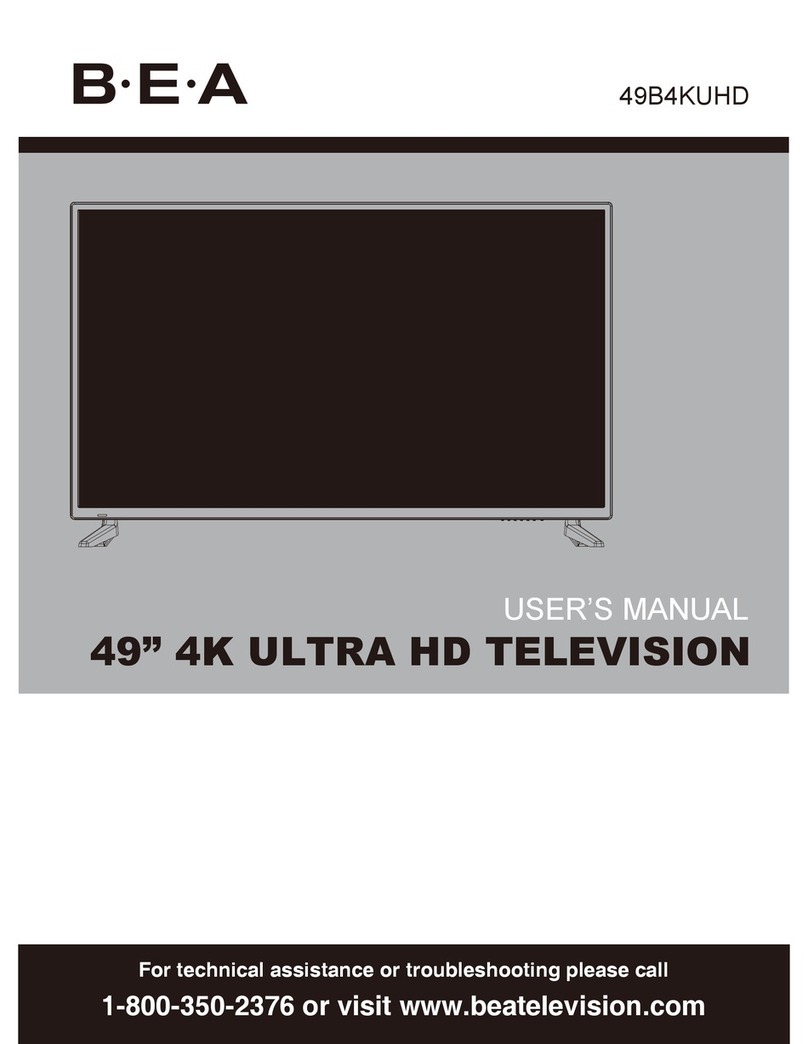
BEA 49B4KUHD user manual

BEA

BEA 49B4KUHD user manual

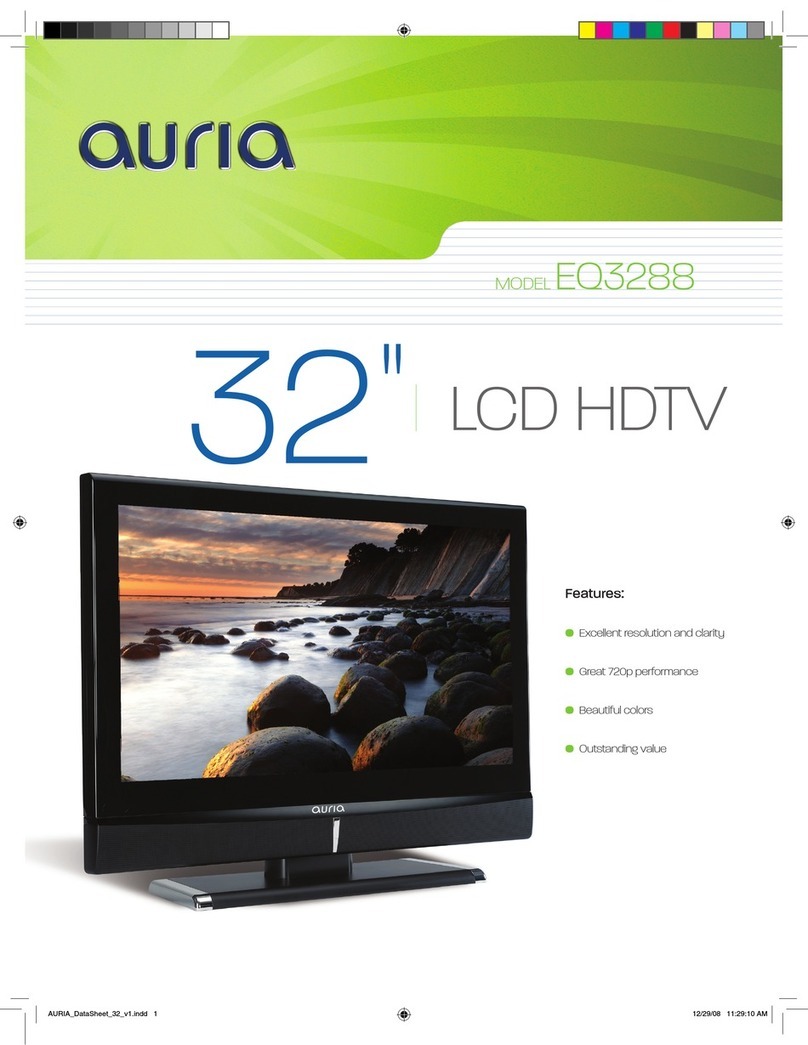
EQD Auria EQ3288 Specifications

EQD

EQD Auria EQ3288 Specifications

Medion LIFE P14334 user manual

Medion

Medion LIFE P14334 user manual

Mitsubishi Electric WD-57733 owner's guide

Mitsubishi Electric

Mitsubishi Electric WD-57733 owner's guide

Naxa NT-3202 instruction manual

Naxa

Naxa NT-3202 instruction manual

manuals.online logo
manuals.online logoBrands
  • About & Mission
  • Contact us
  • Privacy Policy
  • Terms and Conditions

Copyright 2025 Manuals.Online. All Rights Reserved.

• DonotconnecttheTVtothemainssupplyuntilyouhavecompletedalltheconnections.
• AlwaysdisconnecttheTVfromthemainssocketwhennotinuseforalongperiodoftime.
• The buttonontheremotecontrolisonlyusedforswitchingtheTVintostandby,itdoesnotdisconnecttheTVfromthemainspower.
Tocompletelydisconnectthemainspower,pleaseremovethemainsplugfromthemainssocket.
TheLCDdisplayisveryfragile,andmustbeprotectedatalltimeswheninstallingandremovingthebasestand.Besurethatnohardorsharpobject,
oranythingthatcouldscratchordamagetheLCDdisplay,comesintocontactwithit.DONOTexertpressureonthefrontoftheTVatanytimebecause
thescreencouldcrack.
PleaseinspectyourTVfordamageafterunpacking.Ifyoudonoticeanydamagepleaseconsultyourdealer.
Removeallpackagingfromtheunit.Retainthepackaging.Ifyoudisposeofitpleasedosoaccordingtoanylocalregulations.
 TV
 TVFeet(LeftandRight)
 Screwsx6
 RemoteControl/
AAABatteriesx2
AVtoScartCable
 FAVCable
 InstructionManual
 QuickStartGuide
Unpacking
1
1. ConnectoneendoftheRFcoaxialcable
totheaerialsocketonthewallandthe
otherendofthecabletotheANTsocket
onthebackofyourTV.
2. PlugtheTVintoamainssocketand
switchonatthemains.
3. Instandbymode,pressthe buttonon
theremotecontroltoturntheTVon.The
LEDindicatorwillflashforafewseconds
thentheTVwillswitchon.
Connecting the Aerial and Turning on the TV
4
Installing the Stand
3
1. Slideopenthebatterycompartmentonthebackoftheremotecontrol.
Operating Your Remote Control
2
Thank youforpurchasingyournewJVCTV.
YournewTVincorporatesthelatesttechnologytoenhanceyourviewing
experience.Wewouldsuggestthatyouallowabout20minsforinitialsetup.
Pleasefollowthisguideforasuccessfulrsttimeinstallation.
Thelatesteco-friendlypower-savingtechnologywillswitchotheTVif
itisleftonandidlefor4hours.Pleasereferto“AutoStandby”underthe
“TimeSettings”sectionoftheinstructionmanualformoredetail.
Quick Start Guide
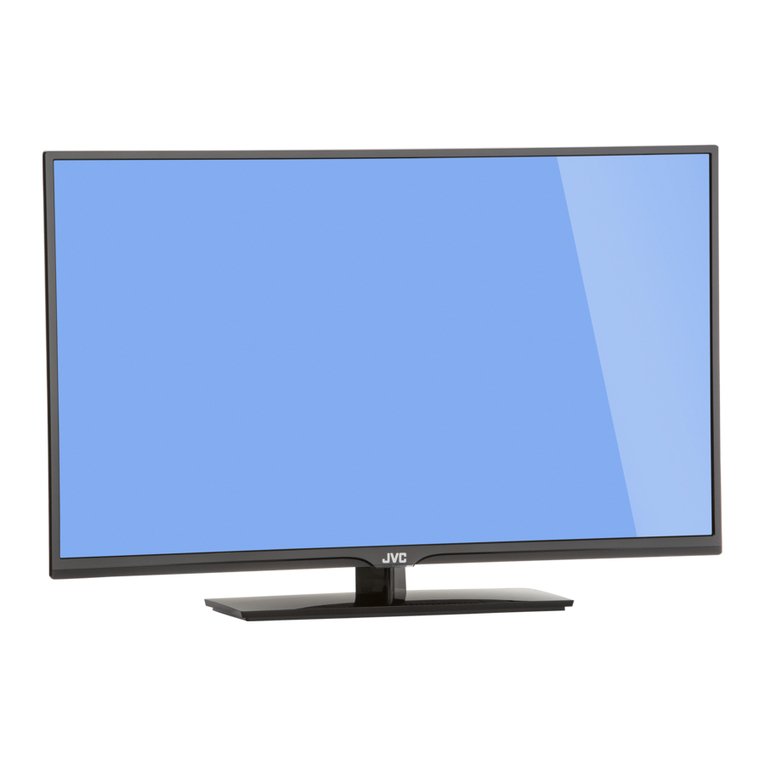
43" LED Smart 4K Ultra HD TV
LT-43C860
2. InserttwoAAAsizebatteries.Makesuretomatchthe(+)and(-)
endsofthebatterieswiththe(+)and(-)endsindicatedinthebattery
compartment.
3. Slidethebatterycompartmentcoverbackintoplace.Makesureitclicks
intoplace.
Optional
Ifyouwanttoconnecttotheinternetviaawiredconnectionthen
connectyourethernetcabletotheLANsocket.
Fitting the Feet
1. EnsuretheTVisswitchedoffandnot
connectedtothemainspowersupply.
2. LaytheTVdownonaflatsurfaceideally
ontheedgeofatablesothebaseofthe
TVslightlyoverhangstheedgeofthetable,
withthebacksidefacingup.Pleasemake
sureasoftcushionedmaterial(suchasadry
bathtowelorthickpieceoffoam)isplaced
beneaththescreen.
3. Positiontheeachfootontothebackofthe
stand.TheyaremarkedLeftandRightonthe
backofeachfoot.Makesureyouslidethelug
undertherecess.
4. Using3ofthesuppliedscrews,toscreweach
footontotheTV.
Table
Cushioned
material
RightfootLeftfoot
RF coaxial cable
(not included)
LT-43C860_QSG.indd 1 19/04/2016 11:37
Well done,yournewTVisnowreadytouse.Youwillndthattherearemanyexcitingfeaturesavailable.Togettoknowallthesefeatures,pleasetake
sometimetoreadtheinstructionmanualprovidedwithyourTV.
(QSG-LT-43C860-160419V1)
Need More Help!
IfyouneedmorehelpsettingupyourTVthenpleasecall:
UK: 0344 561 1234
Ireland: 1890 818 575
Linesareopen24/7
1. ThefirsttimeyouturntheTVon,itwillgostraightintotheFirst Time Installationmenu.
Pleaseensuretheaerialispluggedin.Pressthe buttonstohighlightyourlanguage
thenpressOK.
Getting Started
Connecting to the Internet
5
6
Allofthesettingon'Firsttimeinstallations'menuarepresetforthemajorityofcustomersin
theUK,ifyouwishyoucanchangethesettingbyselectingeachsettingandpressingthe
buttons.
If youView TV Through a Set Top Box
IfyouhaveattachedaSettopboxsuchasSky/VirginorBTviaaHDMIcableselectDigitalAerial
toNO.ThiswillmeanyourTVwillnottrytotuneanychannelsin.Toviewyoursettopboxpress
theSOURCEbuttonandselecttheHDMIsocketyouhaveattachedyoursettopboxto.
2. ConfirmthesesettingsbypressingOK.
3. Pressthe  buttonstohighlight
HomeModethenpressOK.
4. Toaccessallthefeaturesofyour
SmartTVyoumustbeconnectedto
theinternet.Ifyoudonotwishto
setupyournetworkconnectionyou
canskipthissectionbyselectingNO,
howeverwerecommendyousetup
yournetworkconnectionnow.
5. SelectYesandPressOK.
ToaccessallthefeaturesofyourSmartTVyoumustbeconnectedtotheinternet.Ifyoudonot
wishtosetupyournetworkconnectionyoucanskipthissectionbypressing ,howeverwe
recommendyousetupyournetworkconnectionnow.
WIRED Connection
• IfyouhaveconnectedyourethernetcabletotheLANsocketonthebackofyourTVpress
the  buttonstoselectWIREDDEVICE.WhenNetworksaysCONNECTEDpressOK.
WIRELESS Connection
Youcanconnectusingawirelessconnectionviayourrouter.
1. Pressthe  buttonstoselectWIRELESSDEVICE.Waitafewsecondsandalistofall
wirelessnetworkswillbedisplayed.
2. Pressthe  buttonstoselectyourwirelessnetworkthenpressOK.
3. Younowneedtoenteryourpassword,akeyboardwillappear.Pressthe    buttons
toselectaletter/number/symbolandpressOKtoentereachone.Onceyouhavetyped
yourpasswordhighlightOKandpressOK.ThenetworkwillnowshowConnected.
4. PresstheOKbuttontocontinue.
Tuning in Your TV
7
Choose Region (UK only)
Duringtuning,yourTVmayhavereceivedsignalsfrommorethanonetransmitter.IfthishasoccurredtheChooseRegionscreenwillbedisplayed.Thiswill
enableyoutoselectthecorrectregionaltransmissionforthelocalnewsservicethatyourequire.
1. Pressthe buttontohighlightPrimary region,thenpressthe  buttonsto
selectyourPrimaryRegione.g.England.
2. Pressthe buttontohighlightSecondary region,thenpressthe  
buttonstoselectyourSecondaryRegione.g.London.
3. Pressthe buttontohighlightTertiary region,thenpressthe  buttonsto
selectyourTertiaryRegione.g.GreaterLondon.
• TomakesureyouactivateFreeviewPlayselectYESandpressOK.
4. Pressthe buttontohighlightSavethenpressOK.
5. TheScanstatisticsscreenwillappear,showingyoutheamountofTVandradio
stationsthathavebeentunedin.PressOKtoexitthisscreen.
6. TheEditChannellistwillappear,presstheEXITbuttontoremovethis.YourTV
isnowfullytunedinandreadytouse.
• ToenjoyFreeviewPlayyourTVmustbeconnectedtotheinternet.
YourTVwillnowstartautomaticchannelscan.ItwilltuneinallavailableTVchannels.
LT-43C860_QSG.indd 2 19/04/2016 11:37