equipment key 7
Diagram Key
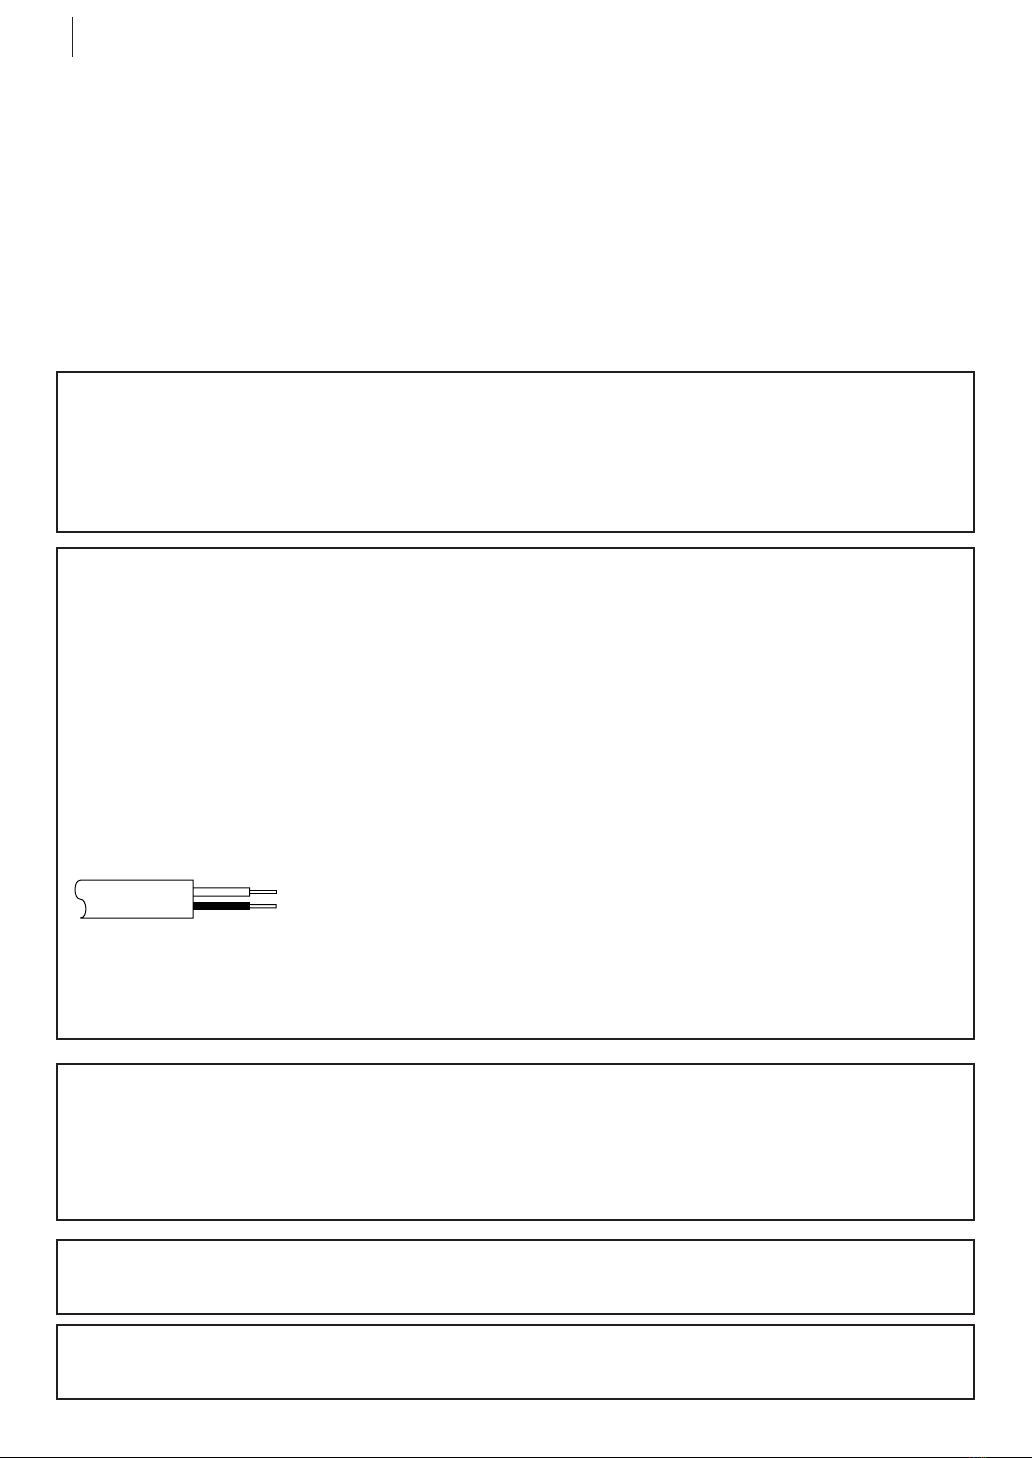
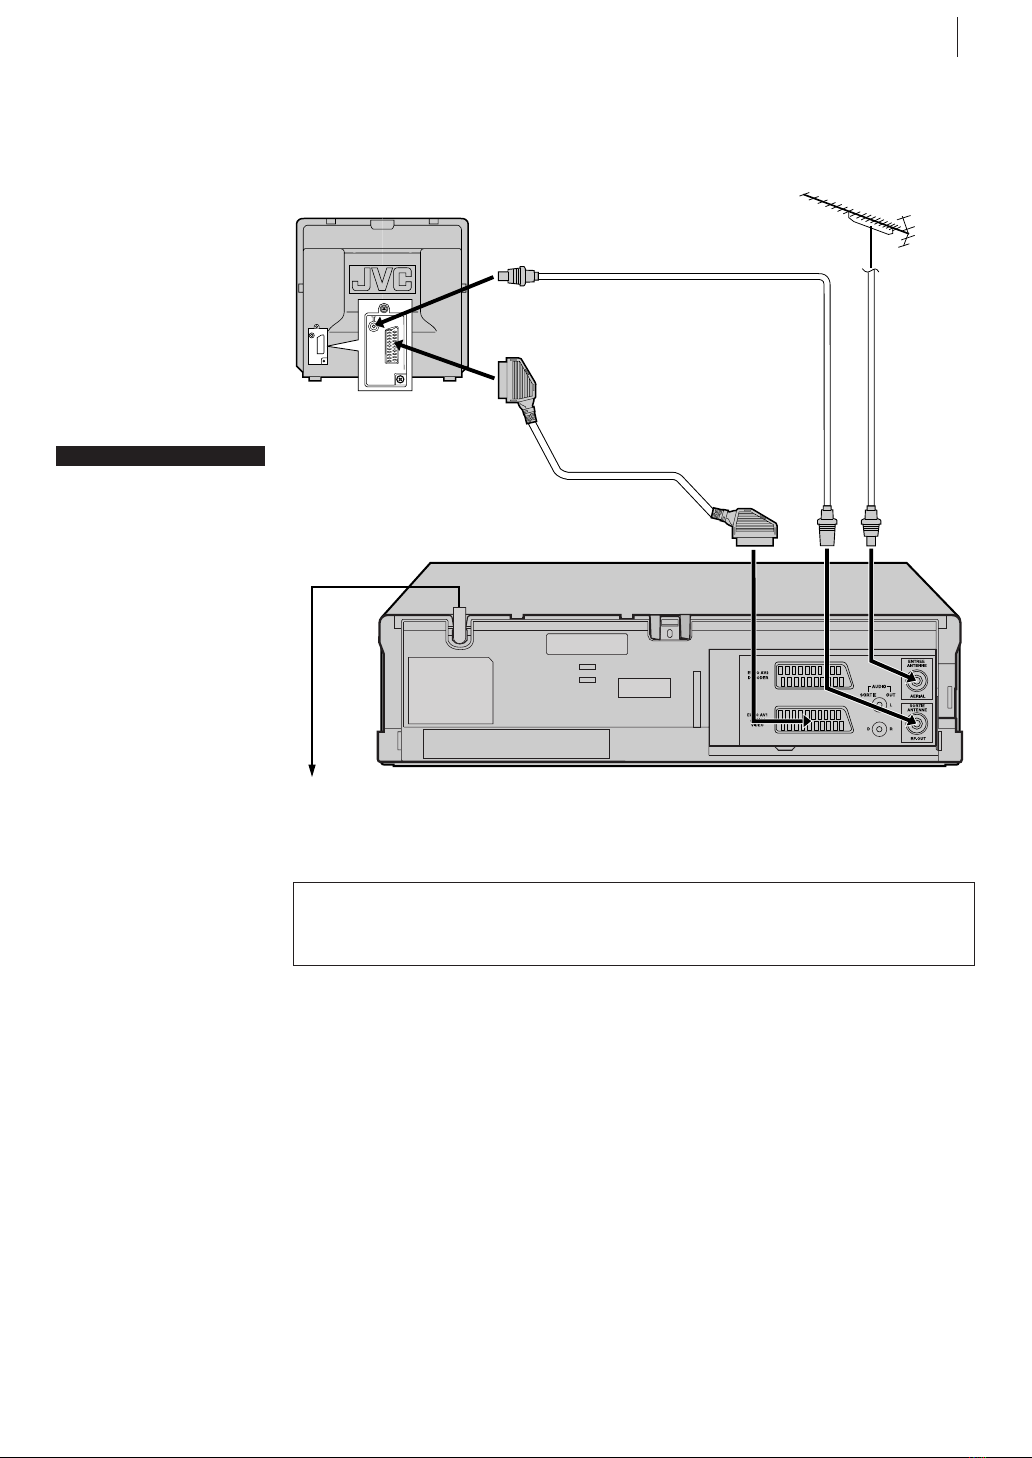
REAR PANEL
1Ma ns Power Cord
supplies power to VCR.
2Ty ng Band Stopper fixes
the main power cord. Do not
drop the tying band into the
inside of the VCR. It may cause
a malfunction.
3EURO AV2 DECODER
Connector enables connection
of satellite recei er or second
recorder; input recordable
when AV2 selected.
4AERIAL Connector enables
connection of aerial.
5EURO AV1 AUDIO/VIDEO
Connector enables AV
connection to TV or second
VCR; input recordable when
AV1 selected.
6AUDIO OUT (L/R)
Connectors enable connection
of audio cassette recorder, TV
or second VCR for dubbing.
7RF. OUT Connector enables
connection to aerial terminal
of TV recei er.
VCR DISPLAY PANEL
1Tape- n Ind cator lights
up when the cassette is
inserted.
2REC Ind cator lights when
the VCR is during recording.
3 VCR Ind cator lights when
the VCR is in the ideo mode.
At this point, the TV automati-
cally enters AV mode.
4T mer Ind cator lights
when the VCR enters Timer
mode.
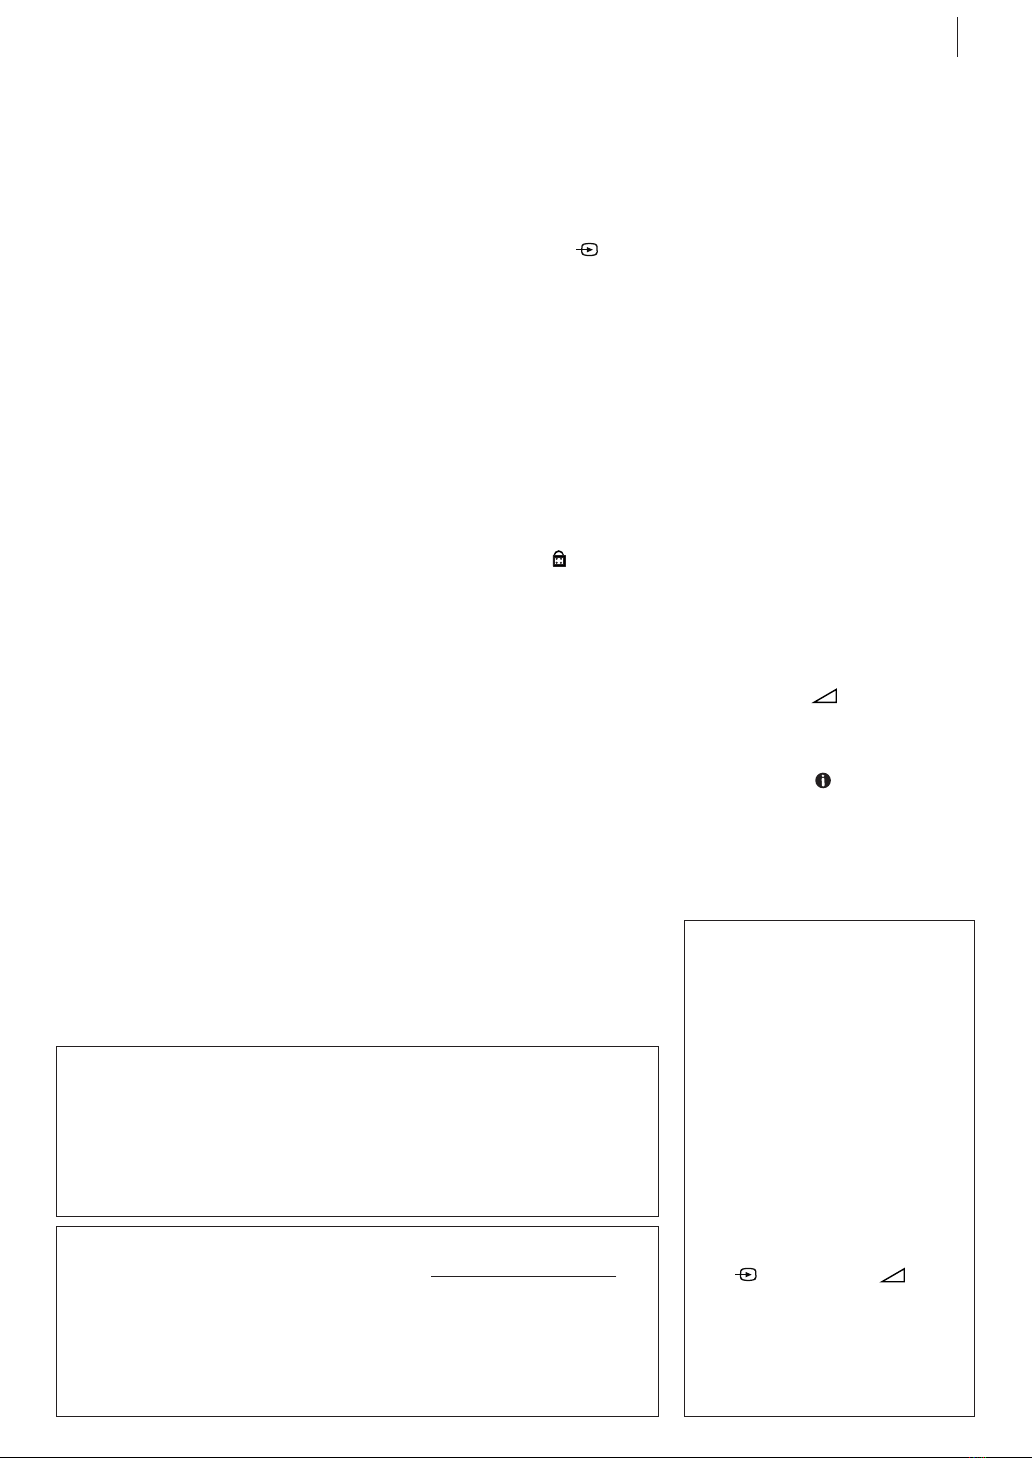
REMOTE CONTROL
1TV o Button turns JVC
TV on/off.
2TV Button enables
you to select TV’s auxiliary
input mode.
3TV/VCR Button switches
connected TV’s mode between
TV and AV.
4Number Keys are used in
preset position selection and
the VIDEO Plus+ Timer
Programming.
50000 Button resets
counter on the on-screen
display to ‘0:00:00’.
610yButton initiates
Ez (Easy) Power Off function.
7 Button enables/
disables the child lock mode.
81 Button — same as
button on VCR.
9. Button — same as
button on VCR.
10 T [ITR] Button starts
regular recording (press once),
Instant Timer Recording (press
twice); sets duration of ITR.
11 S Button stops tape.
12 TV PR +/– Buttons selects
the connected JVC TV's
channel.
13 MENU Button accesses
Menu screen.
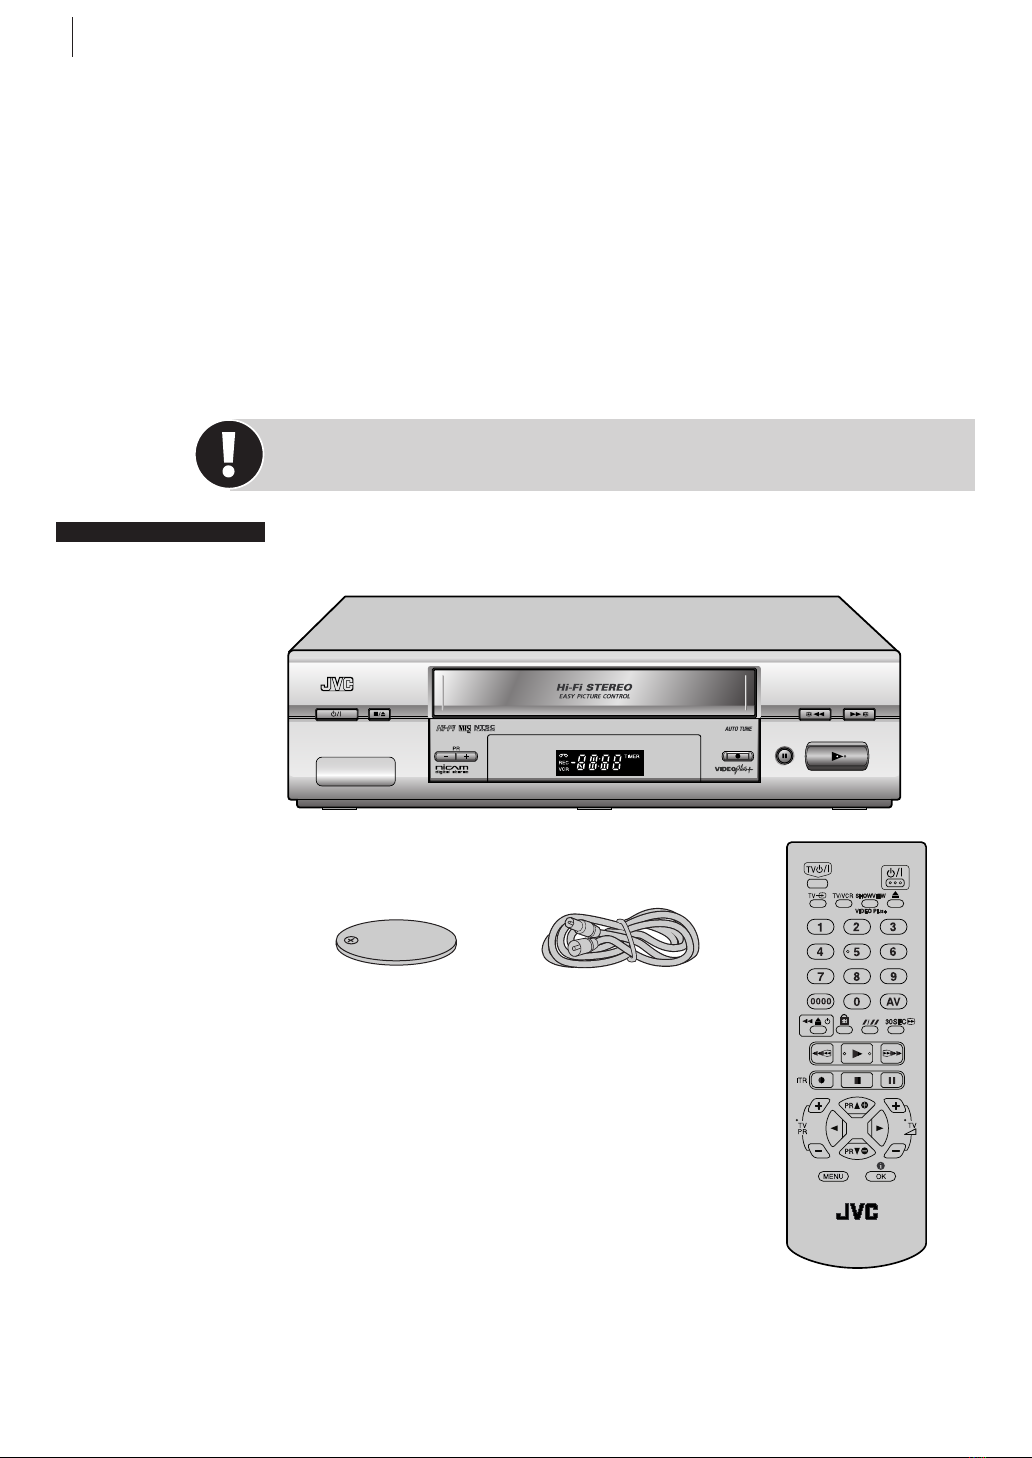
FRONT PANEL
1STANDBY/ON o Button
turns VCR on/off (loading a
cassette also turns power on).
2§ Button stops tape;
ejects tape during Stop mode.
3Cassette Load ng Slot is
where cassette is inserted;
door closes.
4| Button stops tape
temporarily during recording;
stops tape temporarily during
playback; plays back frame by
frame with each additional
press.
51 Button rewinds the
tape; initiates high-speed
re erse search.
6¡ Button fast-forwards
tape; initiates high-speed
forward search.
7PR +/– Buttons select a
preset position.
8D splay Panel shows the
condition of the VCR.
9Infrared Beam Rece v ng
W ndow is where Remote
Control should be aimed when
in use.
10 T Button starts regular
recording.
11 . Button plays back tape;
cancels Pause, Still, Slow,
Search modes.
14 STANDBY/ON o Button
turns VCR on/engages the
VCR in the standby mode.
15 0 Button ejects tape
during Stop mode.
16 VIDEO Plus+ Button
accesses VIDEO Plus+
Program screen.
17 AV Button selects VCR’s
auxiliary input mode.
18 3 Button
initiates a 30-second period of
fast-motion playback.
19 / Button selects tape
speed.
20 ¡ Button — same as
button on VCR.
21 | Button — same as
button on VCR.
22 ^& [PR+/–] Buttons
select a preset position; used
for selection in on-screen
menus; adjust the tracking
during playback, still picture
or ariable speed search.
23 TV +/– Buttons control
olume of connected JVC TV.
24 *TButtons initiate
ariable-speed search.
25 OK Button enters
selections made in on-screen
menus; displays the current
VCR status on the TV screen.
ATTENTION:
To mob le phone users:
Using a mobile phone in the vicinity of the VCR may cause picture vibration on the
TV screen or change the screen to a blue bac display.
On plac ng the VCR:
Some TVs or other appliances generates strong magnetic fields. Do not place such
appliance on top of the VCR as it may cause picture disturbance.
About o Button
When you press o on the VCR and remote control while the VCR is turned on,
each button wor s differently.
On the VCR
When you press o , the VCR is turned off completely.
On the Remote Control
When you press o , the VCR enters the standby mode. The cloc display will be
auto dimmer. To turn off the VCR completely, press o on the VCR.
How to use the Remote
Control
Before use, insert the lithium battery
in the correct directions as indicated
bac of the remote control. The
Remote Control can operate most of
your VCR’s functions, as well as basic
functions of JVC TV sets.
•Point the Remote Control toward
the receiving window on the VCR.
•The maximum operating distance
of the Remote Control is about
7.5m.
•To operate your JVC TV, press the
corresponding button: TVo,
TV , TV PR +/– , TV +/–
(TV Volume).
NOTE:
If the Remote Control does not wor
properly, remove its batteries, wait
for a few seconds, replace the
batteries and then try again.
HR-V505EK-EN/p02-07 2/12/03, 6:32 PM7