Küppersbusch EWK178002Z User manual

EWK178002Z
Gebruik‐
saanwijzing
Wijnkelder
User Manual
Wine cellar
Benutzerin‐
formation
Weinkühls‐
chrank

CONTENTS
Safety information 15
Safety Instructions 16
Operation 18
Daily Use 19
Care and cleaning 21
Troubleshooting 22
Installation 24
Technical information 26
Subject to change without notice.
SAFETY INFORMATION
Before the installation and use of the appliance, carefully read
the supplied instructions. The manufacturer is not responsible
if an incorrect installation and use causes injuries and
damages. Always keep the instructions with the appliance for
future reference.
Children and vulnerable people safety
•This appliance can be used by children aged from 8 years
and above and persons with reduced physical, sensory or
mental capabilities or lack of experience and knowledge if
they have been given supervision or instruction concerning
use of the appliance in a safe way and understand the
hazards involved.
•Do not let children play with the appliance.
•Keep all packaging away from children.
•Cleaning and user maintenance shall not be made by
children without supervision.
General Safety
•This appliance is intended to be used in household and
similar applications such as:
–Farm houses; staff kitchen areas in shops, offices and
other working environments
–By clients in hotels, motels, bed and breakfast and other
residential type environments
•Use this appliance for storage of wine only.
•Keep ventilation openings, in the appliance enclosure or in
the built-in structure, clear of obstruction.
15

•Do not use mechanical devices or other means to accelerate
the defrosting process, other than those recommended by
the manufacturer.
•Do not damage the refrigerant circuit.
•Do not use electrical appliances inside the food storage
compartments of the appliance, unless they are of the type
recommended by the manufacturer.
•Do not use water spray and steam to clean the appliance.
•Clean the appliance with a moist soft cloth. Only use neutral
detergents. Do not use abrasive products, abrasive cleaning
pads, solvents or metal objects.
•Do not store explosive substances such as aerosol cans
with a flammable propellant in this appliance.
•If the supply cord is damaged, it must be replaced by the
manufacturer, its service agent or similarly qualified persons
in order to avoid a hazard.
SAFETY INSTRUCTIONS
Installation
WARNING! Only a qualified
person must install this
appliance.
• Remove all the packaging.
• Do not install or use a damaged
appliance.
• Obey the installation instruction supplied
with the appliance.
• Always be careful when you move the
appliance because it is heavy. Always
wear safety gloves.
• Make sure the air can circulate around
the appliance.
• Wait at least 4 hours before connecting
the appliance to the power supply. This
is to allow the oil to flow back in the
compressor.
• Do not install the appliance close to
radiators or cookers, oven or hobs.
• The rear of the appliance must stand
against the wall.
• Do not install the appliance where there
is direct sunlight.
• Do not install this appliance in areas that
are too humid or too colds, such as the
construction appendices, garages or
wine cellars.
• When you move the appliance, lift it by
the front edge to avoid scratching the
floor.
Electrical connection
WARNING! Risk of fire and
electrical shock.
• The appliance must be earthed.
• All electrical connections should be
made by a qualified electrician.
• Make sure that the electrical information
on the rating plate agrees with the
power supply. If not contact an
electrician.
• Always use a correctly installed
shockproof socket.
• Do not use multi-plug adapters and
extension cables.
• Make sure not to cause damage to the
electrical components (e.g. mains plug,
mains cable, compressor). Contact the
16

Service or an electrician to change the
electrical components.
• The mains cable must stay below the
level of the mains plug.
• Connect the mains plug to the mains
socket only at the end of the installation.
Make sure that there is access to the
mains plug after the installation.
• Do not pull the mains cable to
disconnect the appliance. Always pull
the mains plug.
Use
WARNING! Risk of injury,
burns, electrical shock or fire.
• Do not change the specification of this
appliance.
• Do not put electrical appliances (e.g. ice
cream makers) in the appliance unless
they are stated applicable by the
manufacturer.
• Be careful not to cause damage to the
refrigerant circuit. It contains isobutane
(R600a), a natural gas with a high level of
environmental compatibility. This gas is
flammable.
• If damage occurs to the refrigerant
circuit, make sure that there are no
flames and sources of ignition in the
room. Ventilate the room.
• Do not let hot items to touch the plastic
parts of the appliance.
• Do not store flammable gas and liquid in
the appliance.
• Do not put flammable products or items
that are wet with flammable products in,
near or on the appliance.
• Do not touch the compressor or the
condenser. They are hot.
Care and cleaning
WARNING! Risk of injury or
damage to the appliance.
• Before maintenance, deactivate the
appliance and disconnect the mains
plug from the mains socket.
• This appliance contains hydrocarbons in
the cooling unit. Only a qualified person
must do the maintenance and the
recharging of the unit.
• Regularly examine the drain of the
appliance and if necessary, clean it. If
the drain is blocked, defrosted water
collects in the bottom of the appliance.
Disposal
WARNING! Risk of injury or
suffocation.
• Disconnect the appliance from the mains
supply.
• Cut off the mains cable and discard it.
• Remove the door to prevent children
and pets to be closed inside of the
appliance.
• The refrigerant circuit and the insulation
materials of this appliance are ozone-
friendly.
• The insulation foam contains flammable
gas. Contact your municipal authority for
information on how to discard the
appliance correctly.
• Do not cause damage to the part of the
cooling unit that is near the heat
exchanger.
17

OPERATION
Control panel
1 2
345678
1Appliance ON/OFF button
2Display
3Bottom Compartment Temperature
warmer button
4Bottom Compartment Temperature
colder button
5Alarm off button
6Light off button
7Top Compartment Temperature warmer
button
8Top Compartment Temperature colder
button
It is possible to change predefined sound of
buttons to a loudly one by pressing
together Light off button and Temperature
colder button for some seconds. Change is
reversible.
Display
min
A B C
DE
A) Top Compartment indicator
B) Top Compartment temperature
indicator and timer indicator
C) Bottom Compartment temperature
indicator
D) Bottom Compartment indicator
E) Alarm indicator
Switching on
1. Connect the mains plug to the power
socket.
2. Press the ON/OFF button if the display
is off.
If "dEMo" appears on the display, the
appliance is in demonstration mode. Refer
to "What to do if...".
The temperature indicators show the set
default temperature.
To select a different set temperature refer to
"Temperature regulation".
18

Switching off
1. Press the appliance ON/OFF button for
5 seconds.
The display switches off.
2. Disconnect the mains plug from the
power socket.
Temperature regulation
The set temperature of the wine cellar may
be adjusted by pressing the temperature
regulators.
The temperature indicators show the set
temperature.
The set temperature will be reached within
24 hours.
Refer to "Daily use - Wine Arrangement".
After a power failure the set
temperature remains stored.
Light off function
to switch off the light before the automatic
turn off time, open the door and press the
light off button.
The light has no negative effect on the
quality on the wine.
Door open alarm
An acoustic alarm will sound if the door is
left open for a few minutes. The door open
alarm conditions are indicated by:
• flashing Alarm indicator
• acoustic buzzer
When normal conditions are restored (door
closed), the alarm will stop.
During the alarm, the buzzer can be
switched off by pressing any button.
DAILY USE
Wine arrangement
Top Compartment: The temperature can
be adjusted between +6 and + 11°C. This
compartment is ideal for wines, especially
new reds and whites, to be consumed
immediately. Operation compartments with
differentiated temperatures.
Bottom Compartment: The temperature
can be adjusted between + 11 and + 18°C.
This compartment is ideal for storing and
refining red or white wines for long periods.
• The temperatures of this compartment
are suitable for storing aged and full-
bodied wines.
• The bottles should be placed down in
such a way that the corks do not dry.
• The wine should be kept in the dark. The
door is in anti-UV darkened double glass
to protect the wine from the light in case
the refrigerator is located in a well-lit
place.
• The appliance light should not be
switched on too often or for too long.
Wine keeps better in the dark.
• The bottles should be handled with care,
to avoid agitating the wine.
Follow the recommendations
and advice received at the time
of purchase or given in the
technical documentation
regarding the quality, duration
and optimum storage
temperature of the wine.
19

Storage advice
The storage time for wine depends on
ageing, the type of grapes, alcoholic
content and level of fructose and tannin
contained in it.At the time of purchase,
check if the wine is already aged or if it will
improve over time.
Recommended storage temperatures:
• For champagne and sparkling wines,
between 6 and 8°C
• For white wines, between 10 and 12°C
• For rose’ and light red wines, between
12 and 16°C
• Aged red wines, 14 -16°C
When placing various bottles on
top of each other, make sure
they do not touch the
refrigerator cooling plate.
Wine Cellar shelves
Remove the shelves for cleaning.
Wine Cellar Bottle Holder
The maximum possible weight on the bottle
shelves is 30 kg.
Remove the shelf and insert it between the
two guides.
The bottom compartment is fitted
with a basket useful for placing
upright and sloping bottles.
Using the Humidifier
The right humidity is vitally important for the
proper storage of wine.
Your Wine Cellar is fitted with a special
humidifying device that increases the
humidity inside the appliance.
1. Spread out the lava stones provided
along the small tray as shown in the
picture.
20

2. Fill the tray with water up to the half of
its capacity.
In normal operation, the lava stones are
regularly humidified by the water,
periodically check at water present inside
the tray and refill it when needed.
Note that if the humidity in the
area in which your appliance is
installed is particularly high, the
interior of your Wine Cellar will
also be relatively more humid.
This may result in bottles misting
up when the door is opened or
labels peeling off. In this case
reduce the quantity of water in
the tray accordingly.
Air circulation
The refrigerator compartment has a special
AIRLIGHT fan which is automatically
activated in function of the appliance
thermostat setting and ambient conditions.
CARE AND CLEANING
WARNING! Refer to Safety
chapters.
General warnings
CAUTION! Unplug the
appliance before carrying out
any maintenance operation.
This appliance contains
hydrocarbons in its cooling unit;
maintenance and recharging
must therefore only be carried
out by authorized technicians.
The accessories and parts of
the appliance are not suitable for
washing in a dishwasher.
Periodic cleaning
CAUTION! Do not pull, move or
damage any pipes and/or
cables inside the cabinet.
CAUTION! Take care of not to
damage the cooling system.
CAUTION! When moving the
cabinet, lift it by the front edge
to avoid scratching the floor.
The equipment has to be cleaned regularly:
1. Clean the inside and accessories with
lukewarm water and some neutral soap.
2. Regularly check the door seals and
wipe clean to ensure they are clean and
free from debris.
3. Rinse and dry thoroughly.
4. If accessible, clean the condenser and
the compressor at the back of the
appliance with a brush.
This operation will improve the
performance of the appliance and save
electricity consumption.
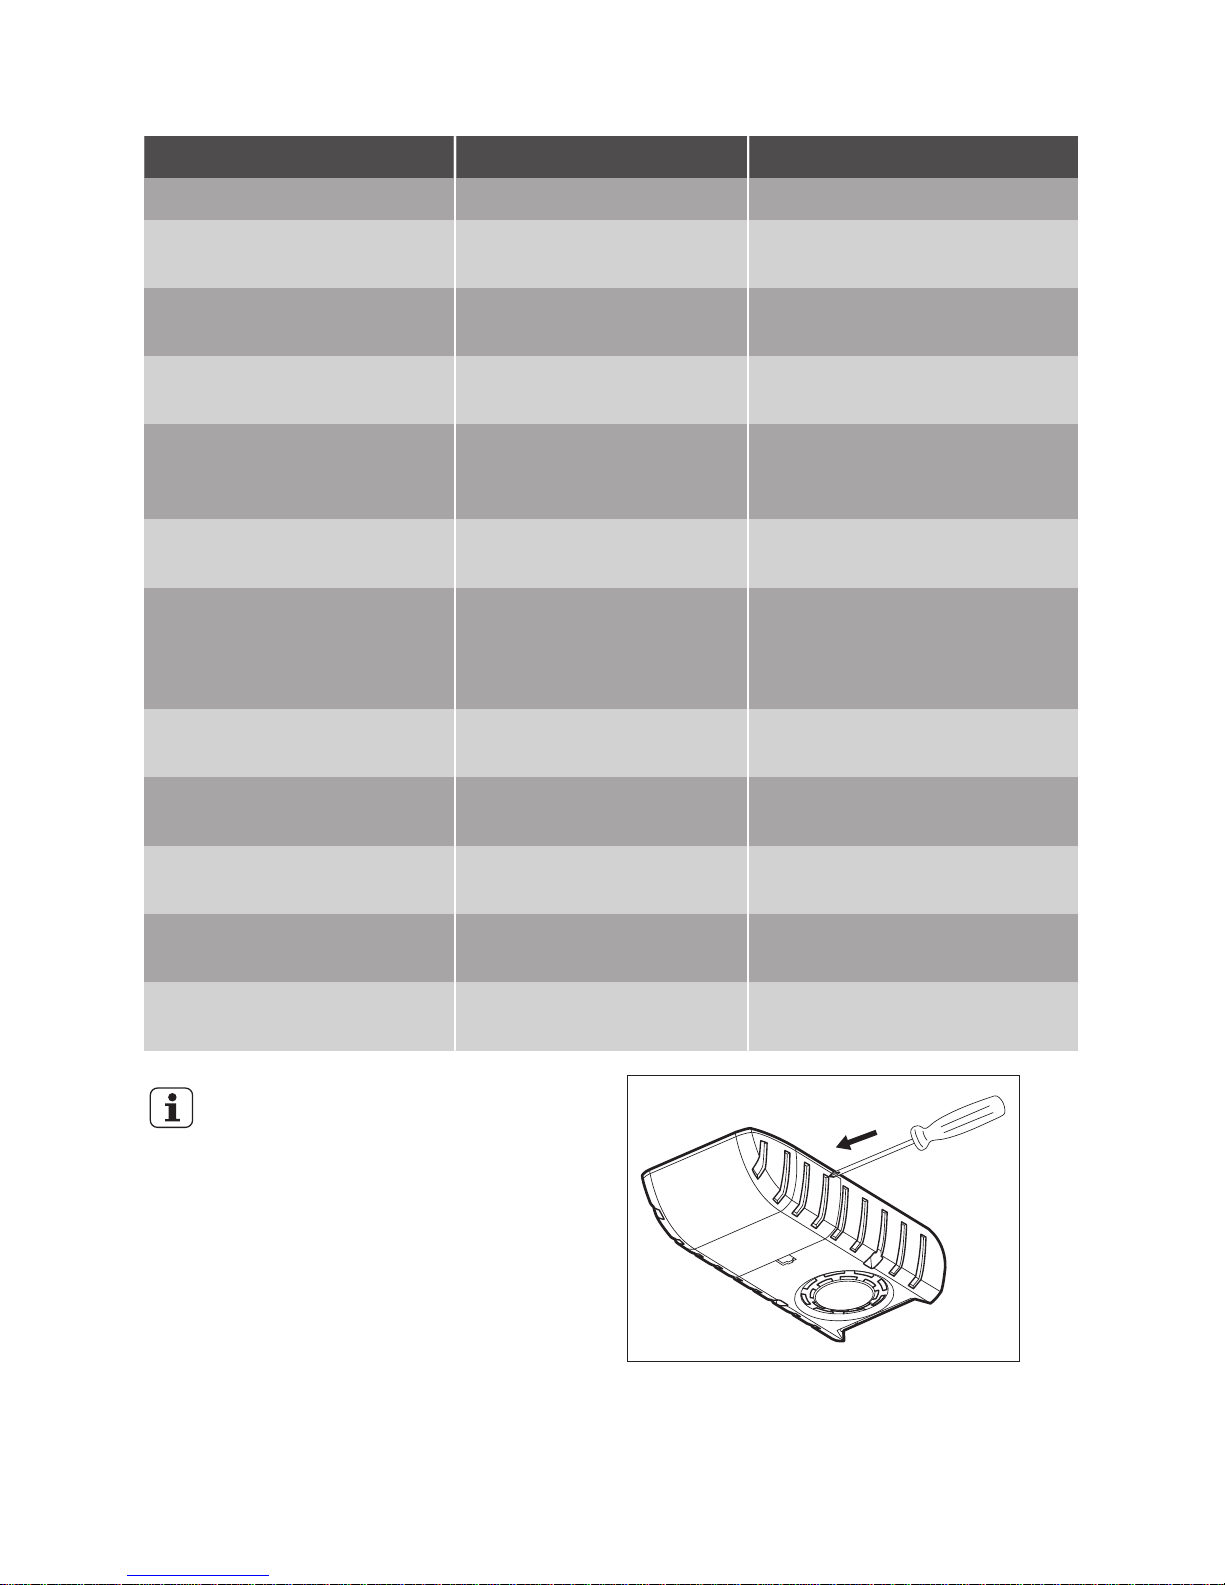
Defrosting of the refrigerator
Frost is automatically eliminated from the
evaporator of the refrigerator compartment
every time the motor compressor stops,
during normal use. The defrost water drains
out through a trough into a special
container at the back of the appliance, over
the motor compressor, where it evaporates.
It is important to periodically clean the
defrost water drain hole in the middle of the
refrigerator compartment channel to
prevent the water overflowing and dripping
onto the food inside.
21

Periods of non-operation
When the appliance is not in use for long
periods, take the following precautions:
1. Disconnect the appliance from
electricity supply.
2. Leave the door/doors open to prevent
unpleasant smells.
WARNING! If the cabinet will be
kept on, ask somebody to
check it once in a while to
prevent the food inside from
spoiling in case of a power
failure.
TROUBLESHOOTING
WARNING! Refer to Safety
chapters.
What to do if...
Problem Possible cause Solution
The appliance does not oper-
ate.
The appliance is switched
off.
Switch on the appliance.
The mains plug is not con-
nected to the mains socket
correctly.
Connect the mains plug to the
mains socket correctly.
There is no voltage in the
mains socket.
Connect a different electrical
appliance to the mains socket.
Contact a qualified electrician.
The appliance is noisy. The appliance is not sup-
ported properly.
Check if the appliance stands
stable.
Audible or visual alarm is on. The cabinet has been re-
cently switched on or the
temperature is still too high.
Refer to "Door Open Alarm"or
"High Temperature Alarm".
The temperature in the ap-
pliance is too high.
Refer to "Door Open Alarm"or
"High Temperature Alarm".
The door is left open. Close the door.
The temperature in the ap-
pliance is too high.
Contact a qualified electrician
or contact the nearest Author-
ized Service Centre.
The lamp does not work. The lamp is in stand-by. Close and open the door.
22

Problem Possible cause Solution
The lamp is defective. Refer to "Replacing the lamp".
The compressor operates
continually.
Temperature is set incor-
rectly.
Refer to "Operation" chapter.
Many food products were
put in at the same time.
Wait some hours and then
check the temperature again.
The room temperature is
too high.
Refer to climate class chart on
the rating plate.
Food products placed in
the appliance were too
warm.
Allow food products to cool to
room temperature before stor-
ing.
The door is not closed cor-
rectly.
Refer to "Closing the door".
DEMO appears on the dis-
play.
The appliance is in demon-
stration mode.
Keep the Mode pressed for ap-
proximately 10 seconds until a
long sound is heard and display
shuts off for a short time.
The temperature in the wine
cellar is too high.
There is no cold air circula-
tion in the appliance.
Make sure that there is cold air
circulation in the appliance.
The temperature regulator
is not set correctly.
Set a lower temperature.
The door is not closed cor-
rectly.
Refer to "Closing the door".
Many bottles are stored at
the same time.
Store less bottles at the same
time.
There is no cold air circula-
tion in the appliance.
"Make sure that there is cold air
circulation in the appliance.
If the advice does not lead to
the desired result, call the
nearest brand-mark service.
Replacing the lamp Wine Cellar
1. Disconnect the mains plug from the
mains socket.
2. Remove the lamp cover by pressing it
inwards with a tool (e.g. screwdriver) to
free the rear side hookings.
3. At the same time, free the middle hook
and slide off the cover in the direction of
the arrows.
23

4. Replace the used lamp with a new lamp
of the same type and specifically
designed for household appliances and
having the same characteristics.
5. Connect the mains plug to the mains
socket.
6. Open the door. Make sure that the lamp
comes on.
Closing the door
1. Clean the door gaskets.
2. If necessary, adjust the door. Refer to
"Installation".
3. If necessary, replace the defective door
gaskets. Contact the Service Center.
INSTALLATION
WARNING! Refer to Safety
chapters.
Positioning
This appliance can be installed in a dry, well
ventilated indoor where the ambient
temperature corresponds to the climate
class indicated on the rating plate of the
appliance:
Cli-
mate
class
Ambient temperature
SN +10°C to + 32°C
N +16°C to + 32°C
ST +16°C to + 38°C
T +16°C to + 43°C
Some functional problems might
occur for some types of models
when operating outside of that
range. The correct operation
can only be guaranteed within
the specified temperature range.
If you have any doubts
regarding where to install the
appliance, please turn to the
vendor, to our customer service
or to the nearest Service Centre
Electrical connection
• Before plugging in, ensure that the
voltage and frequency shown on the
rating plate correspond to your domestic
power supply.
• The appliance must be earthed. The
power supply cable plug is provided with
a contact for this purpose. If the
domestic power supply socket is not
earthed, connect the appliance to a
separate earth in compliance with
24

current regulations, consulting a qualified
electrician.
• The manufacturer declines all
responsibility if the above safety
precautions are not observed.
• This appliance complies with the E.E.C.
Directives.
Ventilation requirements
The airflow behind the appliance must be
sufficient.
5 cm min.
200 cm2
min.
200 cm2
CAUTION! Refer to the
assembly instructions for the
installation.
Installing the appliance
CAUTION! Make sure that the
mains cable can move freely.
1. Apply the adhesive sealing strip to the
appliance as shown in figure.
x
x
2. Remove the red cover as shown in
figure
3. Install the appliance in the niche.
4. Attach the appliance to the niche with 4
screws.
5. Fix the covers on the screws.
25

Do a final check to make sure that:
• All screws are tightened.
• The sealing strip is attached tightly to the
cabinet.
• The door opens and closes correctly.
Assembly instructions for the
compensator lower part of the
door
1. With the door open, loosen the two
screws situated in the lower part
without unscrewing them completely.
2. Position the steel compensator as
indicated in the figure and insert the
upper part under the head of the
screws.
3. Align the compensator with the steel
door panel and tighten the screws.
4. Insert the steel carter inside the
compensator as indicated in the figure.
TECHNICAL INFORMATION
Technical data
Dimensions of the recess Height × Width × Depth (mm):
1780 x 560 x 550
Voltage (V) 230-240
Frequency (Hz) 50
26

The technical information is situated on the
rating plate on the internal left side of the
appliance and in the energy label.
ENVIRONMENTAL CONCERNS
Recycle the materials with the symbol .
Put the packaging in applicable containers
to recycle it. Help protect the environment
and human health and to recycle waste of
electrical and electronic appliances. Do not
dispose appliances marked with the symbol
with the household waste. Return the
product to your local recycling facility or
contact your municipal office.
27

Küppersbusch Hausgeräte GmbH
Postfach 10 01 32, D-45801 Gelsenkirchen, Küppersbuschstr. 16, D-45883 Gelsenkirchen
Telefon: (02 09) 4 01-0, Telefax: (02 09) 4 01-3 03
www.kueppersbusch.de
222369710-A-102014
Table of contents
Popular Wine Cooler manuals by other brands

Summit Commercial
Summit Commercial SWC6GBL Series instruction manual

Russell Hobbs
Russell Hobbs RH8WC1 user guide

Temptech
Temptech MW43SBS user manual

Wine Guardian
Wine Guardian DS088 Quick start installation guide

Allavino
Allavino CDWR19-1SWT instruction manual

Dacor
Dacor RNF242WCL Use & care and installation manual