3
INTRODUCTION
***This product is not designed or intended for highway use.***
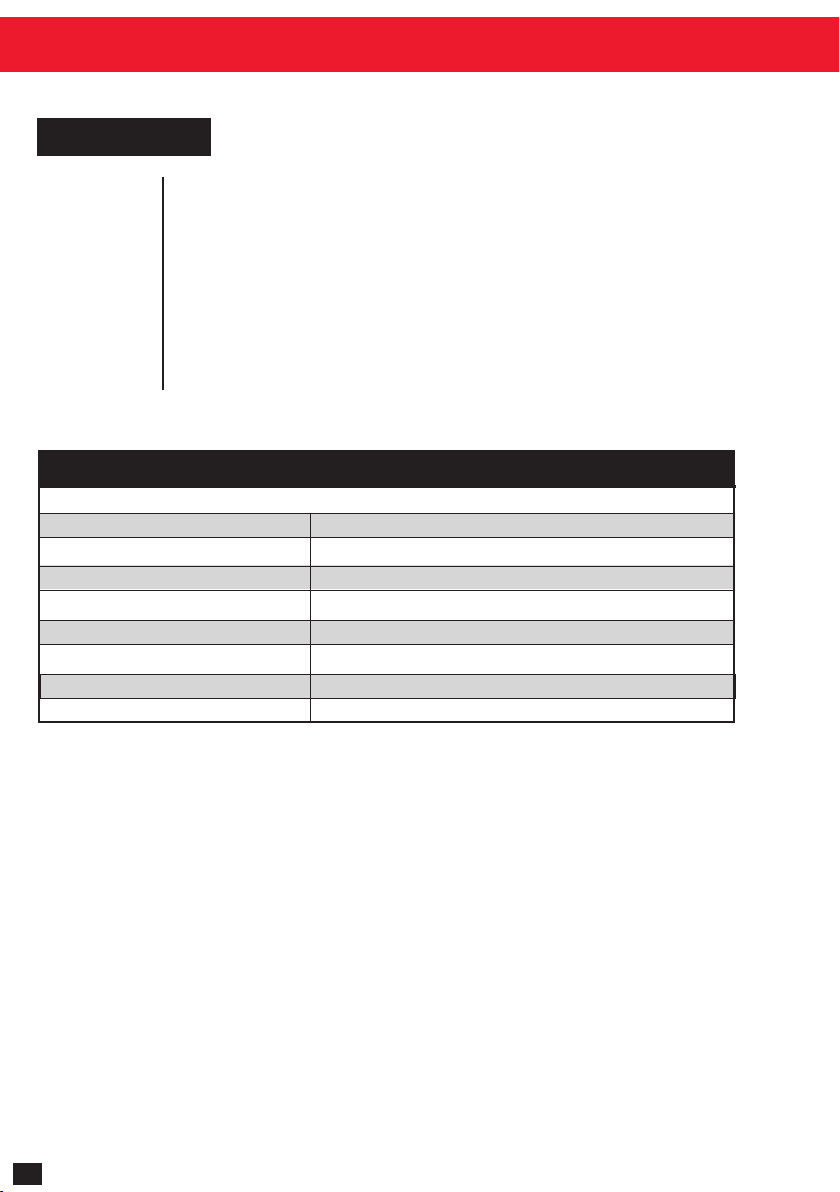
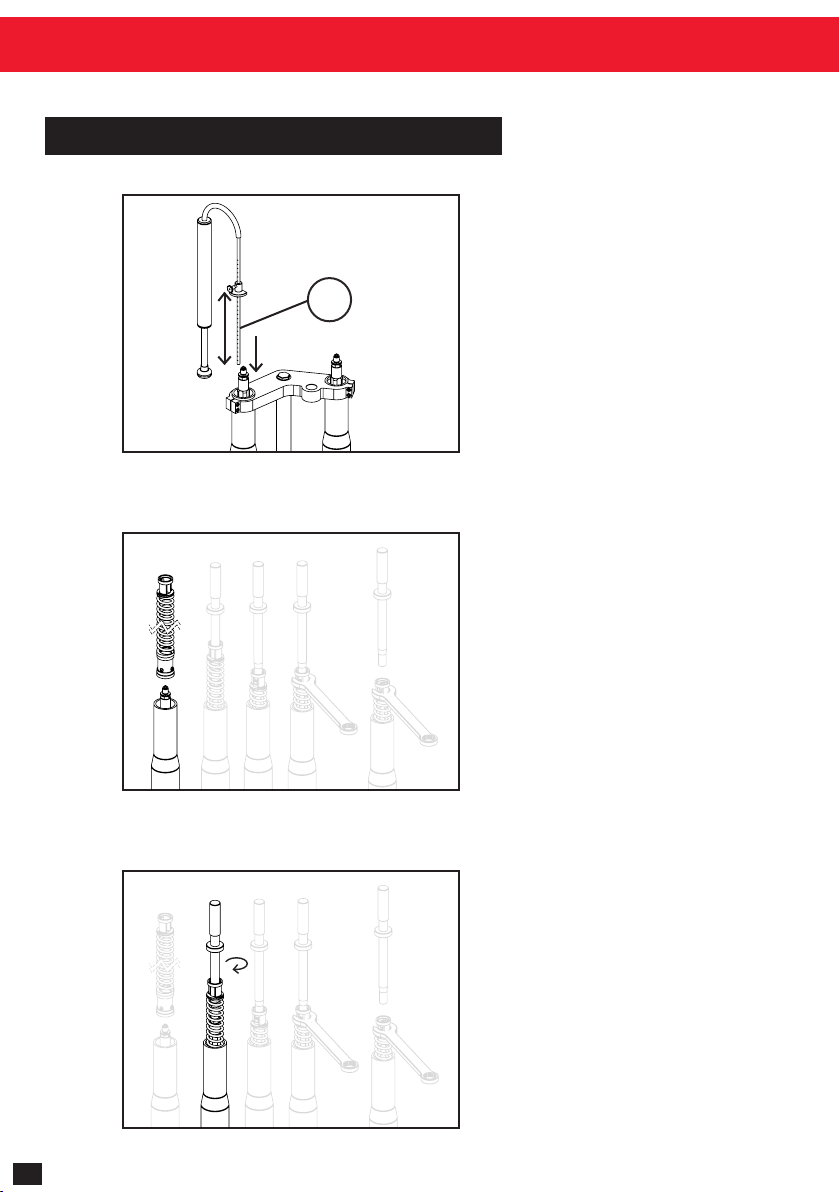
DDS CLOSED CARTRIDGE DAMPING SYSTEM
The DDS Front Fork Cartridges have been designed to fit original
equipment front forks to use at the highest levels of competition, these high
quality replacement cartridges are designed and manufactured in the UK
using the highest quality materials and processes available. The closed car-
tridge pressurised Direct Damping System uses 20mm dia displacing pistons
with an 8mm piston rod and 31mm dia control
pistons giving a high flow of fluid for precise damping control. This unique
damping system uses one leg for compression damping and one leg for re-
bound damping making each circuit independent for adjustment.
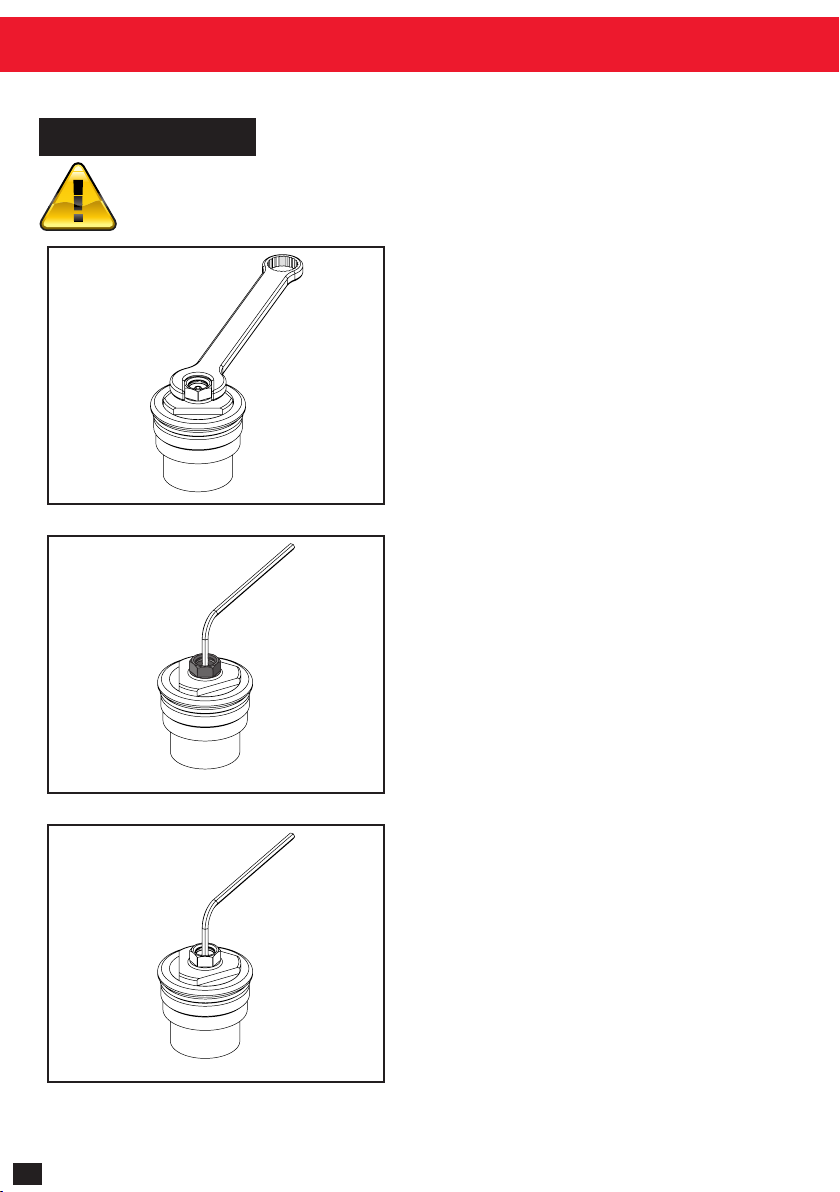
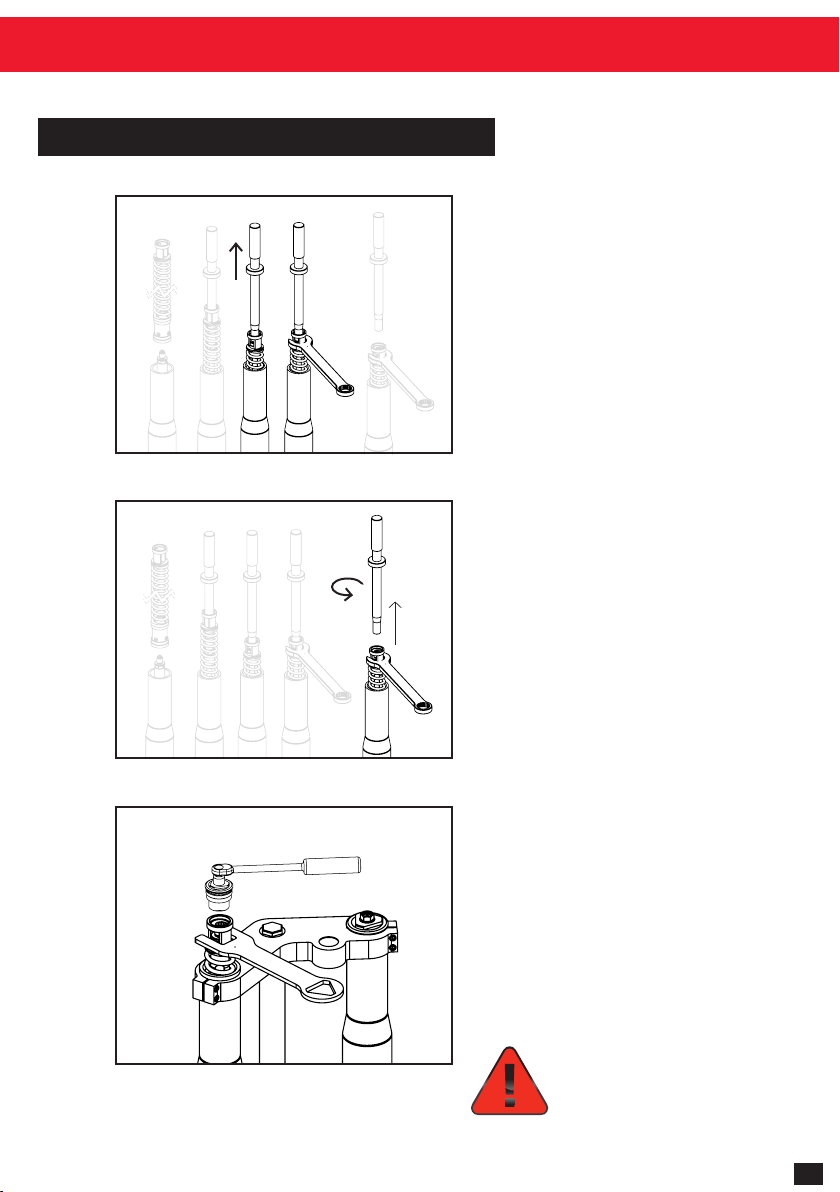
These procedures should only be carried out by a qualified motorcycle tech-
nician. K-Tech Suspension Ltd will not be liable for any damages caused in
any way to/by the product and any injuries sustained if the product is fitted
by someone who is neither an authorised dealer of K-Tech Suspension Ltd
or have the relevant qualifications in motorcycle technology. K-Tech Suspen-
sion Ltd will also not be liable if the correct tools are not used throughout
the process of fitting and adjustment of a K-Tech suspension Ltd product.
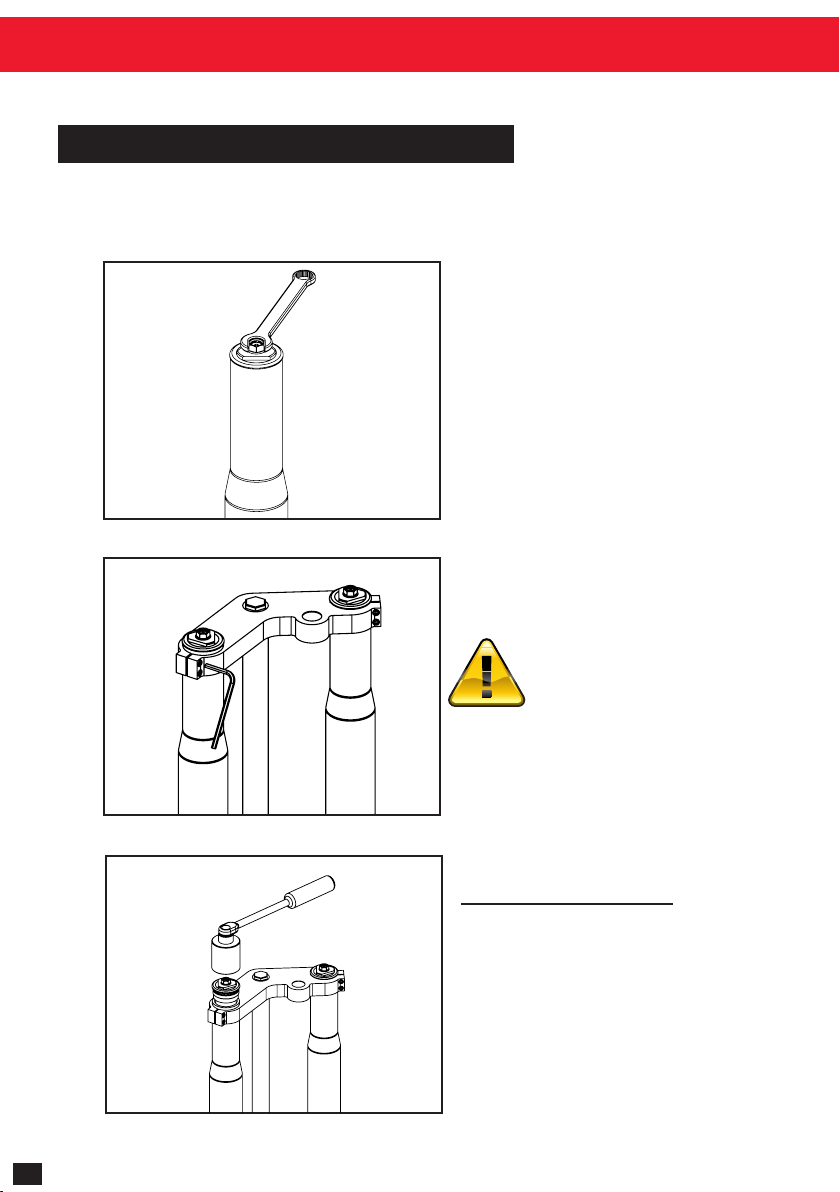
Please refer to the manufacturer’s workshop manual before attempting this
procedure. This procedure will require two people, you will need to remove all
relevant bodywork and any other parts that may restrict you from carrying out
this task.