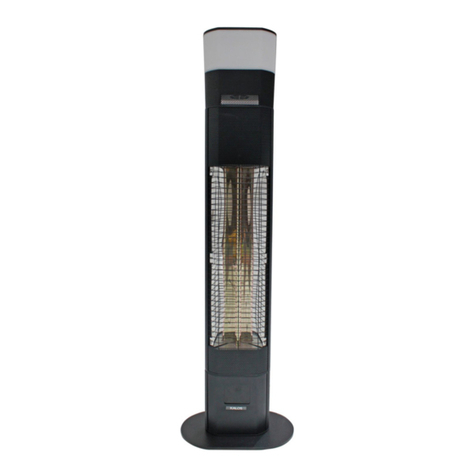
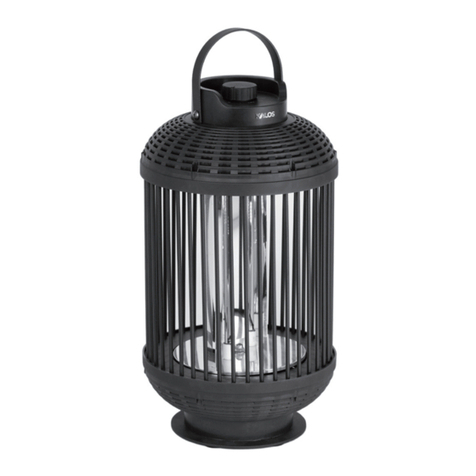
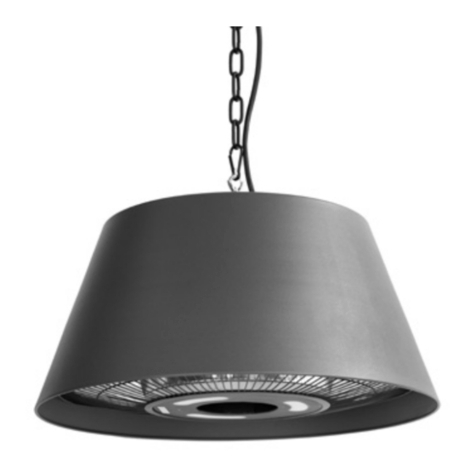
KALOS KLEH152-0500 User manual

Headline
Sept 2020
Terrace Electric
Pendant Heater
KLEH152-0500
Assembly Instructions
IMPORTANT
PLEASE KEEP THIS BOOKLET FOR FUTURE REFERENCE.
THIS IS IMPORTANT INFORMATION REGARDING THE USE AND
CARE OF YOUR HALOGEN HEATER.

Important Information
Important advice before you begin:
This appliance is not intended for use by persons (including children) with reduced physical,
sensory or mental capabilities or lack of experience and knowledge if they have been given
supervision or instruction concerning use of the appliance in a safe way and understand the
hazards involved.
Children should not play with the appliance.
Cleaning and user maintenance should not be made by children without supervision.
Do not use any other tools other than those recommended to build this product.
Please do not use substitute parts. Use only additional or replacement parts supplied by Kettler.
In the unlikely event that this product has missing or damaged parts, please visit our website
www.kettler.co.uk/shop.
Unpack the halogen heater making sure that all the items are present and that
there are no components left in the box and that the heater head is free from any
packing material.
Using the detailed drawing follow the steps to assemble your halogen heater.
DO NOT connect the halogen heater to the electrical supply until all the
assemblyiscomplete.
DO NOT connect the halogen heater to the electrical supply if any of the
components or the power cord is damaged in any way.
If in doubt contact your supplier.

For Your Safety
Warning
• This heater is not equipped with a
device to control the room temperature.
DO NOT use this heater in small rooms
when they are occupied by persons
not capable of leaving the room on
their own, unless constant supervision
isprovided.
• Children of less than 3 years should
be kept away unless continuously
supervised.
• Children under 8 years shall not plug
in, regulate and clean the appliance or
perform usermaintenance
Caution
• Some parts of this product can become
very hot and cause burns. Particular
attention has to be given where children
and vulnerable people are present.
• Only use the halogen heater on a rm
solid horizontal area where all the feet
on the base are in contact with the oor.
(Should the heater be tilted or fall over
the auto cut o switch will activate)
1. Site the heater outside or in a large
open area and well away from any
obstructions such as branches or where
the heater is near any objects that can
be eected by heat, such as furniture,
curtains or other inammable objects
(minimum distance 1 metre).
2. DO NOT use this heater in the
immediate surroundings of a bath, a
shower or a swimming pool. Do not use
near water.
3. DO NOT use in unventilated areas
4. DO NOT use where gas, petrol, paint or
other surely ammable goods are stored.
5. DO NOT push any items through,
obstruct or cover the grill of the
heaterhead.
6. DO NOT position immediately above or
below an electrical socket.
7. DO NOT move when connected to an
electrical supply and always wait for
the patio heater to cool down before
storingaway.
8. DO NOT touch the heater head
wheninuse.
9. DO NOT leave turned on and
unattended especially when children
and or animals are in the vicinity.
10. The indication of the dierent positions
of switches shall be visible from a
distance of 1M.
11. The Marking concerning covering should
be visible after the heater has been
installed. It shall not be placed on the
back of portable heaters.

For Your Safety
12. The unit must be placed with the
clearance of 180cm to the oor and
50cm to the ceiling.
13. The unit must be correctly installed
according to the instructions.
14. The unit must be securely placed on a
horizontal and at surface.
15. The unit is at high temperature during
operation. It keeps hot for a period after
shut down. Potential danger would occur
when touching it during this period.
16. DON’T place the unit close to curtain
and/or other ammable objects.
Otherwise there will be a danger of
catching re.
17. DON’T cover the unit with anything
during operation or a short time after it’s
shut down.
18. DON’T wrap the power supply cord on
theunit.
19. The unit must be handled with care, and
avoid vibration or hitting.
20. The unit must be securely grounded
during operation.
21. If the unit gets damaged, it must be
repaired by professional electricians with
relevant qualications.
22. When the power supply cord is
damaged, it must be replaced by a
qualied engineer to avoid danger.
23. DON’T use this unit in place where
causticity or volatile air exists, i.e. dust,
steam, gas, etc.
24. DON’T use this unit as a cloth drier
ortowel drier.
25. DON’T use this unit as a sauna heater.
26. DON’T use this unit as a room heater.
27. DON’T use this unit in place of animal
propagating and raising.
28. DON’T immerse this unit into water
forcleaning.
29. The unit should be plugged in a socket,
which is easily visible and reachable.
30. One dark point may exist on the surface
of the heating elements during the
rst few minutes after it is turned on.
This is normal, and will not aect the
performance of the unit.
31. DON’T use this heater with a
programmer, timer or any other
device that switches the heater on
automatically, since a re risk exists
if the heater is covered or positioned
incorrectly.
32. Children should be supervised to ensure
that they do not play with the appliance.
33. When assembling, keep clear from any
board or ammable material.
34. The unit is for household use only. It
is not safe to use on a building site,
greenhouse, barn or stable where there’s
ammable dust.
35. An apparatus with CLASS I construction
shall be connected to a MAINS socket
outlet with a protective earthing
connection.

For Your Safety
36. DON’T operate any heater with a
damaged cord or after the heater
malfunctions, has been drooped
or damaged in any manner. Return
heater to authorized service facility for
examination, electrical or mechanical
adjustment, or repair.
37. This heater is not intended for use in
bathrooms, laundry areas and similar
indoor locations. NEVER locate heater
where it may fall into a bathtub or other
water container. To protect against
electrical hazards, DO NOT immerse in
water or other liquids.
38. DO NOT touch the control panel or plug
with a wet hand.
39. DO NOT run cord under carpeting. DO
NOT cover cord with throw rugs, runners
or similar coverings. Arrange cord away
from trac area and where it will not be
tripped over.
40. DO NOT insert or allow foreign objects
to enter any ventilation or exhaust
opening as this may cause an electric
shock or re, or damage the heater.
41. To prevent a possible re, DO NOT block
the air intakes or exhaust in any manner.
DO NOT use on soft surfaces, like a bed,
where openings may become blocked.
42. A heater has hot and arcing or sparking
parts inside. DO NOT use in areas
where gasoline, paint, explosive and/
or ammable liquids are used or stored.
Keep unit away from heated surfaces and
open ames.
43. Avoid the use of an extension cord
because the extension cord may
overheat and cause a risk of re.
However, if you have to use an extension
cord, the cord shall be 2.5mm2 minimum
sizeo
44. To avoid re or shock hazard, plug the
unit directly into a 220-240V and 13A
electrical socket outlet.
45. To disconnect heater, turn controls to
OFF, then remove plug from outlet.
Pull rmly on plug, DO NOT unplug by
pulling on the cord.
46. Always unplug the unit before moving or
cleaning, or whenever the heater is not
in use.
47. Use only for intended household use as
described in this manual. Any other use
not recommended by the manufacturer
may cause re, electric shock, or injury
to persons. The use of attachments not
recommended or sold by unauthorized
dealers may cause hazards.
48. Always use on a dry, level surface. Use on
ceiling only.
49. WARNING: To reduce the risk of re or
electric shock, DO NOT use this unit with
any solid-state speed control device.
50. DO NOT attempt to repair or adjust any
electrical or mechanical functions on this
unit. Doing so will void your warranty.
The inside of the unit contains no user
serviceable parts. Qualied personnel
should perform all servicing only.

Installation
CAUTION! Risk of Electric Shock. DO NOT open or try to repair the
heater yourself.
Product Diagram
Wirerope
Power Cord & Plug
Heater Cover
Safety Net
LED Light
Switch

Installation
A. Heater must be installed by a qualied electrician.
B. Place the heater on a rm, level ceiling surface; level ceiling surface; installation of the heater
on a strong rigid support (such as strong wooden beams or metal rails etc).
C. The Hook on the ceiling hanging the Patio Heater must be able to take a weight 3 or 4 times
that of the Patio Heater itself.
D. The distance between the bottom of the Patio Heater to the Floor must be over1 .8M.
E. Plug the Patio Heater into a grounded 220-240V 50Hz 13A power outlet.
F. Only operate the heater when it is in the upright position.
Minimum Required Distances:
• 25cm from the side wall
• 50cm from the ceiling
• Installation height above 180cm
CEILING
FLOOR
min. 25cm
min. 50cm min. 180cm
WALL

WARNING: The heater must be properly installed before it is used.
This unit is equipped with one On/O switch.
• Plug the Patio Heater into a grounded 220-240V 50Hz power outlet.
• Only operate the heater when it is in the upright position.
• Press on the On/O switch to the“I” position to activate the heater.
Remote Control
Operation Instructions
A. To operate the heater on 2000W power, press
the button of the remote control.
B. To operate the LED light on, press the button
of the remote control
Touch switch
A. Touch the one time, turns the heater on
2000W power.
B. Touch the two times, turns the LED on.
C. Touch the three times, turns the heater on
2000W power and turns the LED on.
D. Touch the four times, turns the heater and
LED o.
To complete o the heater, press the On/O
switch to the“O” position.
• Although the patio heater is shower proof, do
not use when raining or in wet conditions.
• Always disconnect the power cable from the
electrical supply, when the patio heater is not
in use.

Trouble Shooting
If the heater will not operate, please check
the following before seeking repair of service:
• Check if the power cord is plugged into an
electrical outlet, if not plug in.
• Check if electricity to the main fuse
isworking.
• Make certain the power switches are turned
on. If not, choose a setting.
Technical specication
• Model:ZHQ2068-RMLED-T
• Power supply 220-240V 50Hz
• Wattage 2000W
• Insulation class I
• Height 30cm
WEEE: This product contains
recyclable materials. Do not
dispose this product as unsorted
municipal waste. Please contact
your local municipality for the nearest
collection point.
Operation Instructions

Headline
Maintenance and Care Instructions
www.kettler.co.uk
Warranty For Home Use
This product is covered by a 12 month
warranty against manufacturing faults.
This warranty applies to domestic use
only. It does not cover commercial use,
mis-use or accidental damage.
To validate your warranty, register
at www.kettler.co.uk and quote
the product code from the front of
this booklet.
12Mth
Warranty
• Unplug the unit and let it cool completely.
• To keep the heater clean, the outer shell may be cleaned with a soft, damp cloth. You may use a
mild detergent if necessary. After cleaning, dry the unit with a soft cloth.
• DO NOT use alcohol, gasoline, abrasive powders, furniture polish, or rough brushes to clean
the heater. This may cause damage or deterioration to the surface of the heater.
• Although this heater is outdoor approved, DO NOT immerse the heater in water for your safety.
• The light source of this luminaire is not replaceable; when the light source reaches its end of life
the whole luminaire shall be replaced.
• Wait until the unit is completely dry before use.
Storage
• If the heater will not be used for a long period of time, store it in a cool, dry location when not
in use. To prevent dust and dirt build-up, use the original packaging to repack the unit.
Other manuals for KLEH152-0500
1
Table of contents
Other KALOS Heater manuals

KALOS
KALOS KLEH143-0400 User manual

KALOS
KALOS KLEH121-0300 User manual

KALOS
KALOS KLEH122 User manual
KALOS
KALOS KLEH152-0500 User manual
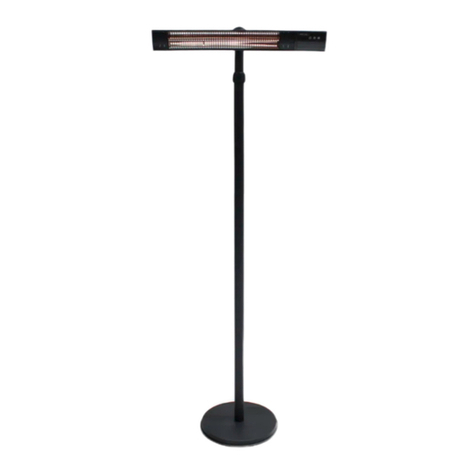
KALOS
KALOS KLEH122 User manual

KALOS
KALOS KLEH161-0600 User manual

KALOS
KALOS KLEH162-0600 User manual
KALOS
KALOS KLEH125-0300 User manual

KALOS
KALOS KLEH143-0400 User manual

KALOS
KALOS KLEH160-0600 User manual